Shower fittings & finishes
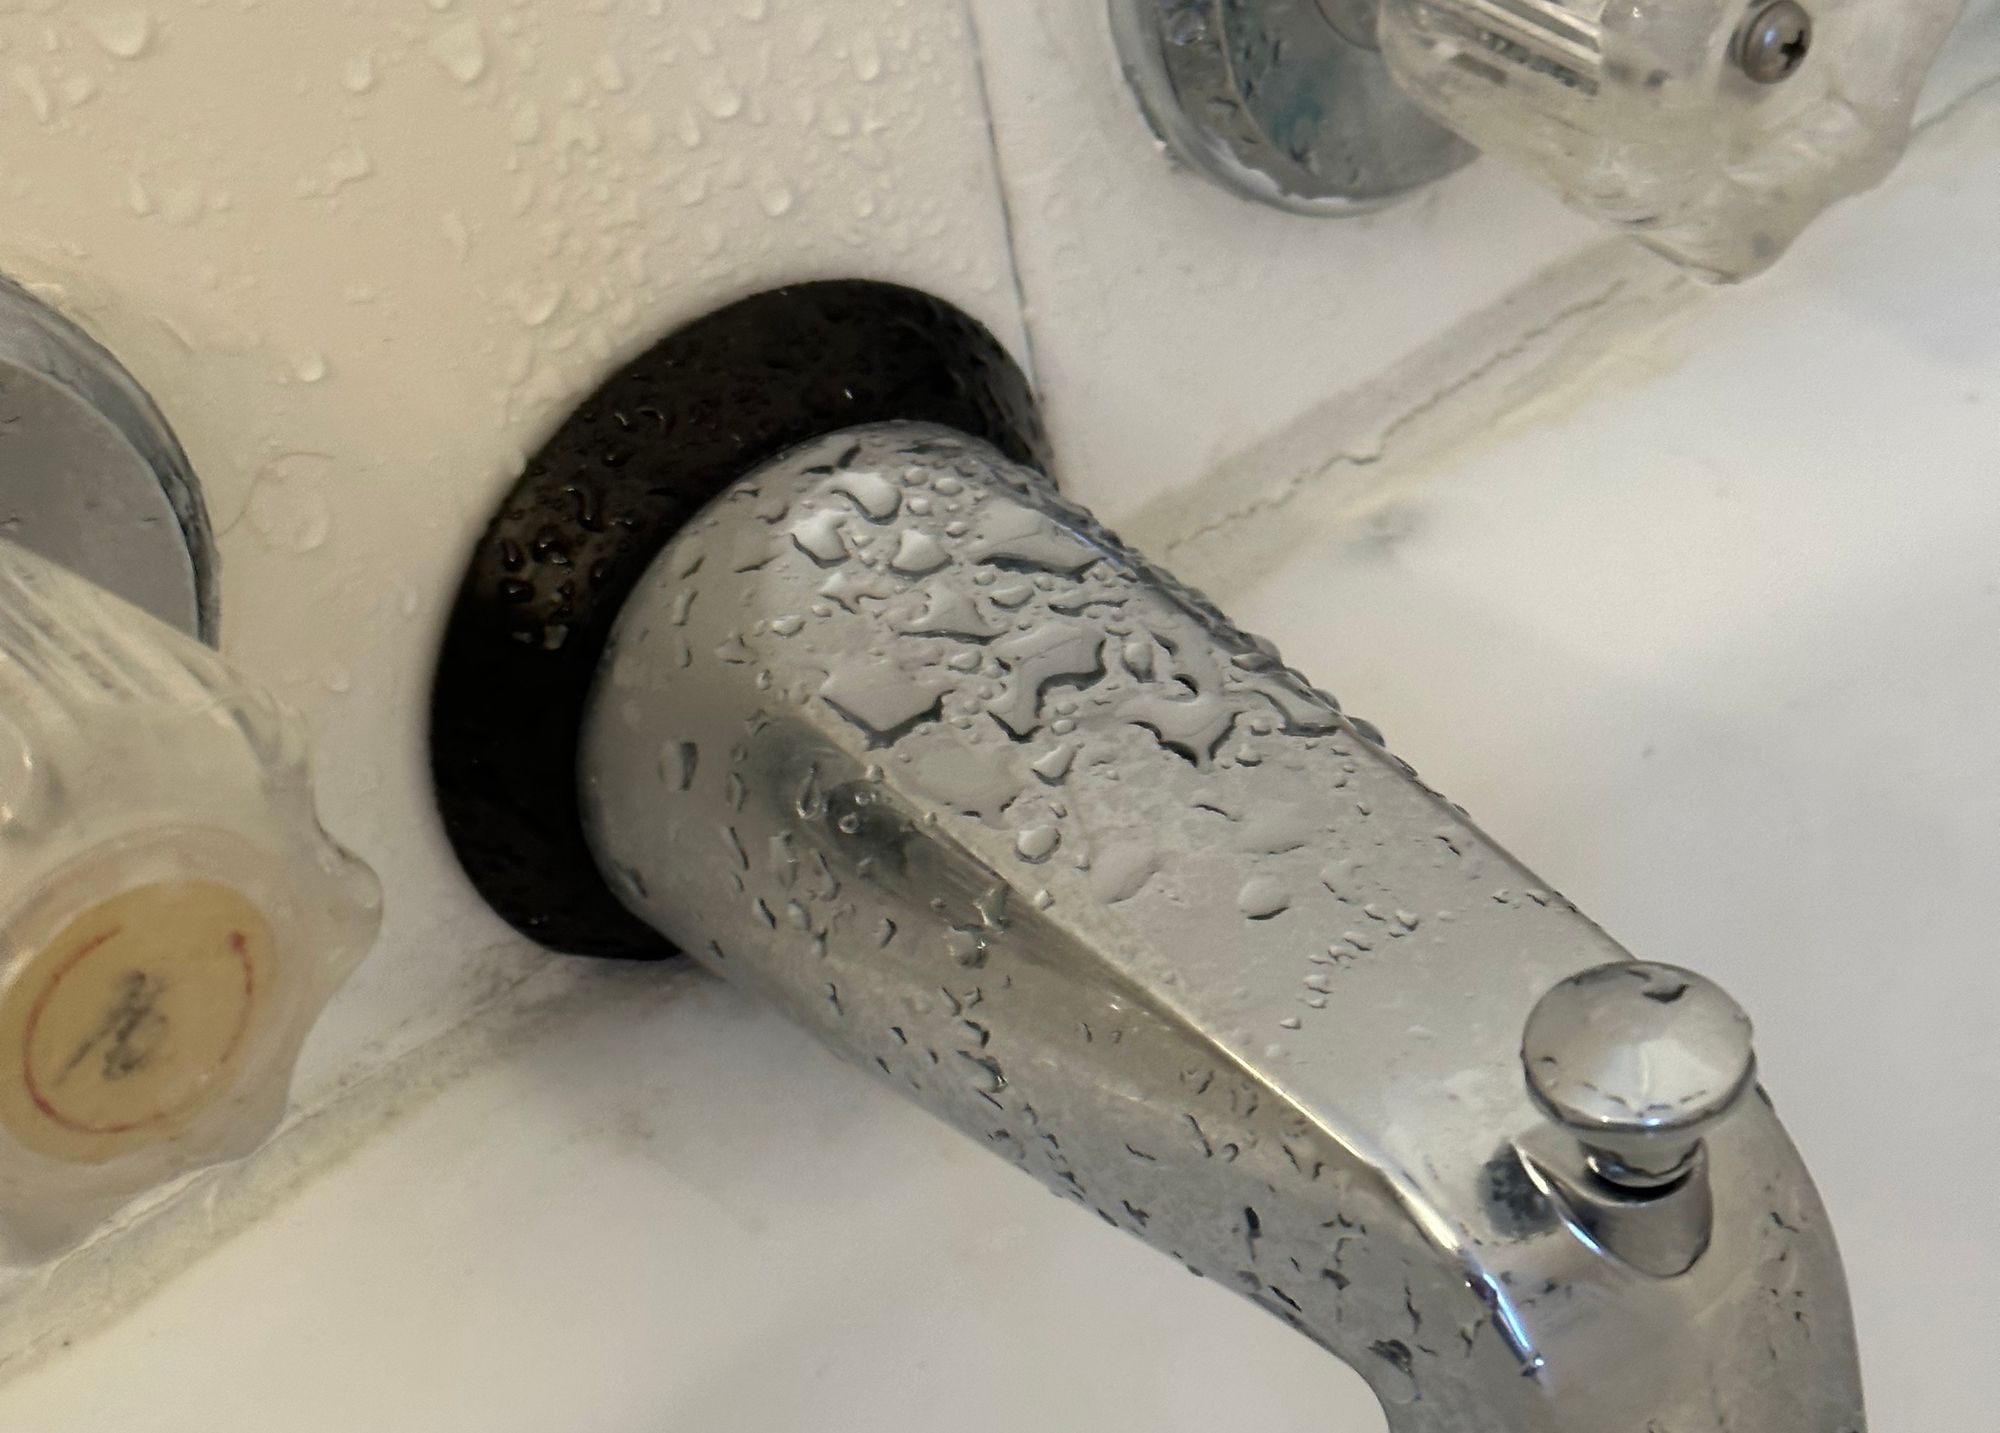
After the success of my shower curtain rod brackets, I wanted to turn my attention to some other aesthetic touches.
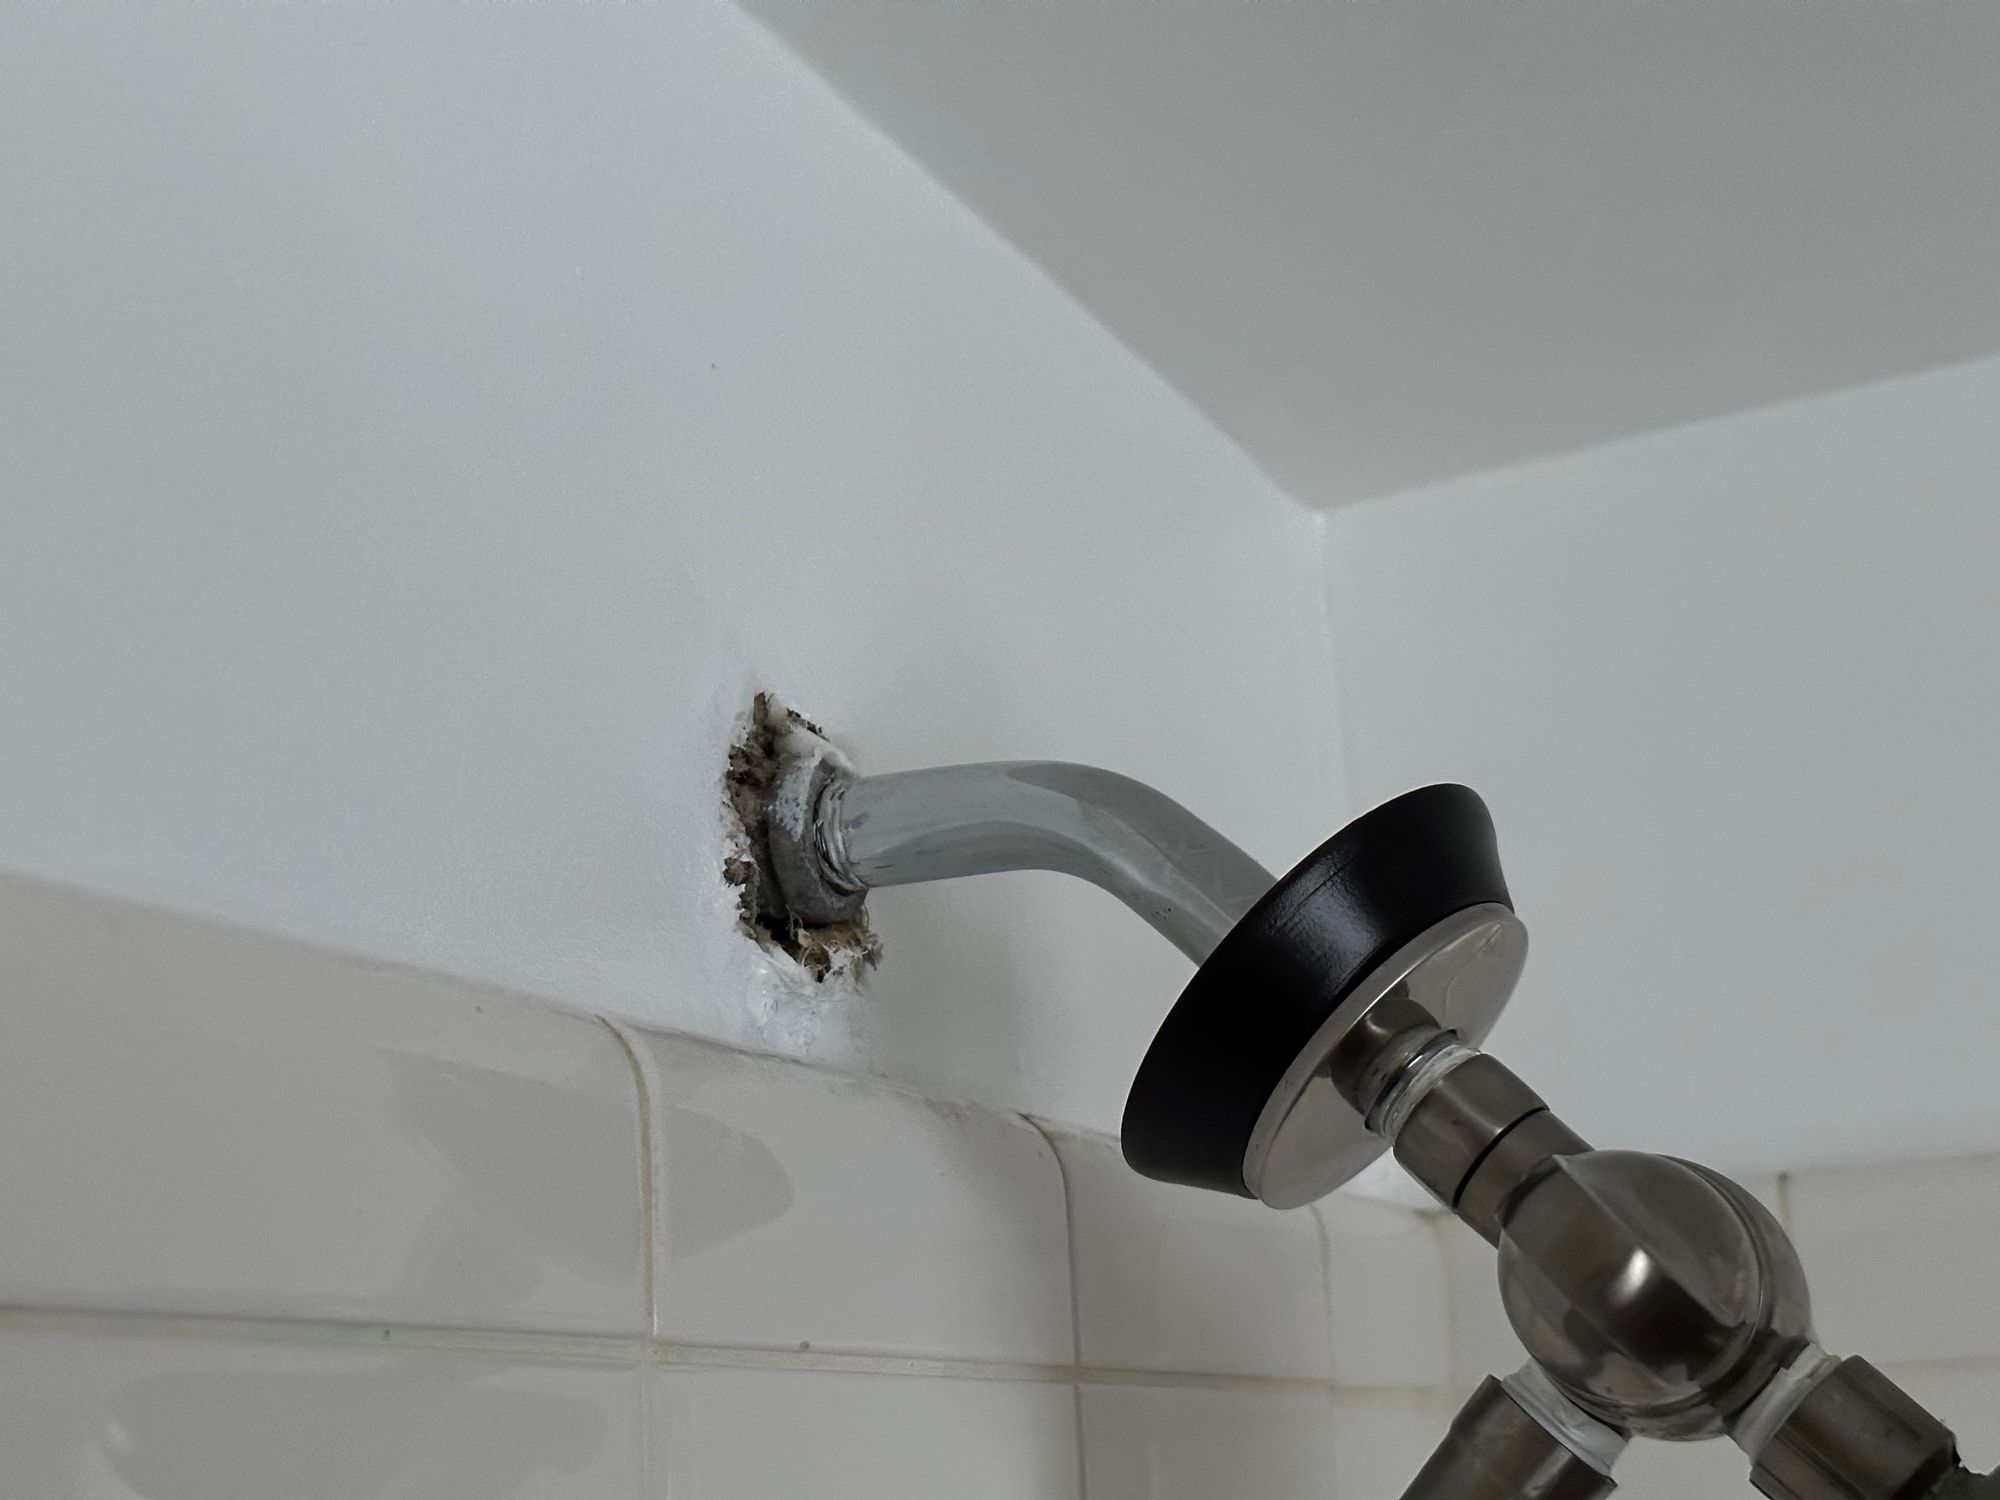
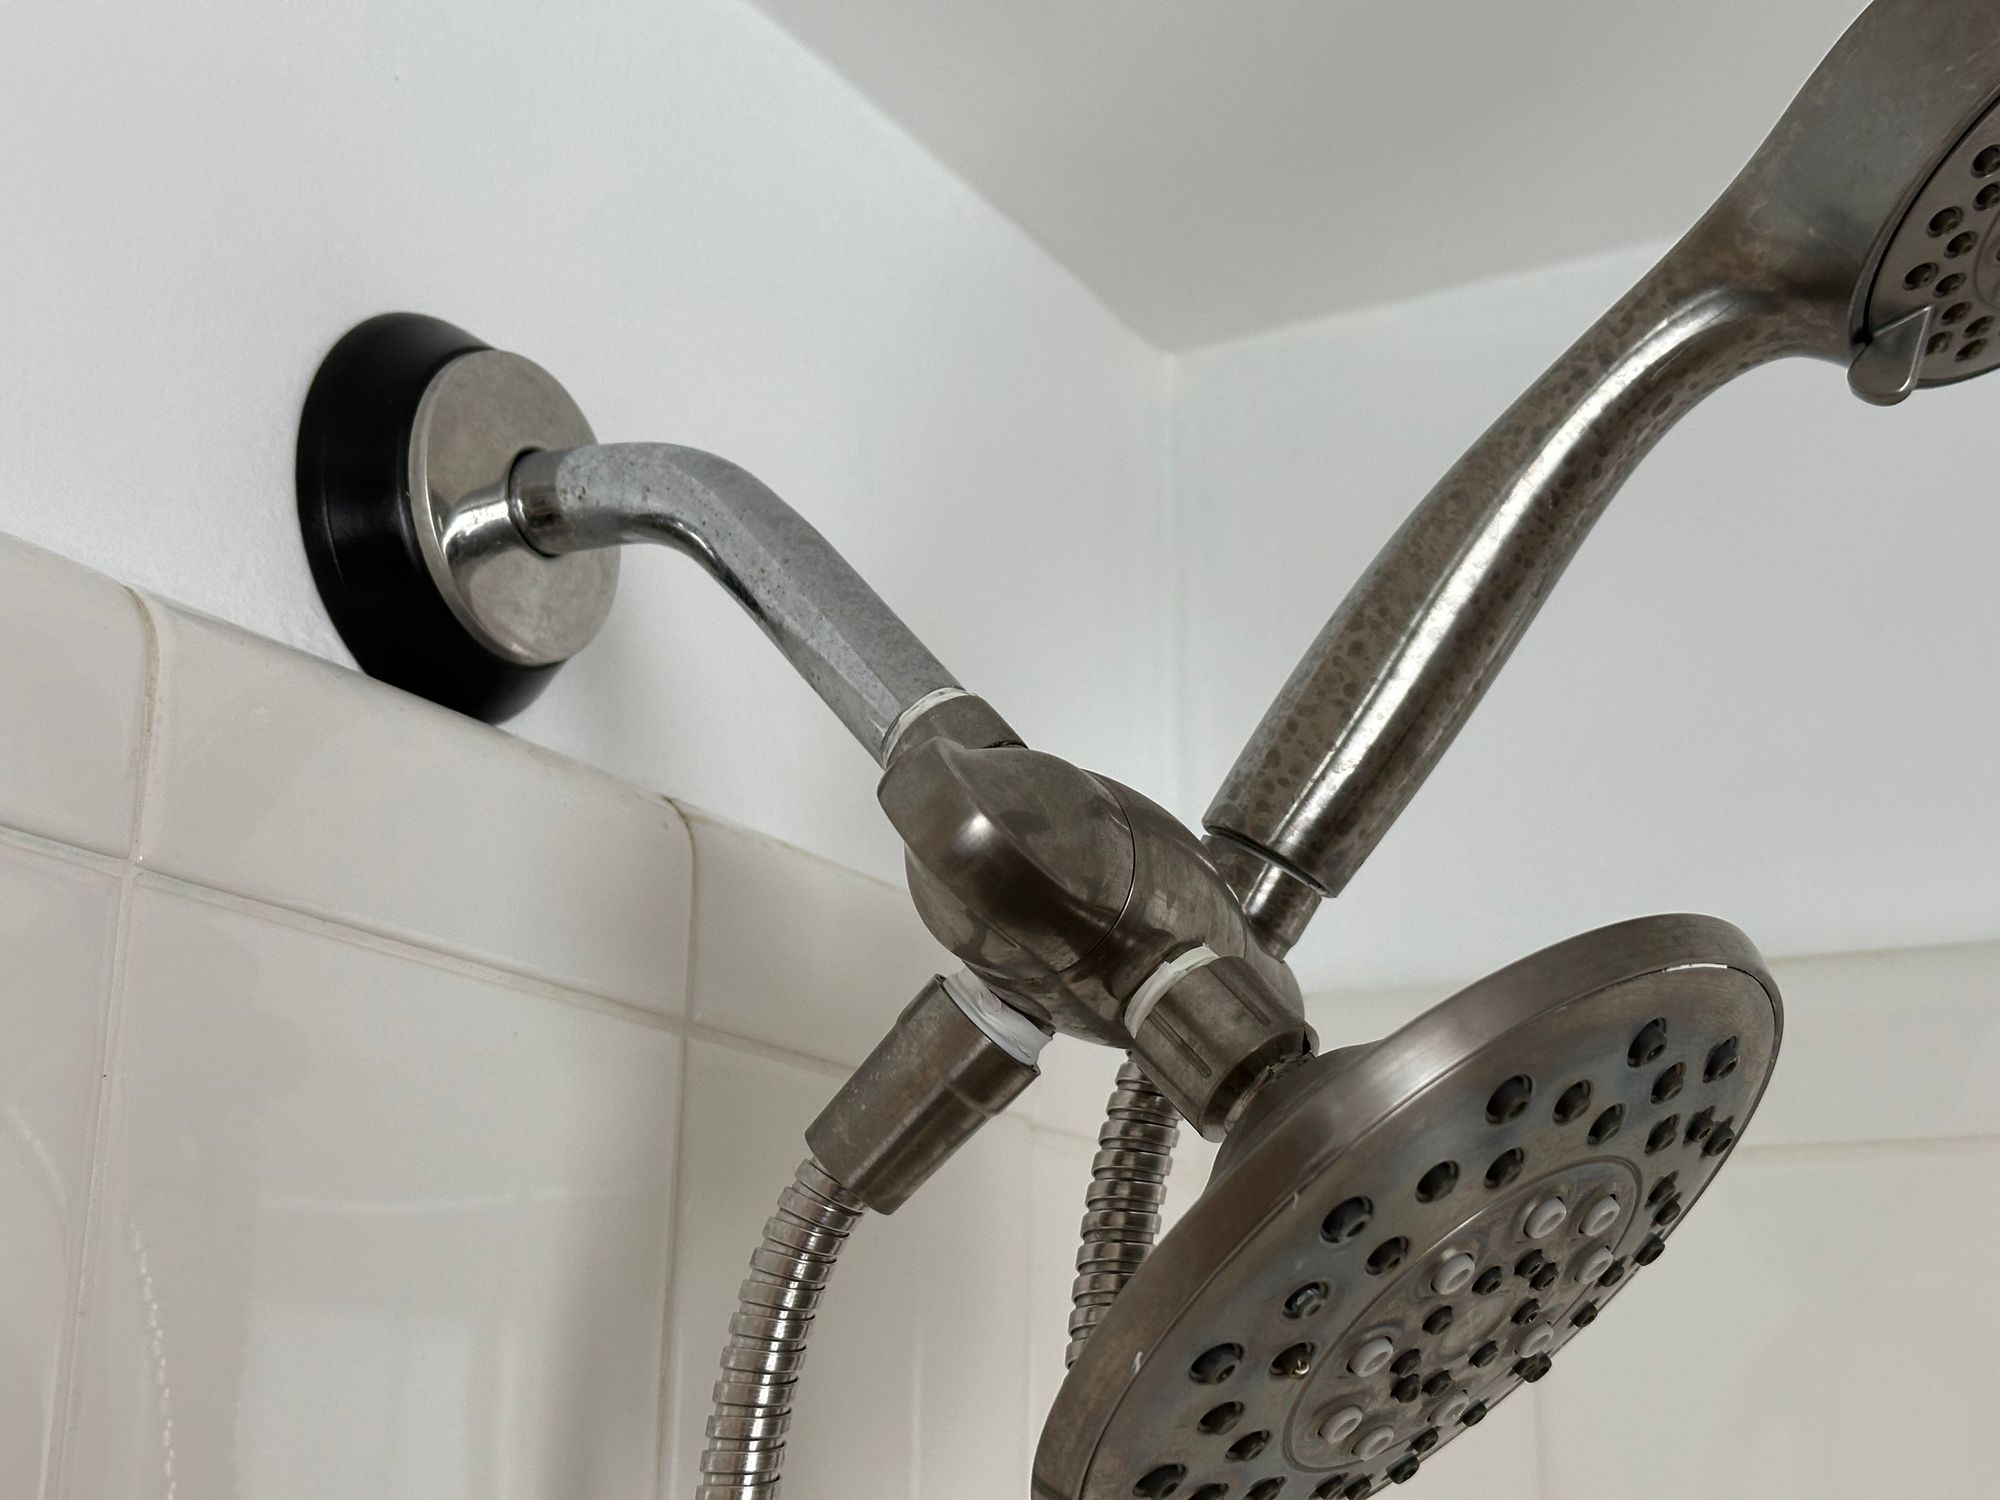
Our shower head has a little chrome piece that sits around the pipe and is supposed to cover the spot where it comes out of the wall, but because of a pipe fitting that juts out a little bit, it wasn't quite deep enough to actually sit flush with the wall. Not a real functional problem, but just a little unsightly.
So I pulled out my calipers, and quickly modeled a second fitting to sit between the wall and the chrome piece.
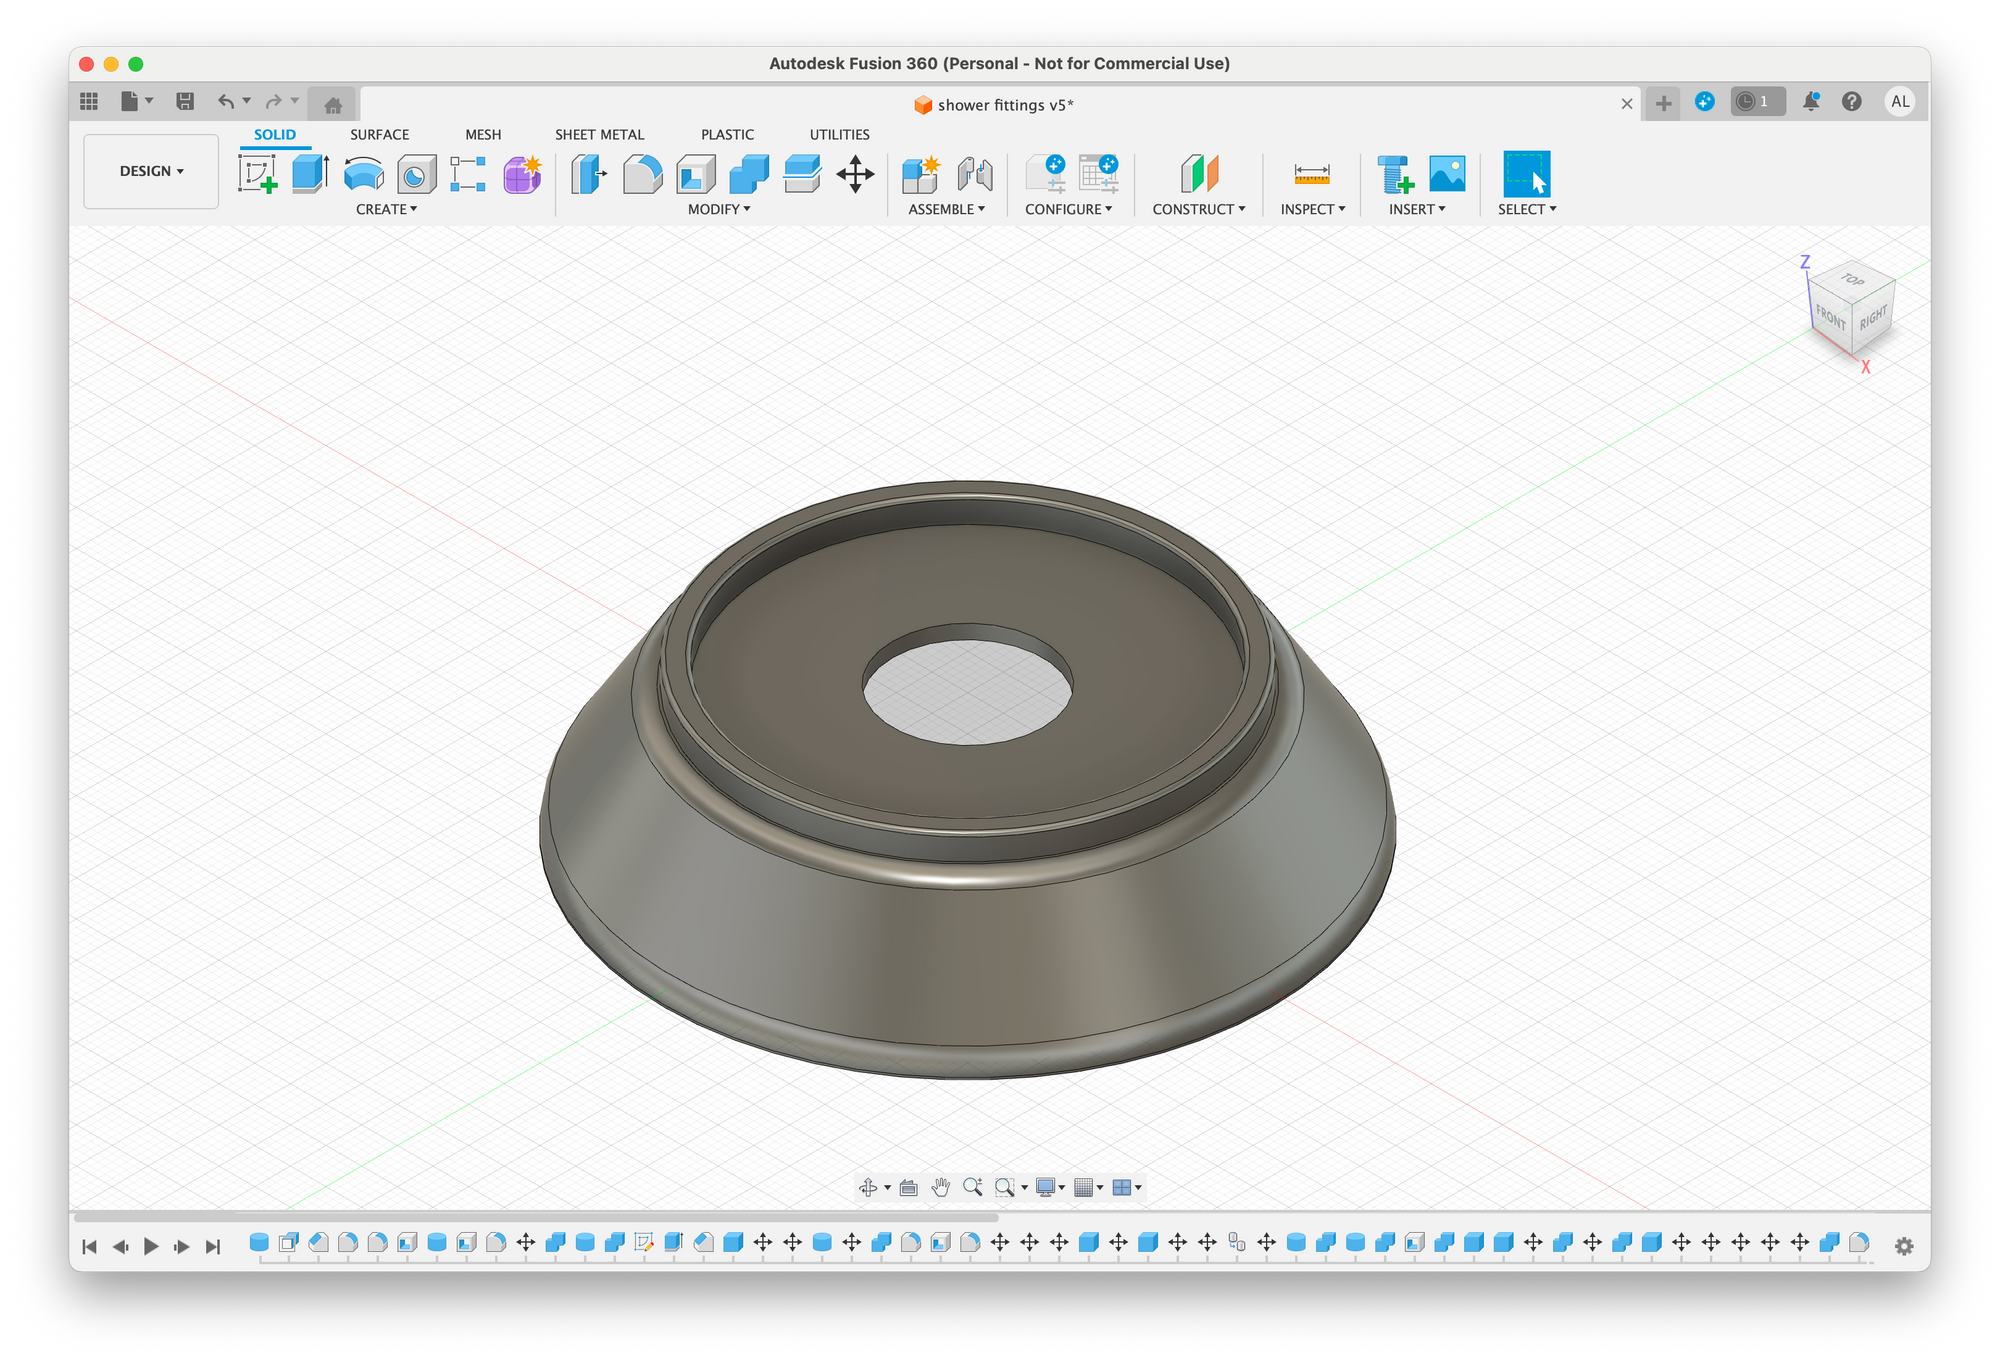
A quick exercise in Fusion 360 and a single ABS print later, I gave the piece the same paint and enamel treatment that I'd given the brackets, then installed easily.
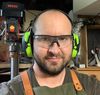
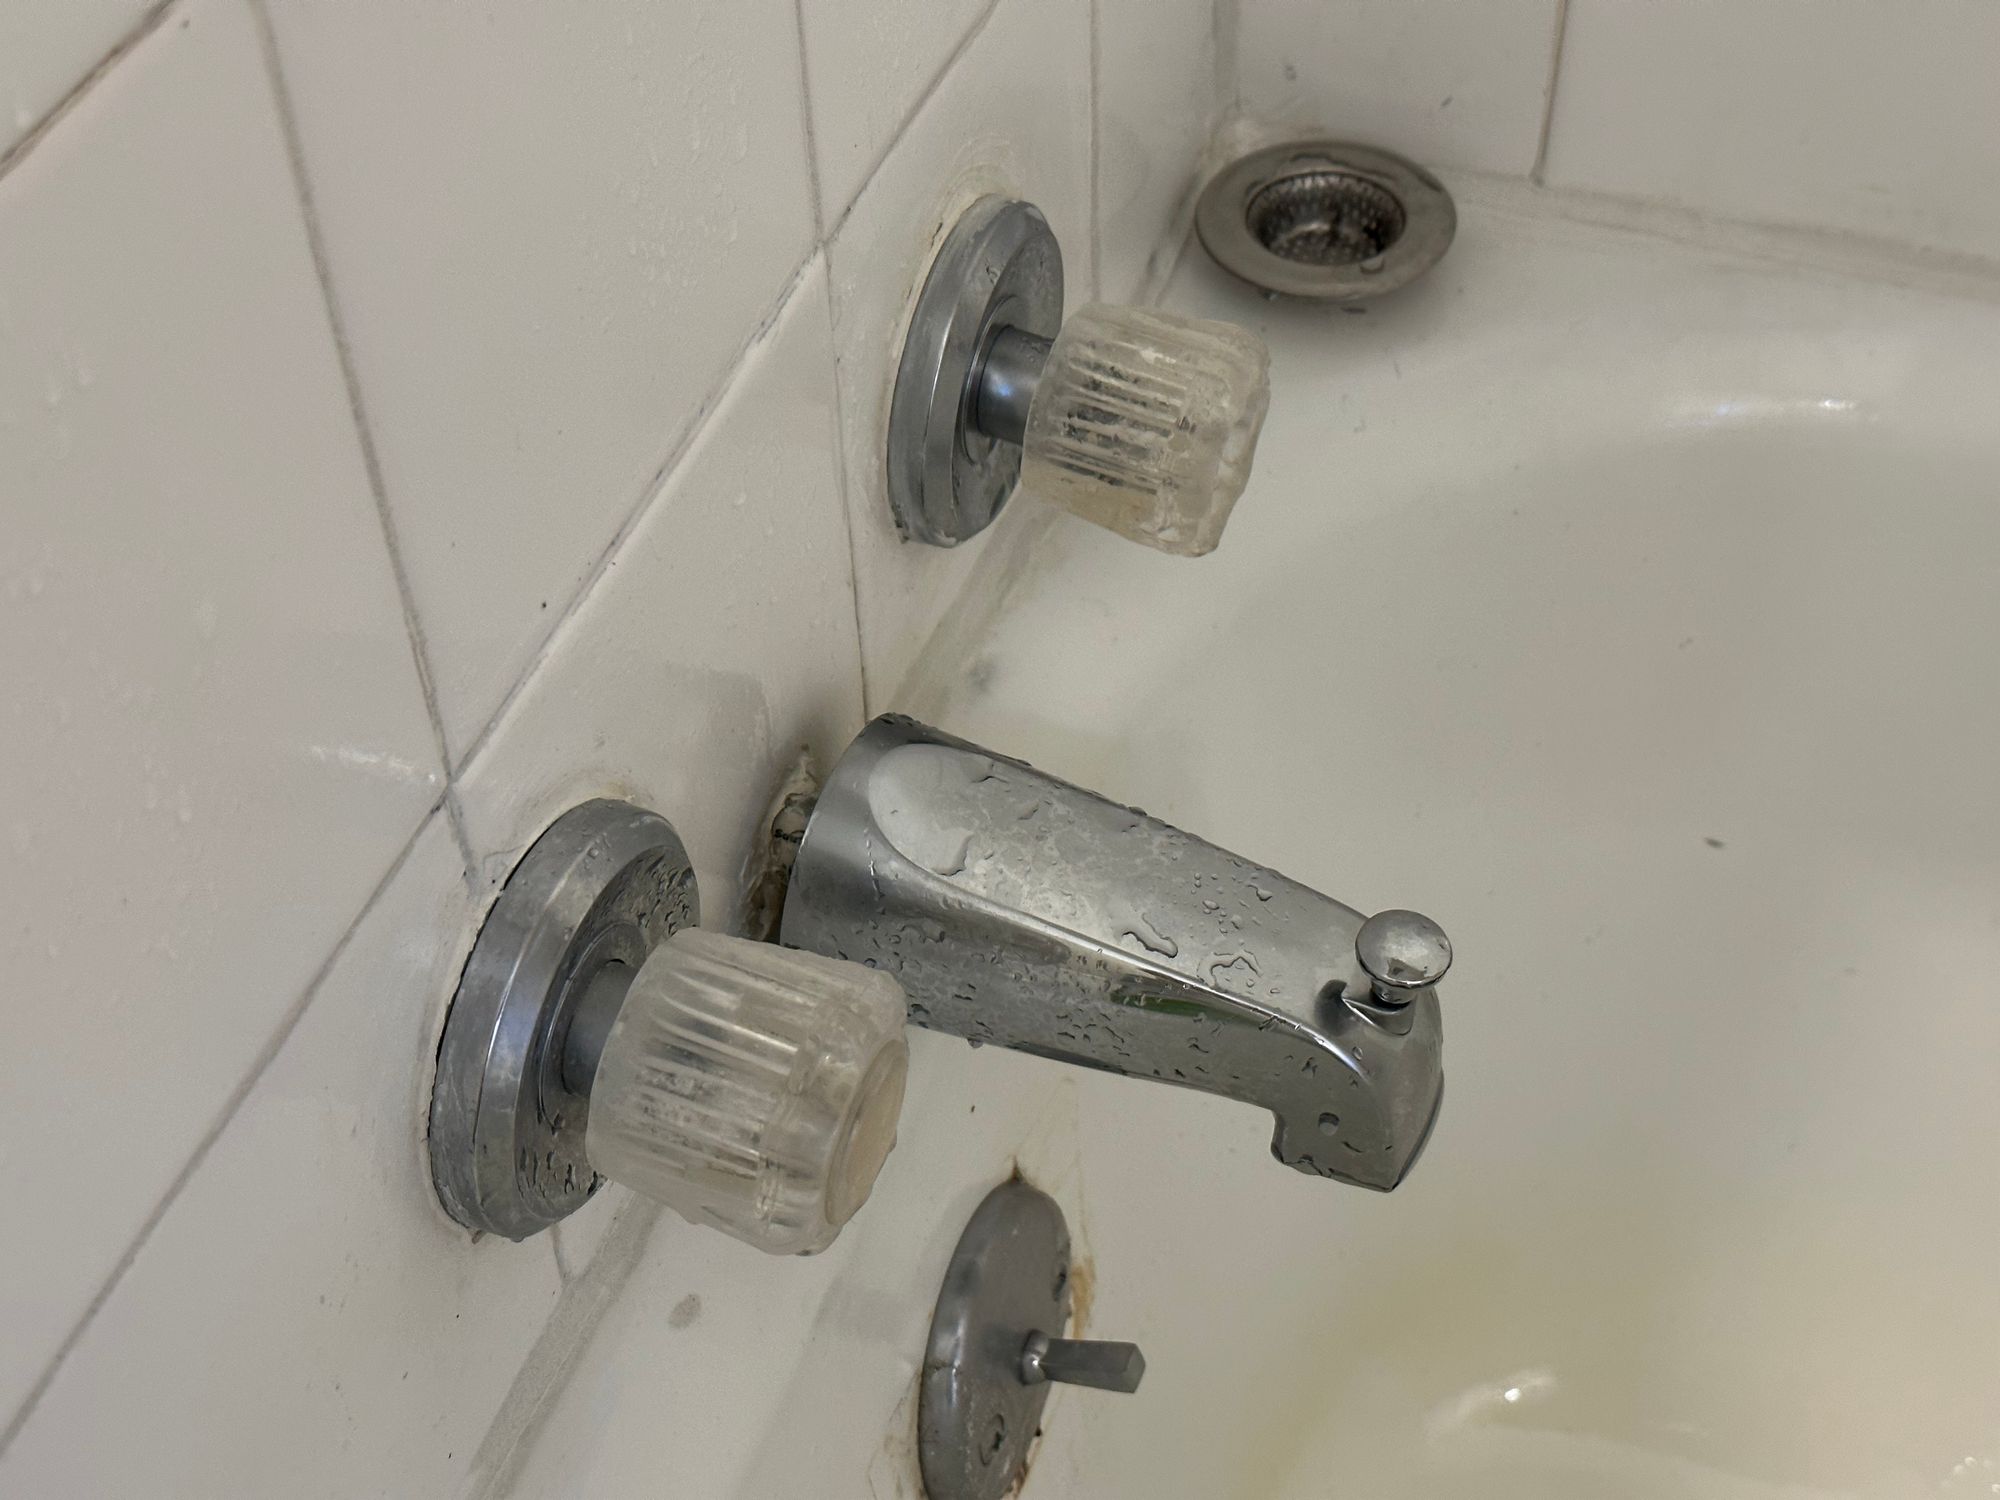
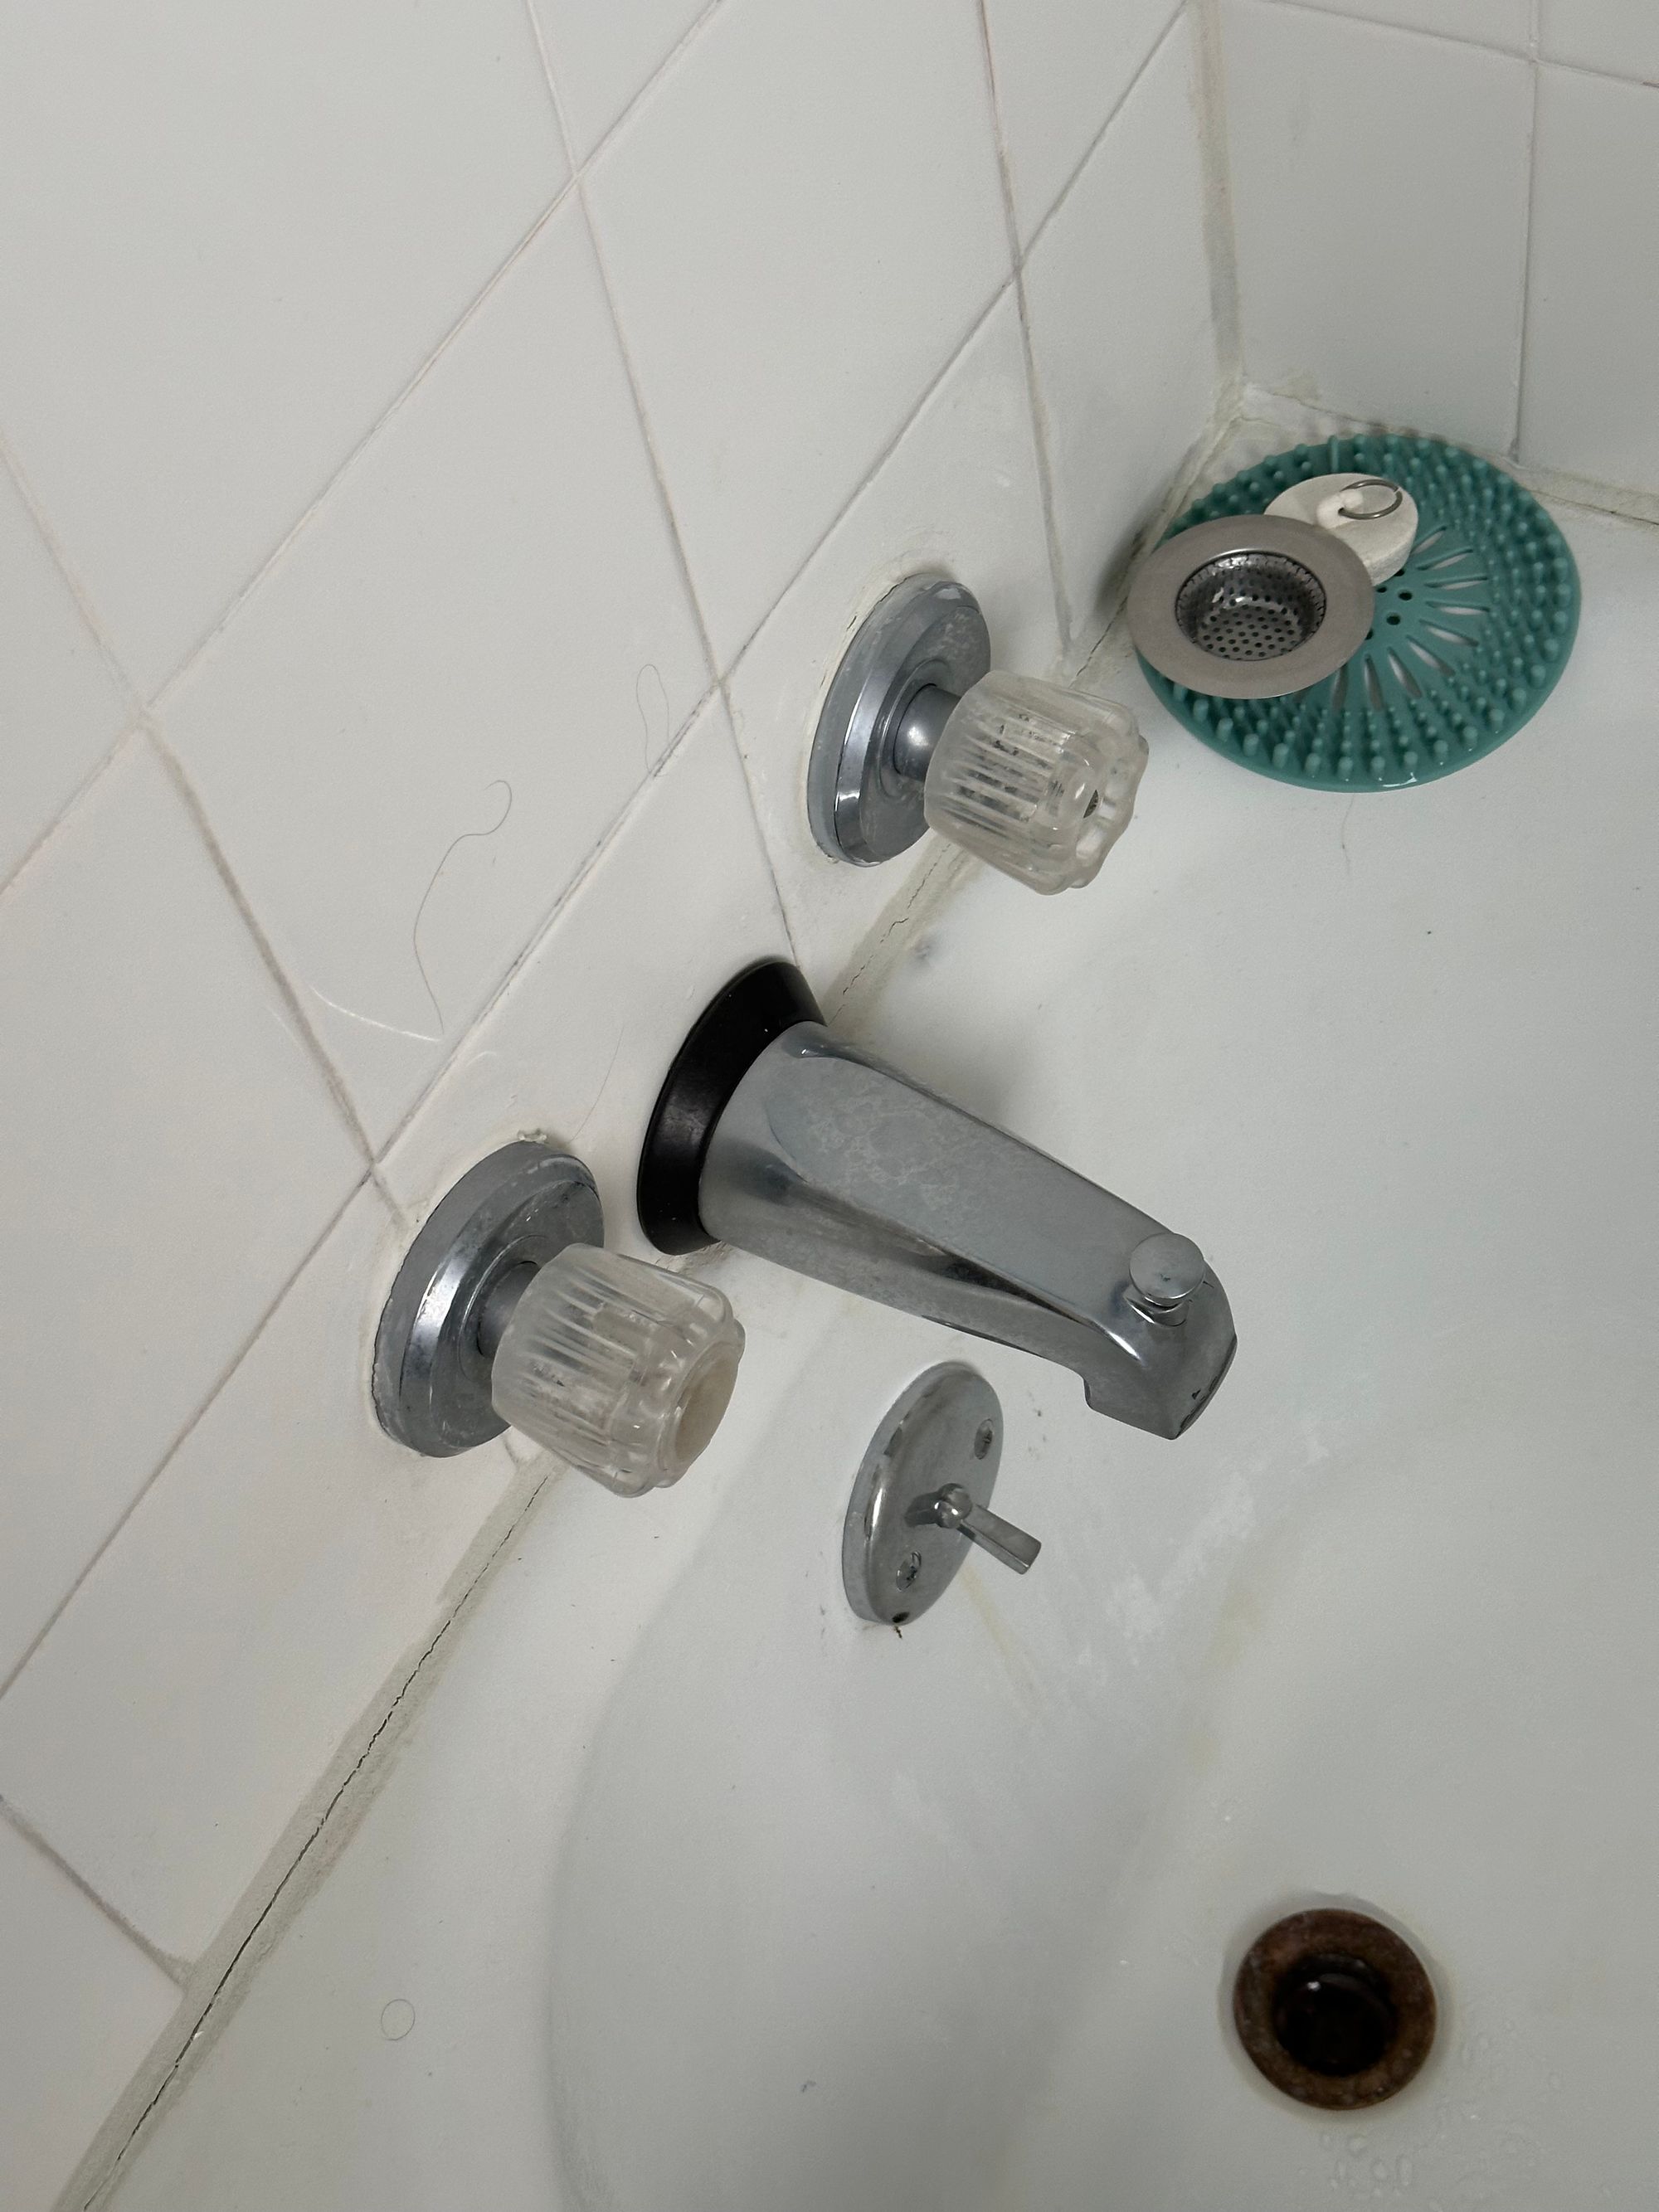
Based on that, I also thought I might make a fitting to finish the appearance of the spout better — the pipe coming from the wall was left a bit long, so there was a very visible gap between the spout and the tile.
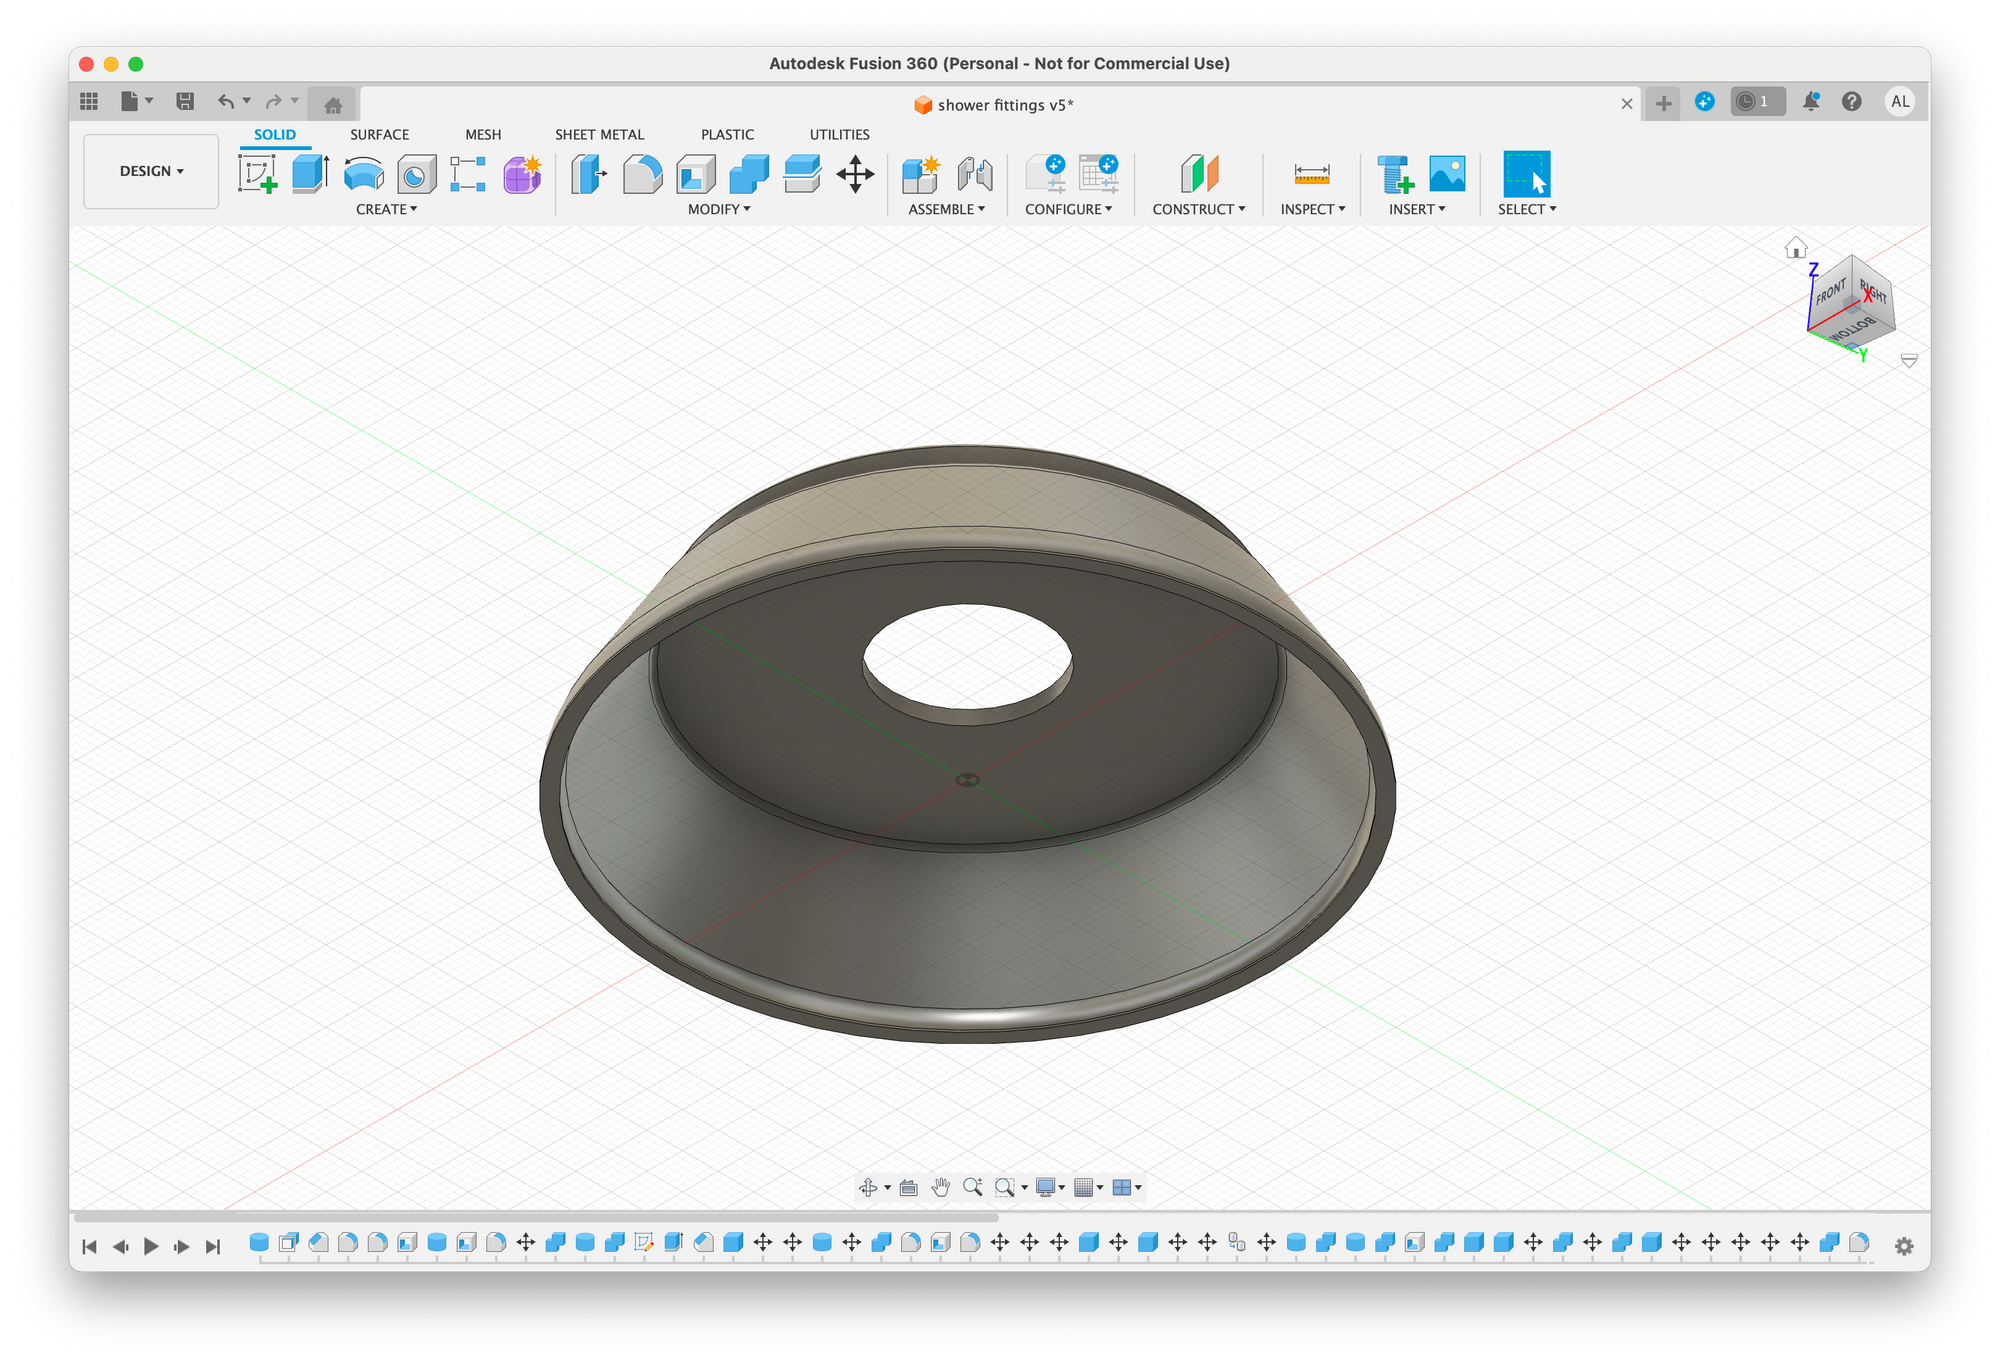
So, I again got the calipers, made some measurements, modeled a piece, printed... and it didn't fit properly at all.
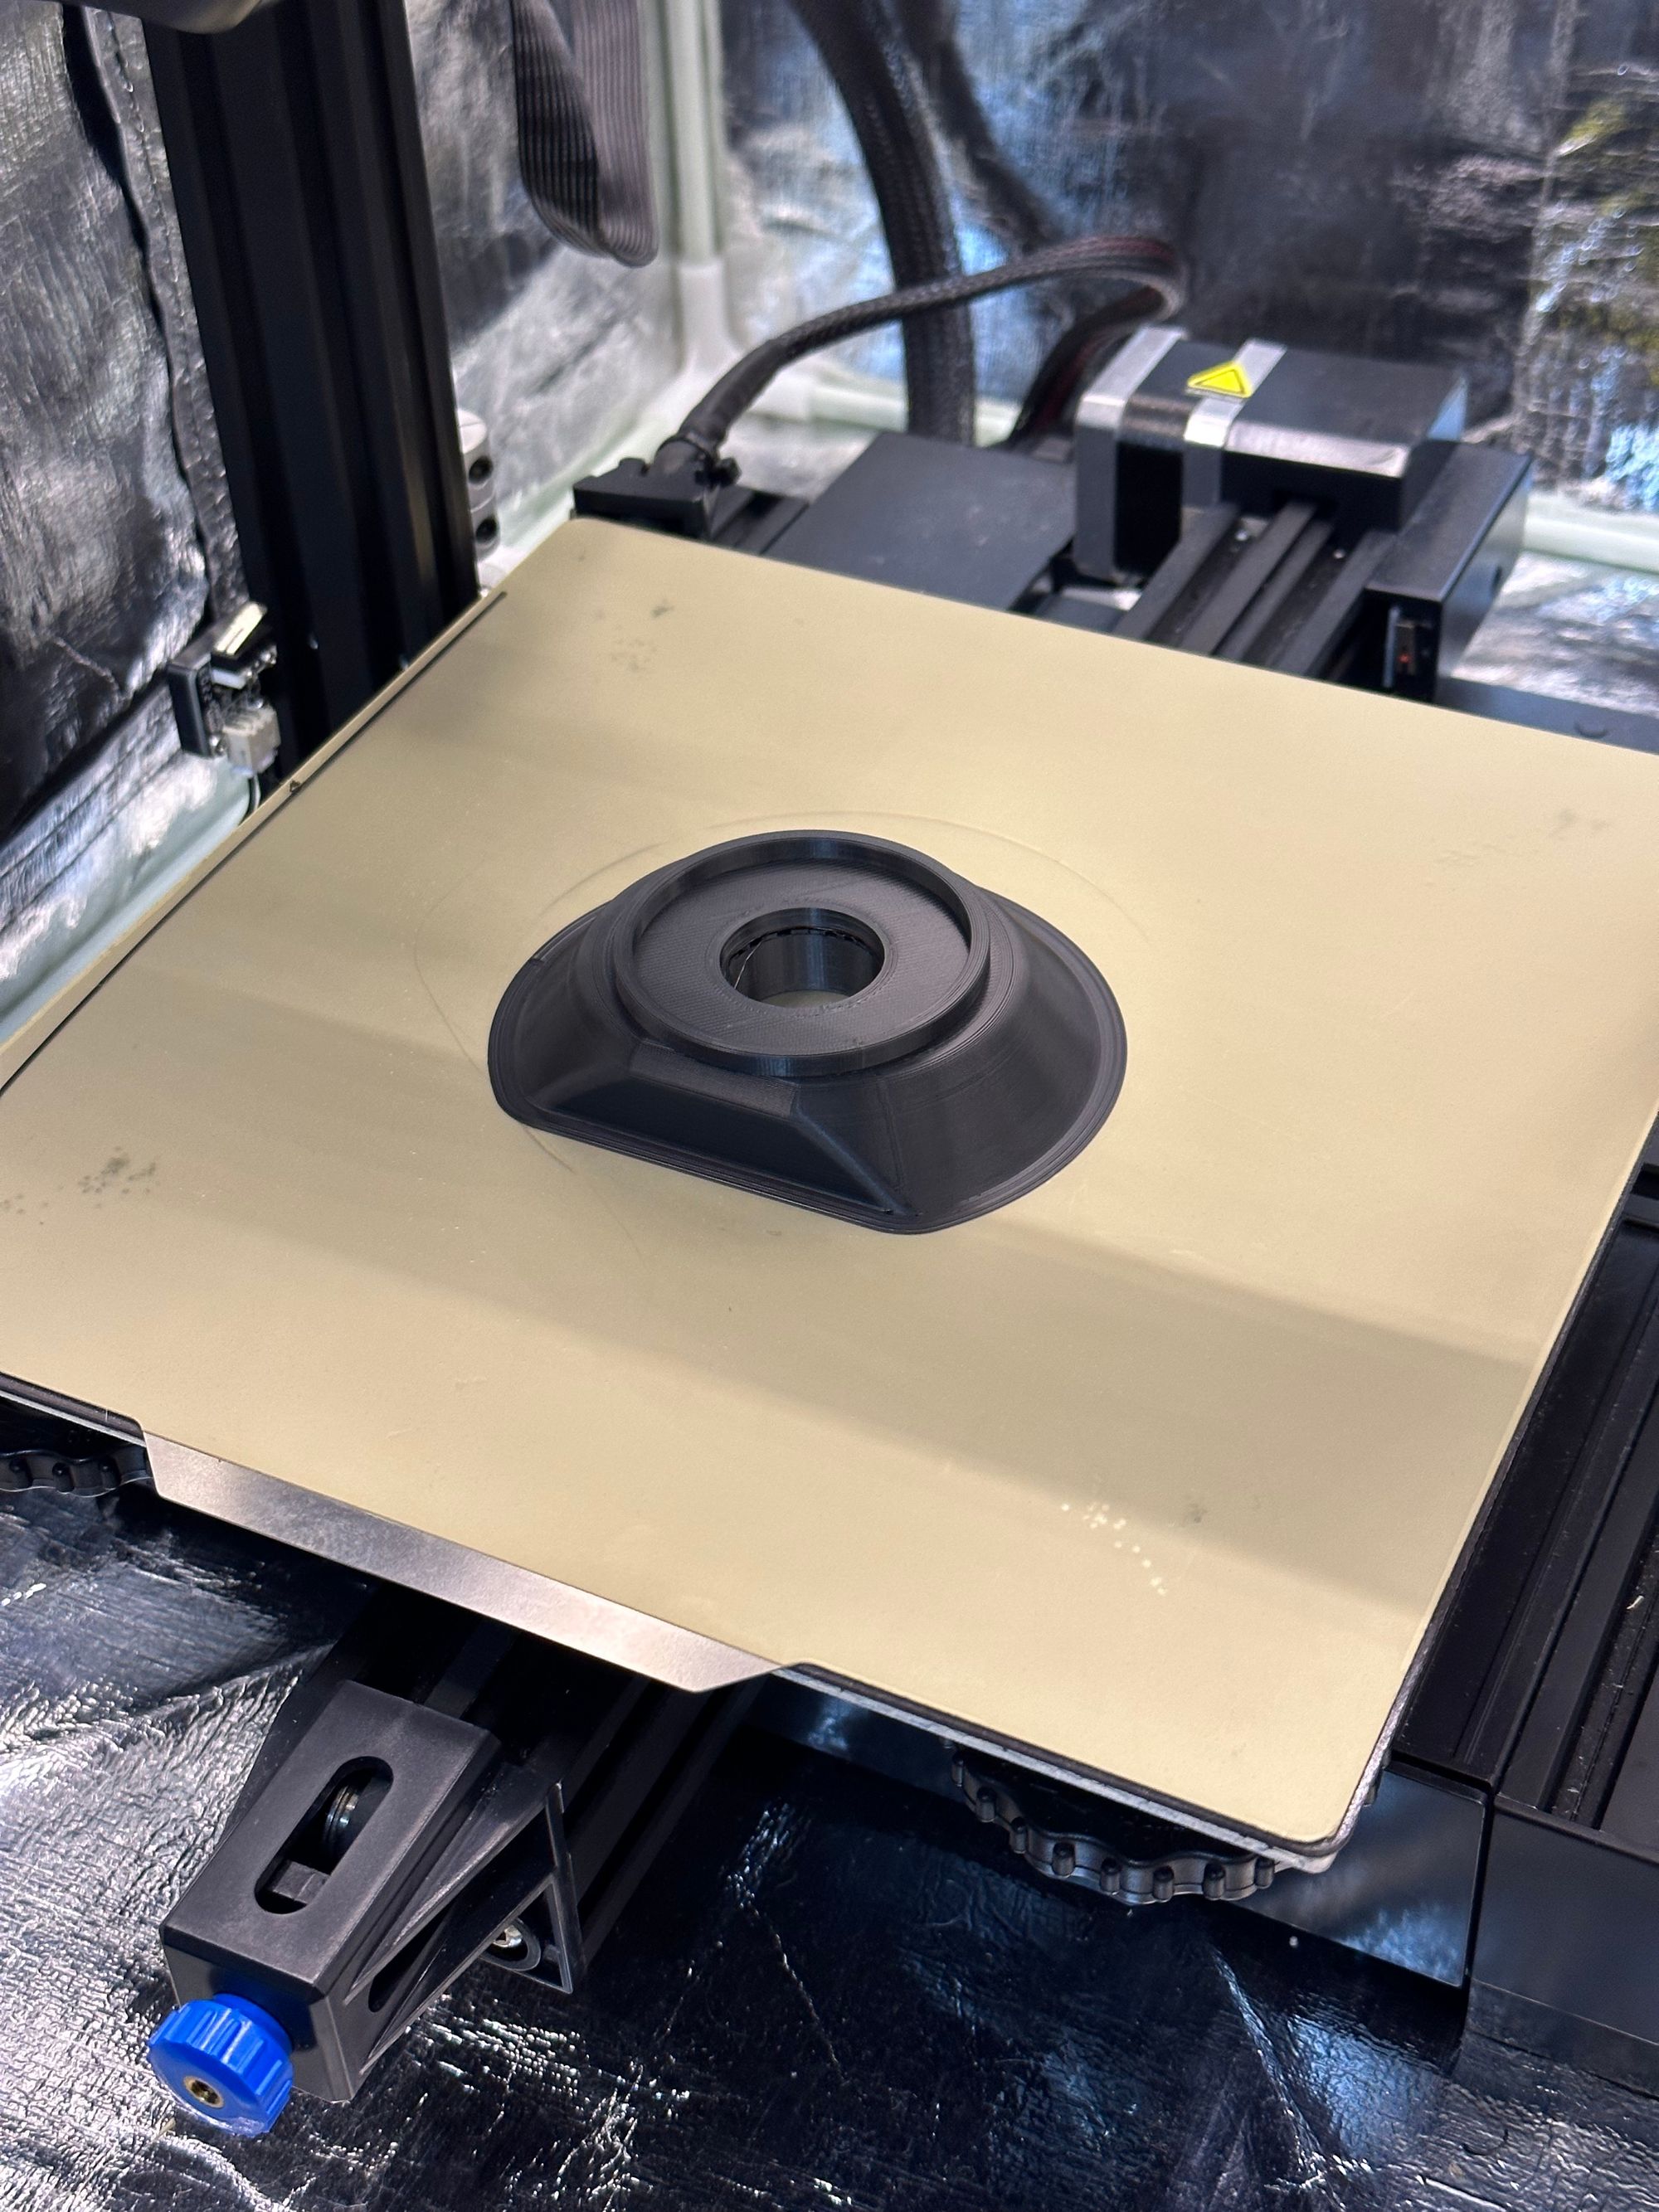
So I iterated, and iterated, and iterated. I refined measurements and adjusted my design to make it easier to install.
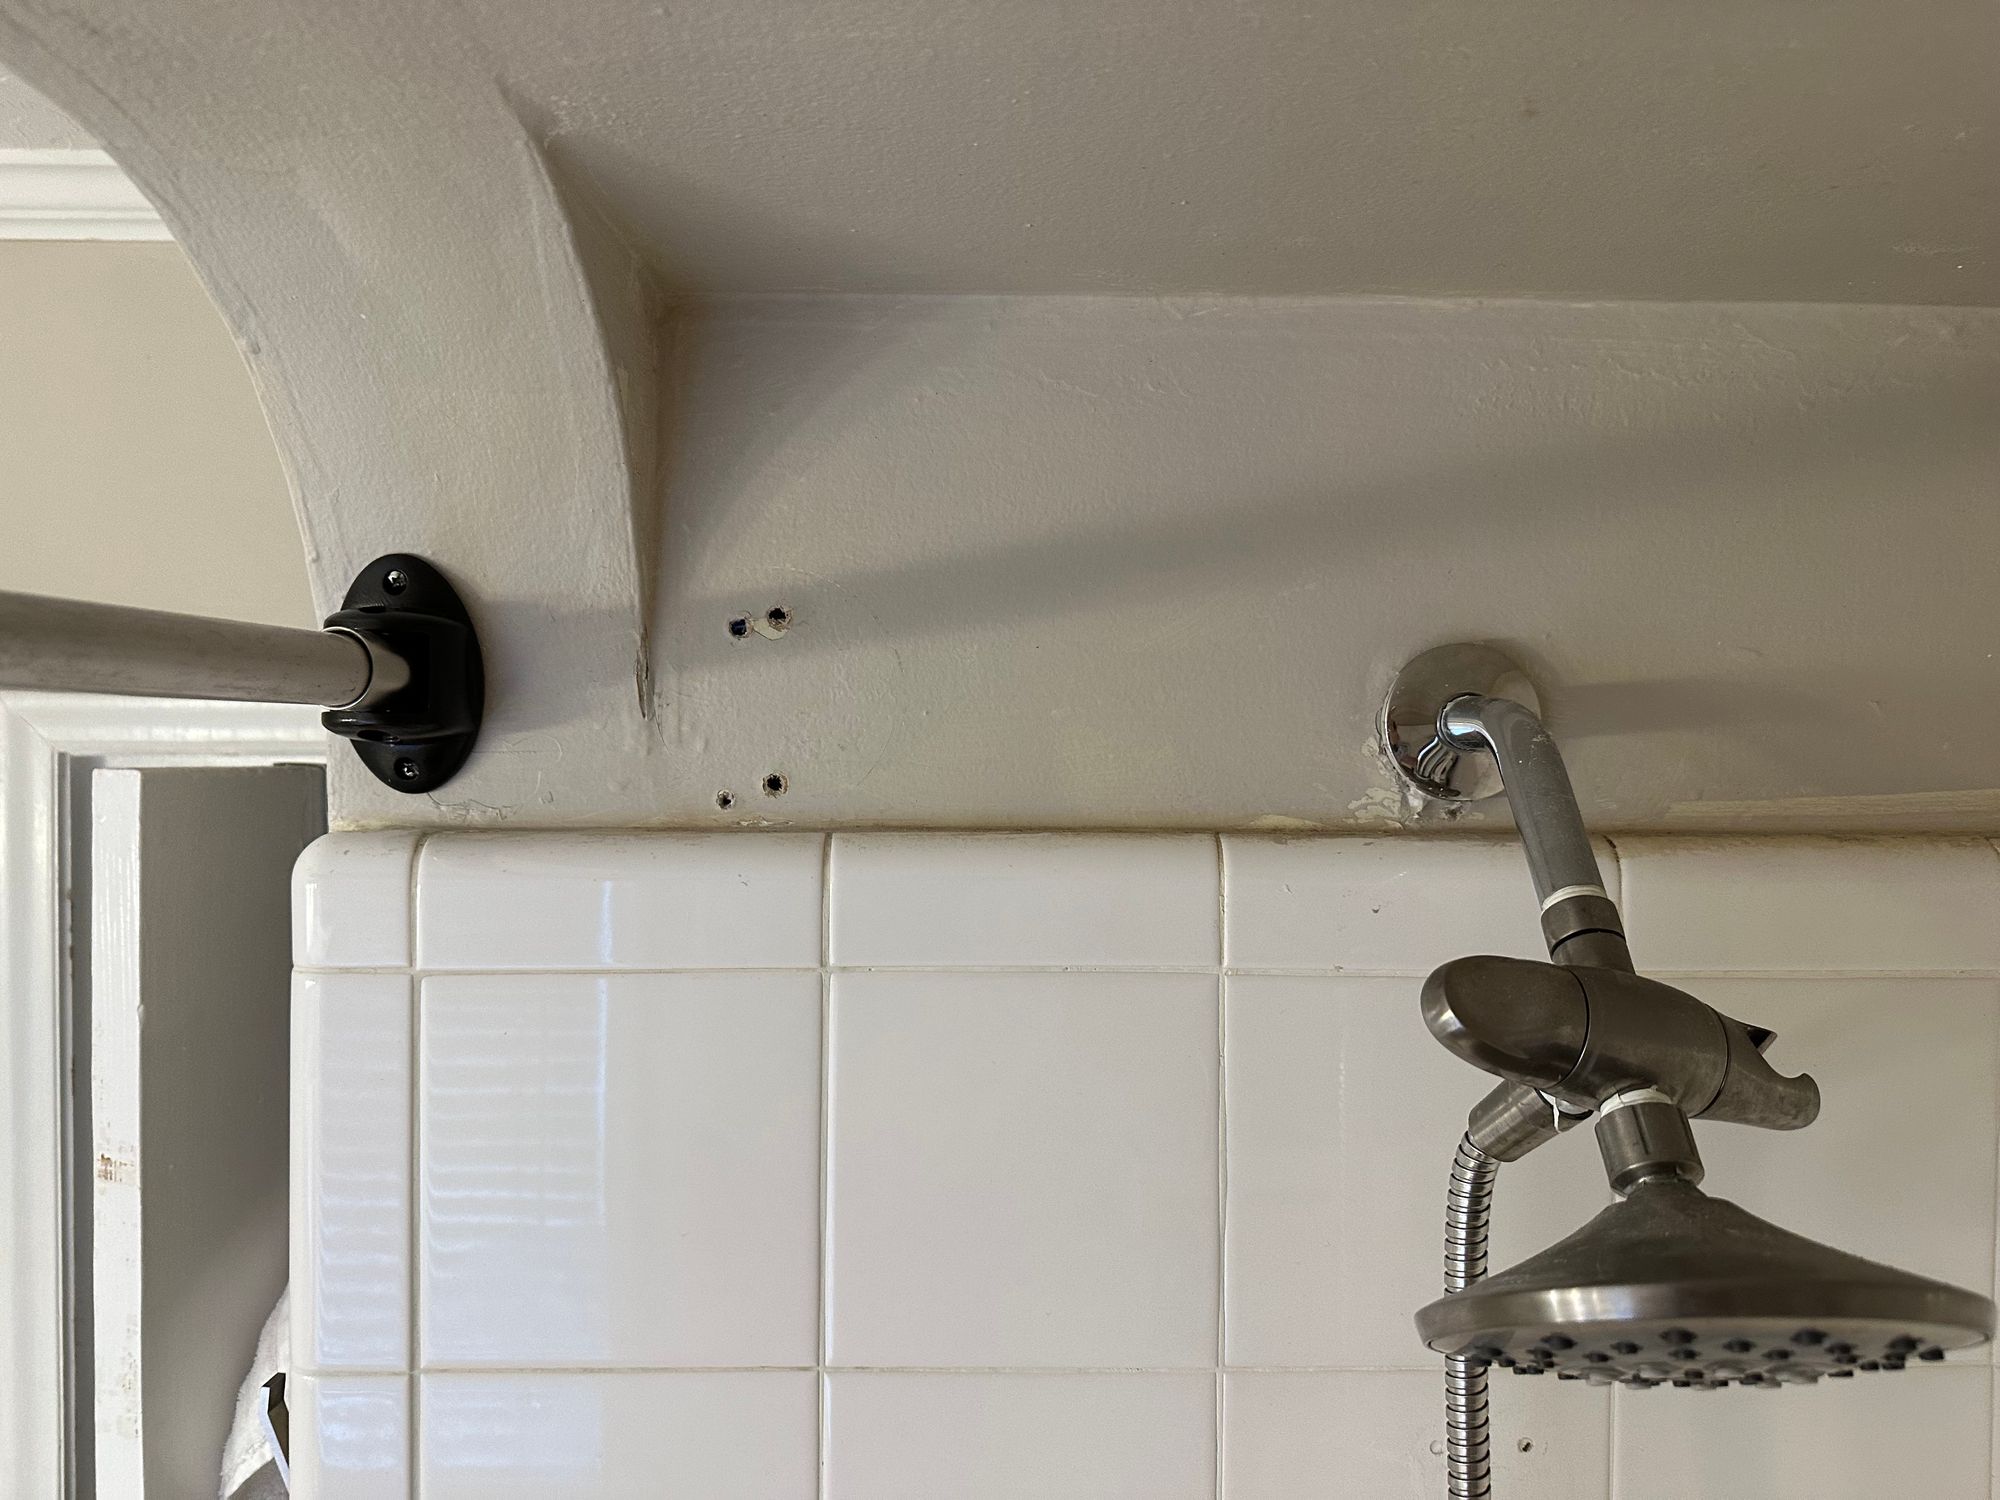
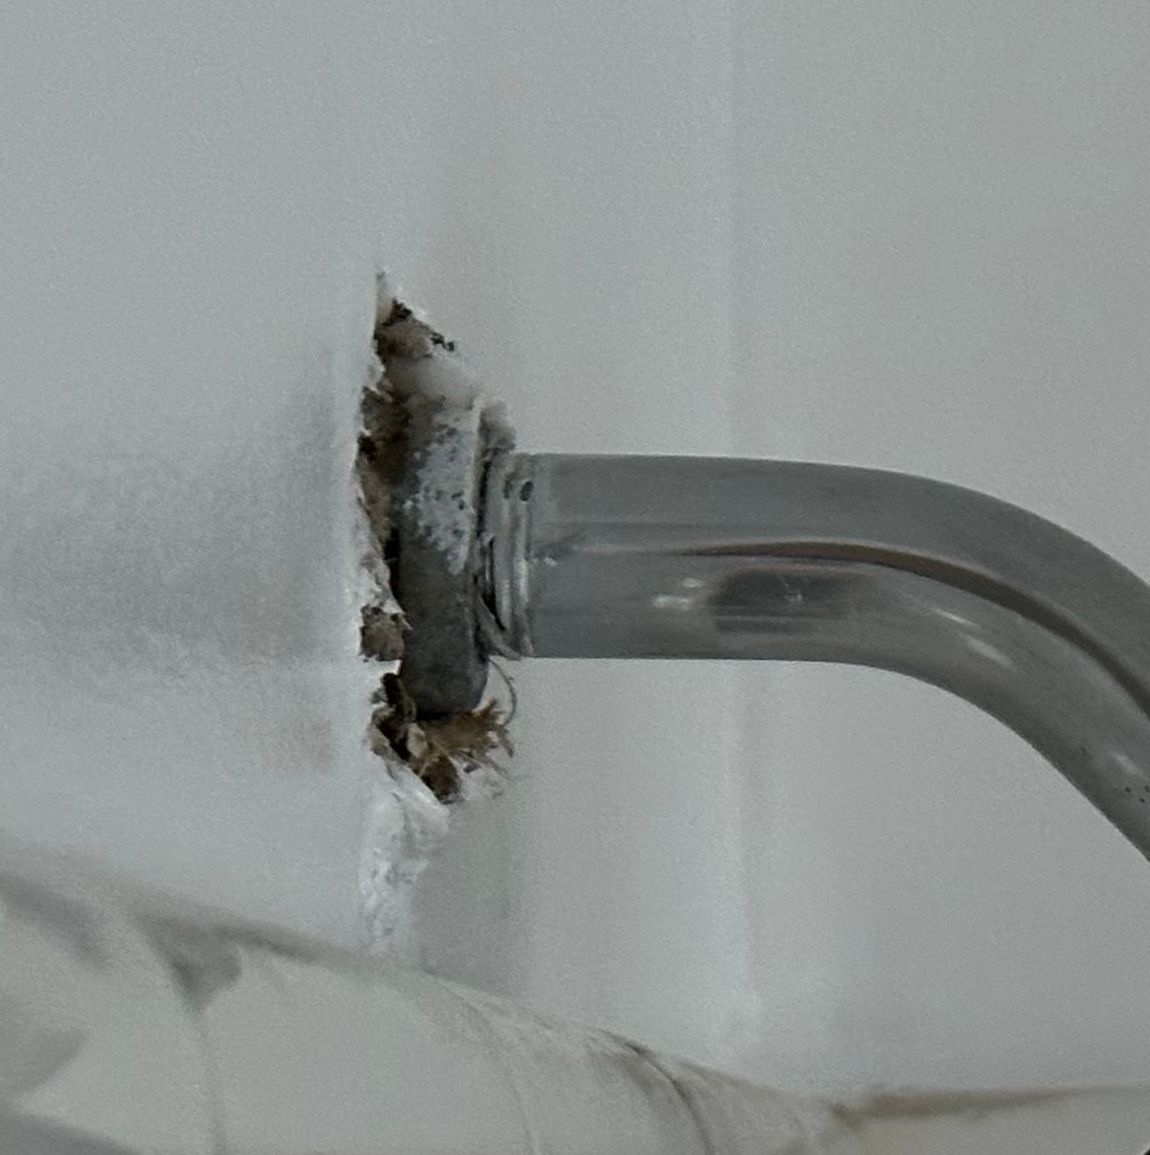
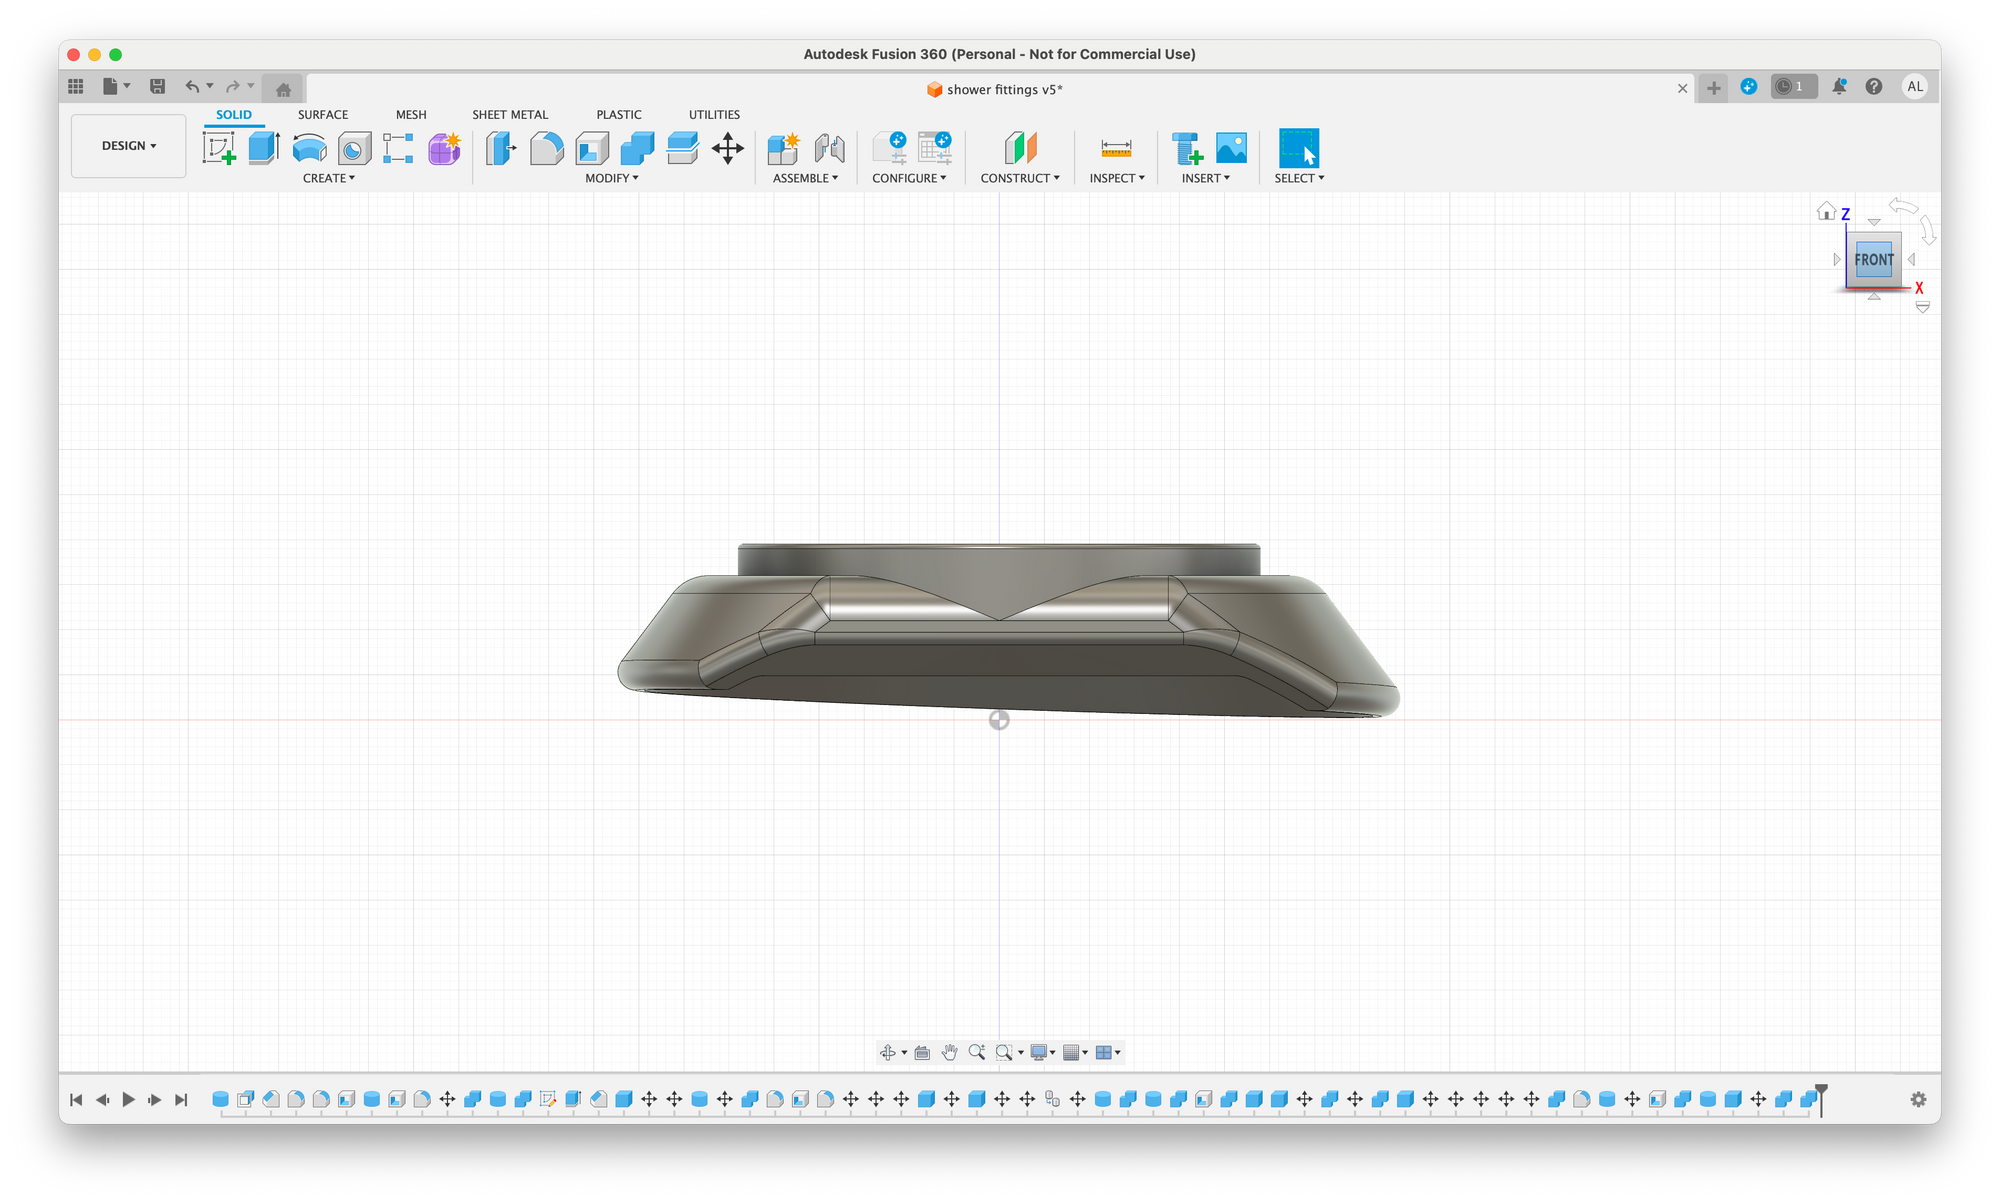
The biggest trick is that the pipe is not actually square to the wall. Like, at all. It was never super noticeable, and this kind of issue isn't uncommon in houses, but for this piece, my tolerances needed to be pretty tight — off one direction, there spout didn't fit well, and in the other direction, it would actually push the tiles away from the tub when the spout was tightened.
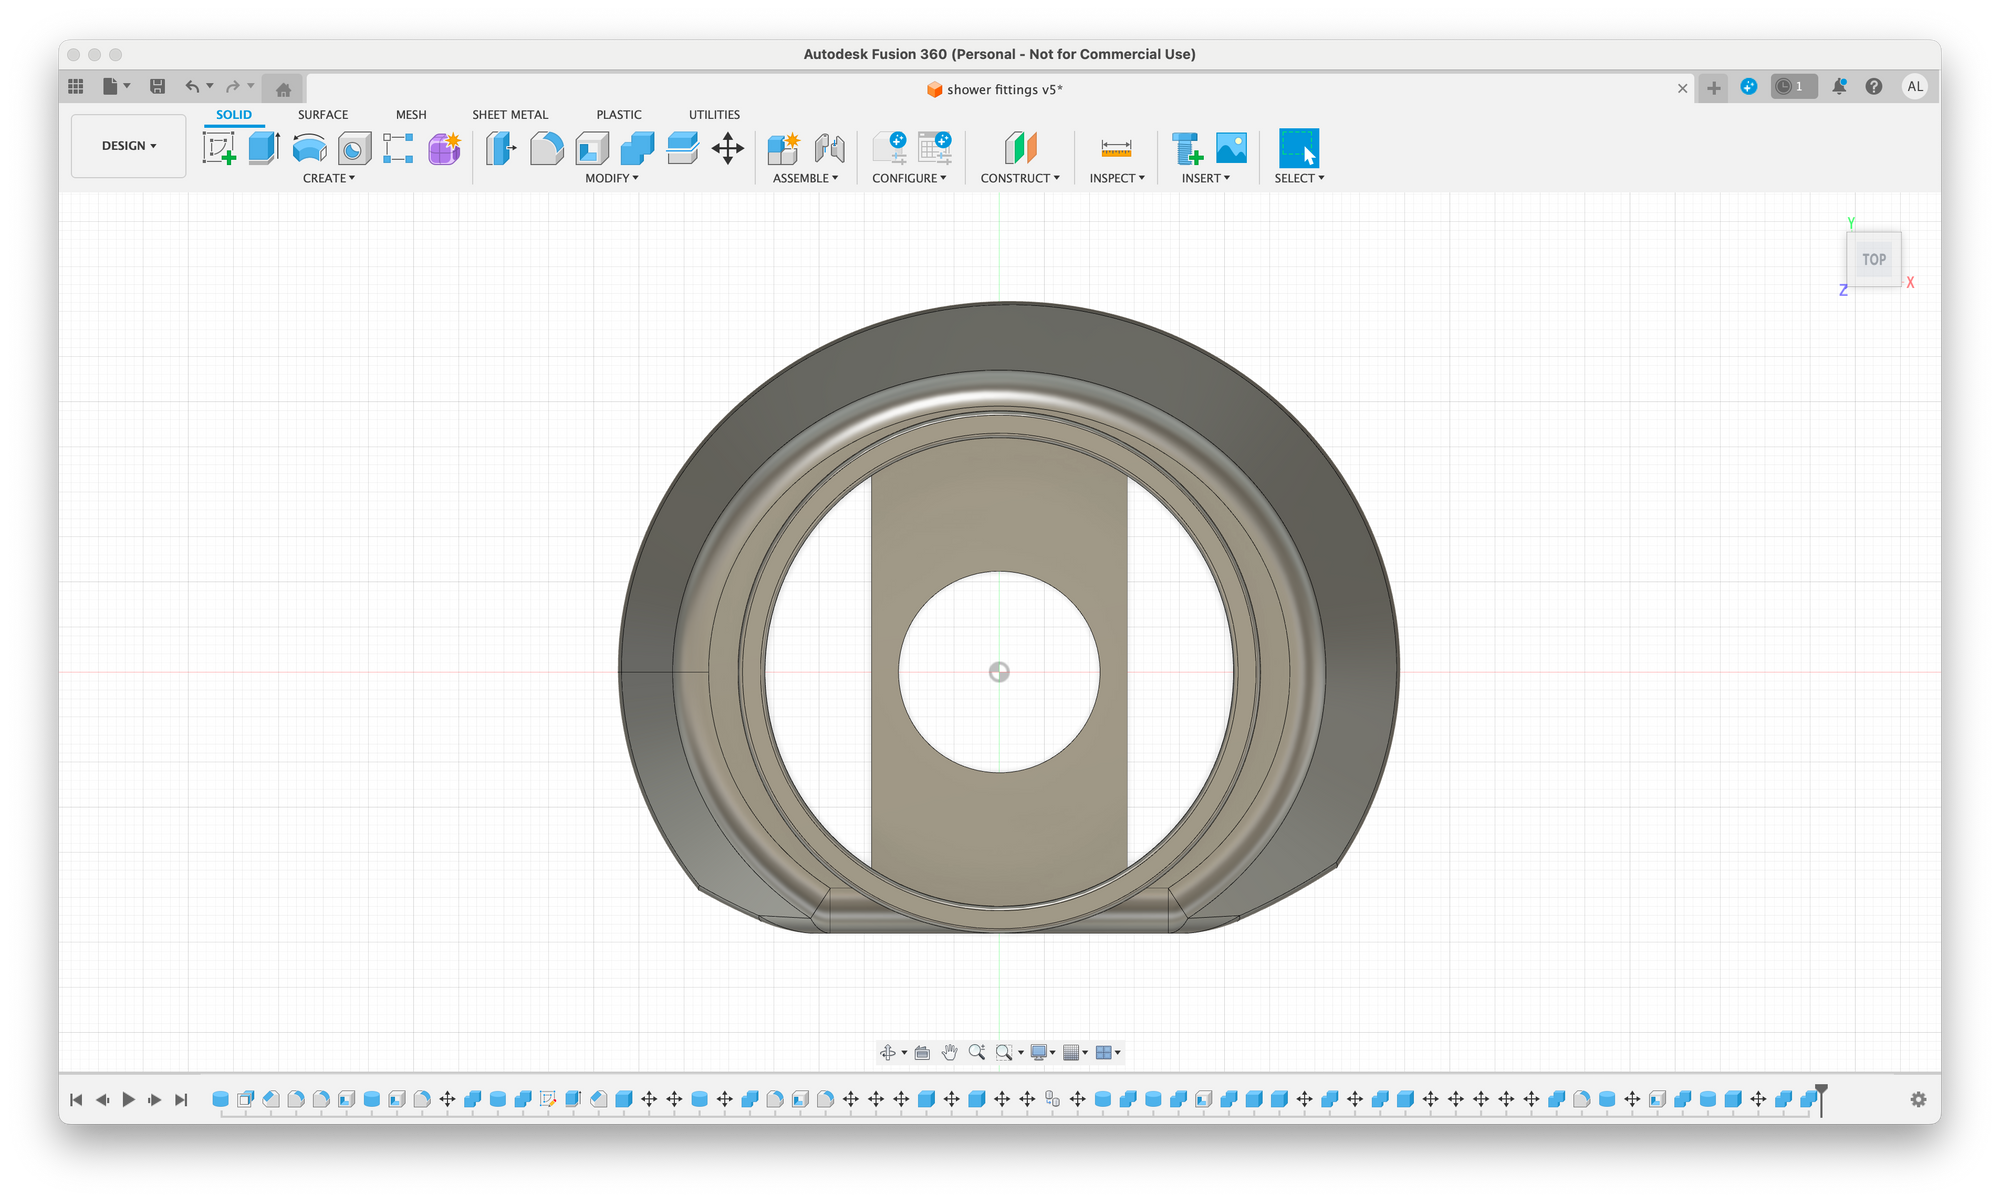
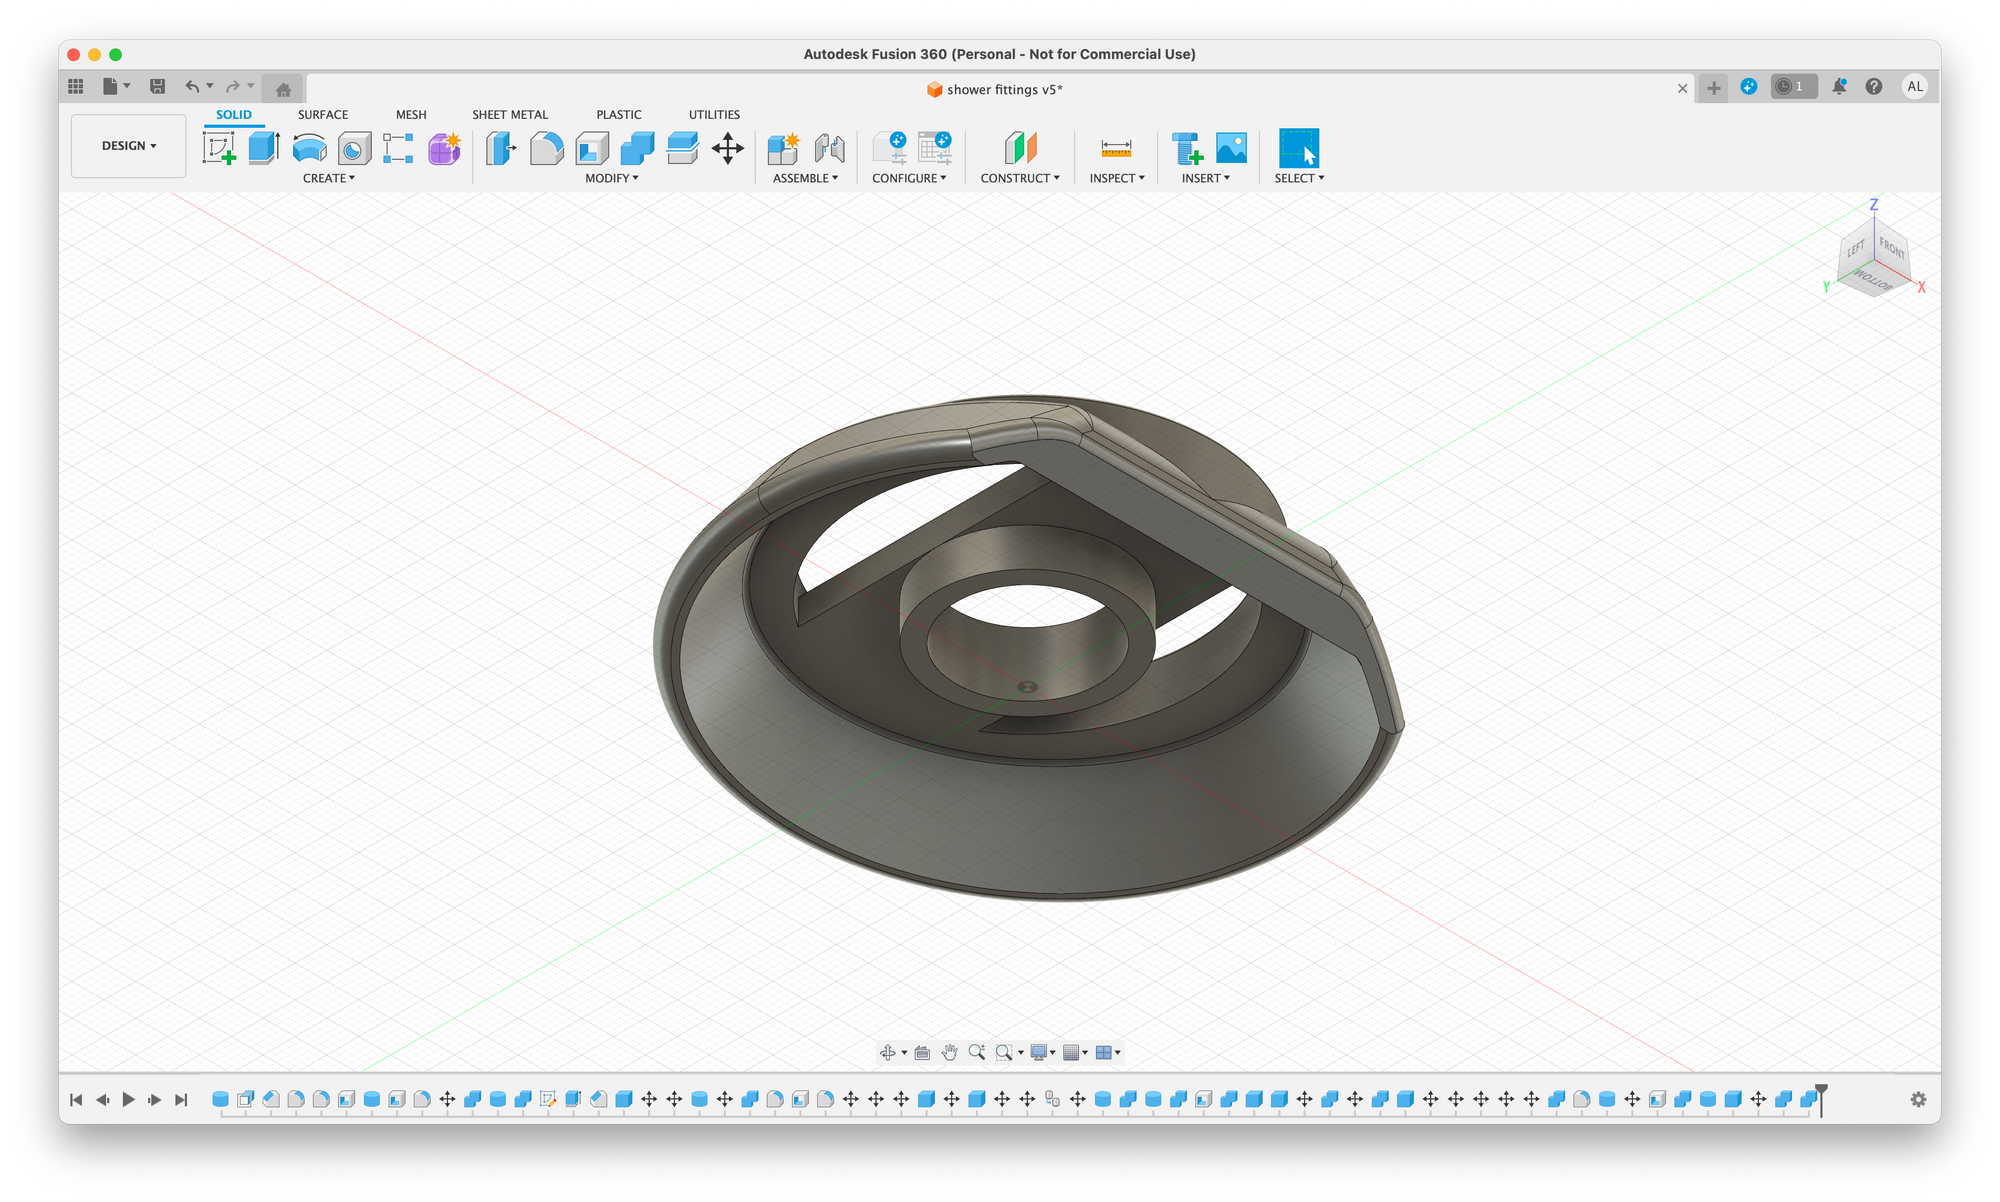
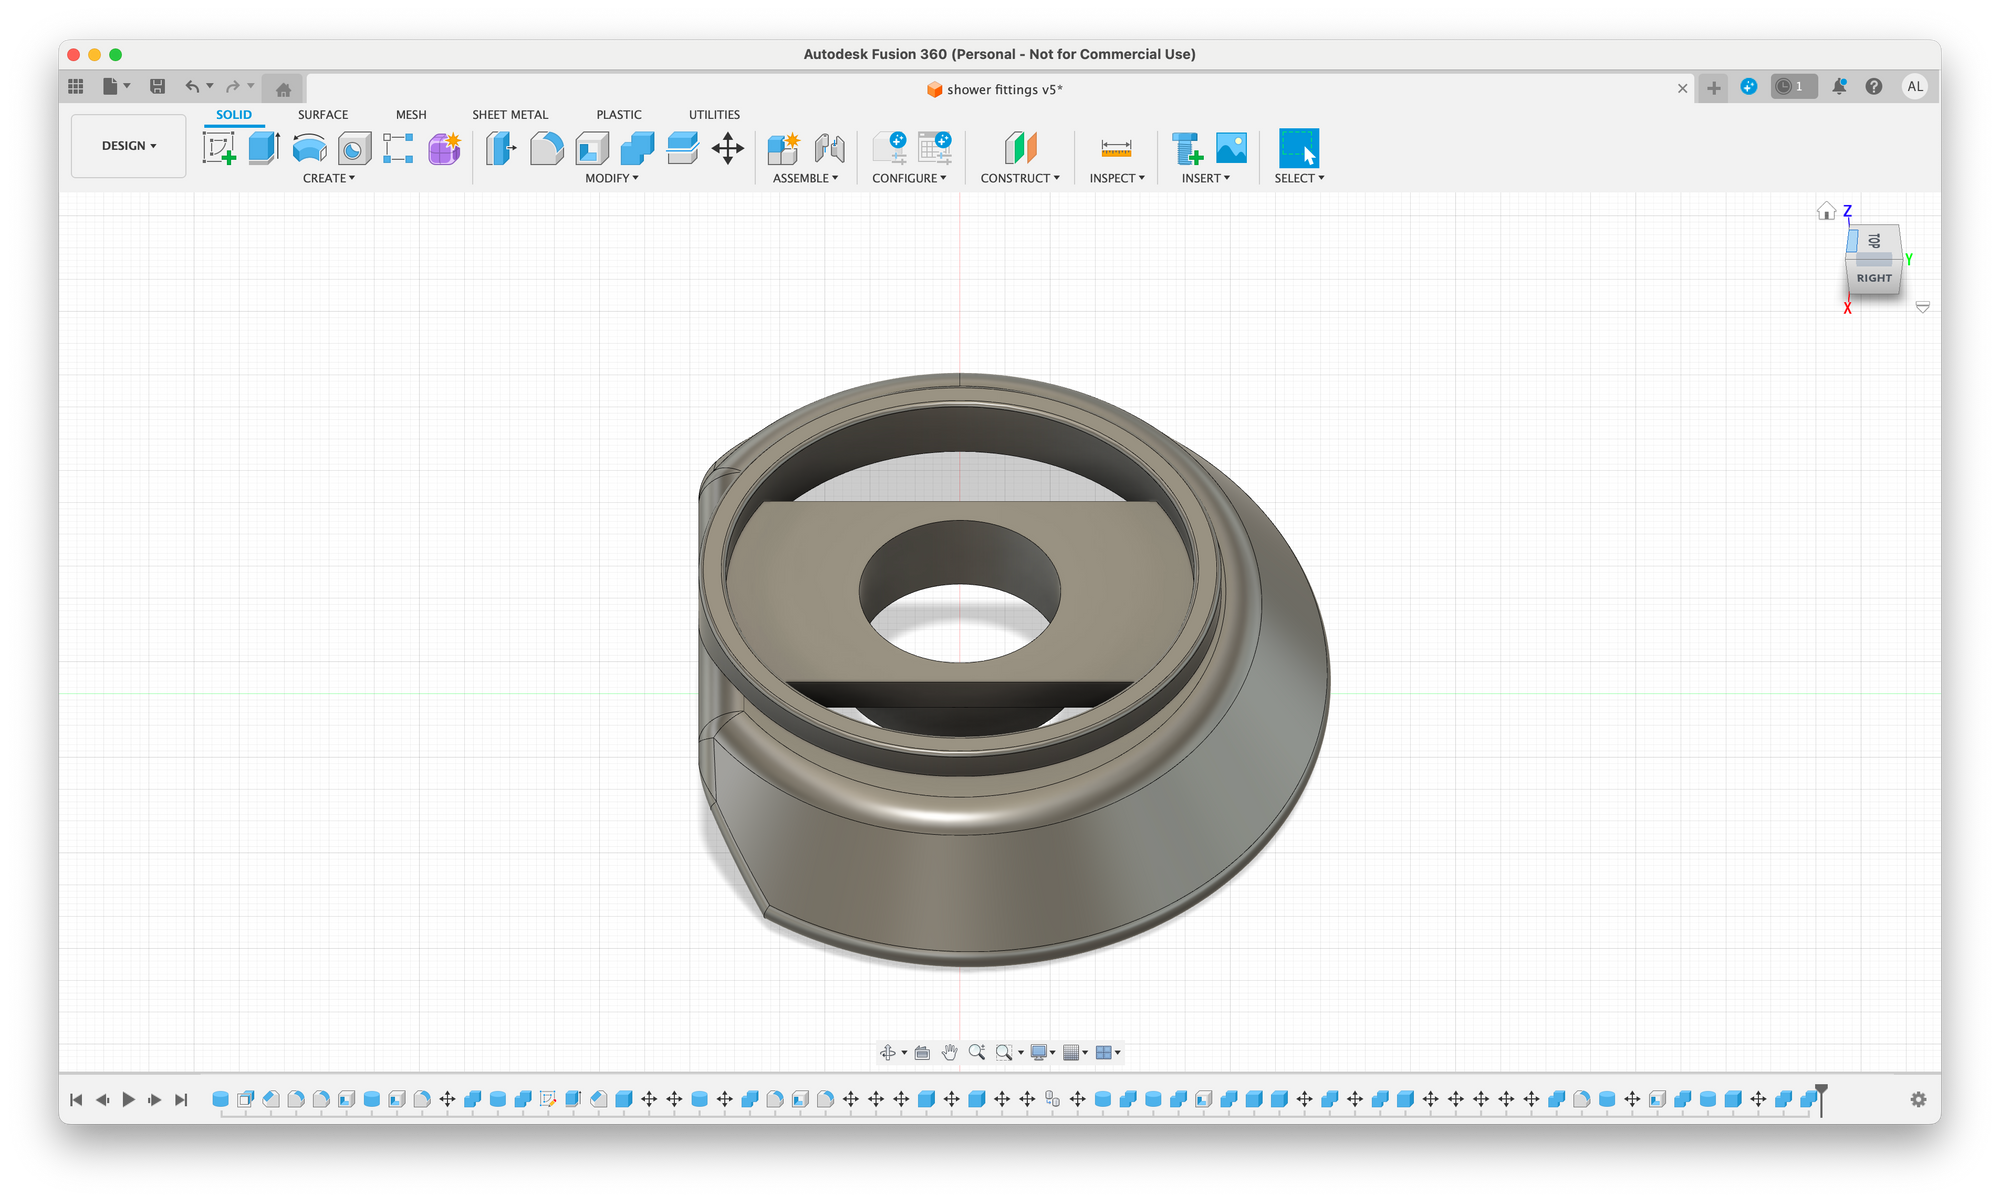
For the first few iterations, I tried to measure the angle of the pipe to the wall and do the math to account for it, but I eventually gave up and just started printing an iteration, test-fitting it, and then eyeballing the changes I thought I'd need to fit better. It was a slow iterative process, but after 8 or 10 versions, I finally had something that fit properly. As you can see, it's way off-square. But it fits the space perfectly.
Again, paint and enamel to finish, and then it was done!
... and that's it for this chapter of house updates, because as of today, we no longer own that house! In the intervening months, we have actually moved to Seattle. Which will mean new DIY home projects! I've got some unique new challenges. I've also got a new workshop space to build out and set up, so may document that process a bit as well.
We are very excited for the new owners of our old place in Utah. We loved that home, and we had great memories there. We hope they will as well.