Workshop electronics / networking protection
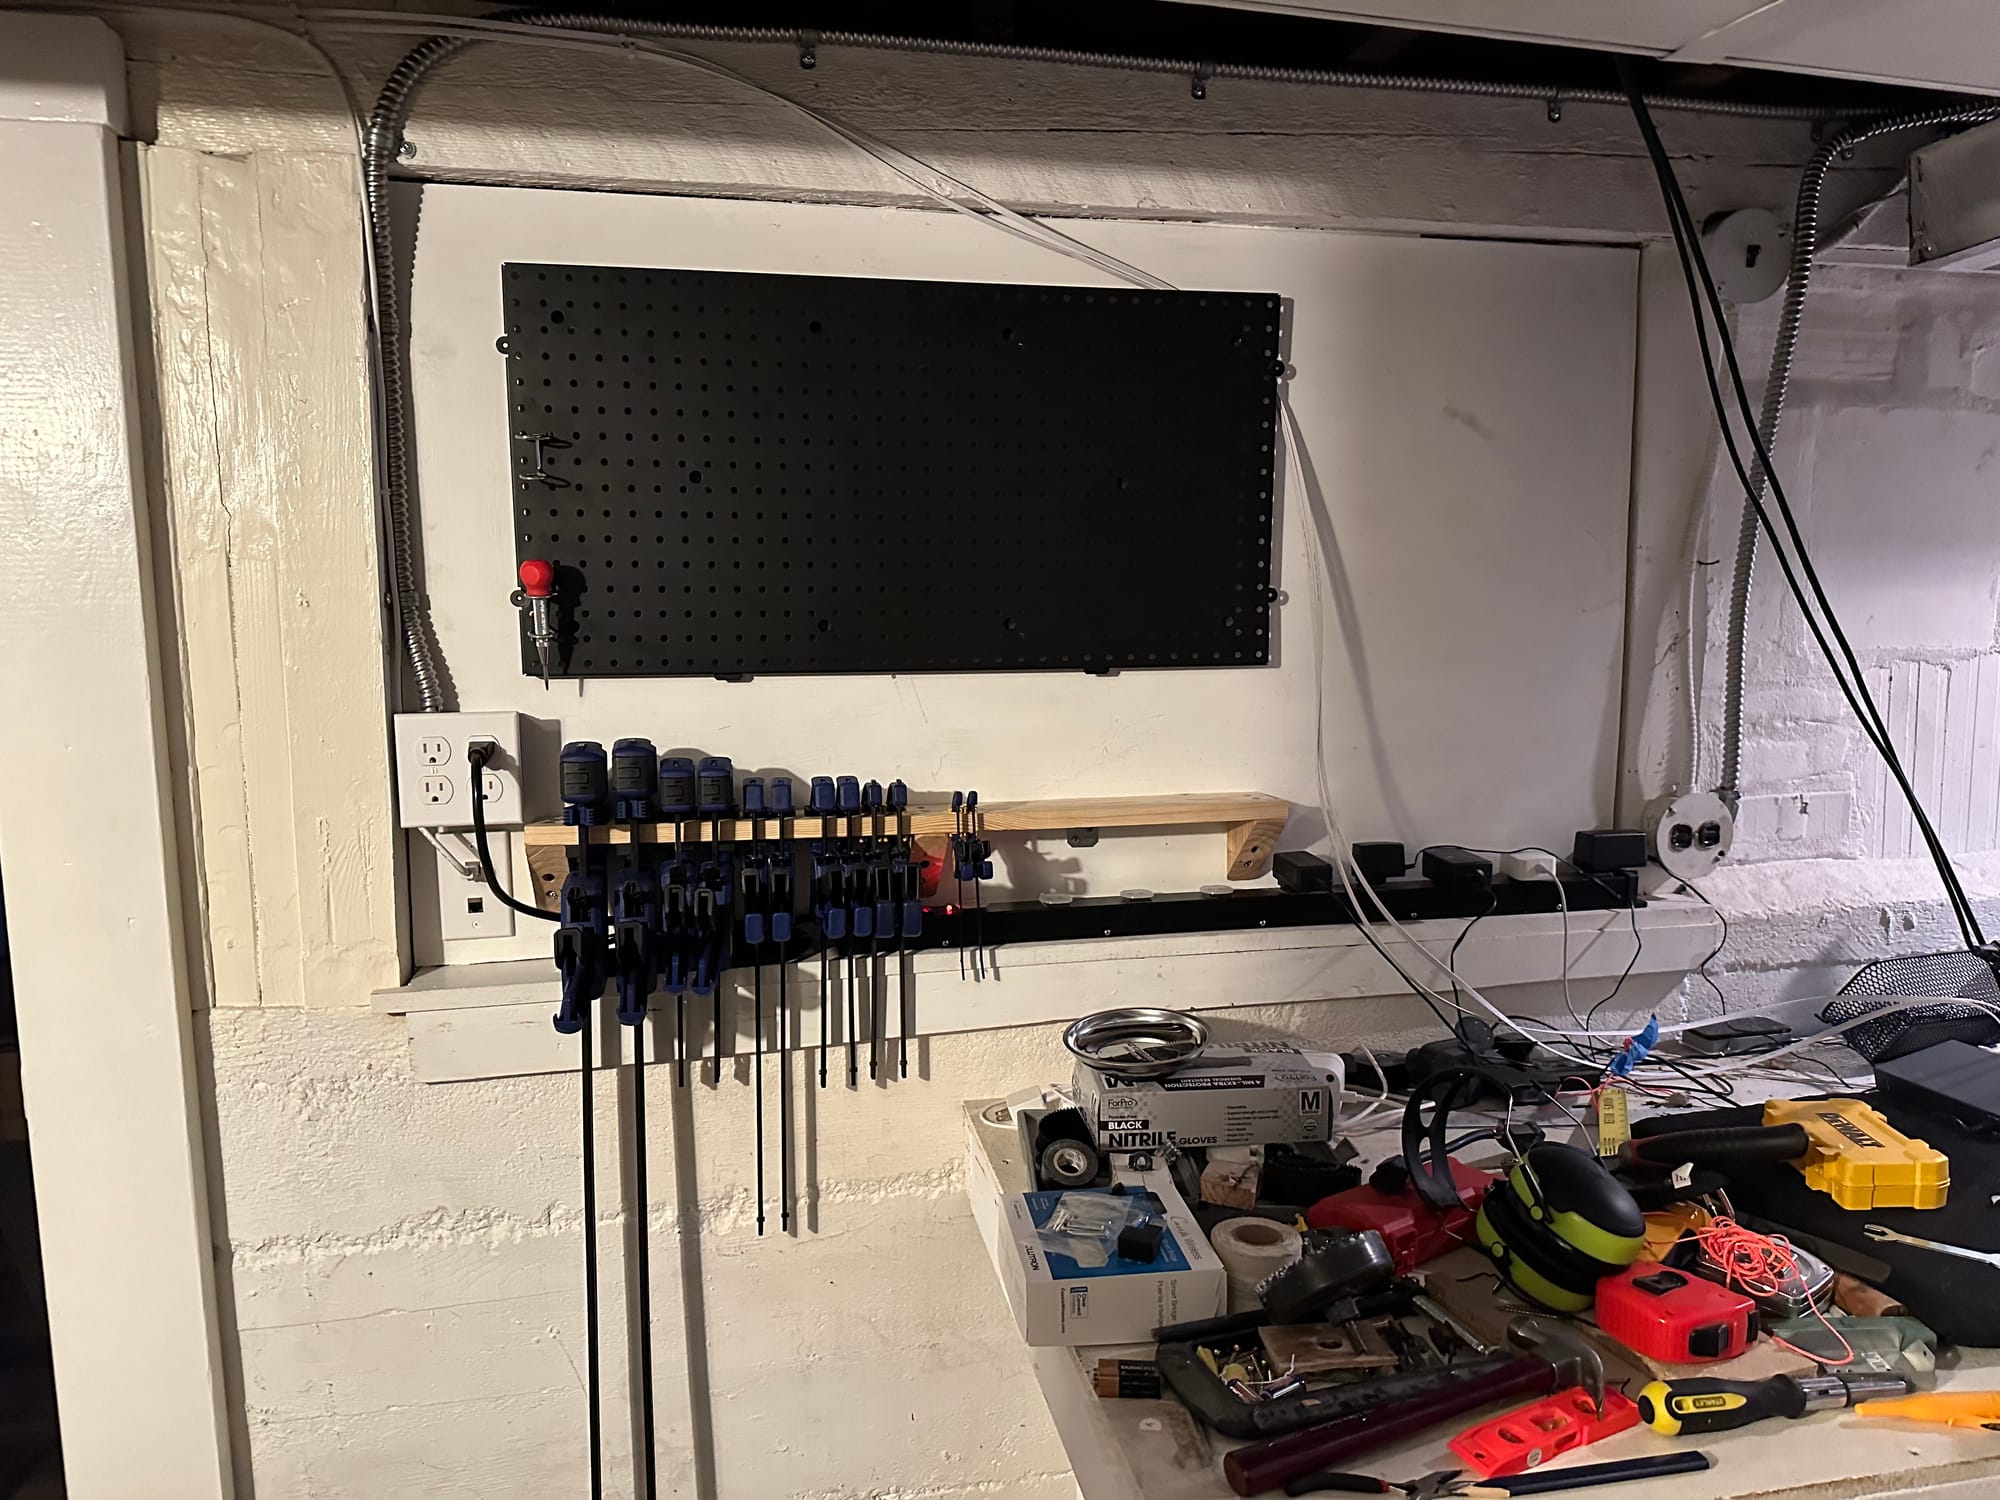
With the layout of our new place, the most obvious, best place for our internet to come into the house is the basement; between the modem, router, switch, etc, I’ve got multiple bits of networking equipment and I’d prefer to not have them just hanging out in one of our main living spaces. Unfortunately, the basement is also my “dirty workshop” where I will be sawing and drilling and painting, so at any particular time there could be particulates floating around that I don’t particularly want getting into my electronics.
As my workshop storage started taking shape downstairs, I hatched a plan and saved a spot for a way to keep those electronics both protected and up off of a surface that could otherwise be a good working surface.
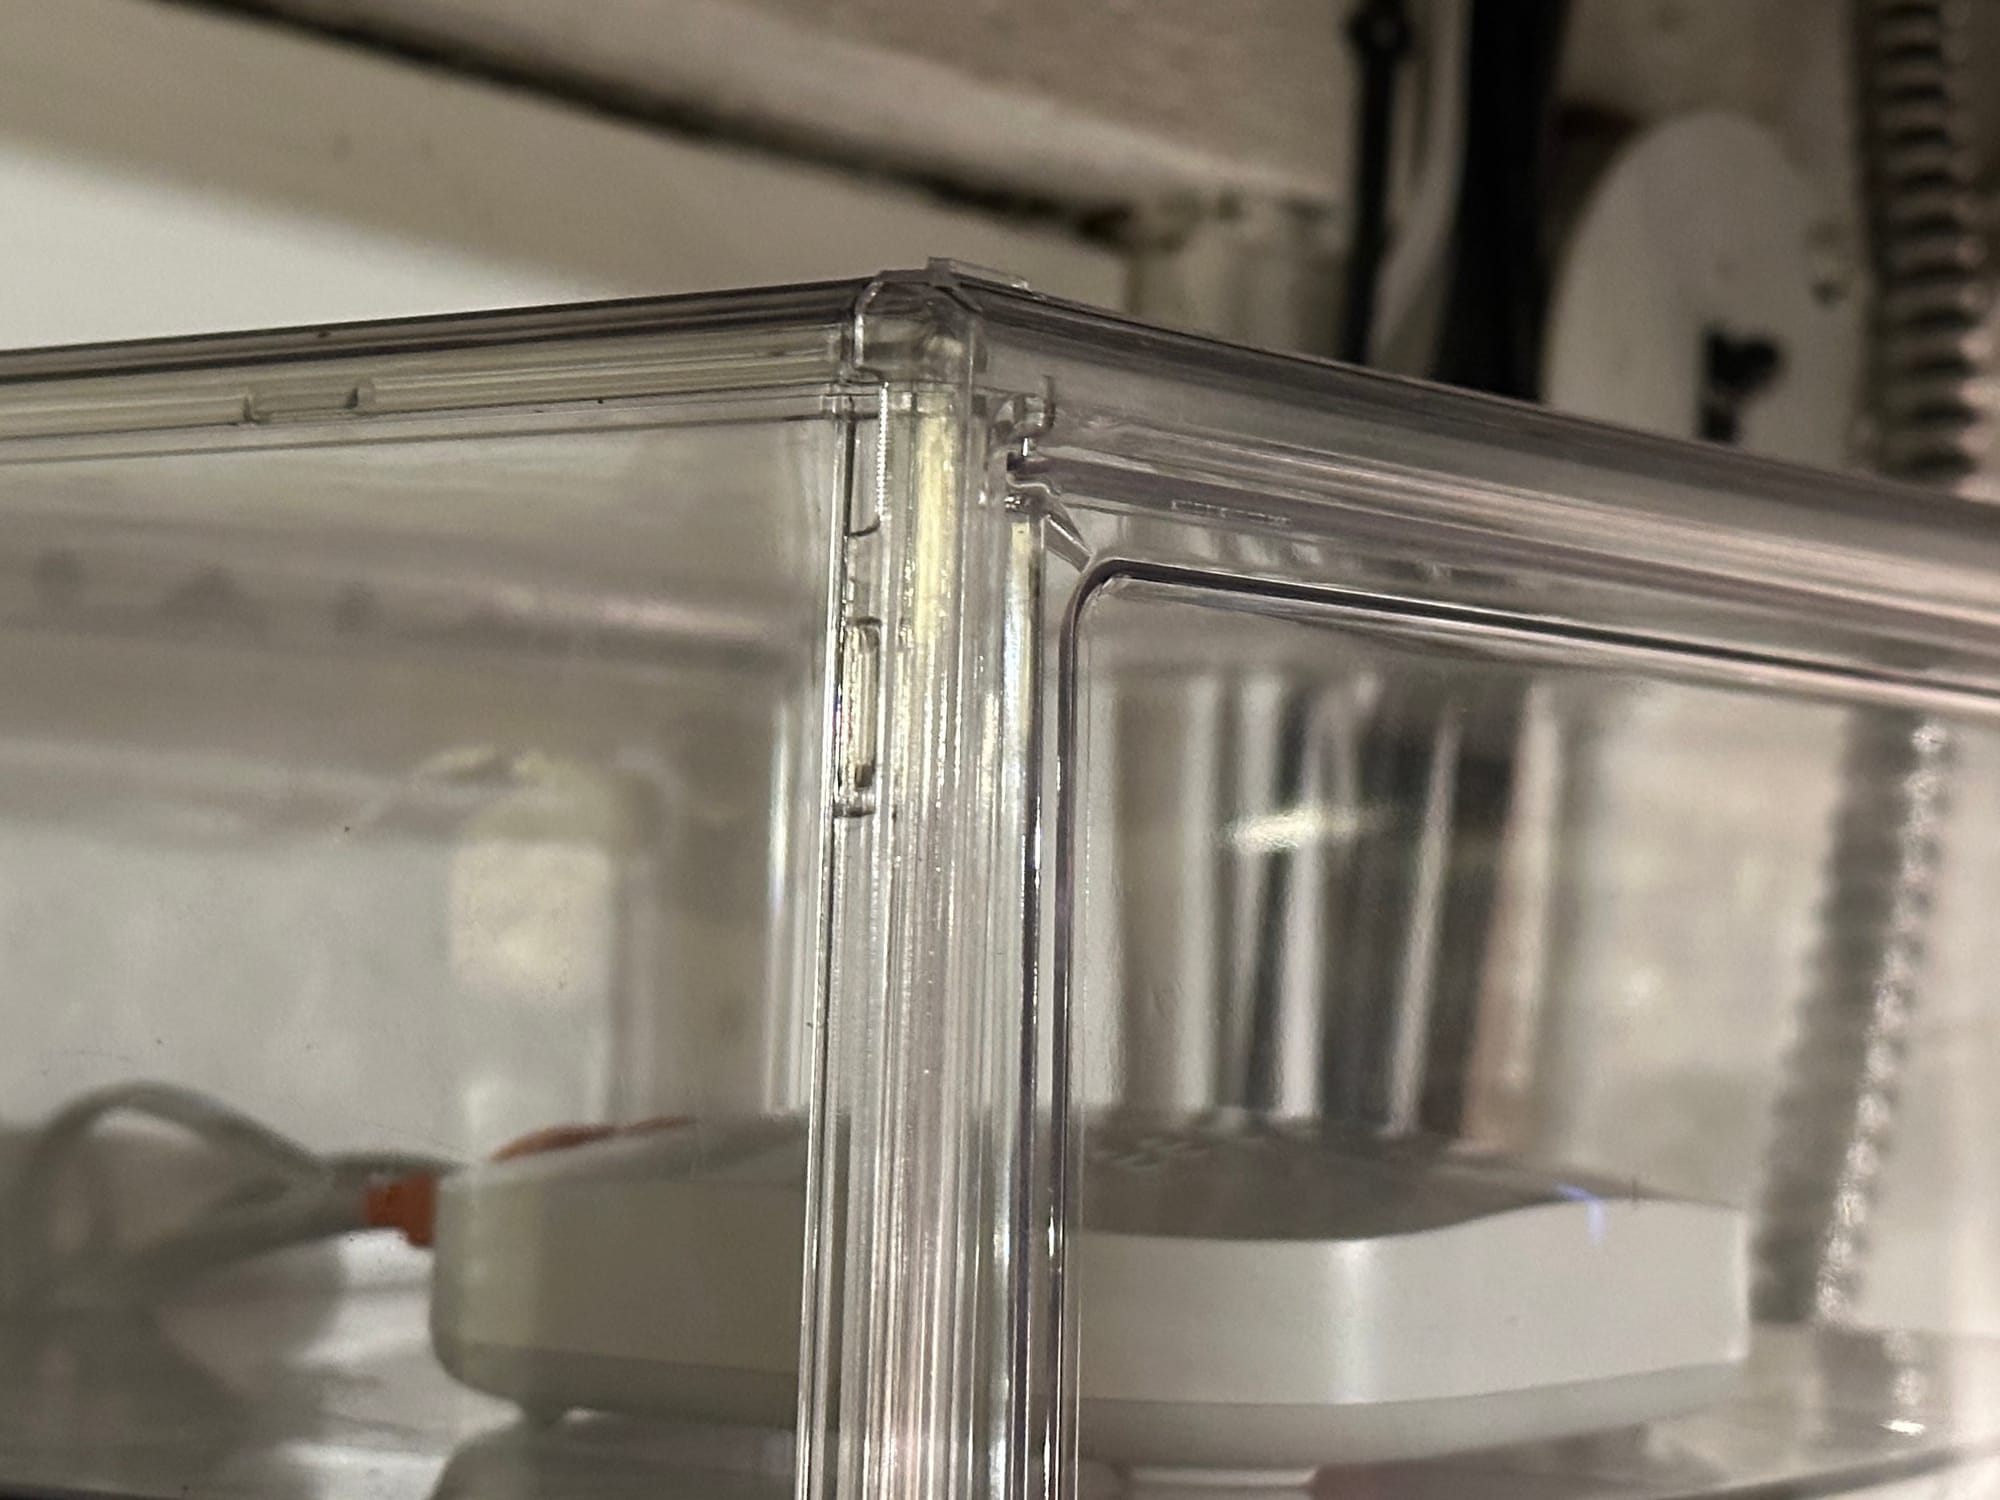
I started by picking up an acrylic display case that was the right size for the items with a nice big door for access. This will keep things protected from particulates, but is easy to see and access and shouldn’t interfere with any wireless signals.
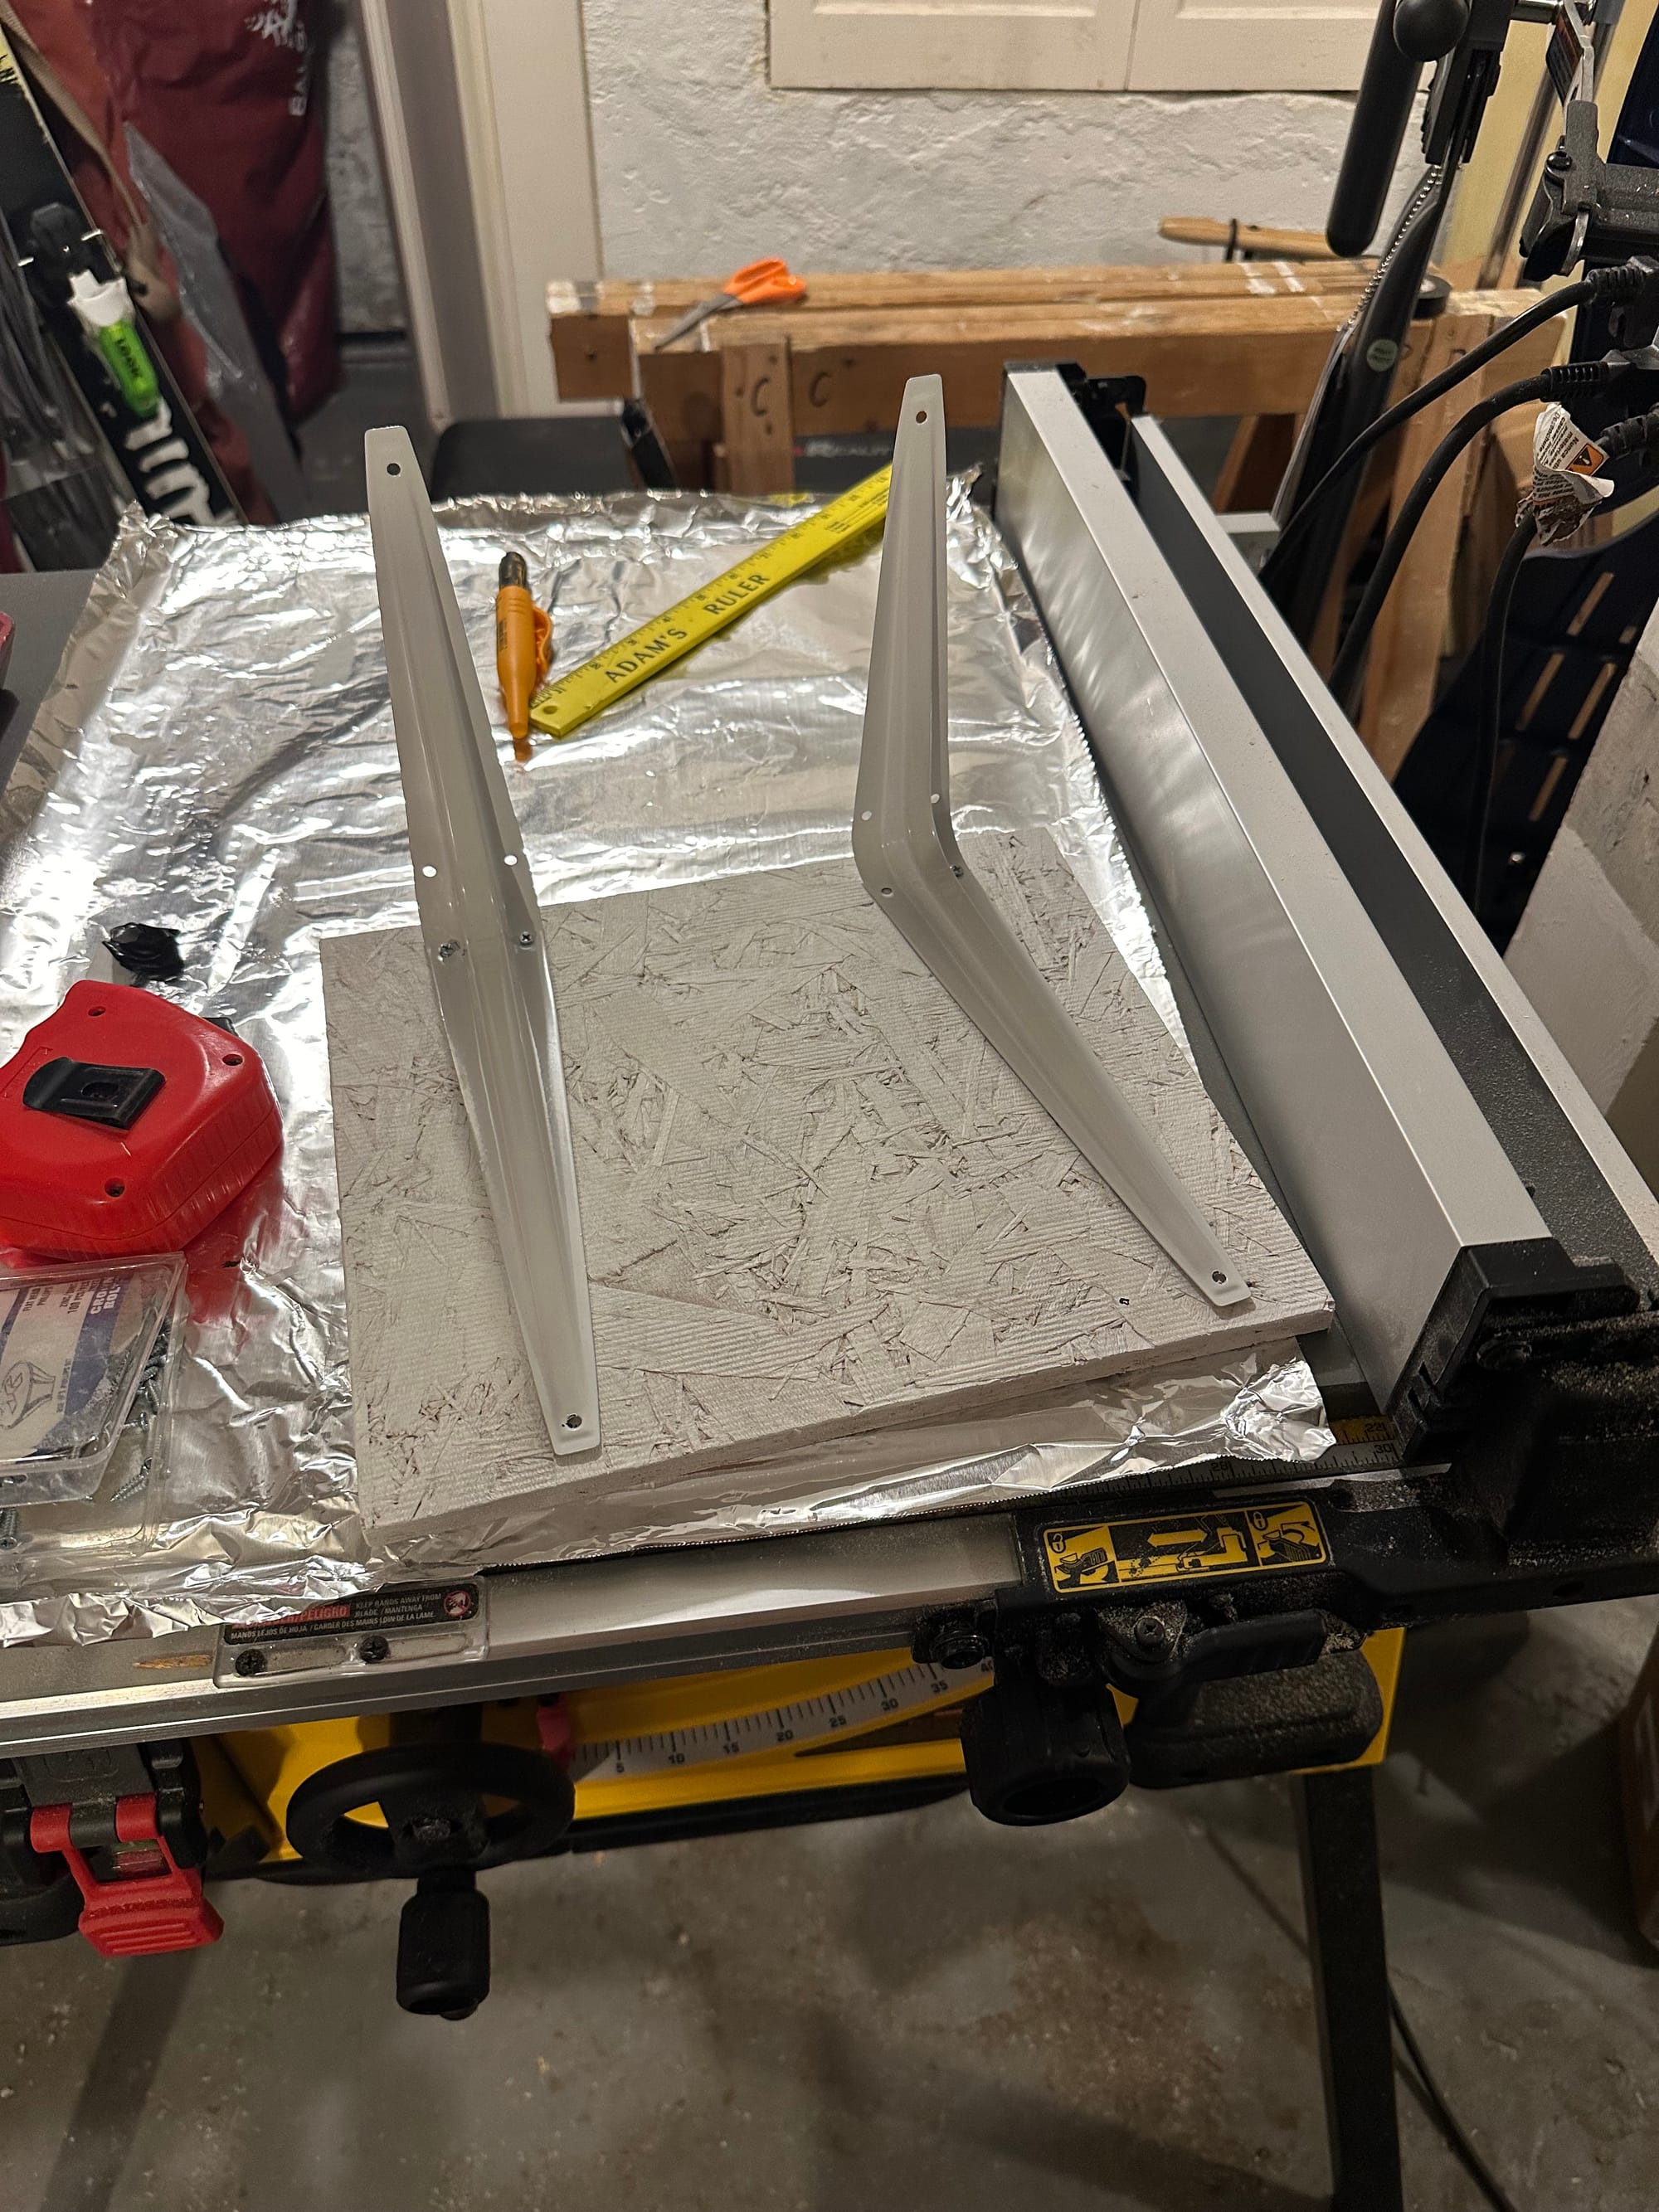
The case isn’t particularly strong, so I needed to support it well in order to mount it to the wall. I quickly cut some old particle board that I’ve had forever to size, and slapped some paint on it to avoid splinters and make it blend in with the wall visually, since I’m not looking to make particle board a focal point. Then some simple shelf brackets.
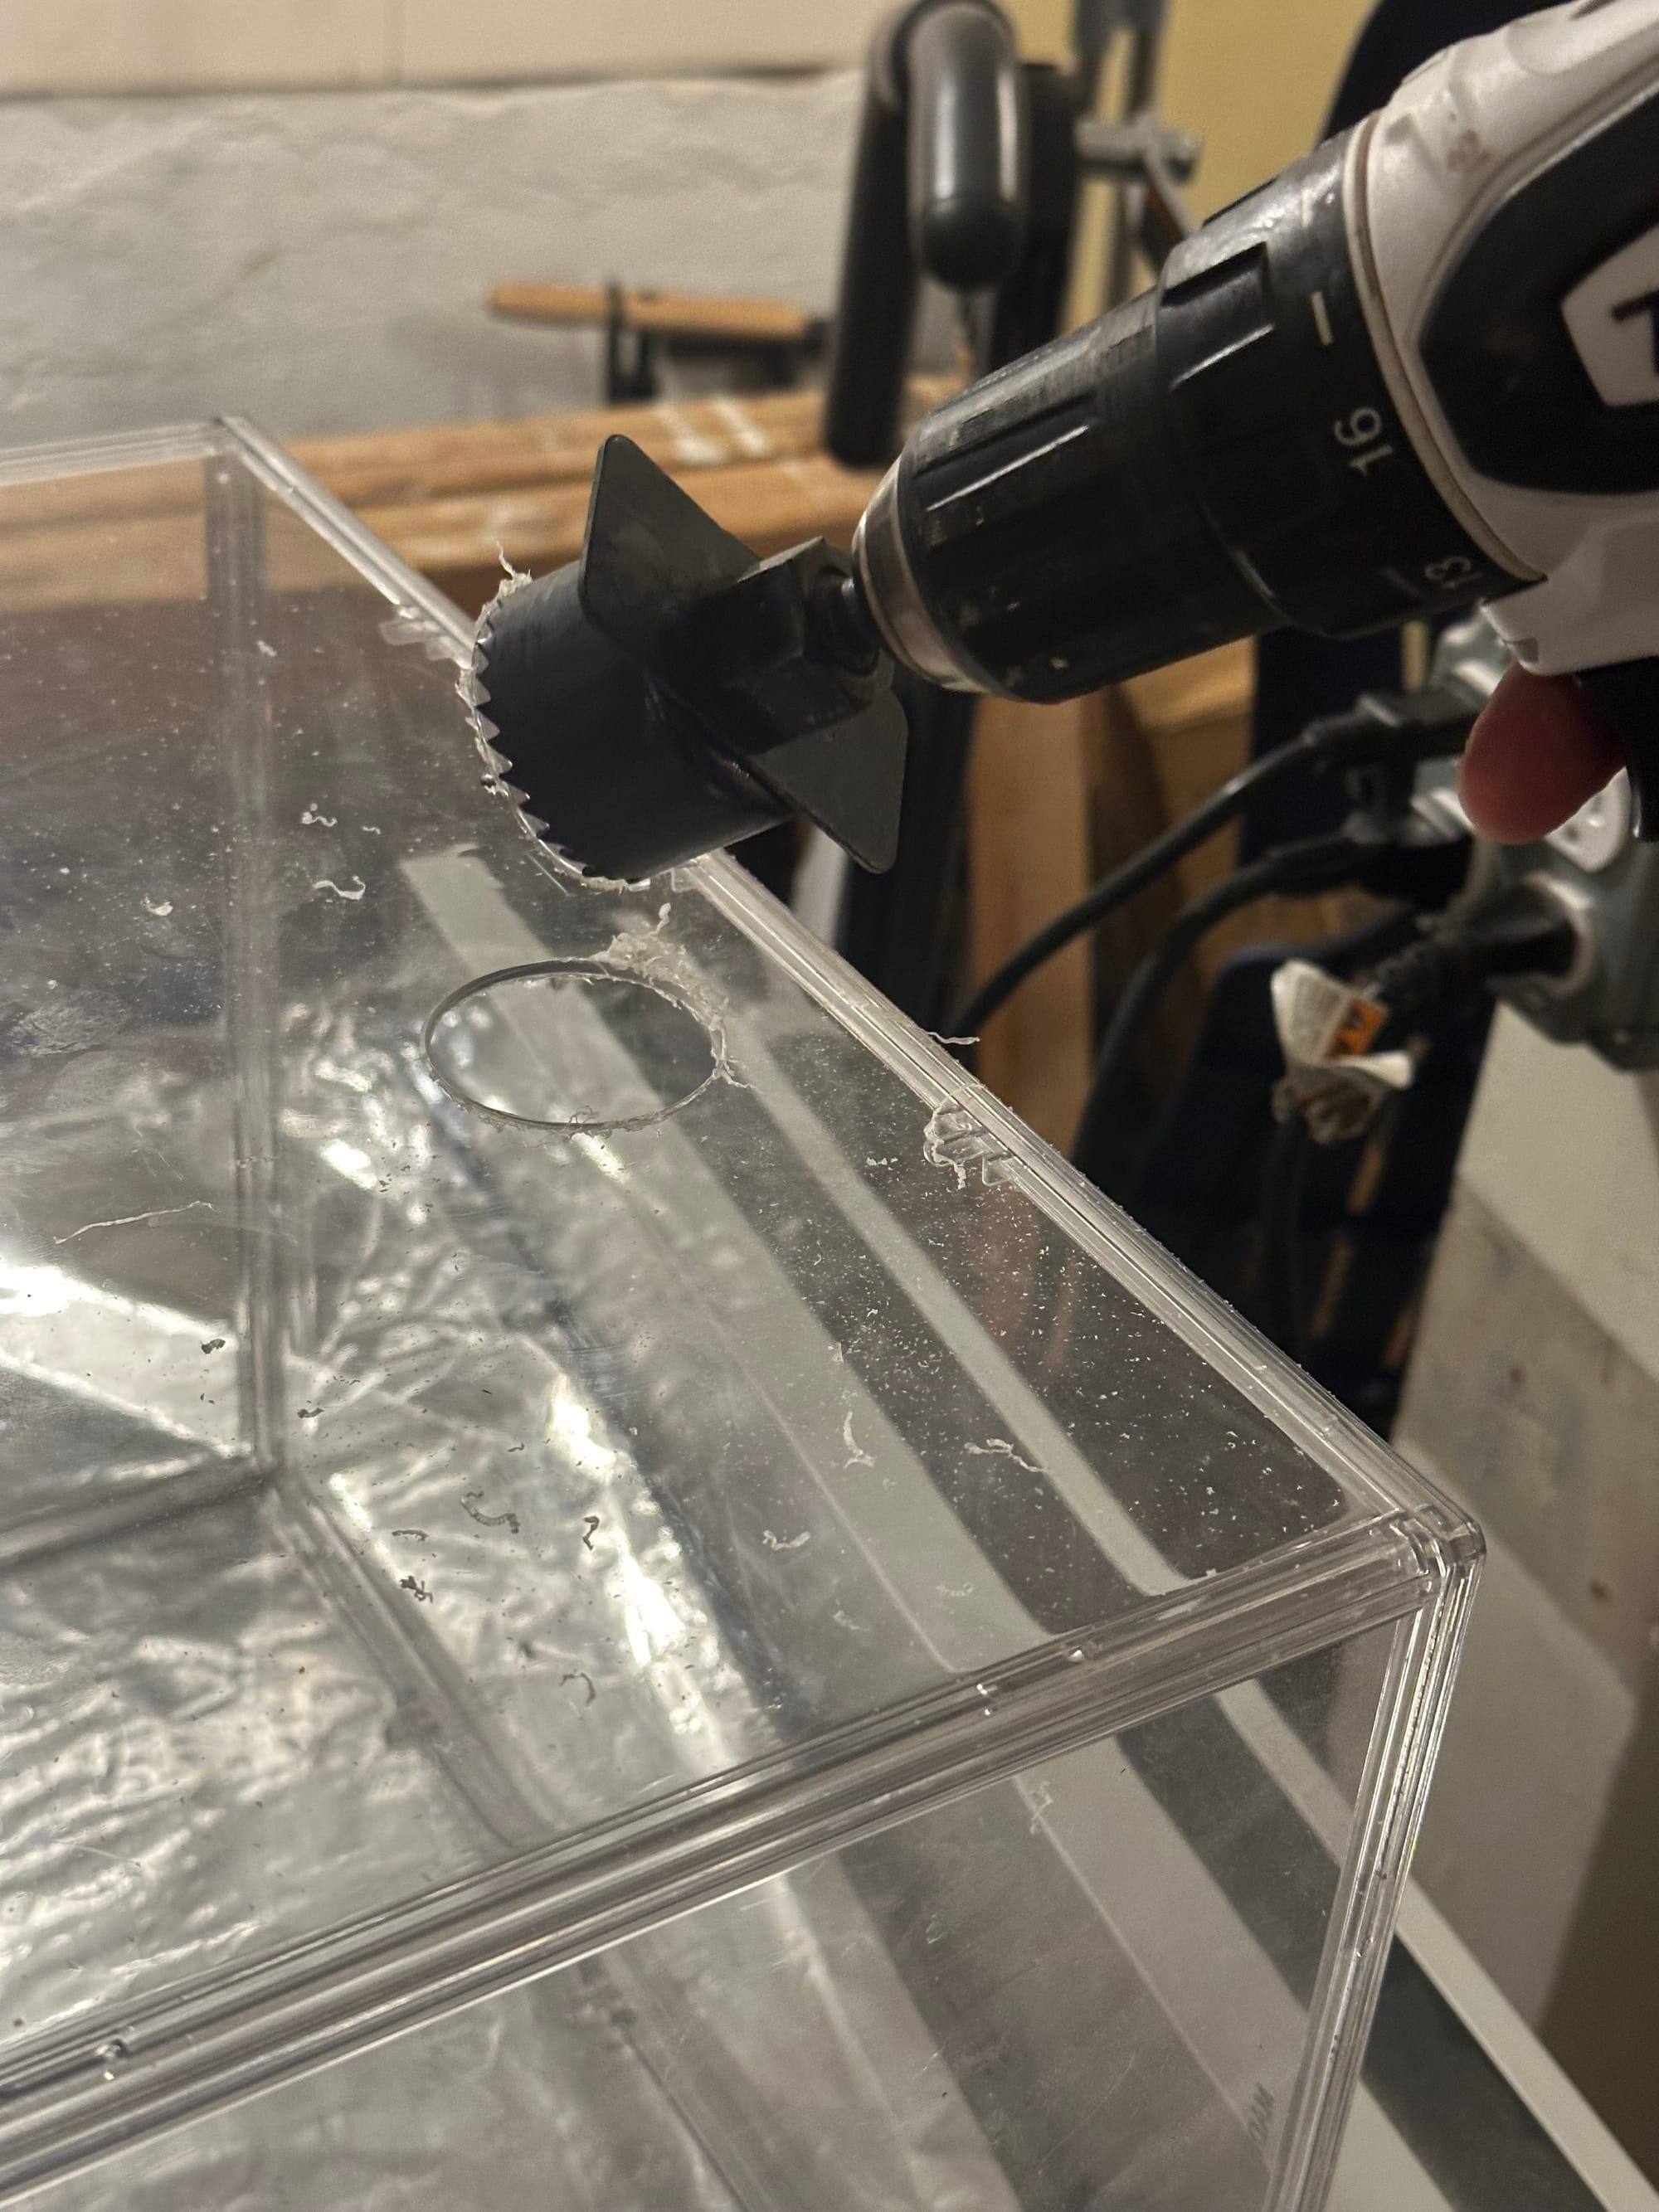
With those screwed on, it was time to turn my attention to cabling. The obvious downside to a complete box for electronics is that I need to get both power and wired connections in to the equipment. I wanted a single point of access, so it was time to break out the hole saws and carefully cut a hole in the side of the acrylic box.
With that, I got the shelf mounted on the wall, and used a 90 degree PVC angle to protect the access to the box; I’m counting on gravity to be my friend here, nothing can settle in from the top, and very little will float in on its own. I held it in place with some appropriately sized O rings; secure enough for my purposes, but easy to remove and adjust.
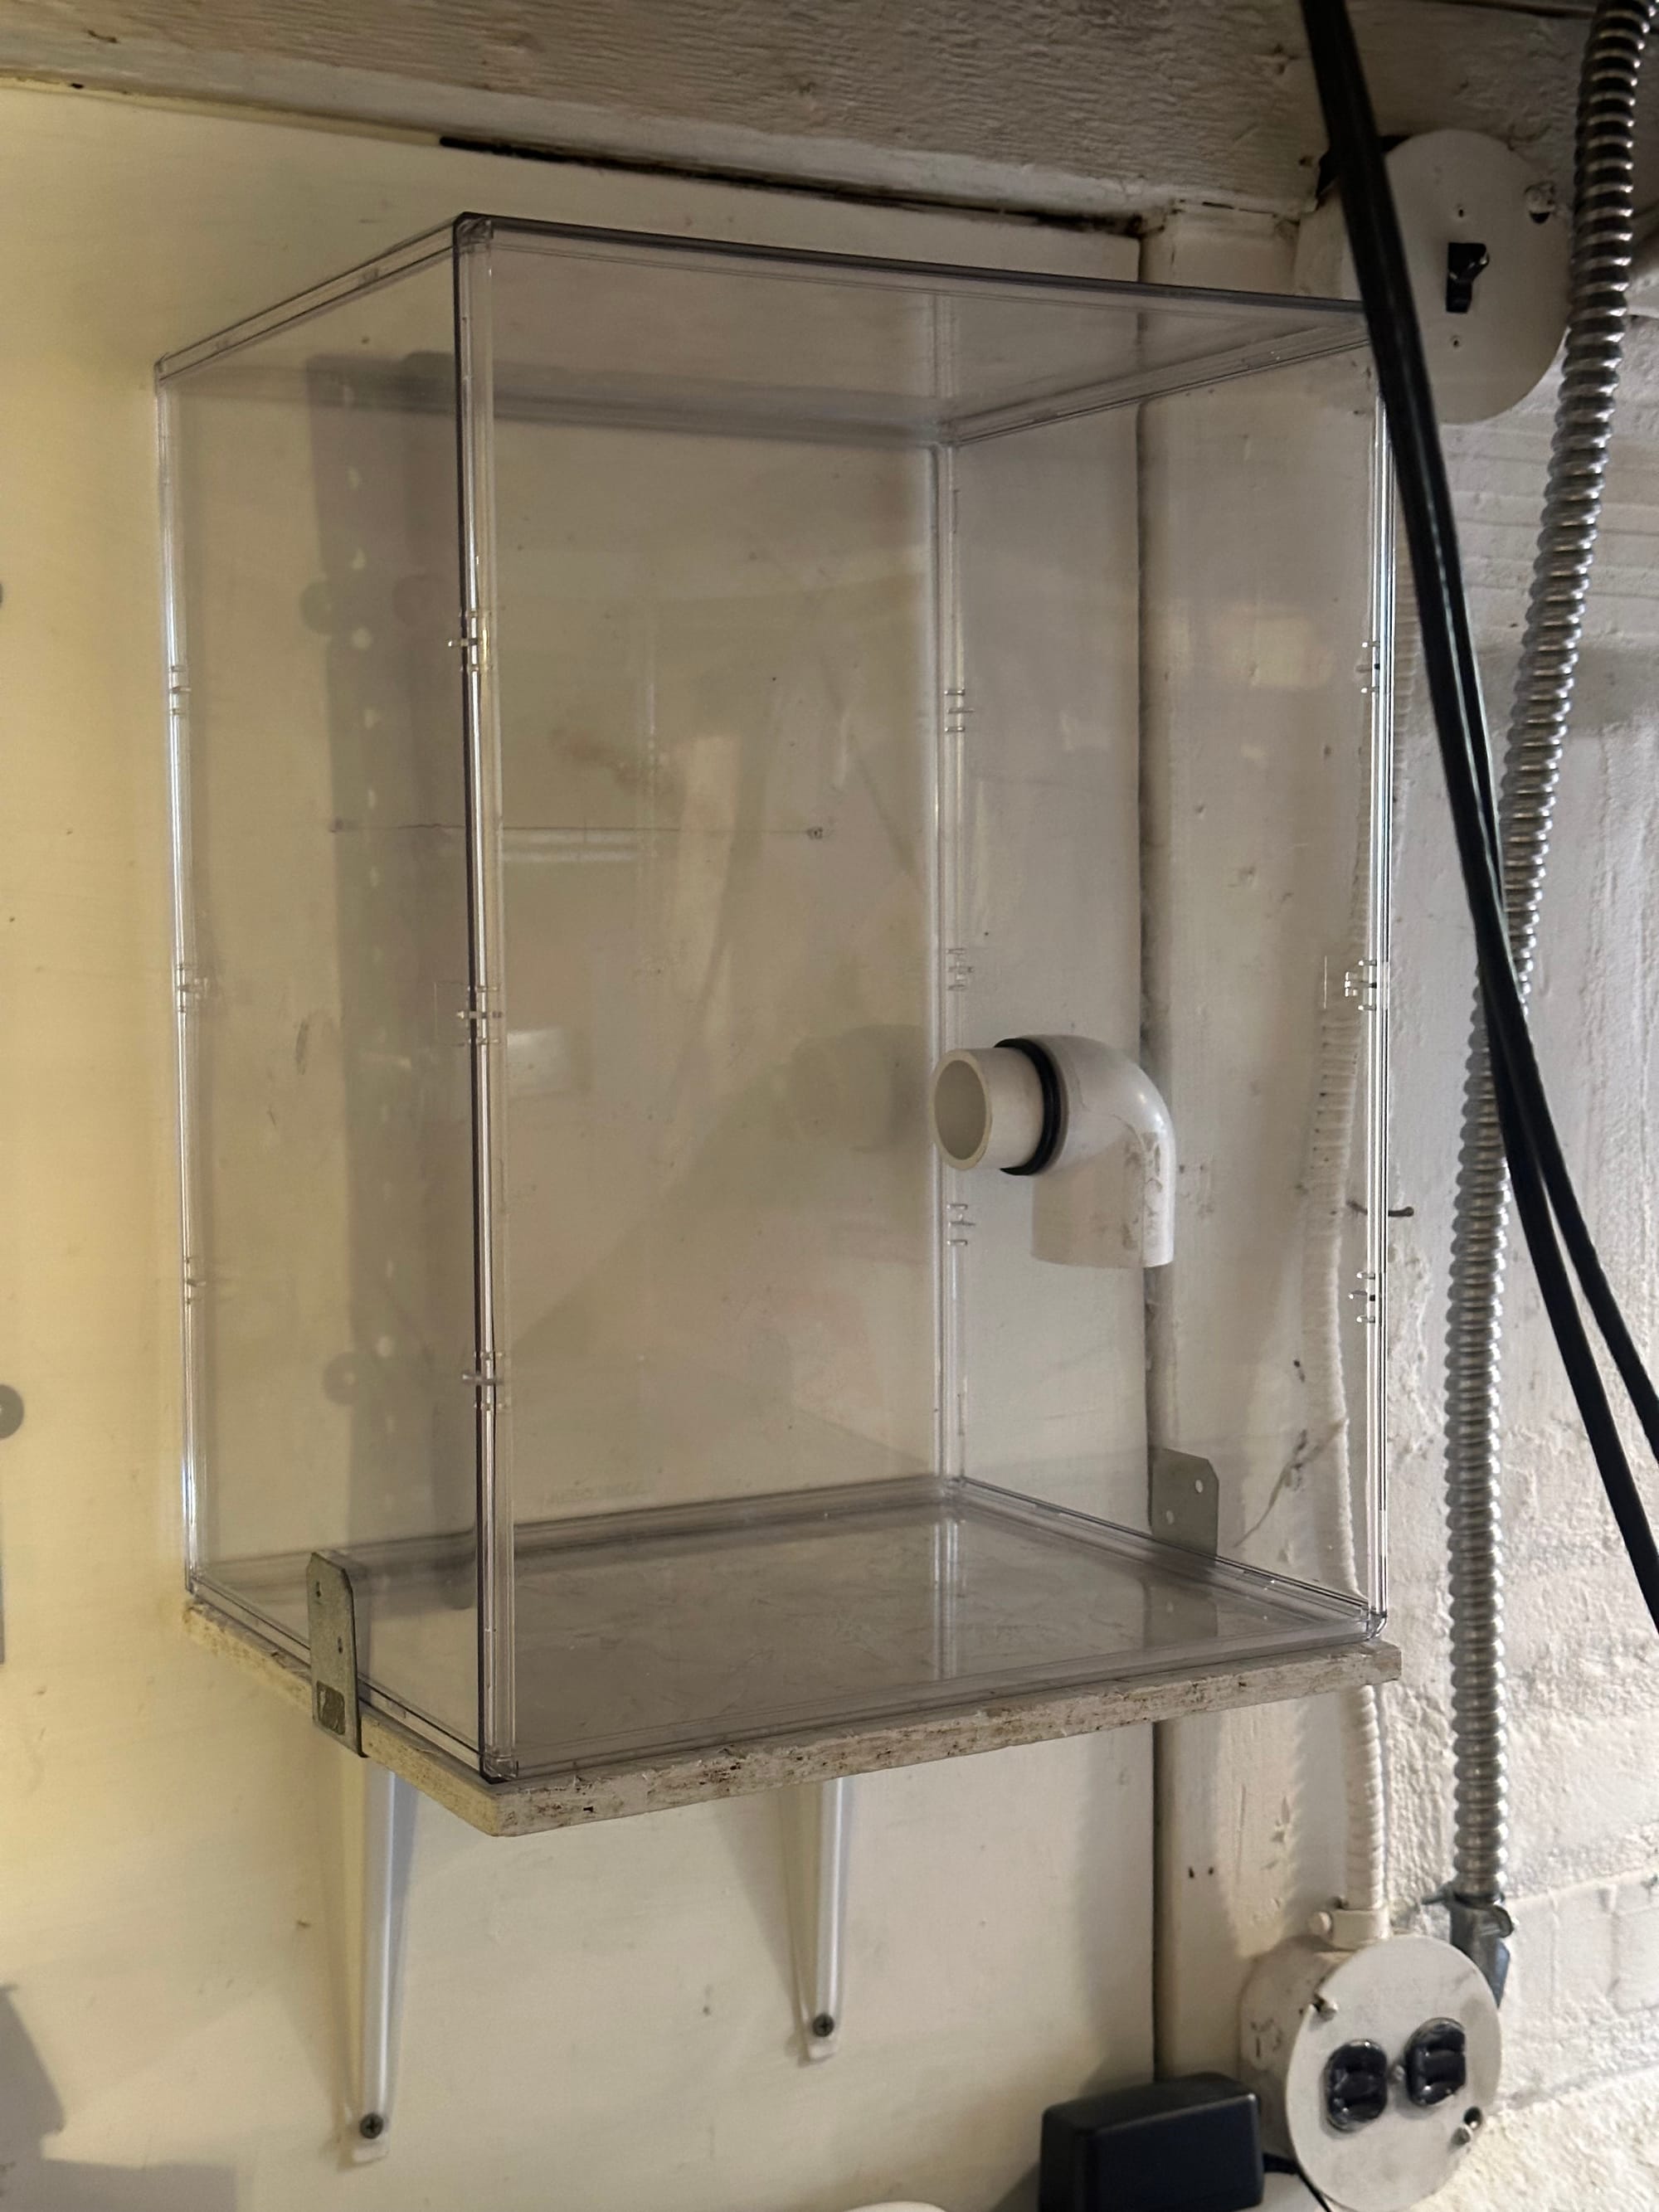
The box is probably totally fine sitting on top of that shelf, supporting its weight, but I also wanted to secure it to the wall for extra peace of mind. The backing there is actually wood, so I was able to drill quick holes in the case and screw straight into the wall. However, I don’t want to trust screw heads holding thin acrylic, so I added a nice sturdy mending plate and some stainless washers to give it great, wide support across the back.
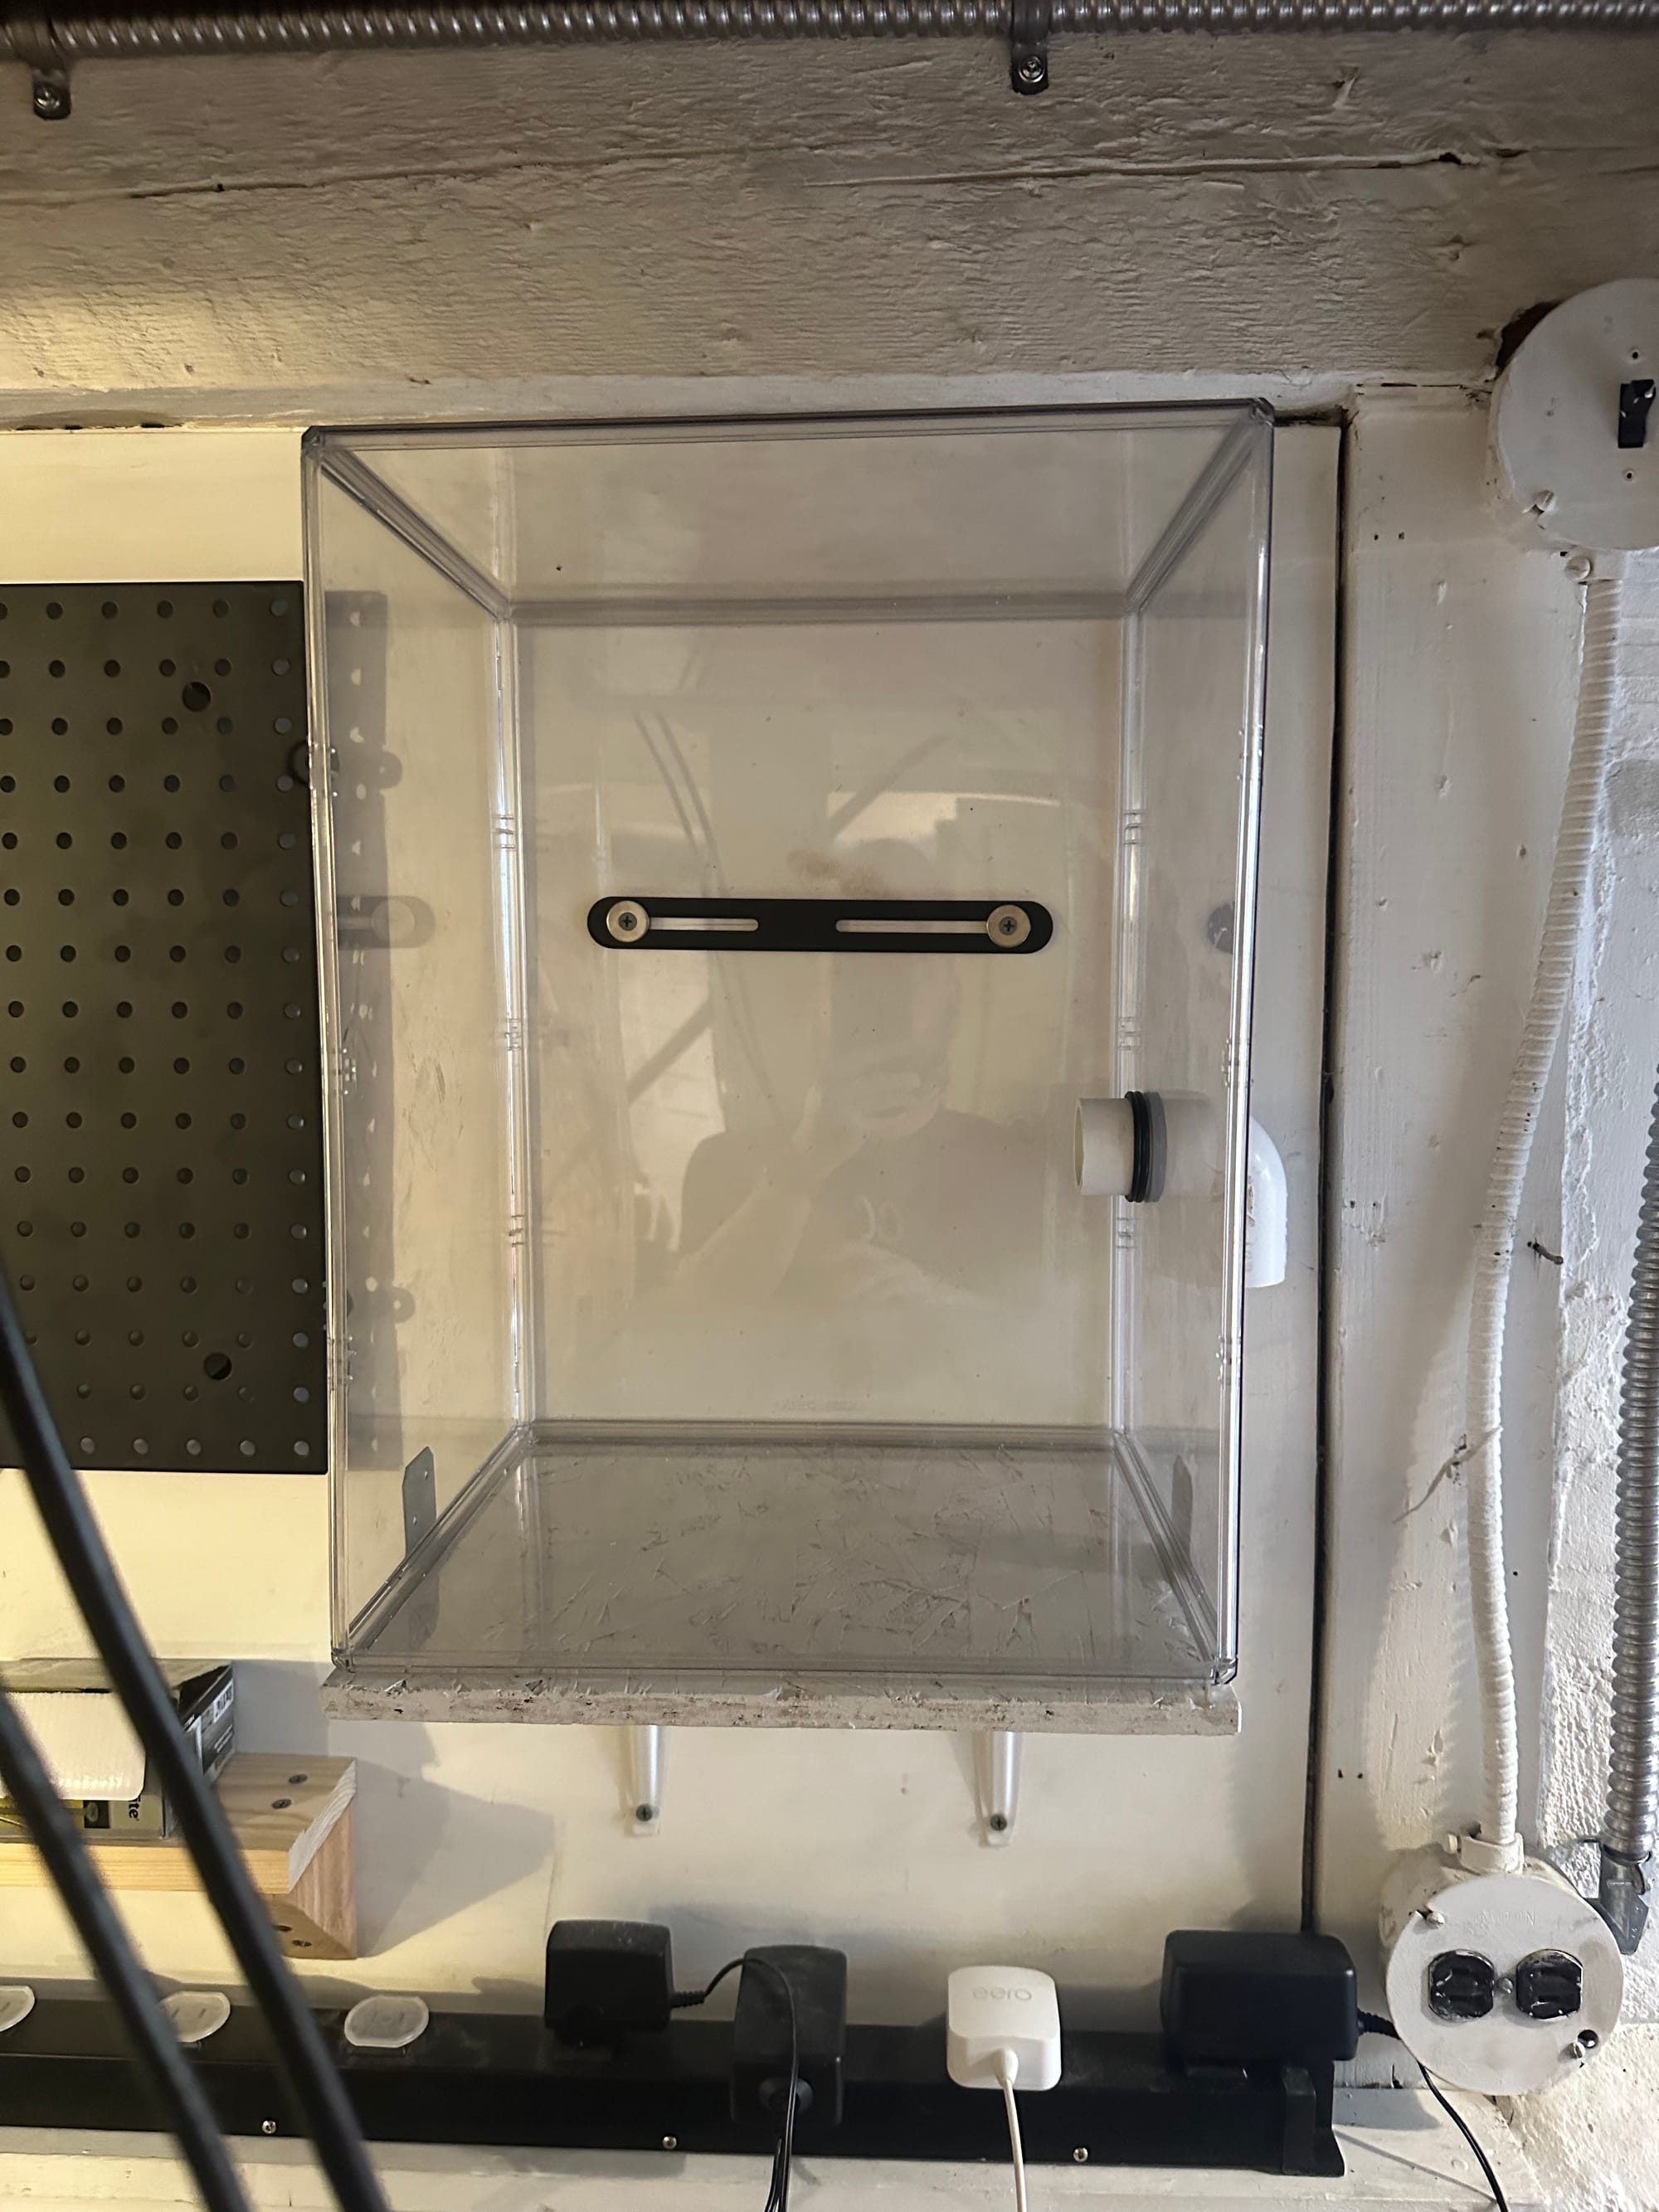
Then to start populating!
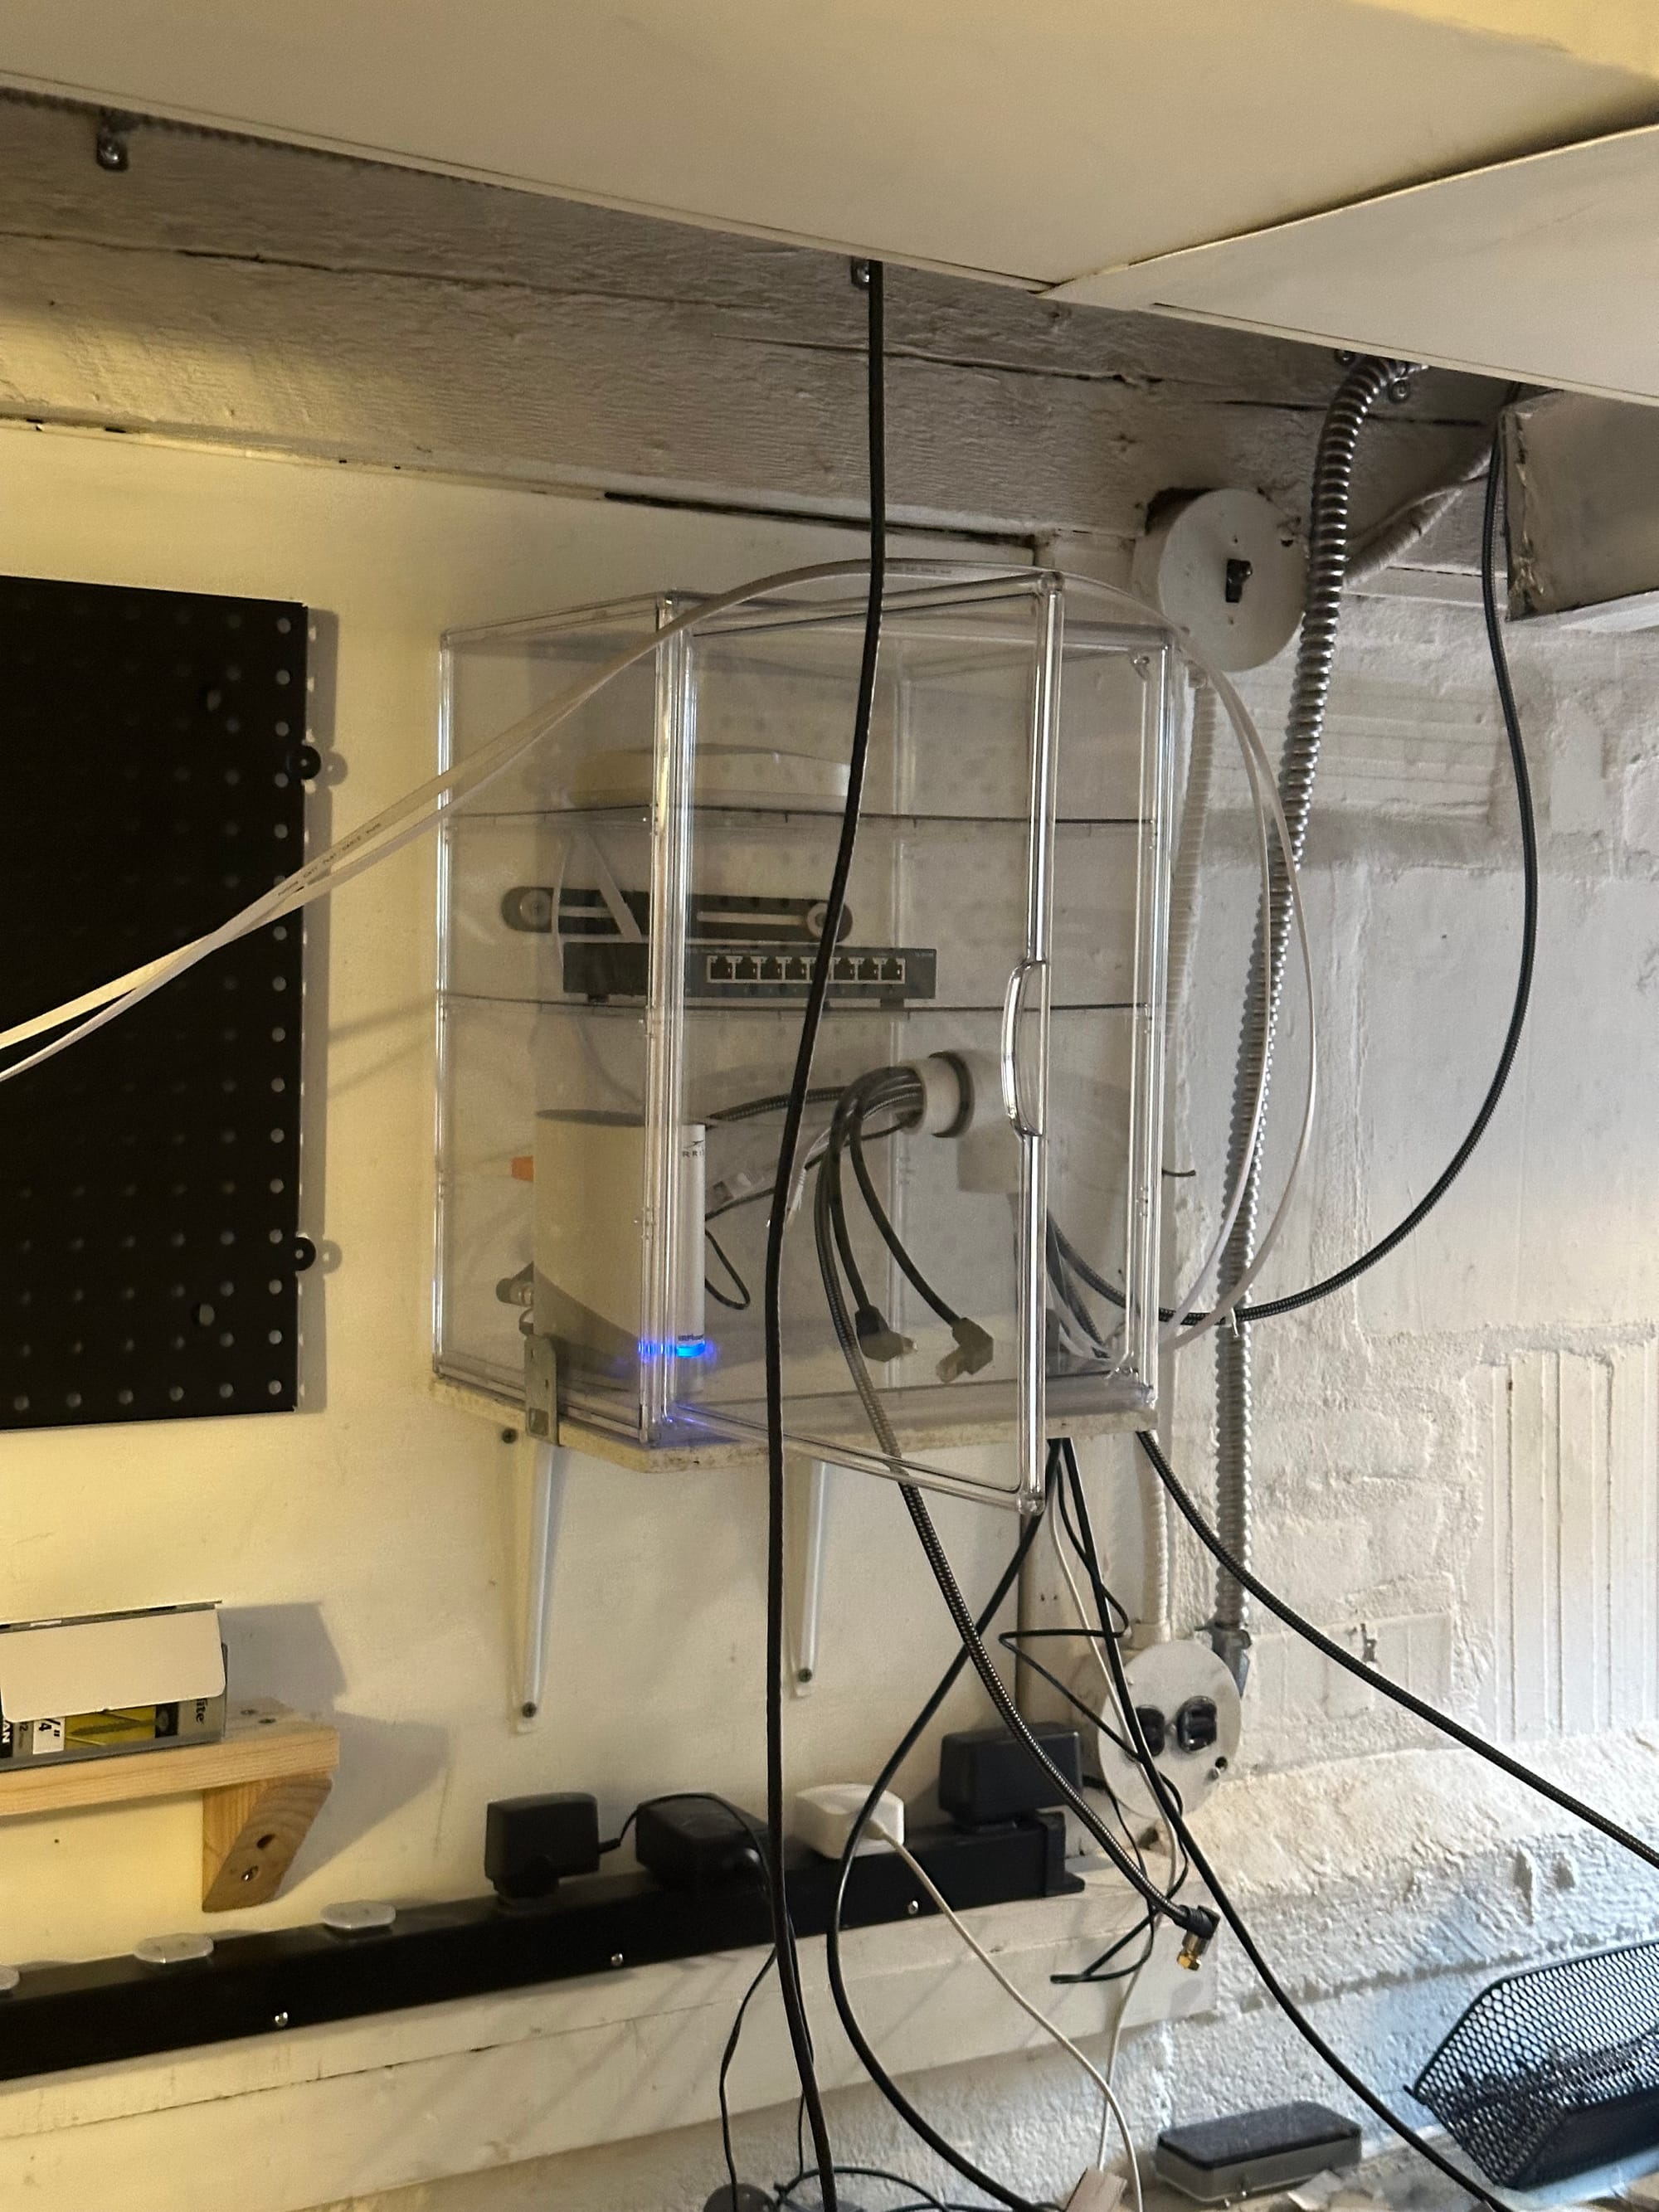
I thought I might use some weather stripping to close up that access pipe, but honestly I almost misjudged the combined circumference of all the cables, so it took some effort to get the last few in, and they seem to be quite effectively closing the gap on their own.
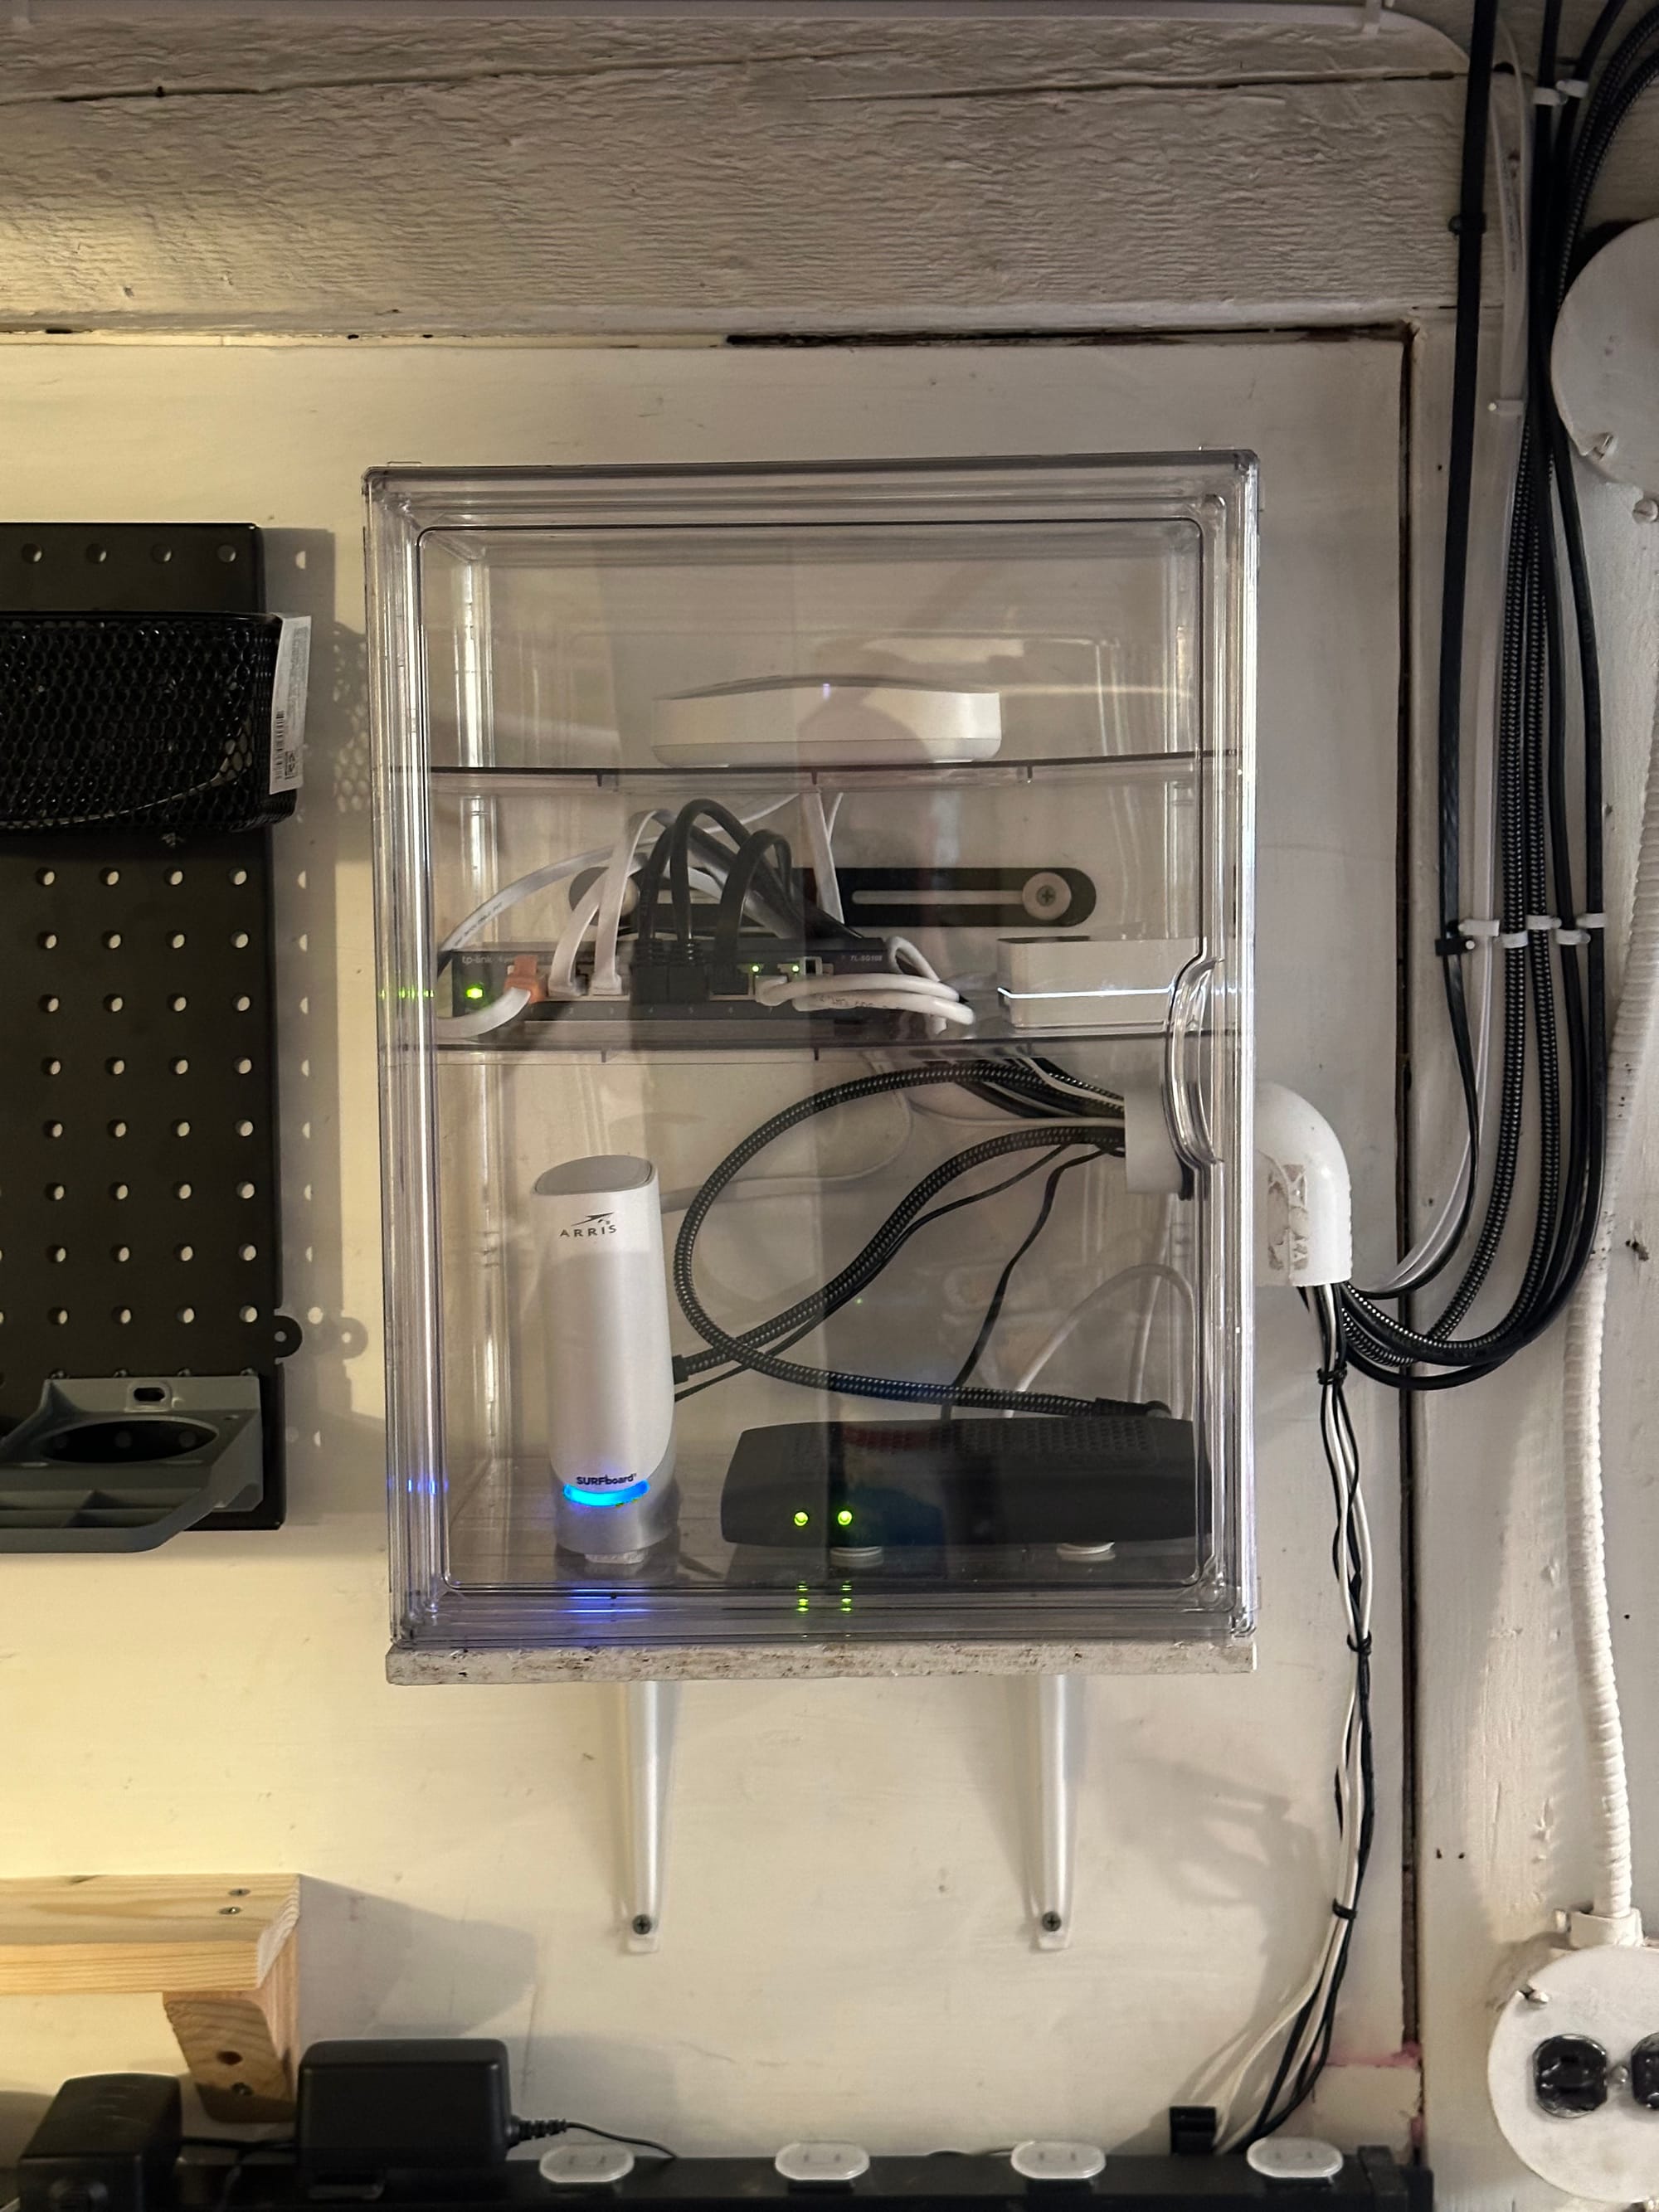
I secured some of the larger devices in place with command strips, just to keep them in place when I need to adjust cables. Then some work to tidy up the cables and get them nice and organized and out of the way.
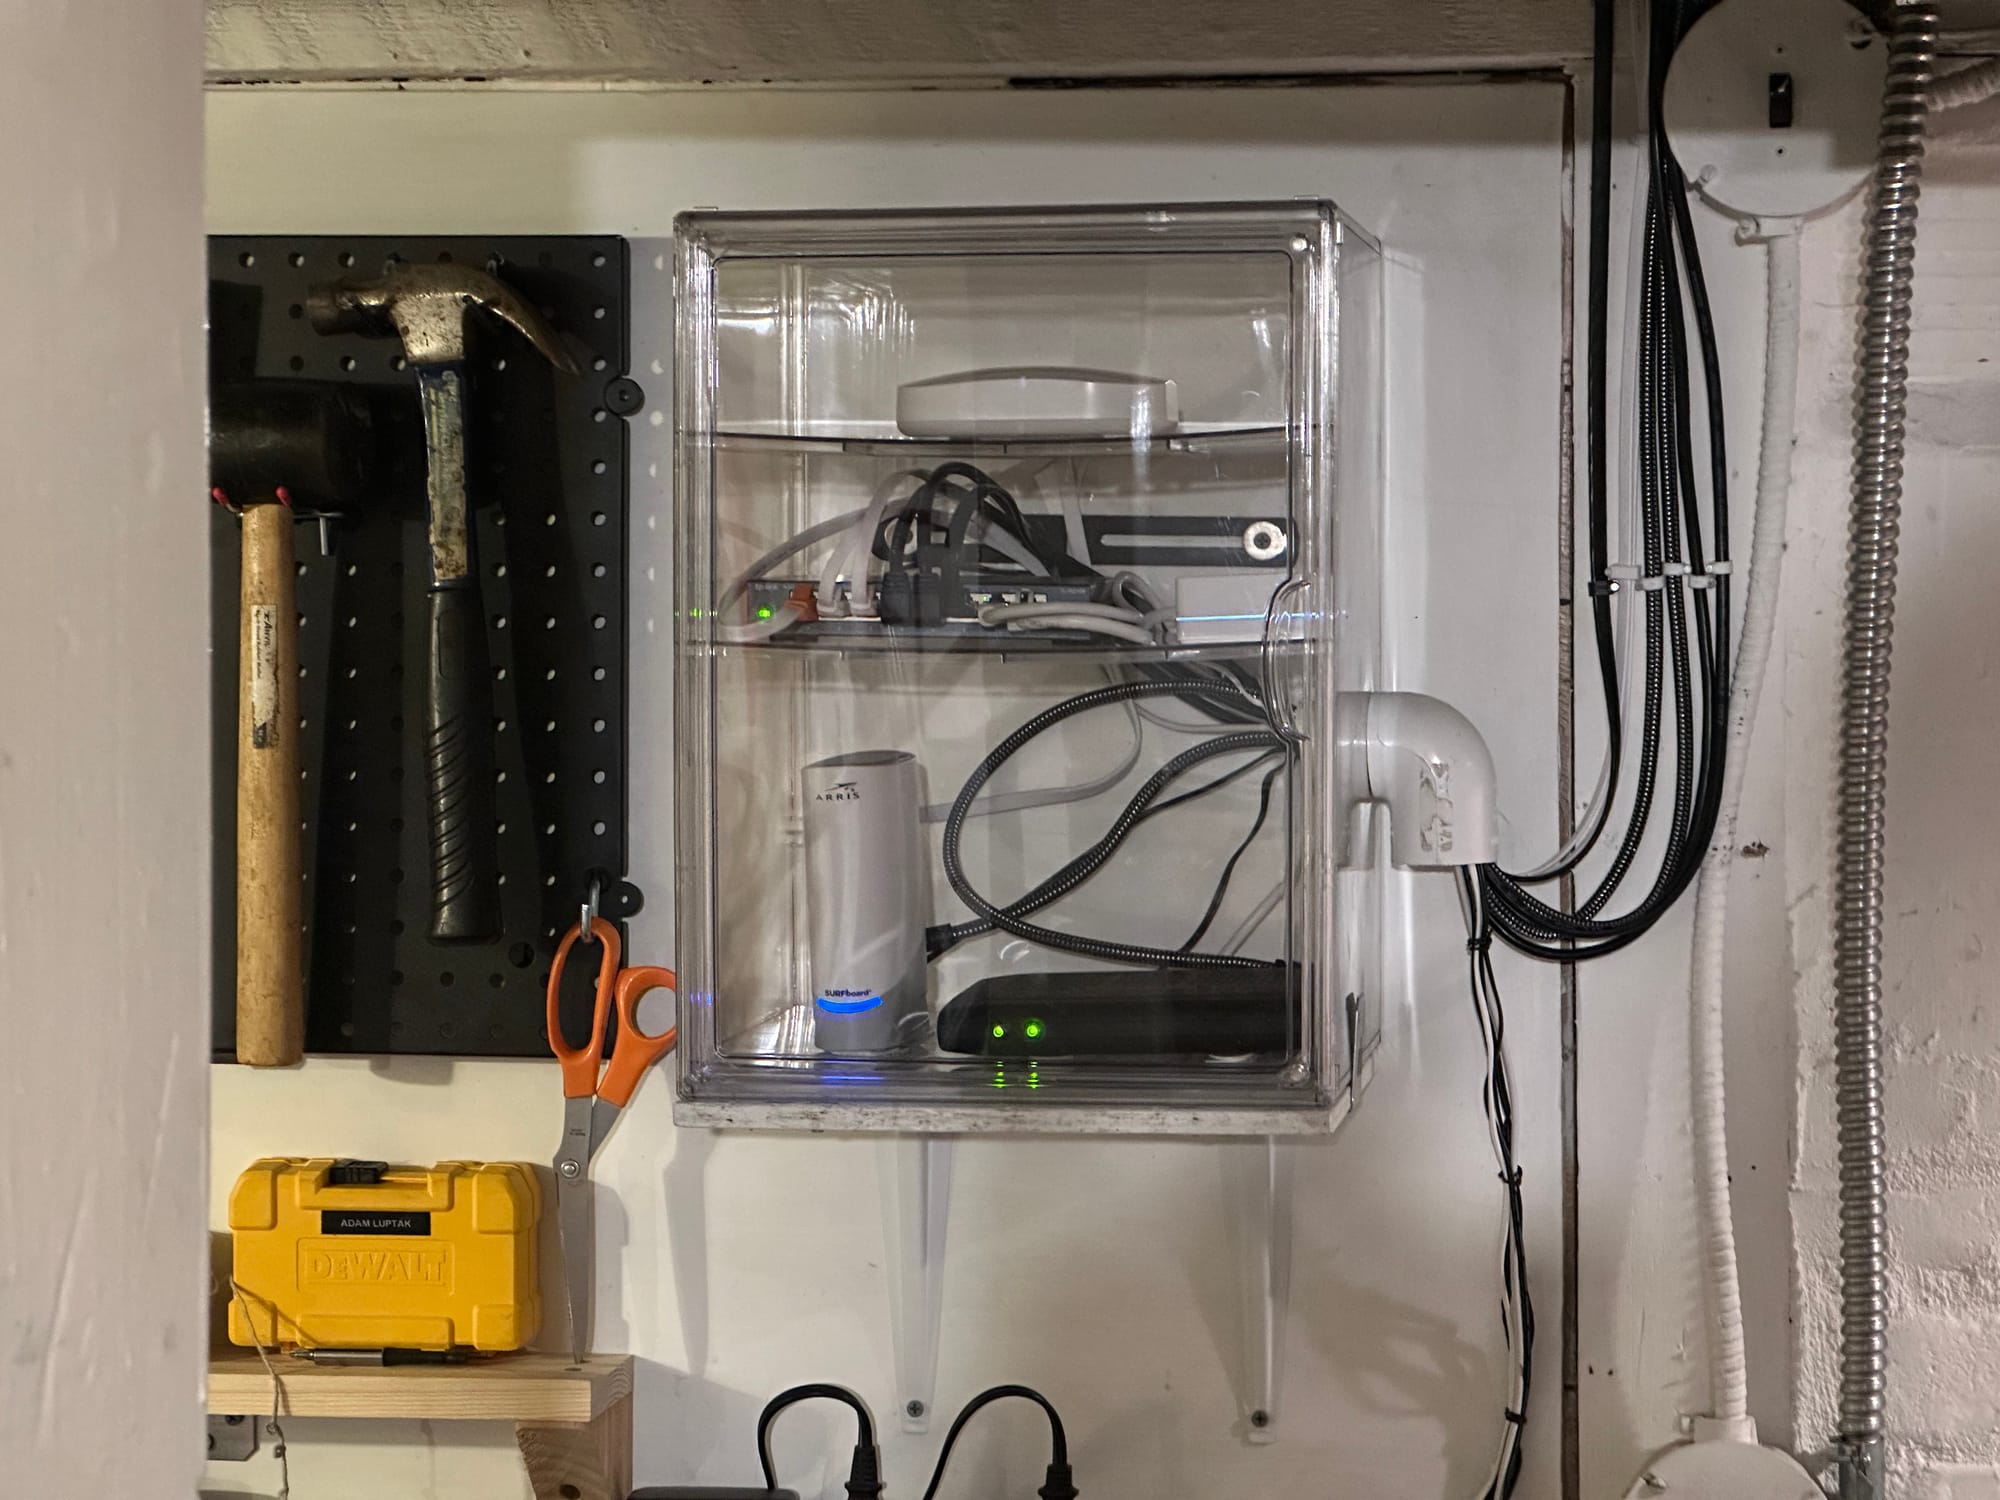
Where are all those other cables going? Well, that’ll be another post...
