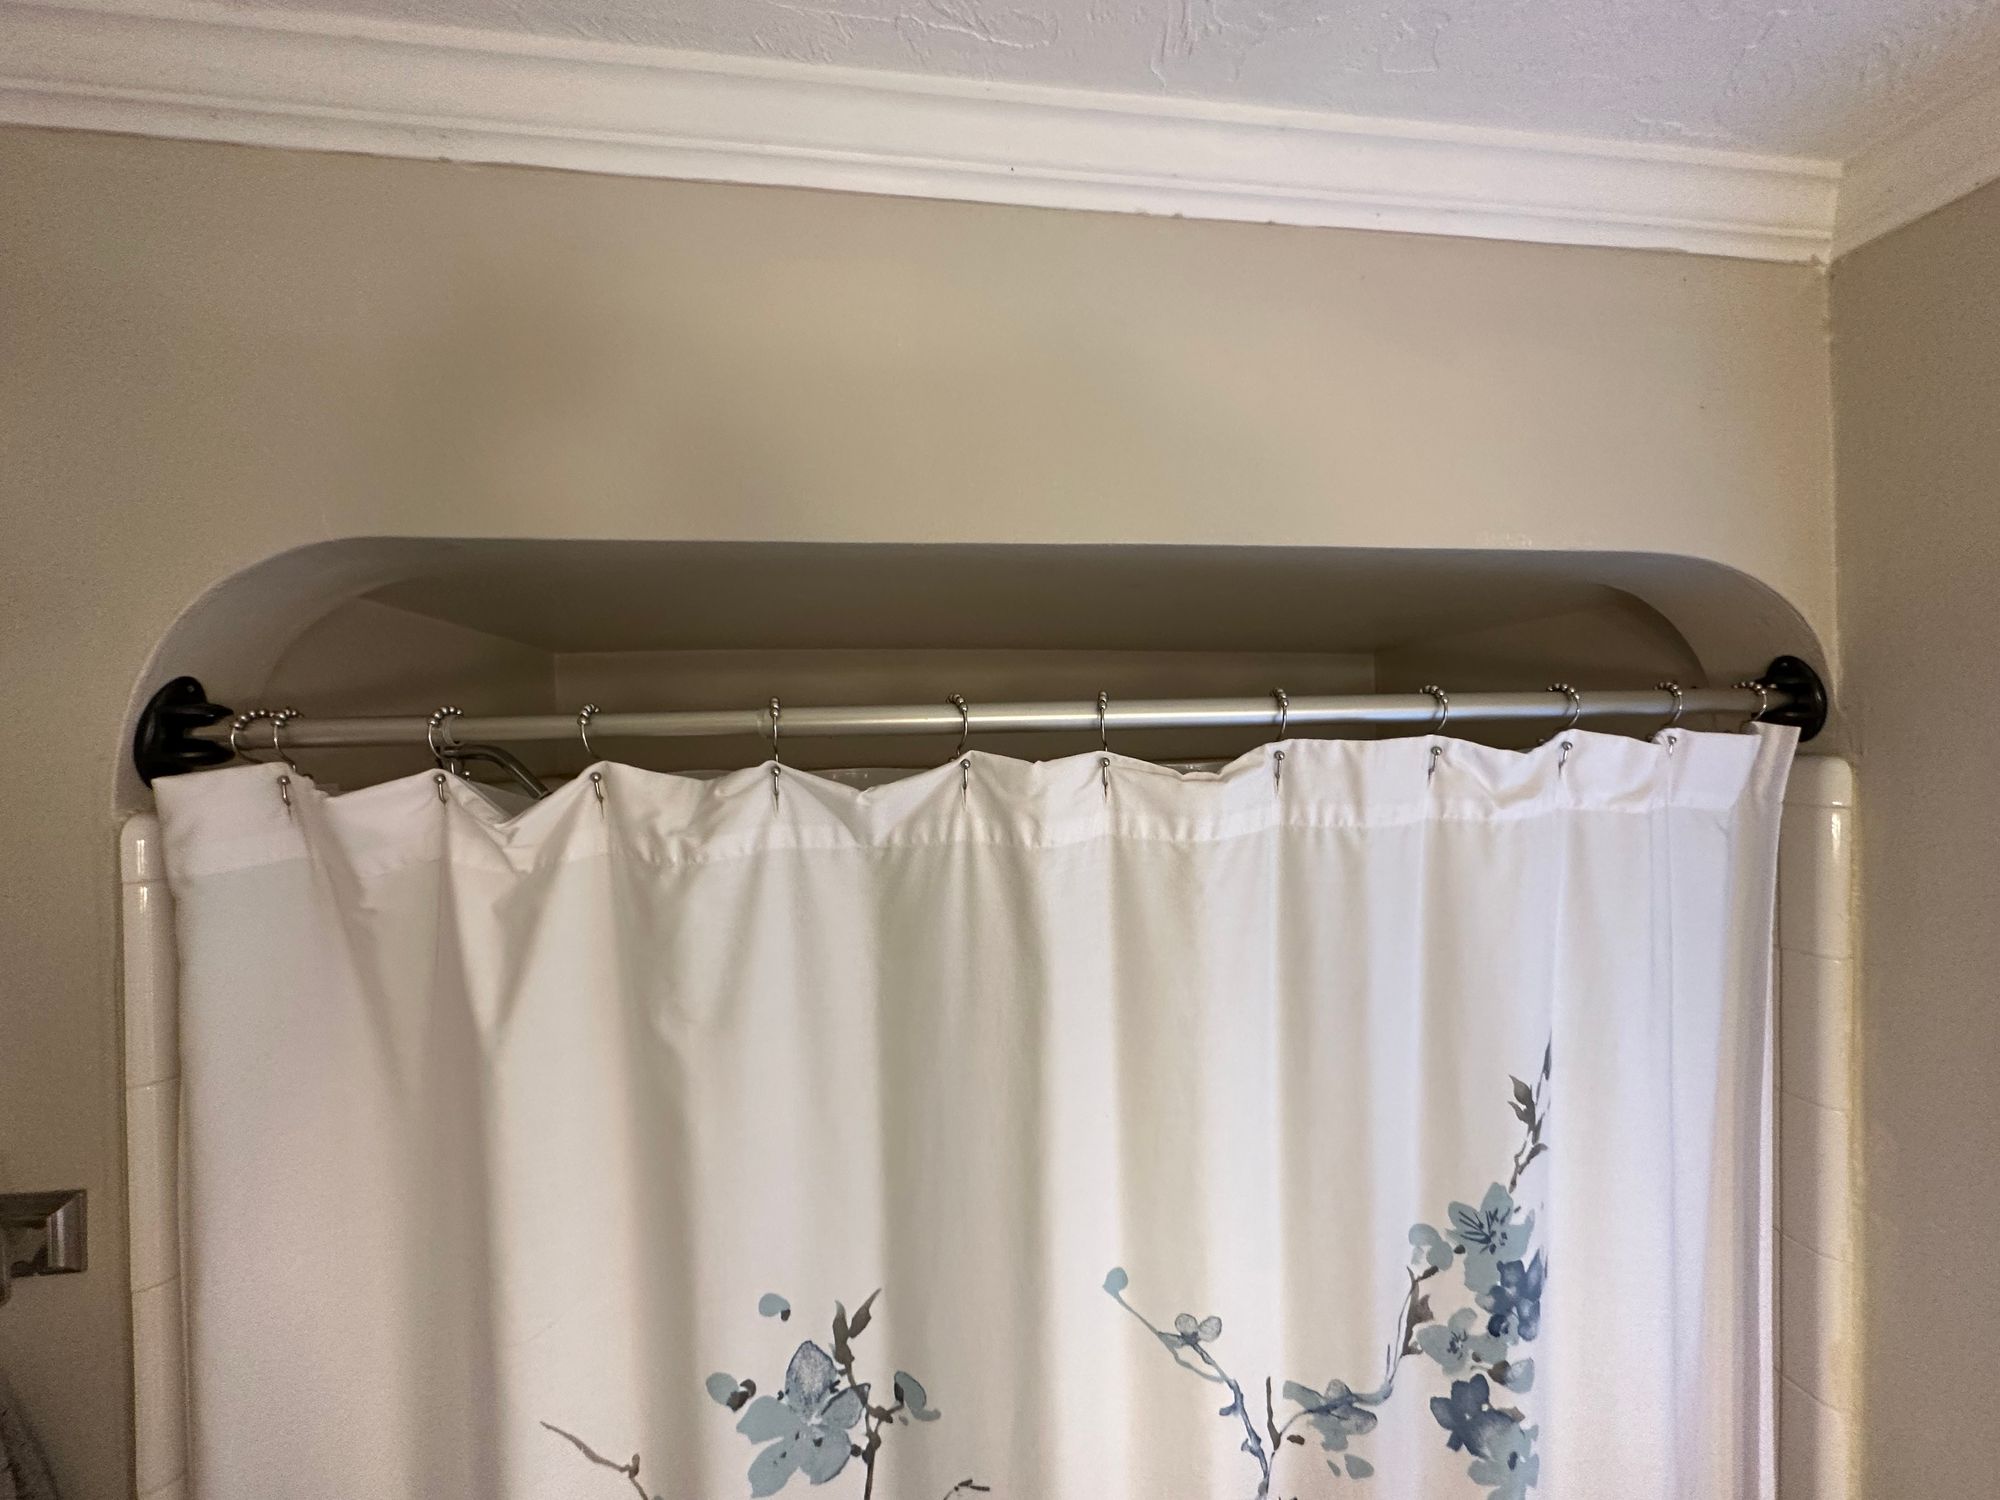
Shower curtain rod brackets
Back in April, I took a week off of work as a staycation, and decided to take on a project I’d been thinking about since last summer.
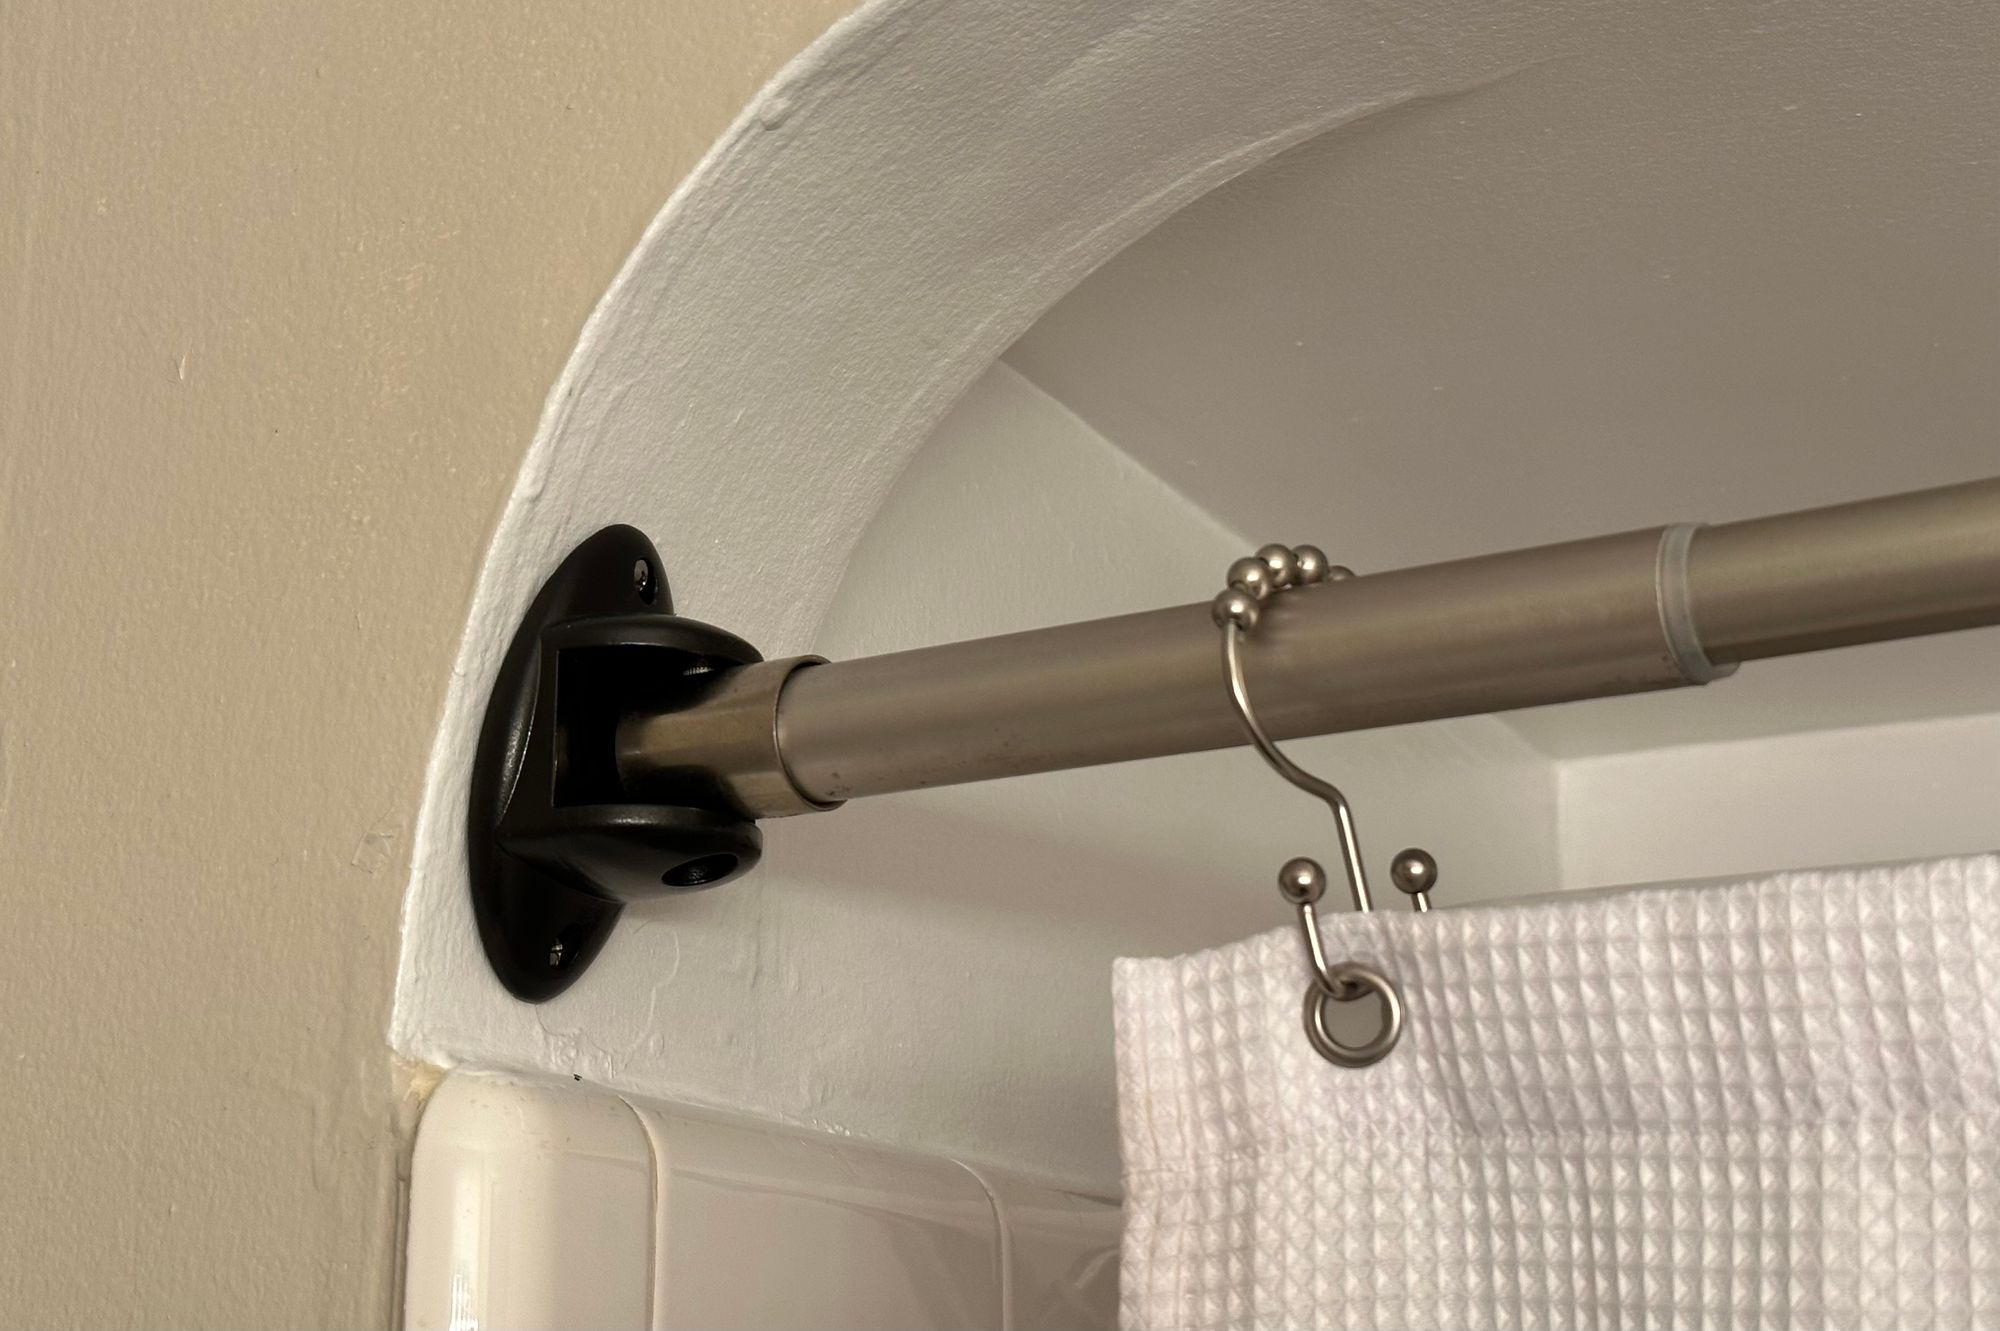
When we bought our house, we put in a curved shower curtain rod. There is a little arch detail at the front of the shower area, preventing us from mounting the brackets on them, but the rod curved enough that there was still plenty of room.
However, after six and a half years, the rod was getting pretty rusty, and I saw that there were new curved shower curtain rods at Home Depot that were “guaranteed not to rust.” Seemed like a good idea, but after taking the old rod down, discovered that the new brackets were significantly wider, pushing the bar further into the shower area due to the arch, and the rod was actually a bit less curved than the old one, so the shower was feeling a bit more cramped.
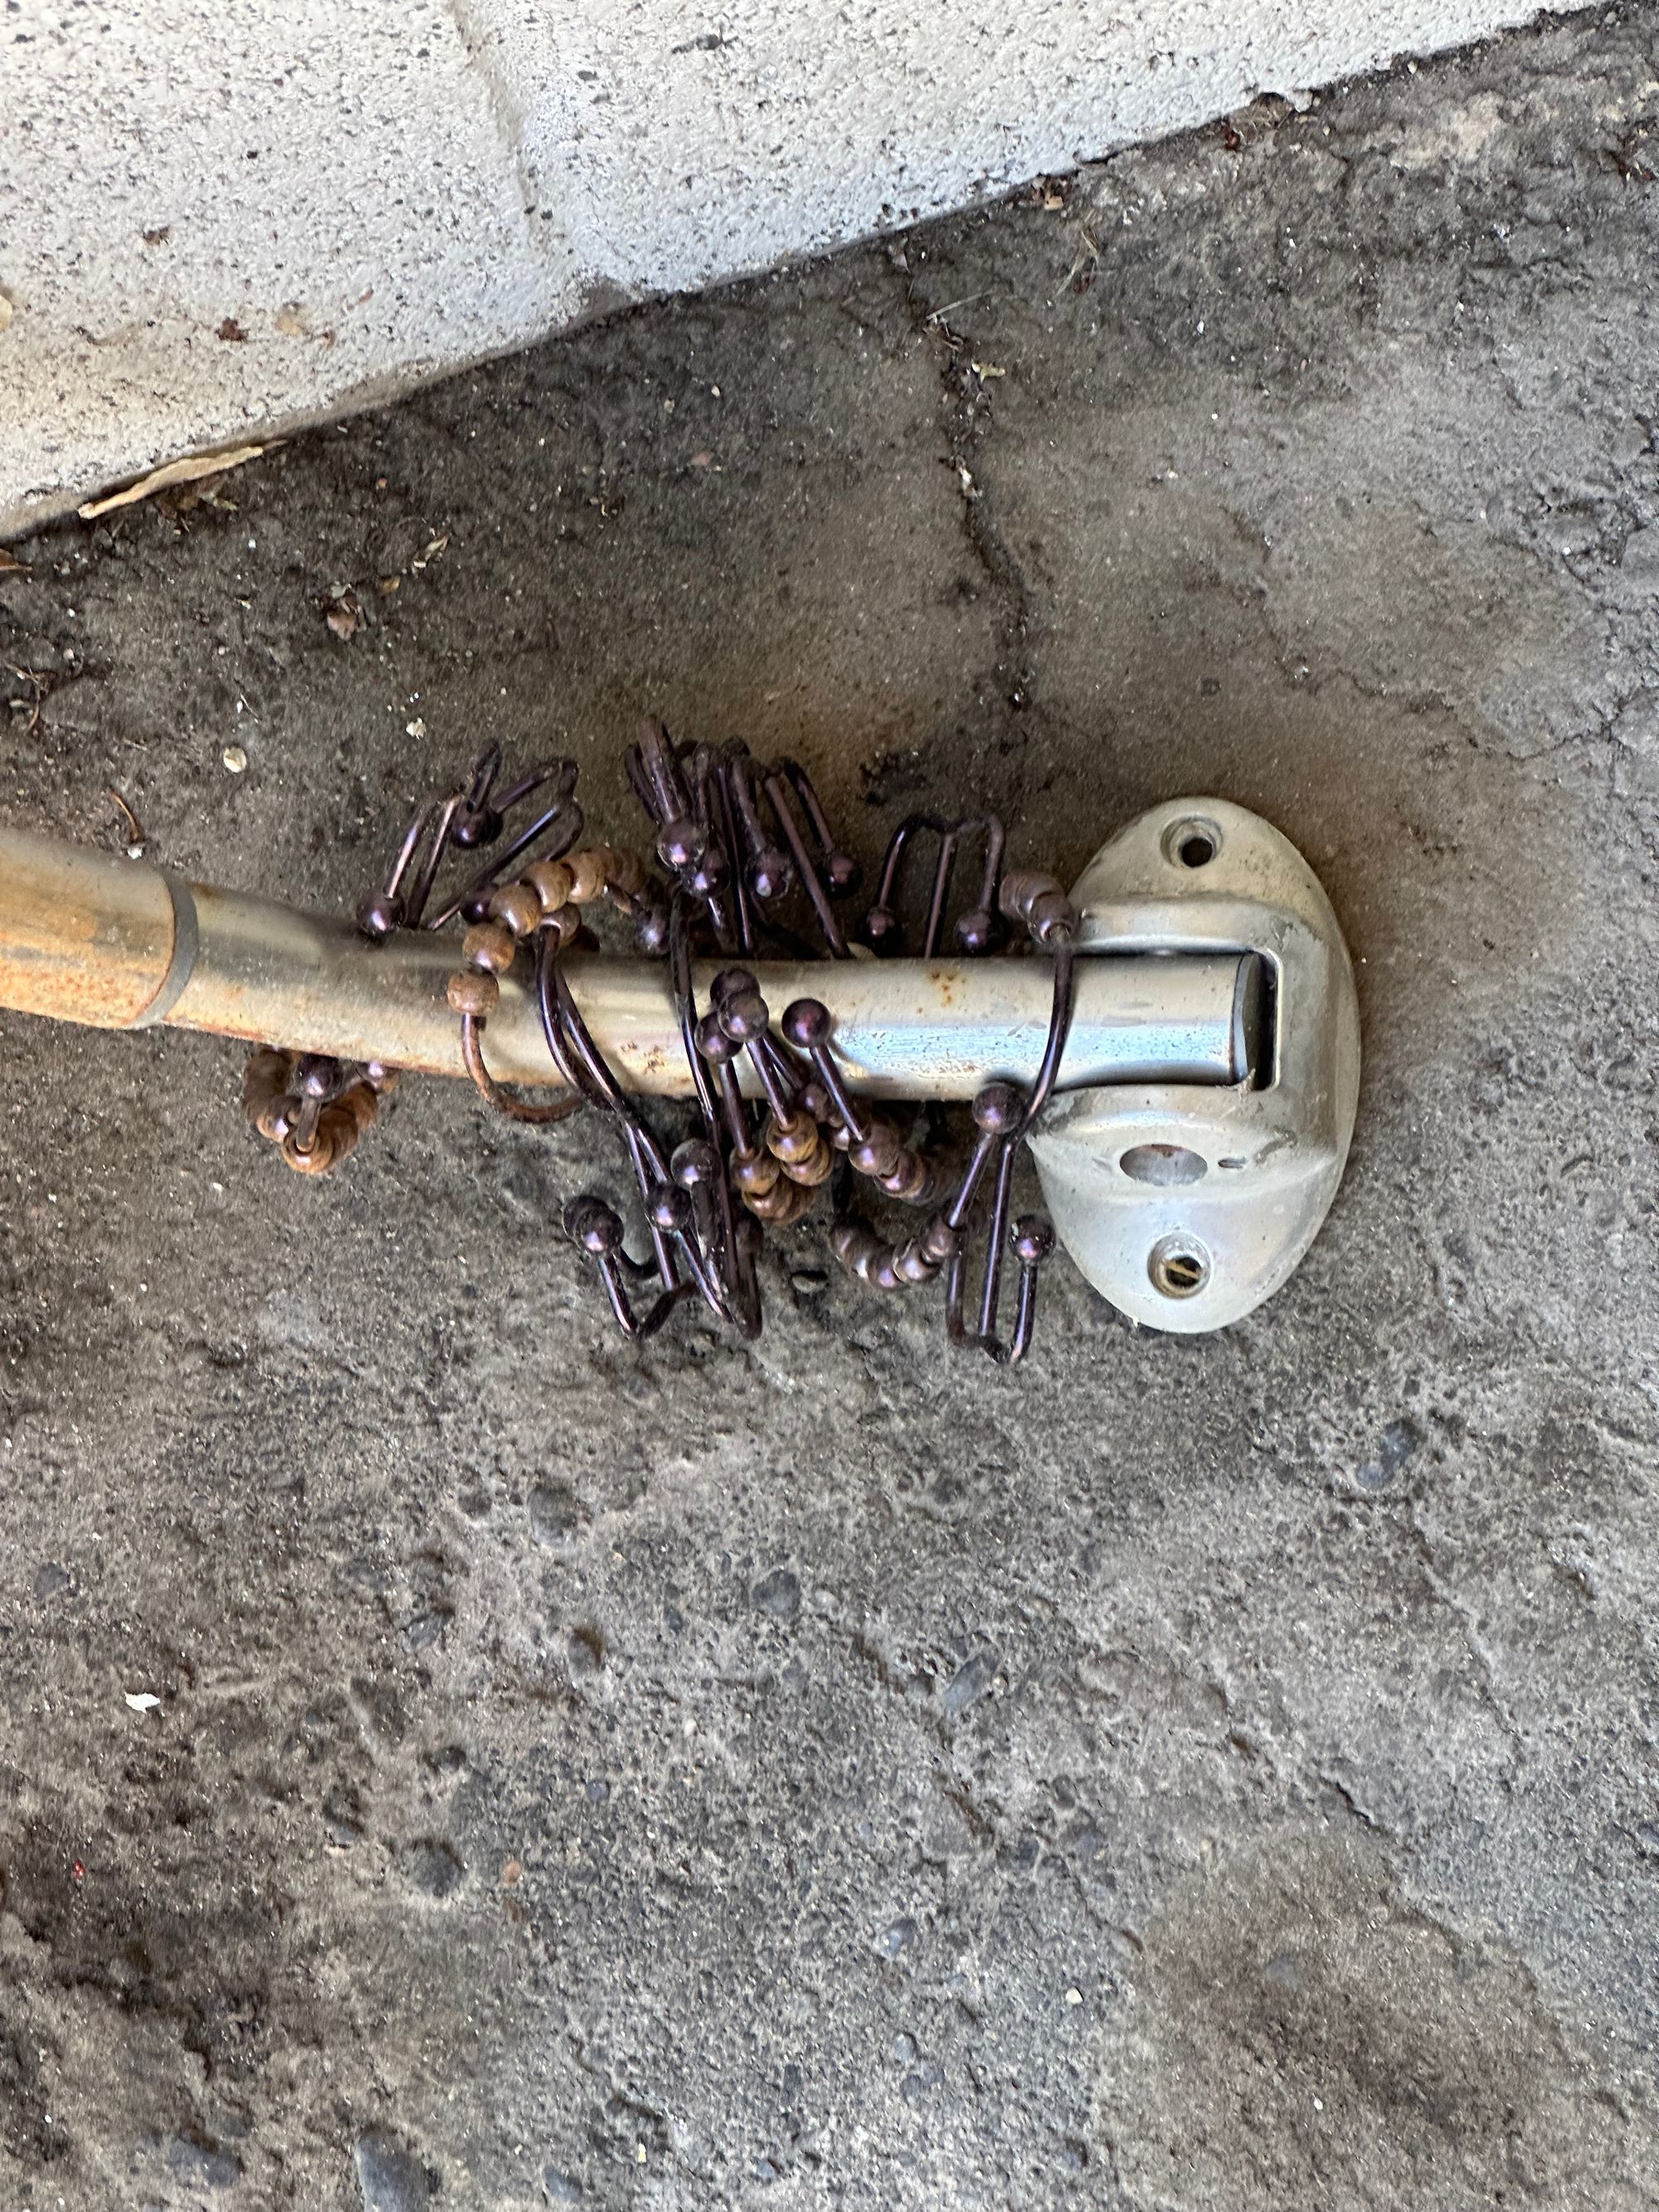
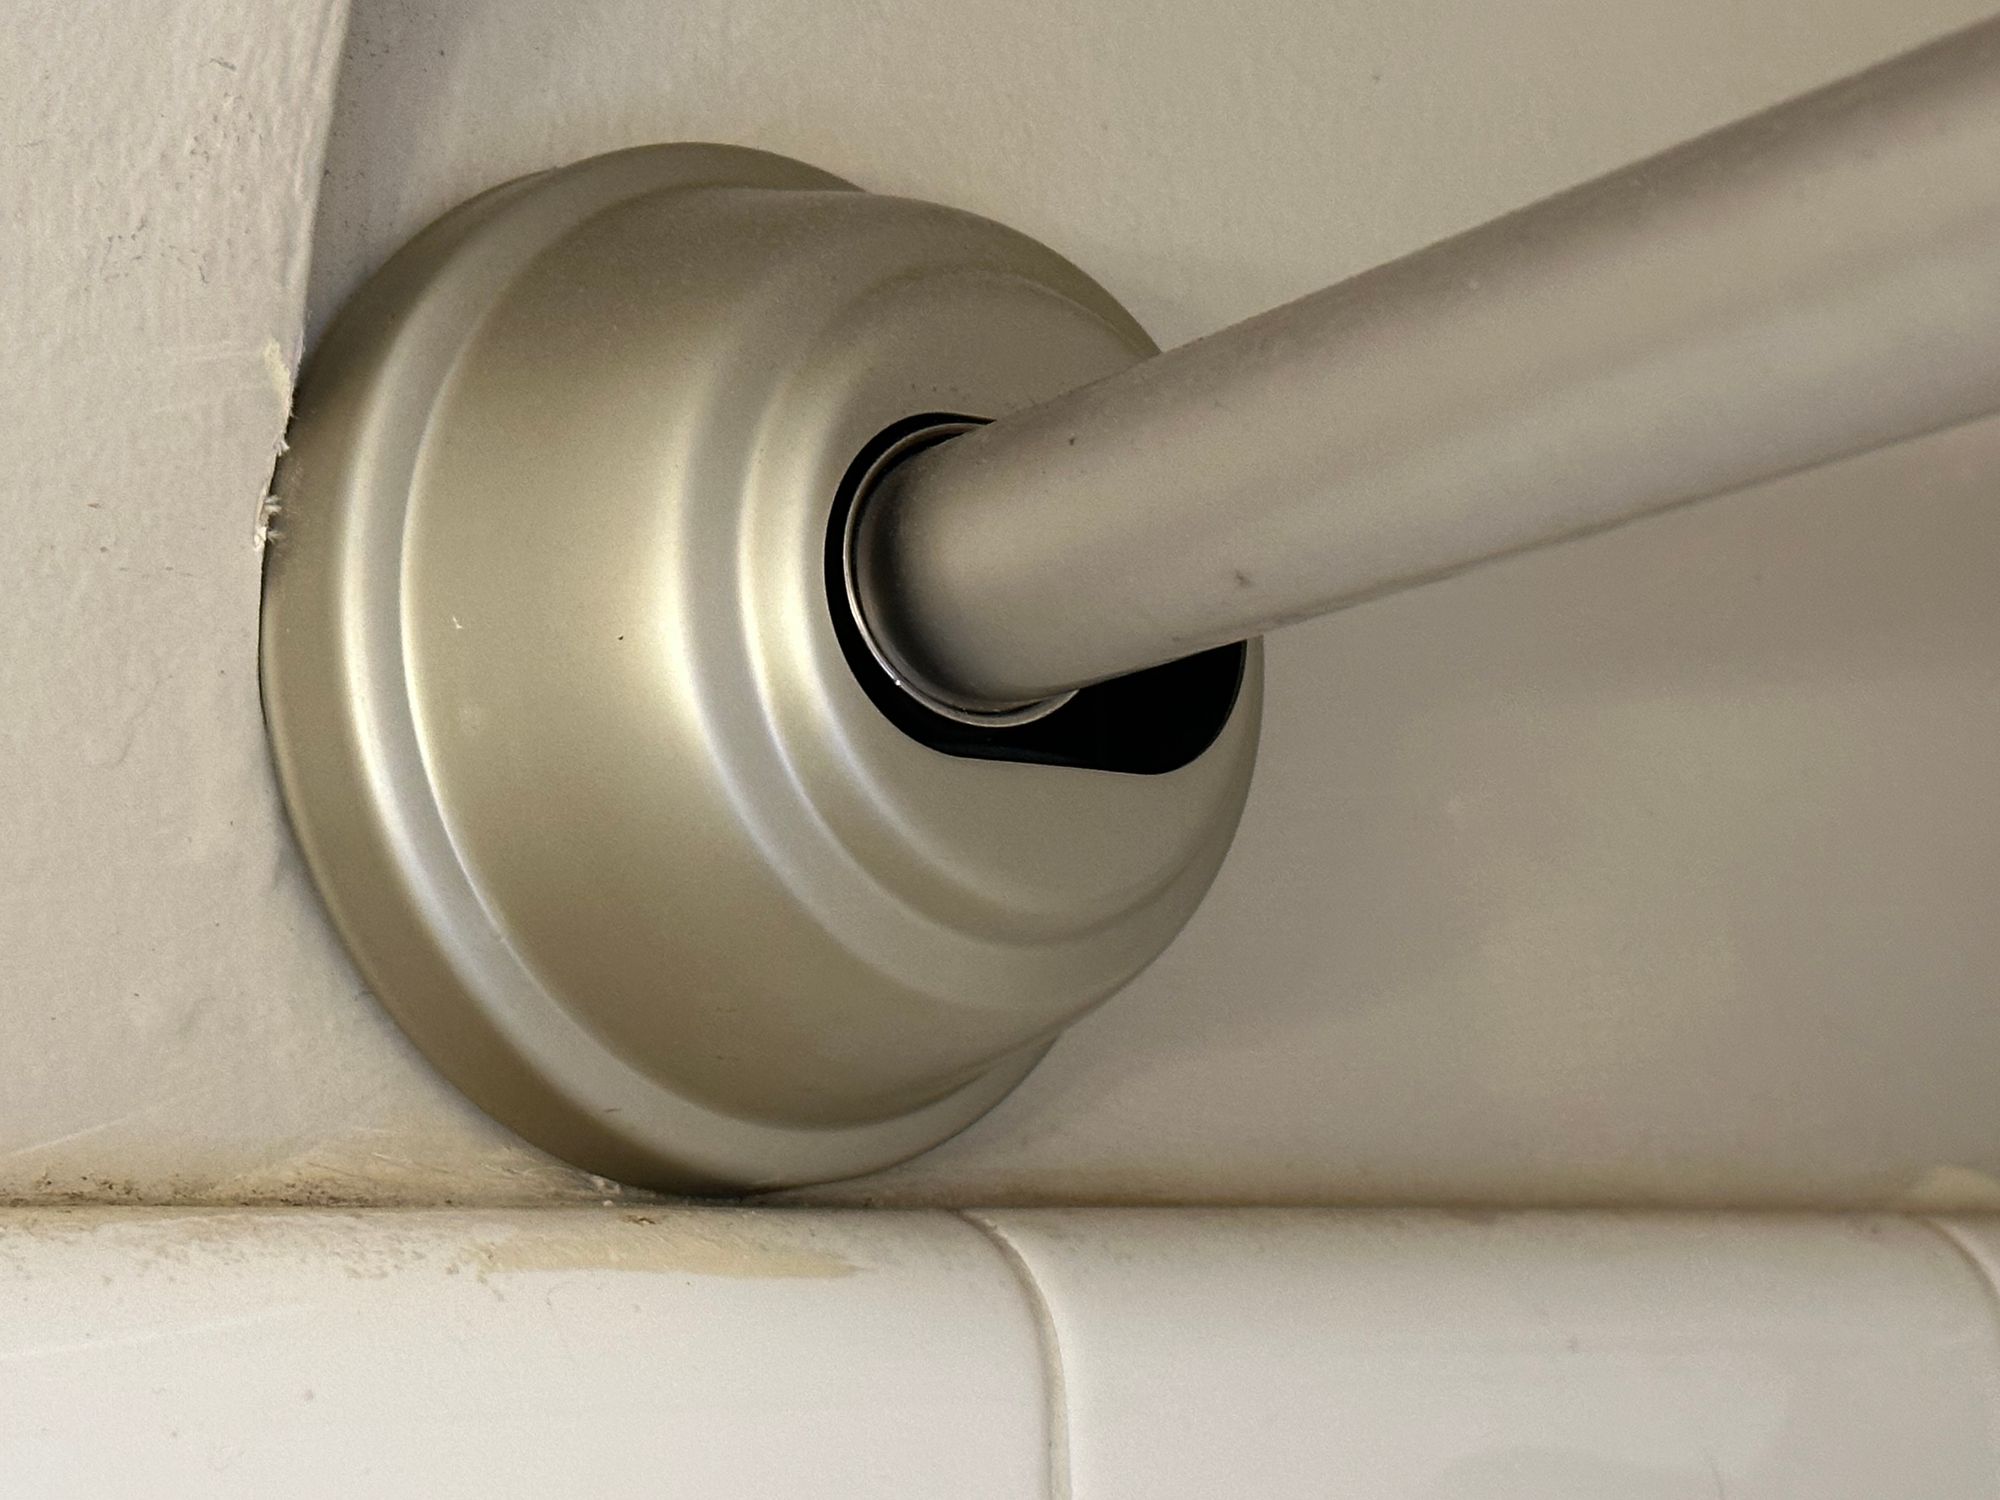
I didn’t yet own a 3d printer, but this got me thinking, “if I had a 3d printer, I could design and print brackets that fit onto the curvature of the arch.”
So, almost a year later, with a 3d printer in-hand and a week to fill however I wanted, I decided to take it on.
I thought I’d model my custom brackets on the old, slim ones. I started by checking to make sure that the hardware for the new shower bar fit in the old brackets. I took out a mounting screw and the pin that holds the rod in the bracket, and verified that they did indeed fit in the old ones, allowing me to use them as a template.
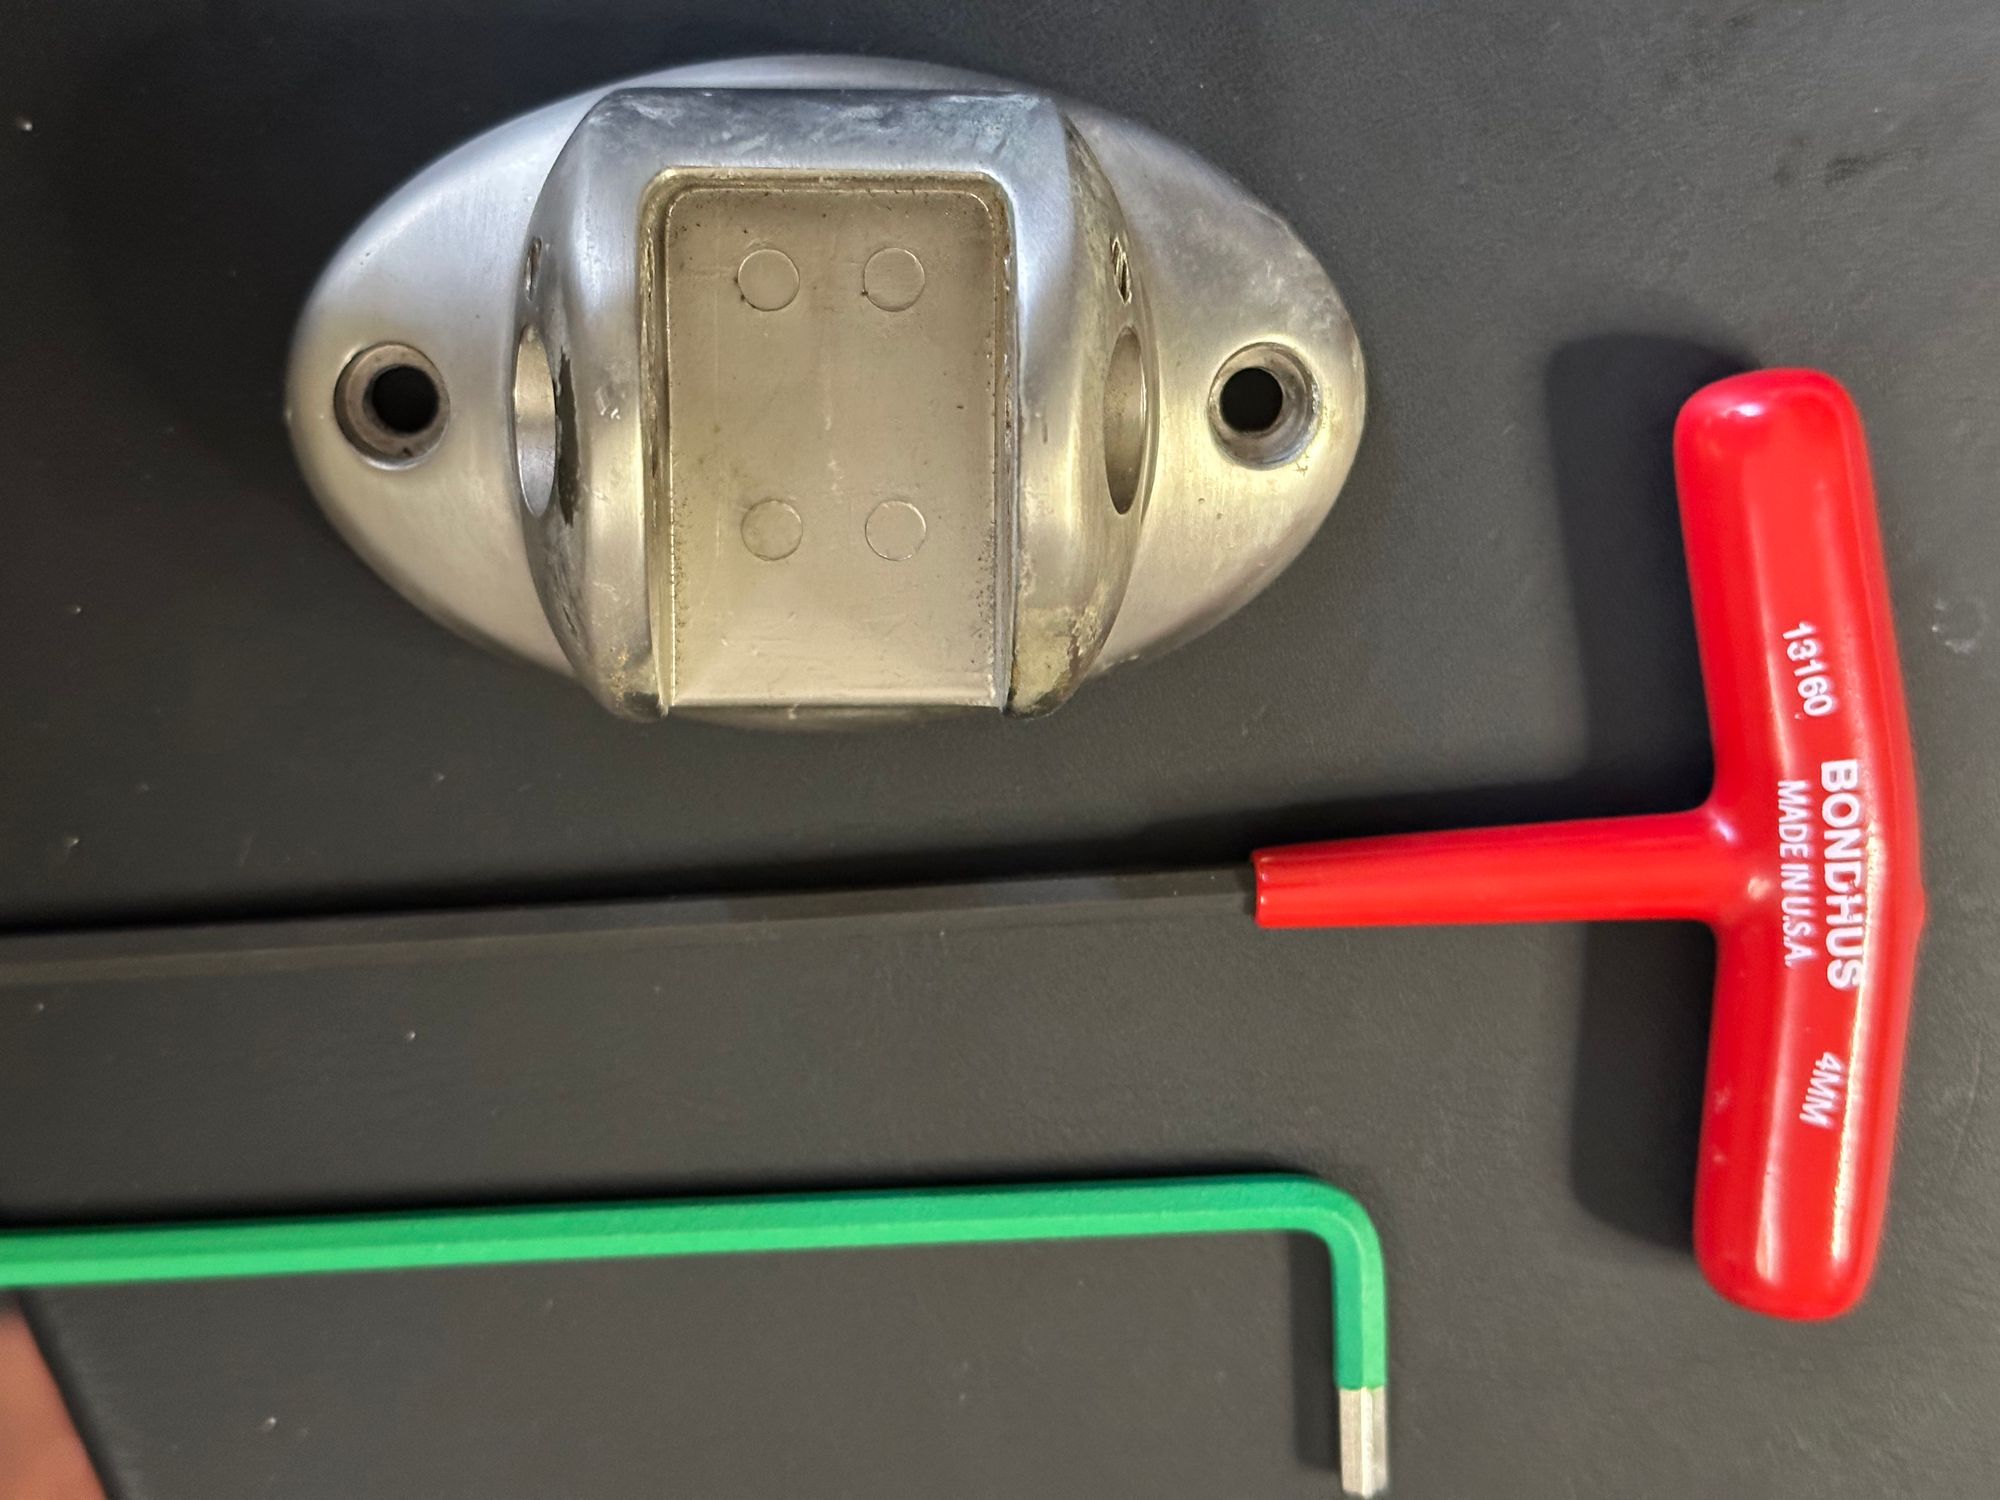
I’d struggled with Autodesk Fusion 360 previously and wasn’t enthusiastic about returning to it. However, given the precision I was after with this project, it seemed like the right tool for the job.
I started by tracing the curve of the arch, and did some googling for the math to calculate a radius given a partial arc.
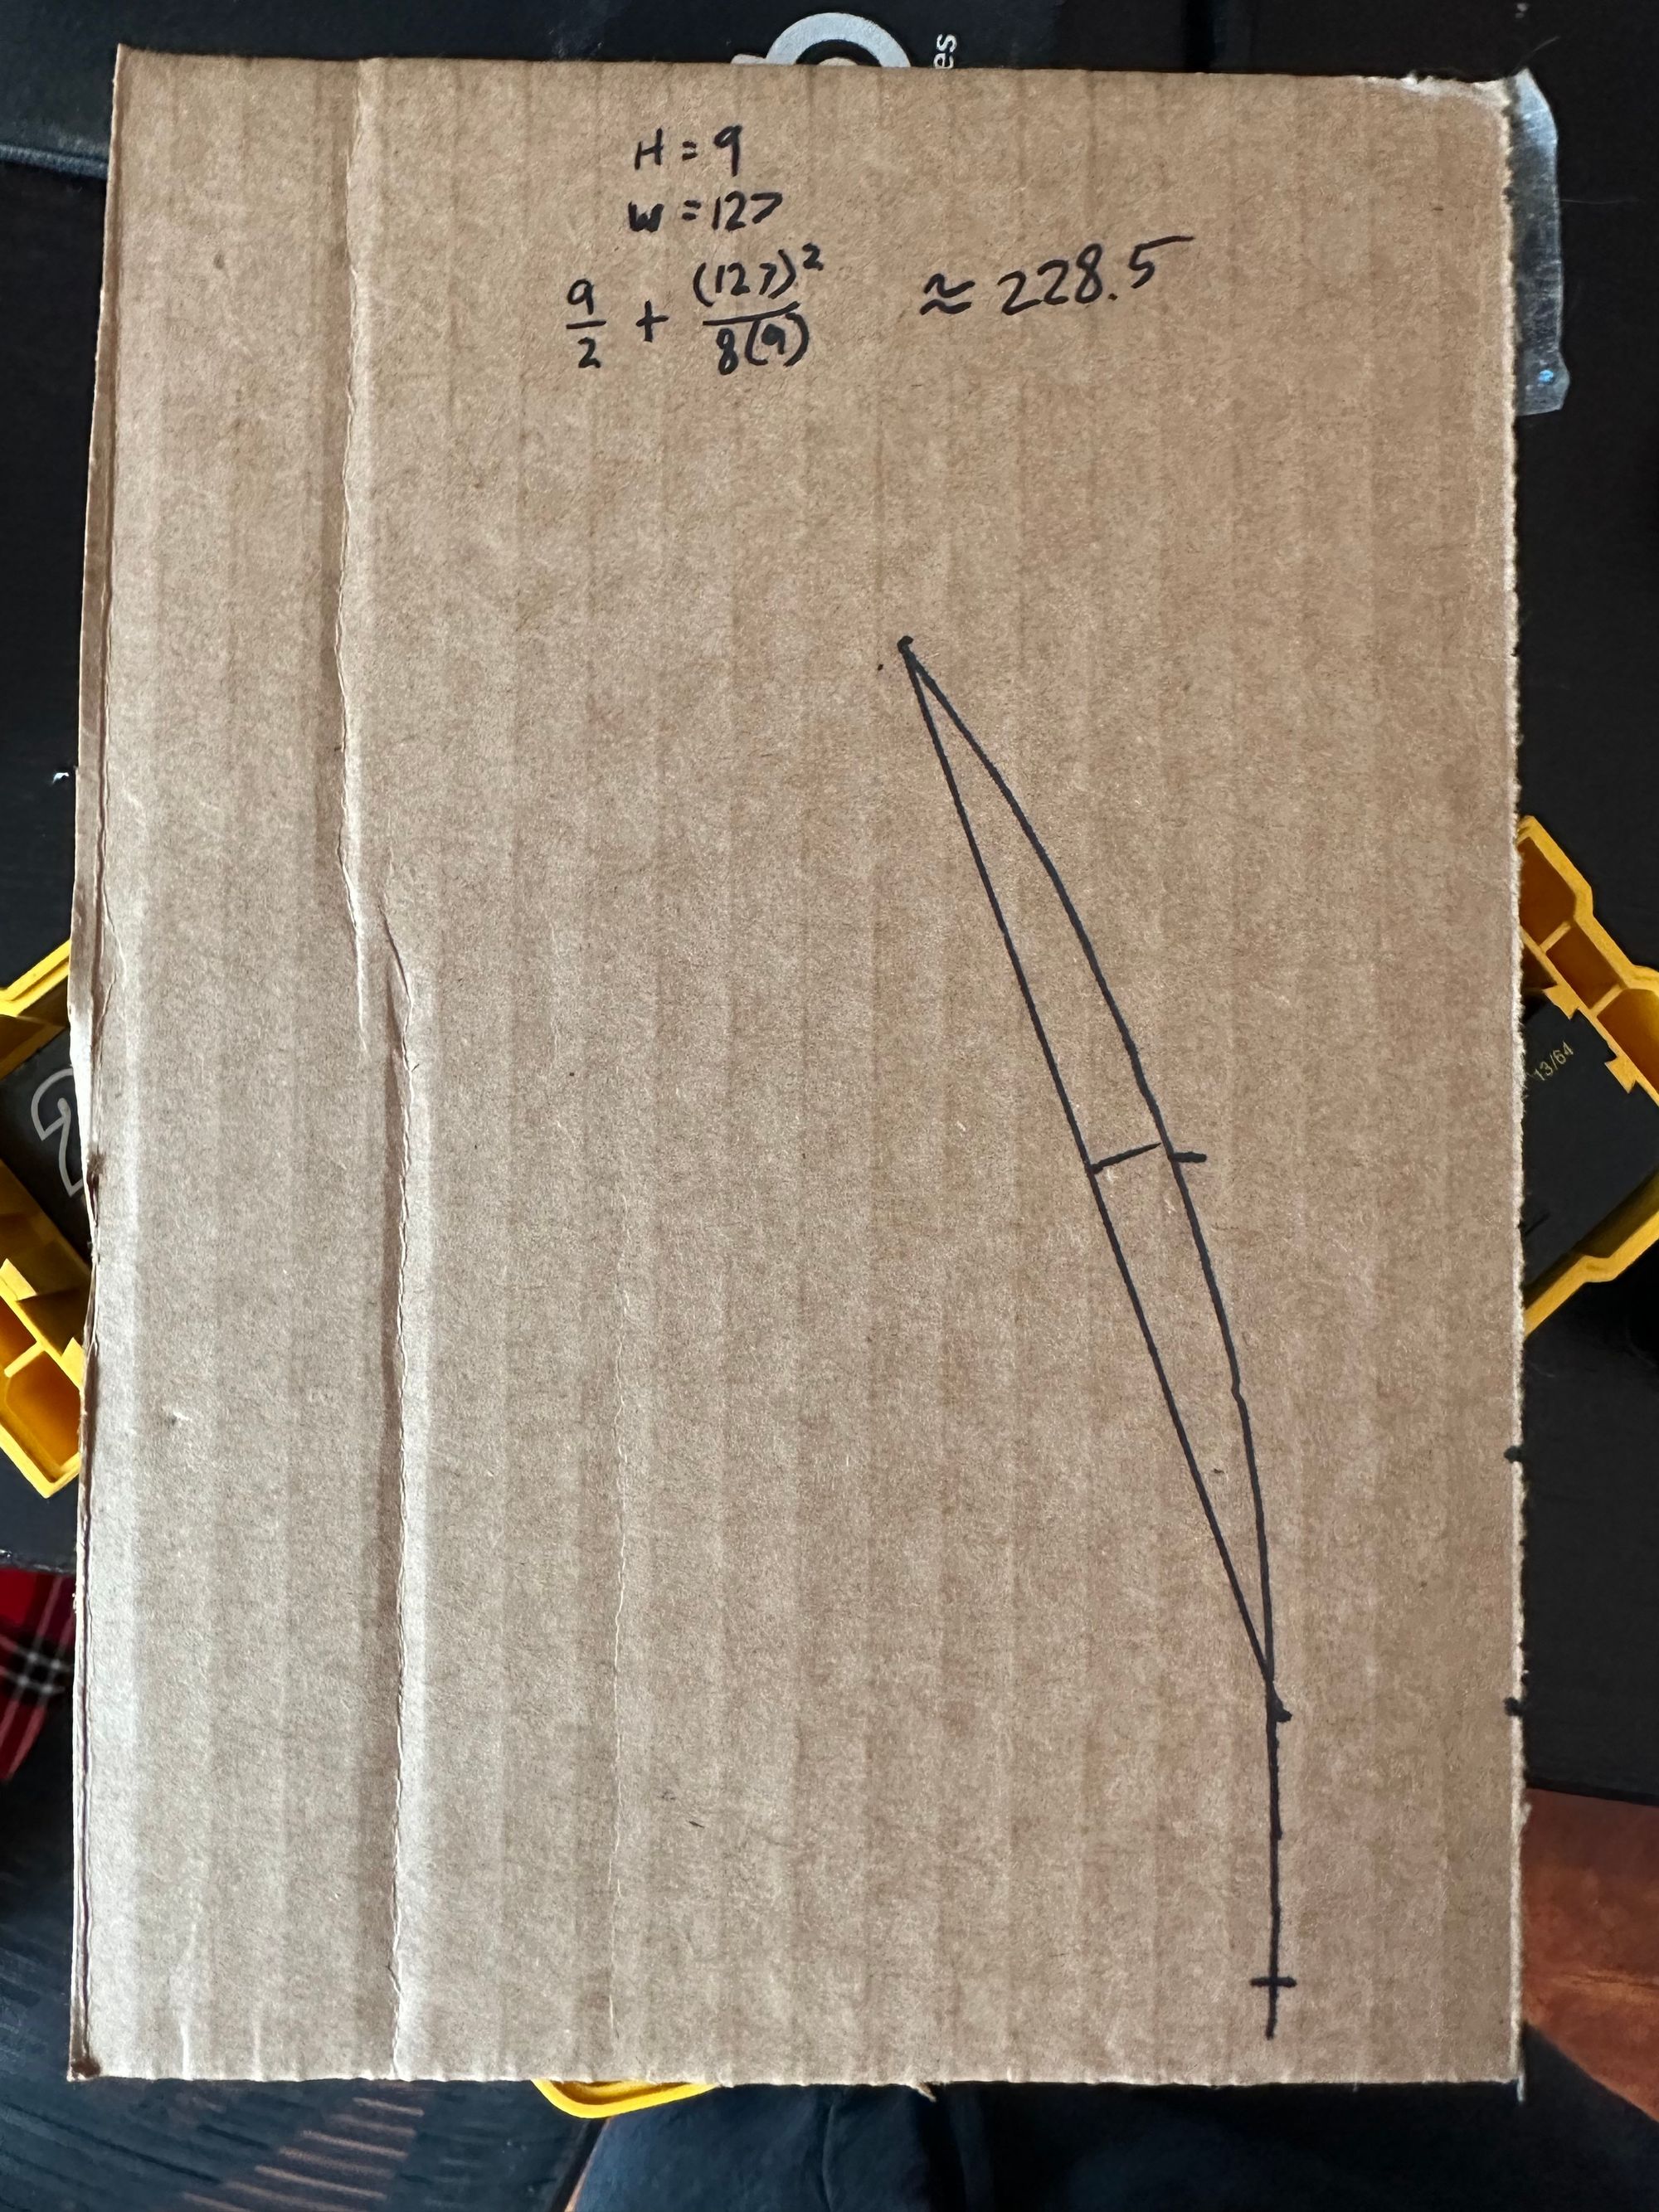
A few YouTubes later, I actually had a good idea how to create a solid with the correct curvature in Fusion 360. However, I couldn’t get the front side of this part to round in the way I wanted, and rather than compromise on the look, I elected to take the escape hatch to Cinema4D.
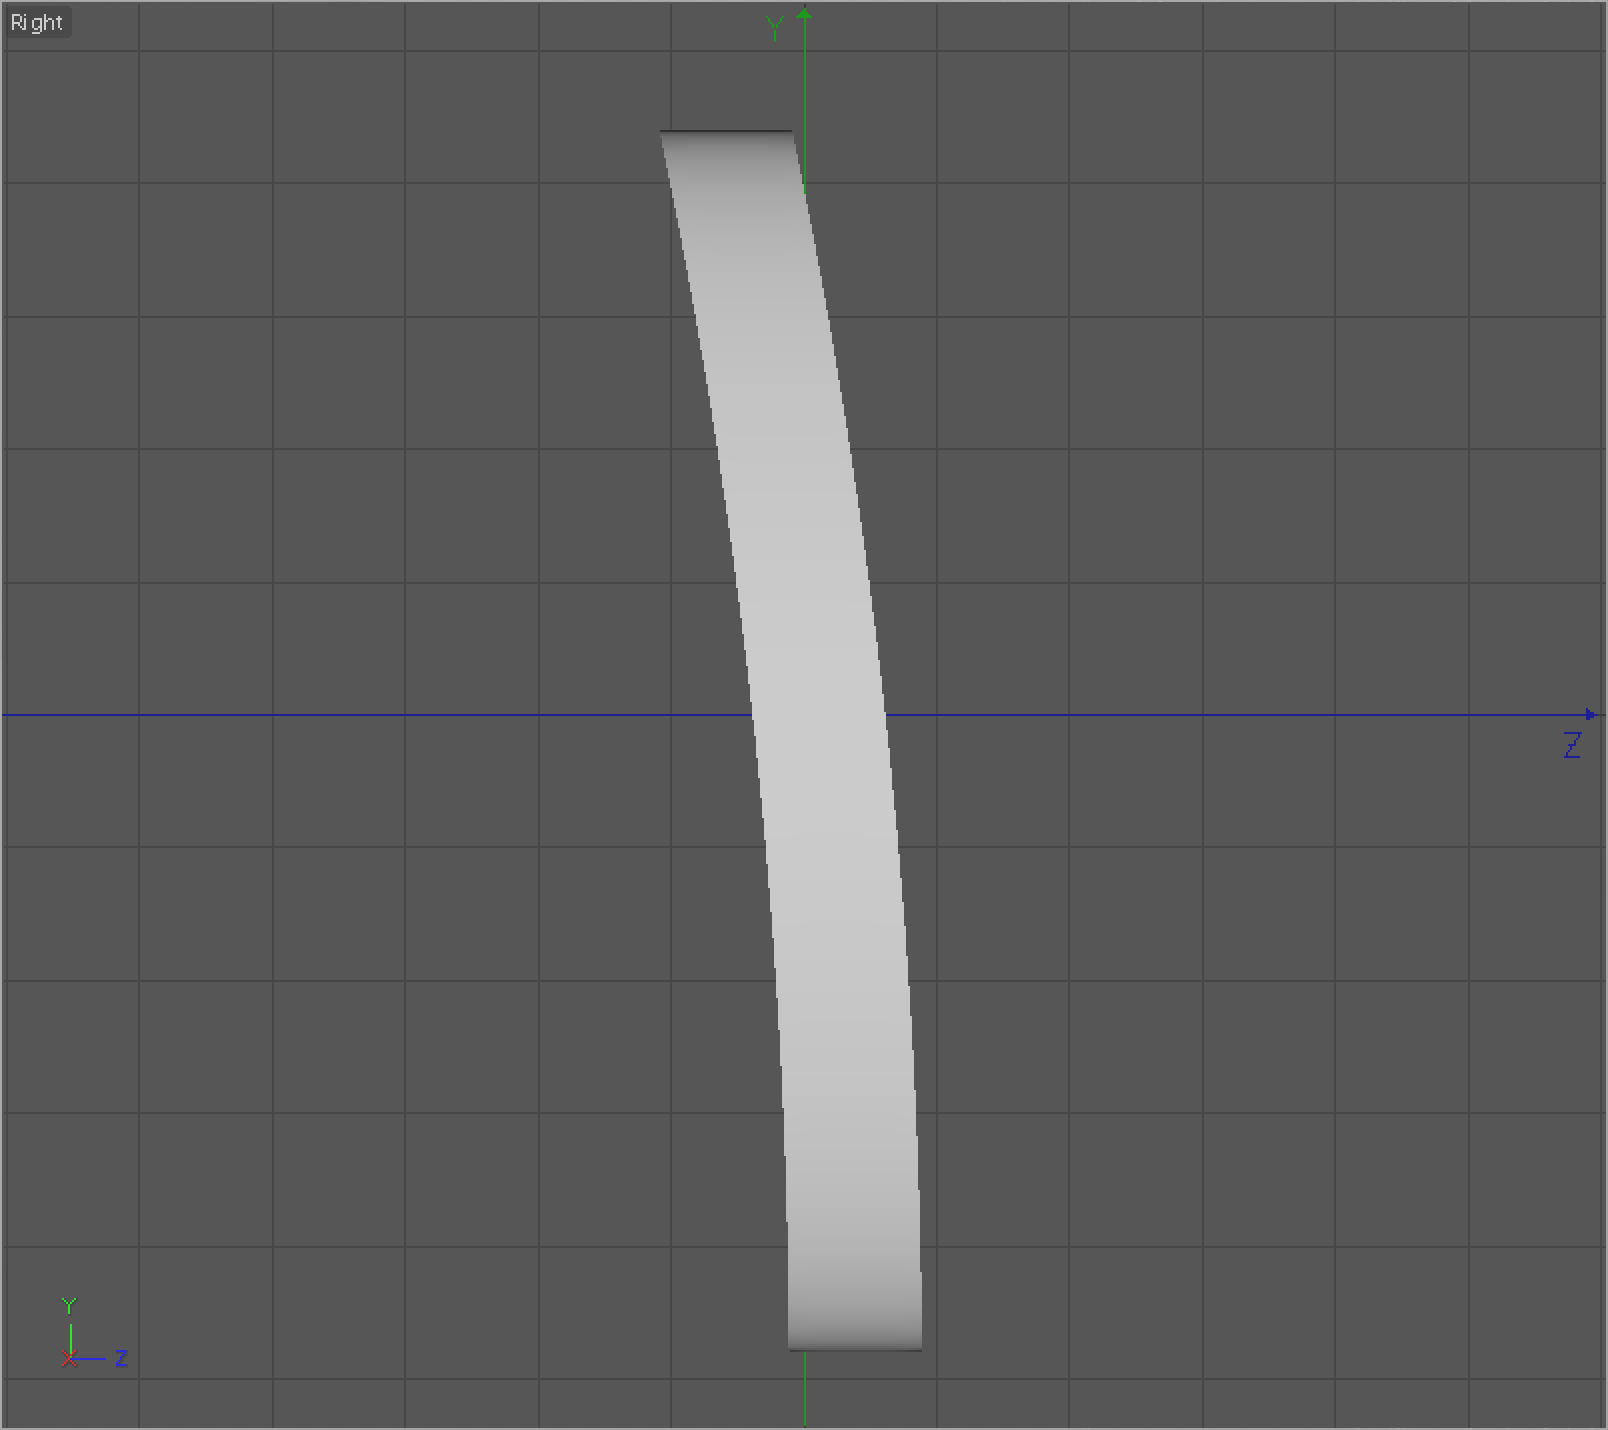
I tried a few different techniques, ultimately opting for deleting all but the wall-adjacent side of the bracket, generating half a sphere, squashing and rotating it to fit the shape, and then stitching the two objects back together. Satisfied with my shape, I then imported it back into Fusion 360 to continue.
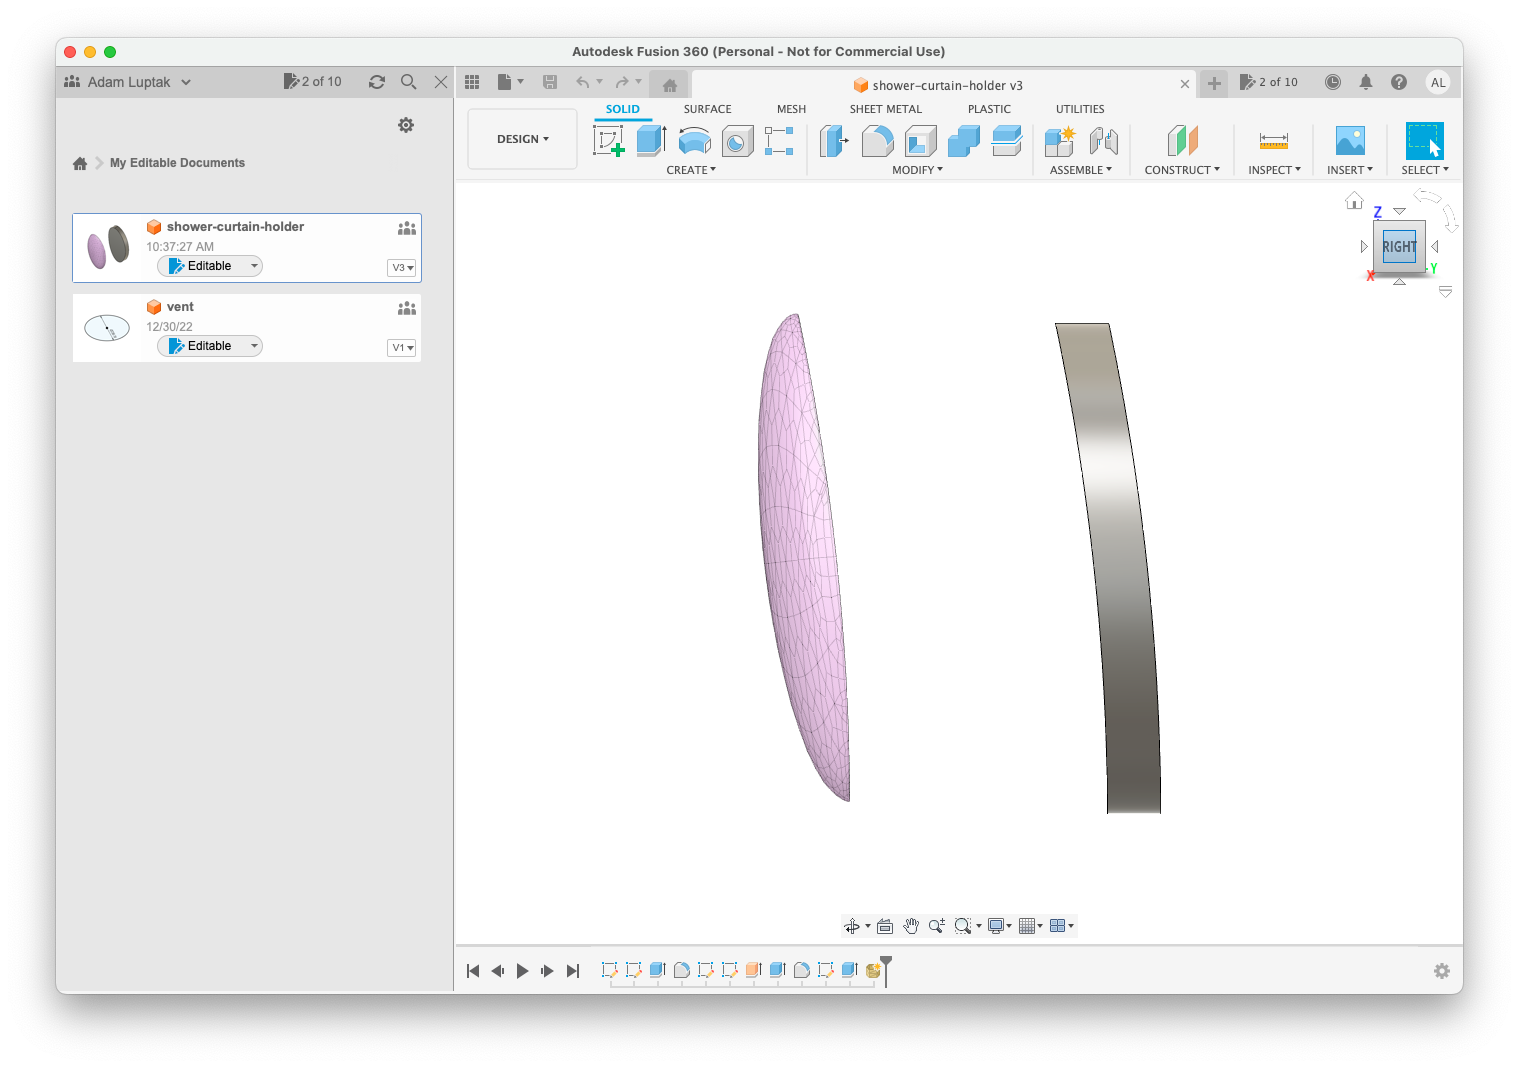
I then proceeded to methodically build the rest of the bracket, taking measurements off the old brackets with calipers. It started to come more easily; the mechanical thinking of the process is a bit more natural to me, and I started getting the hang of the tool. I was creating solids, filleting edges to round them, then creating other solids, and using those to cut voids out of the existing shape. After a few hours of learning and work, I had my bracket designed.
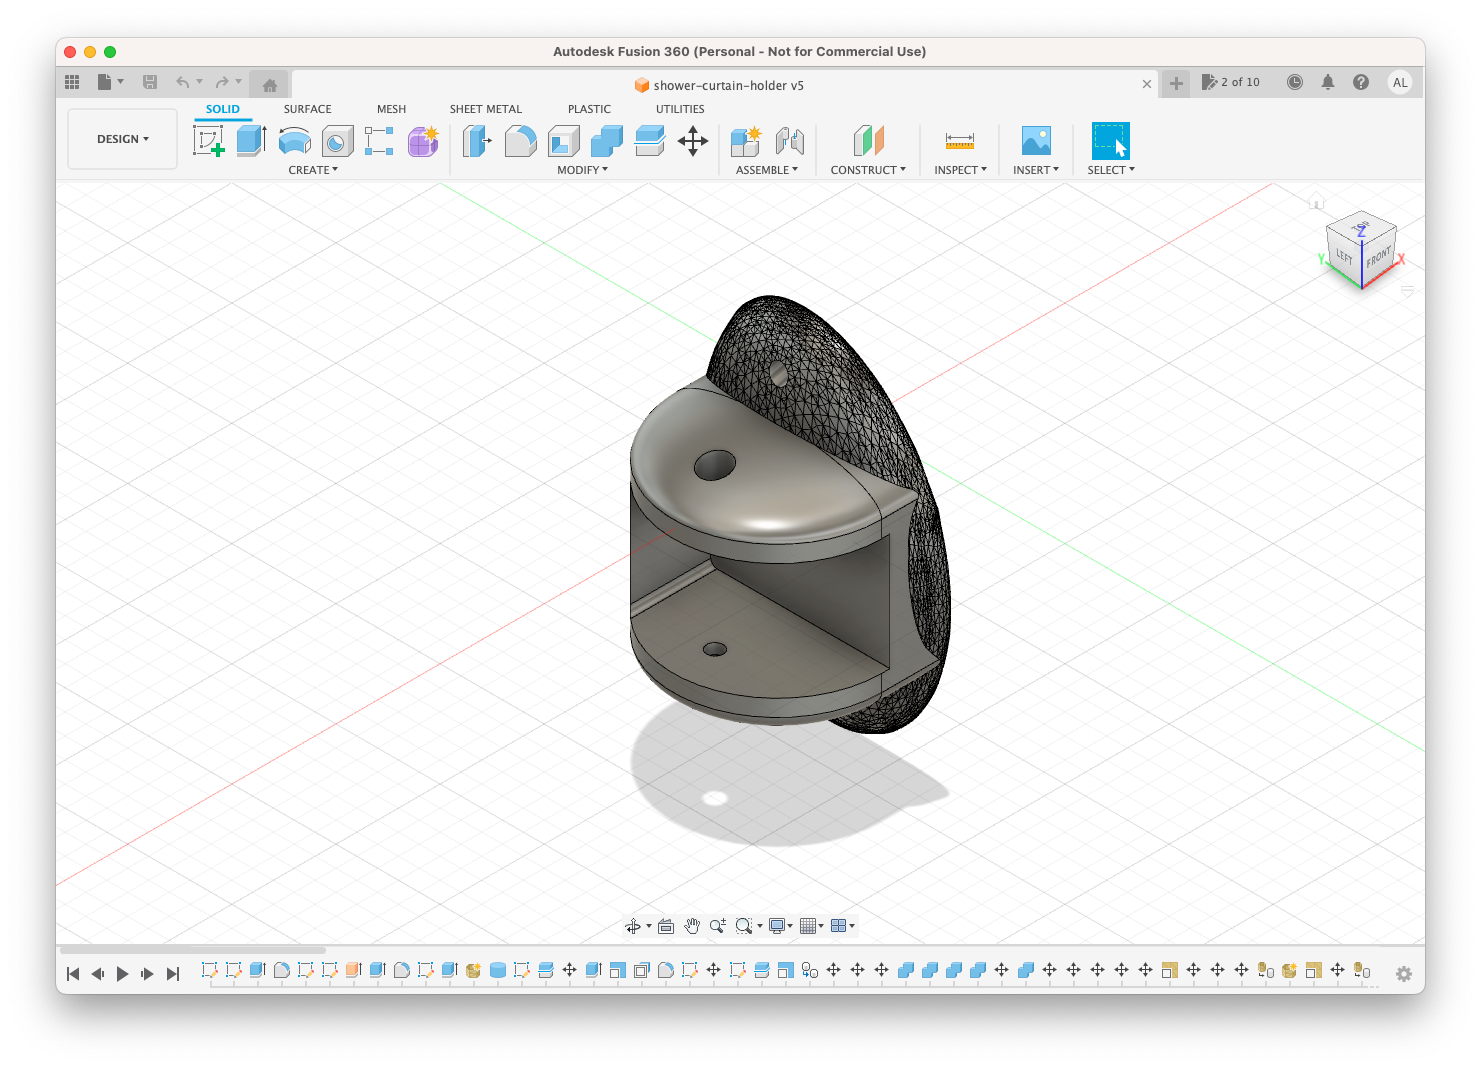
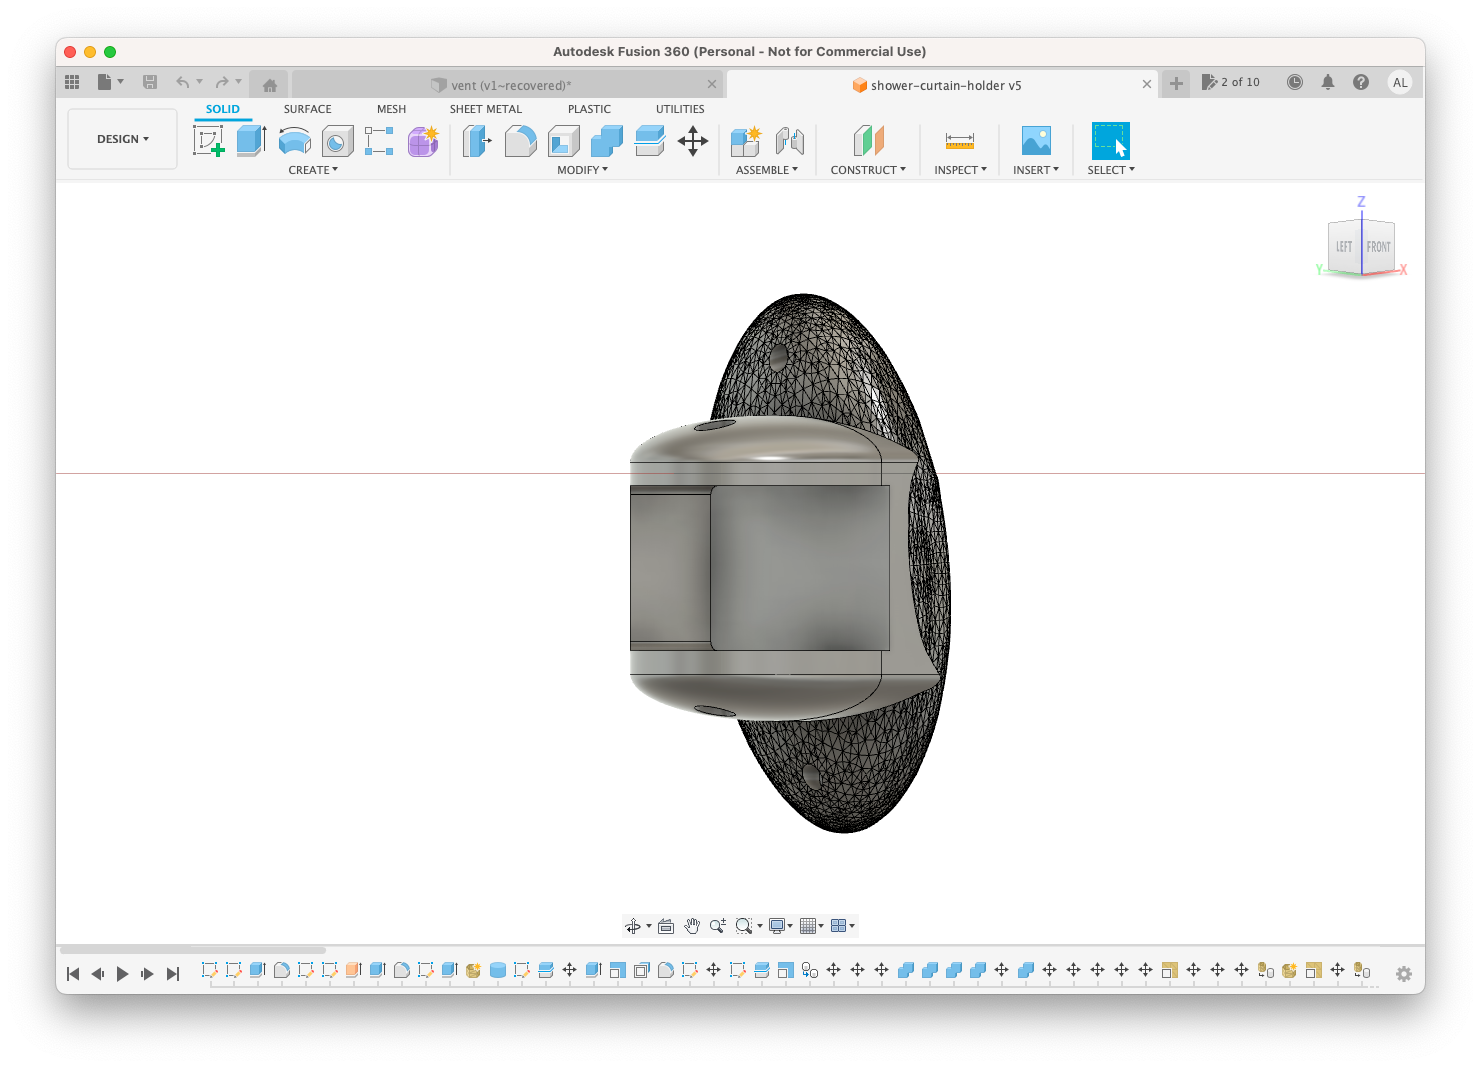
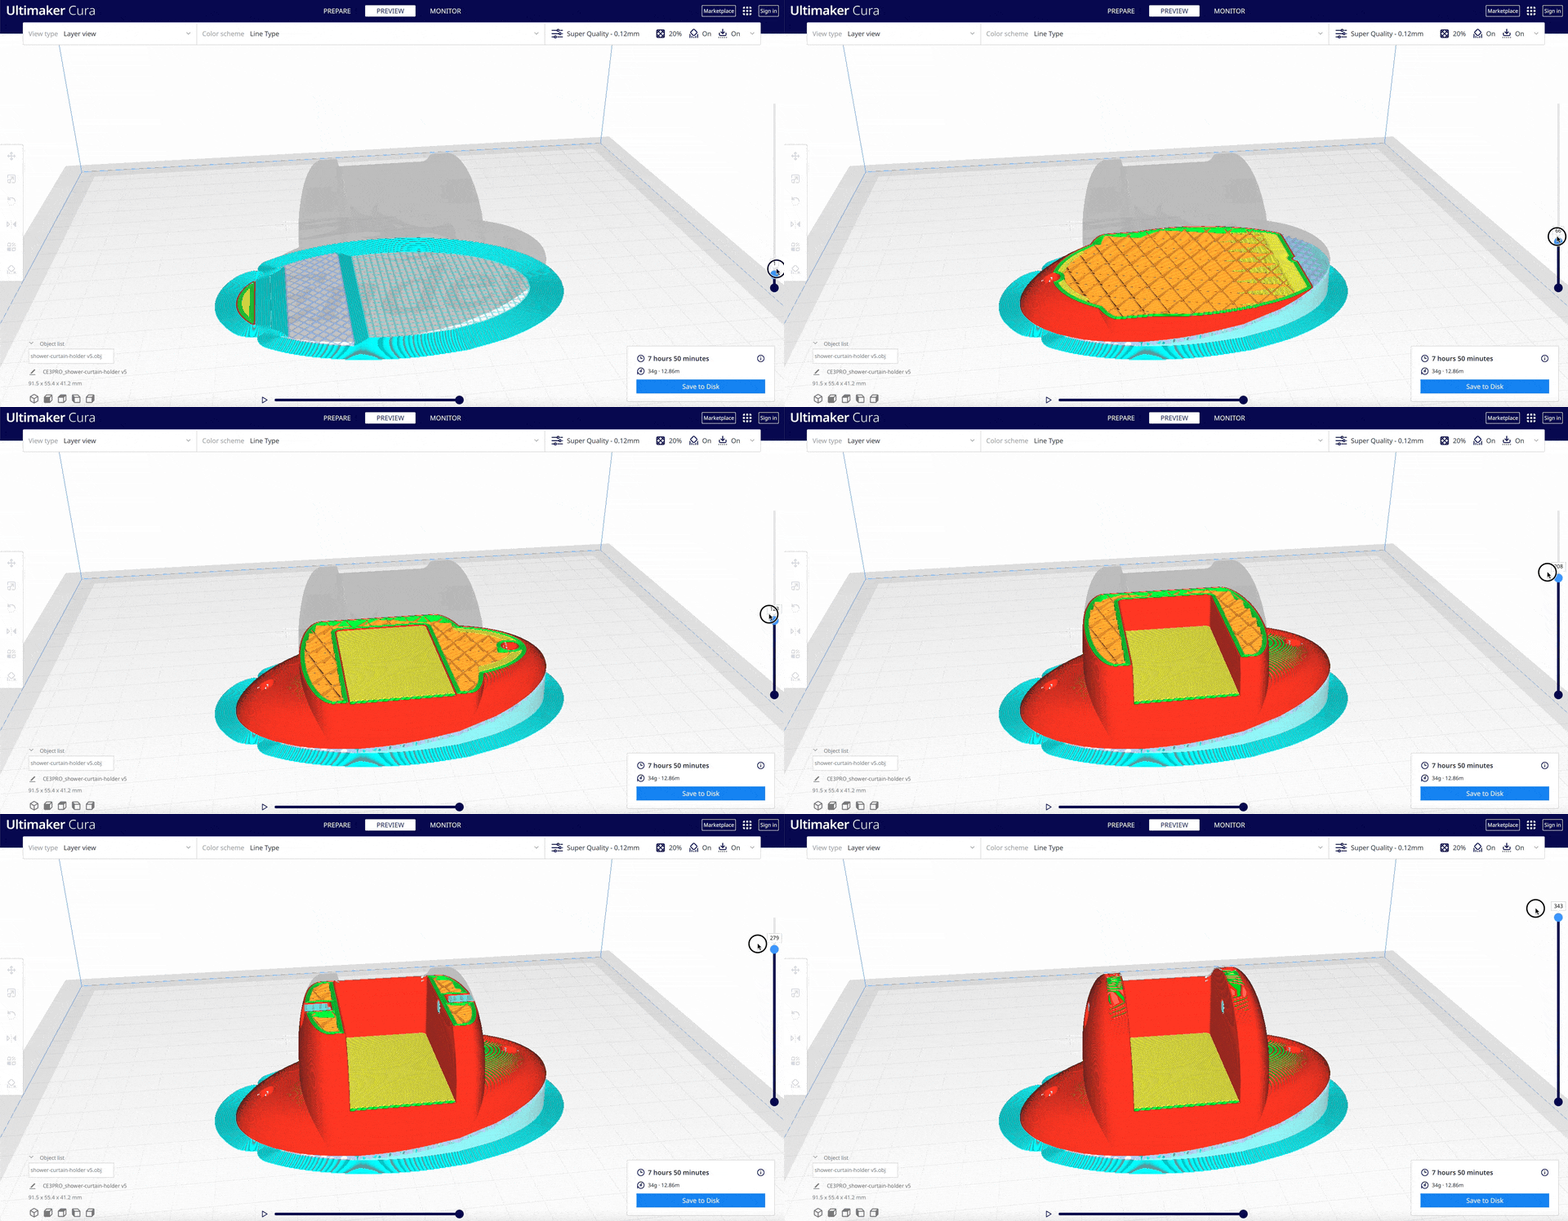
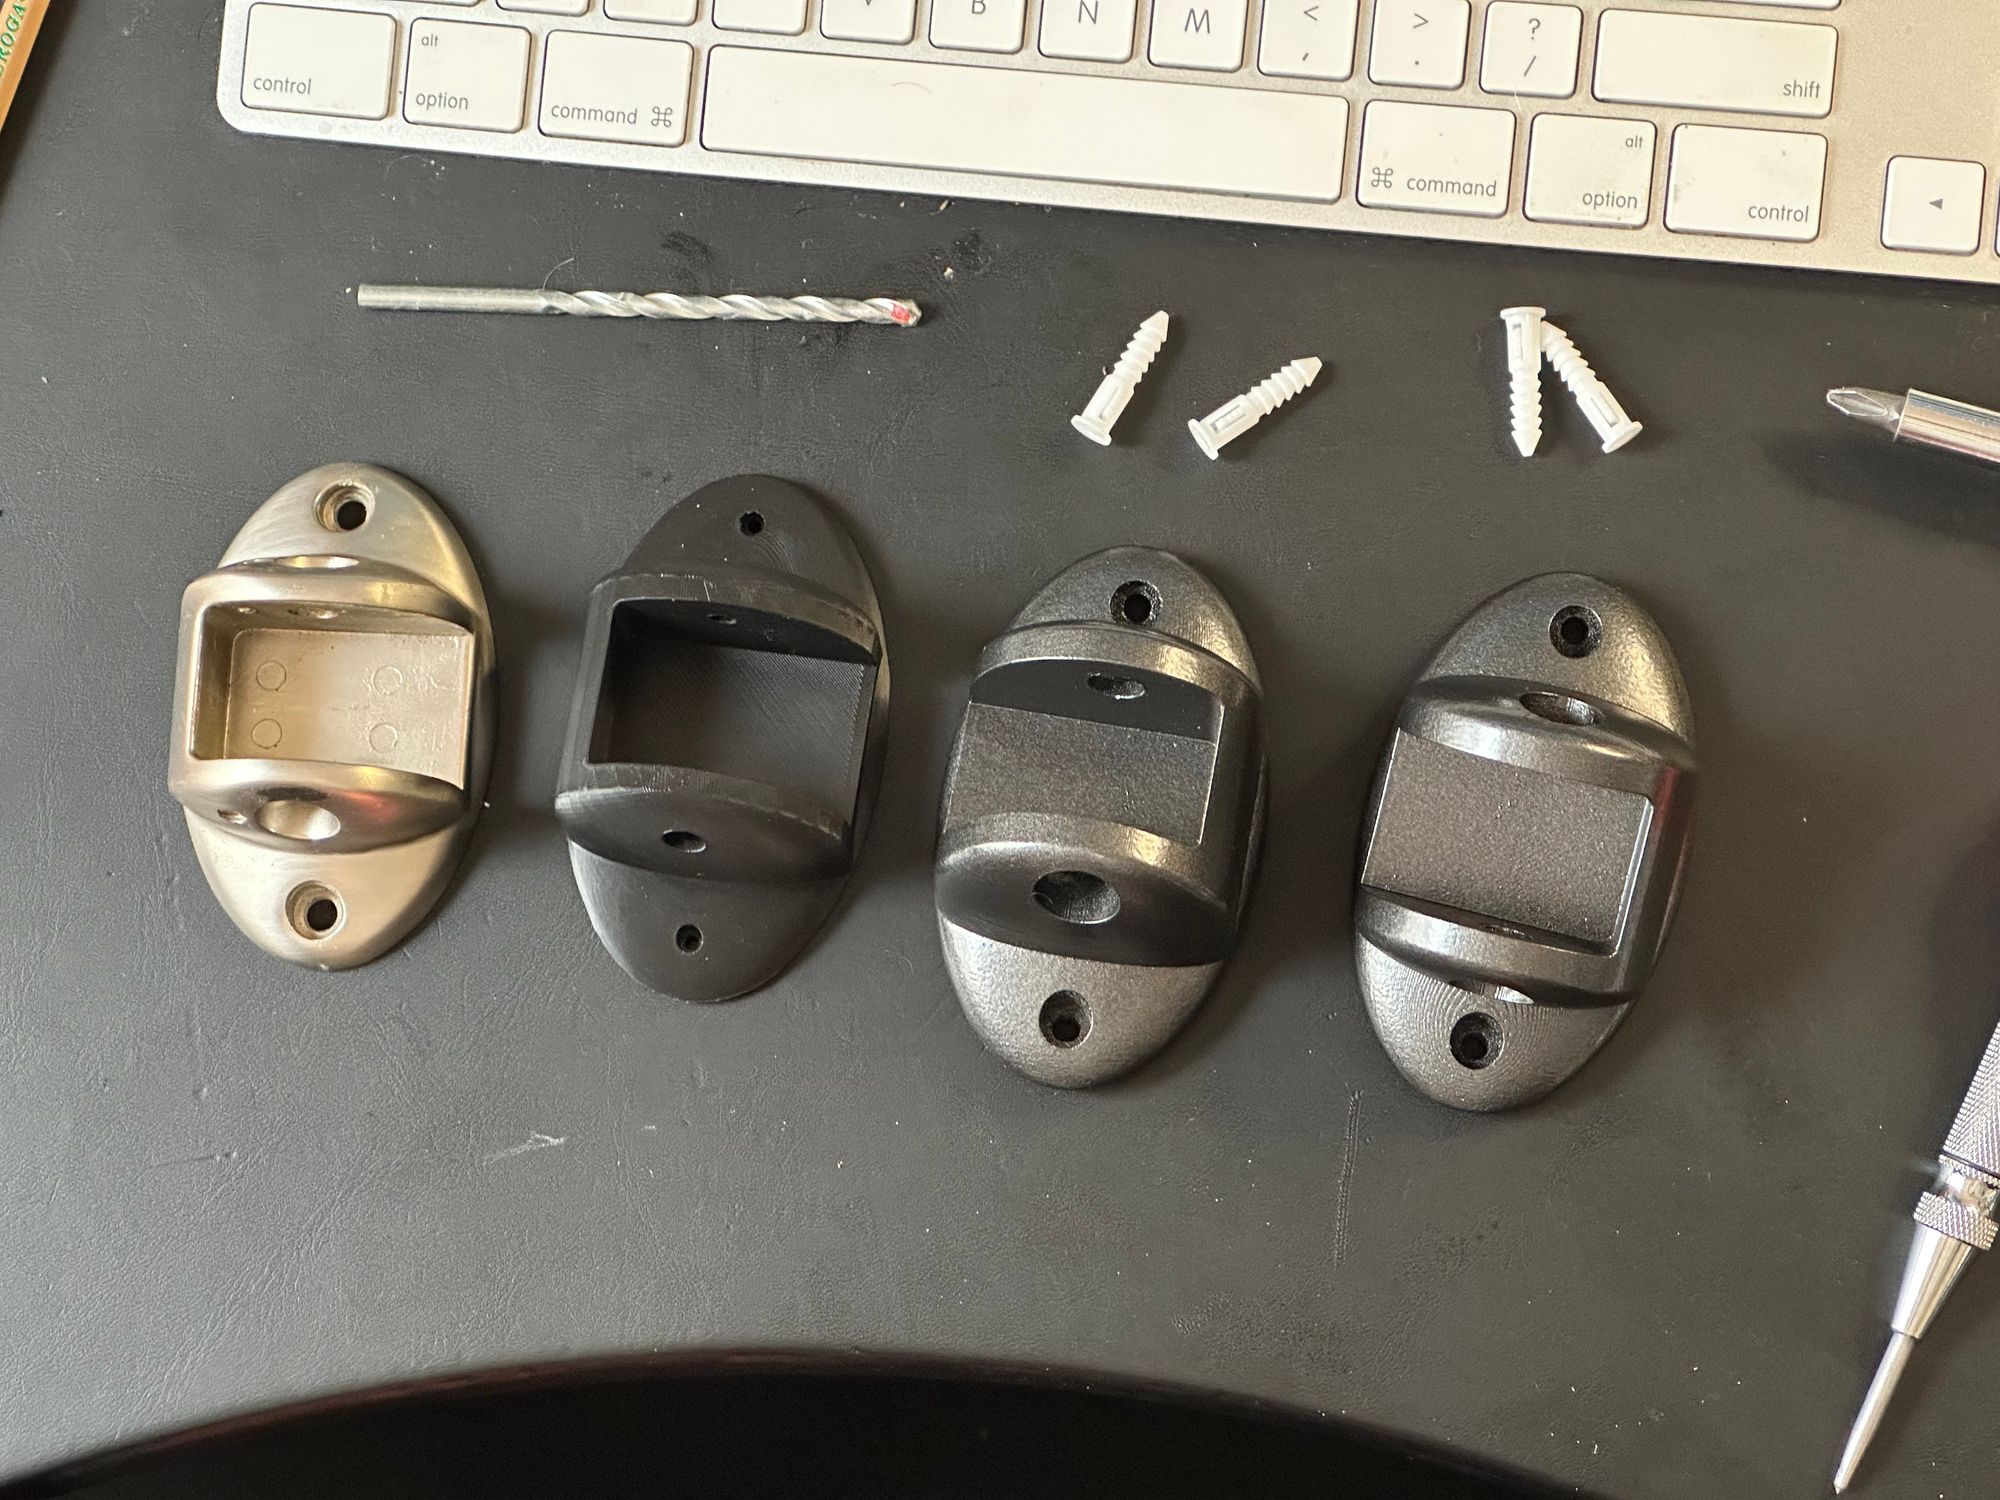
I opted to print in ABS, which I had gotten the hang of. So I exported my model, sliced, and printed.
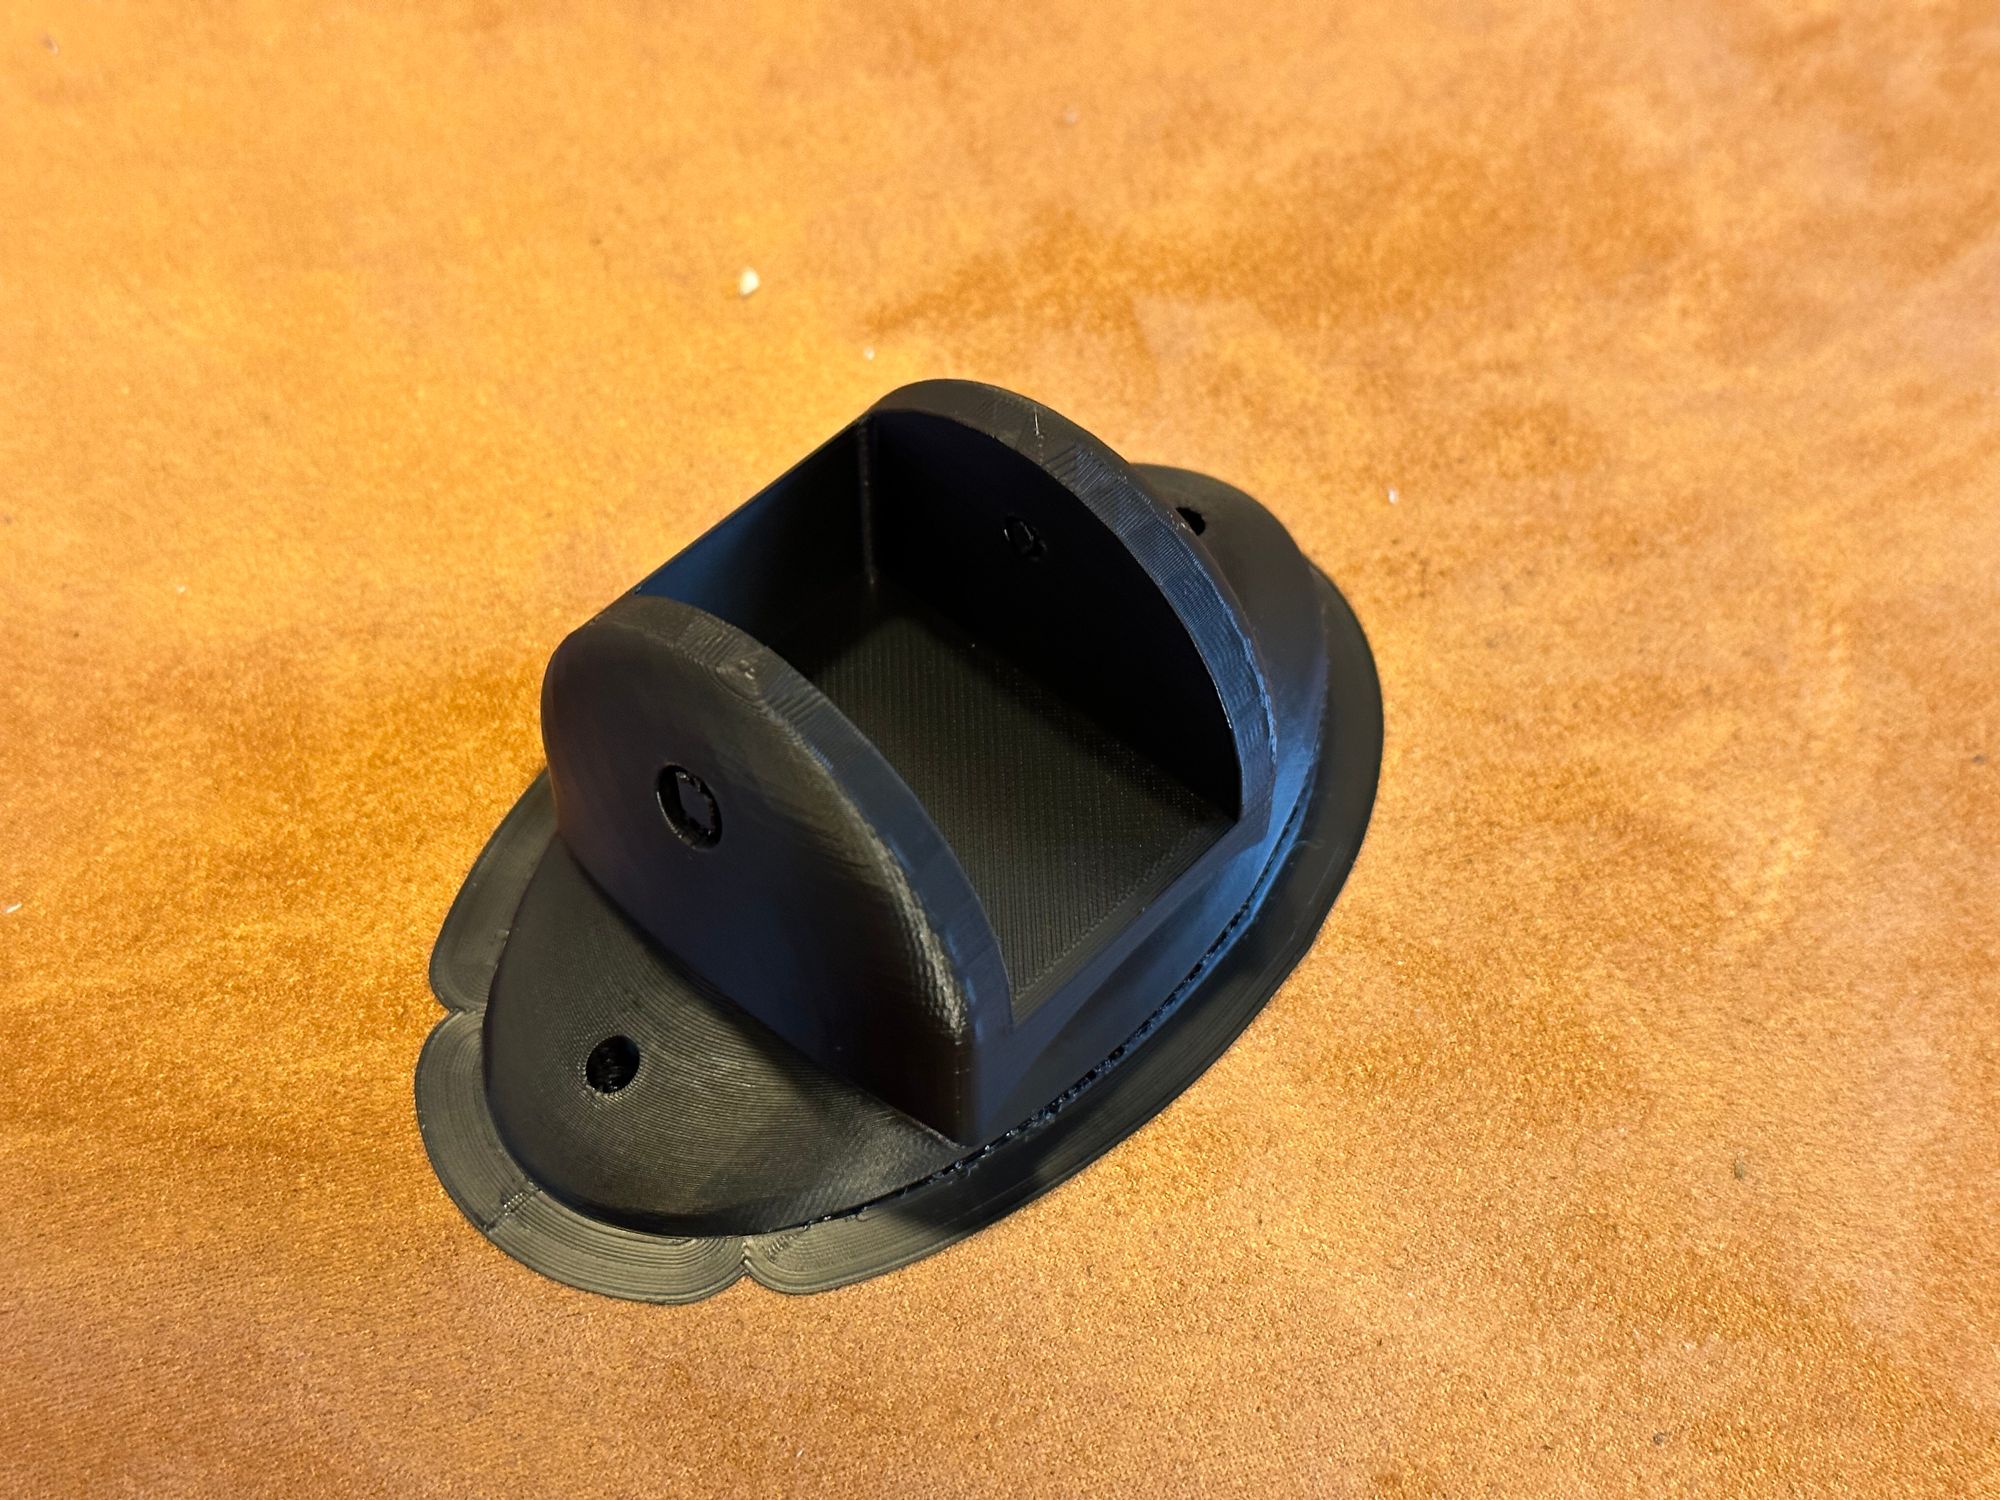
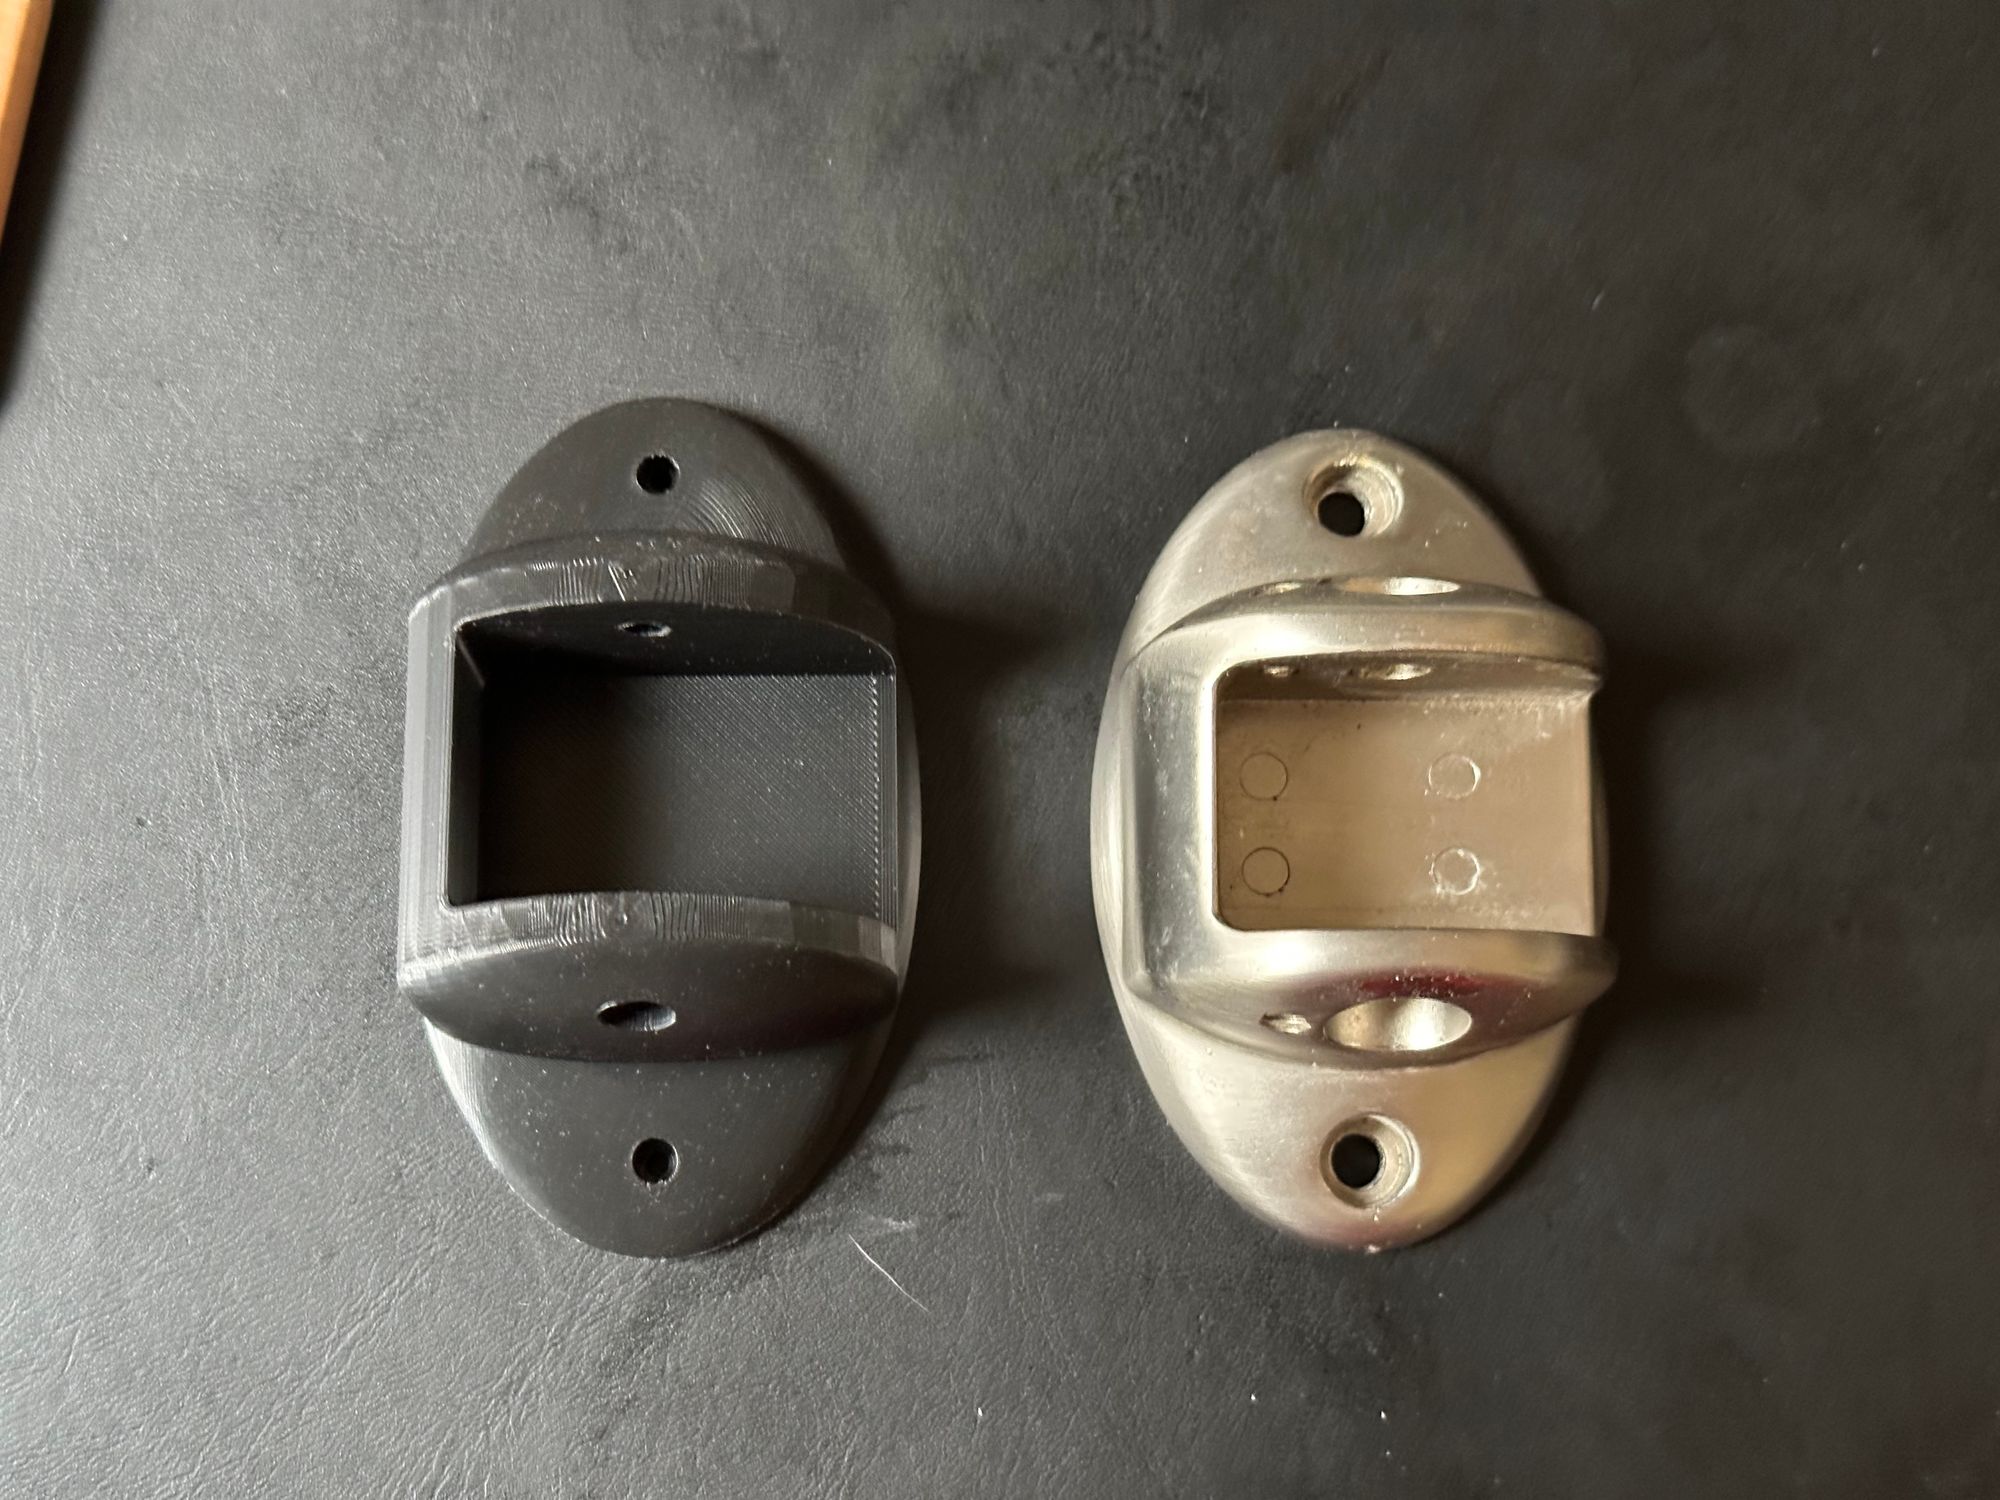
At this point, I compared the print to my template, and noticed a problem – my holes, despite measuring them, were far too small. Turns out, when creating the holes, Fusion 360 was asking me for diameters, but I mistakenly through I needed to put in the radius, giving me holes that were half the appropriate size. Hilariously, I also had messed up in the other direction on the curvature of the back, giving me a curve that was not nearly sharp enough.
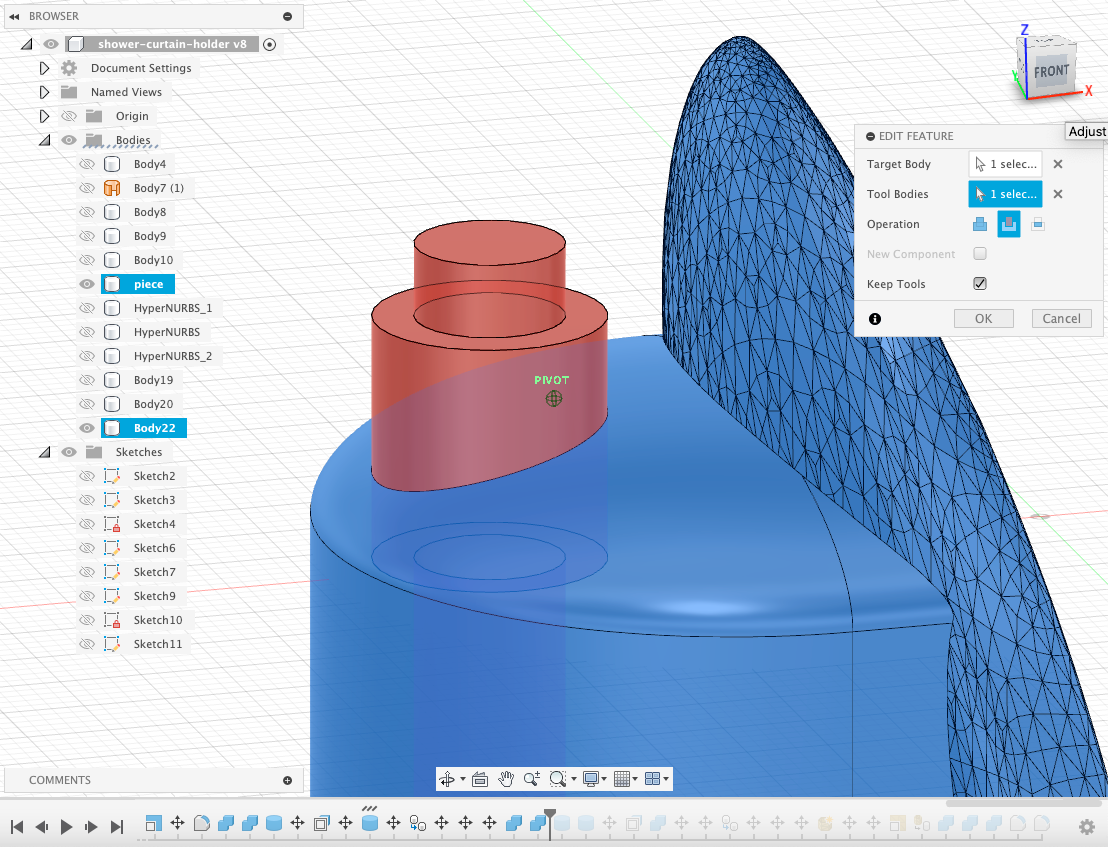
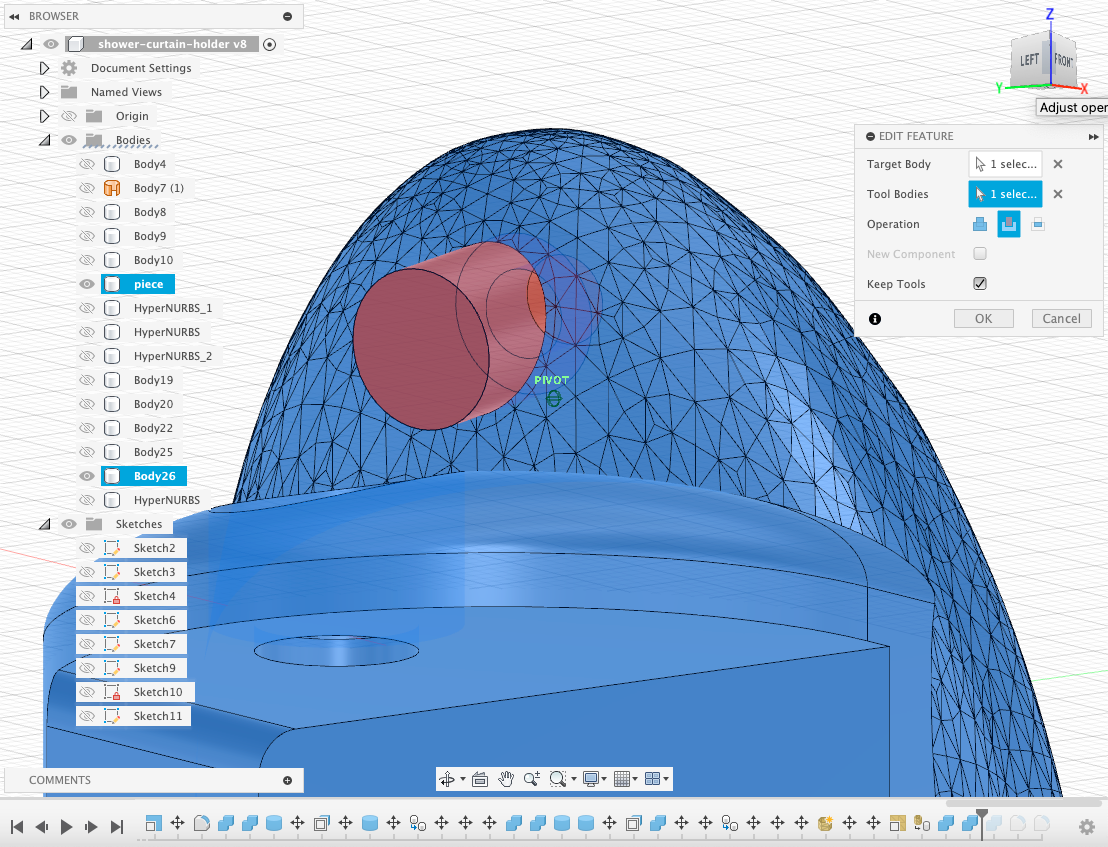
At this point, I discovered a feature of Fusion 360 that made me extremely happy that I’d chosen to use it. There is a “timeline” that allows me to rewind to previous operations, change aspects of that operation, such as the diameter of a cylinder that I’ve created, and then replay the following actions. I still had to go back into Cinema4D to create a new back with twice the amount of curve, but after that, making the adjustments to the model were easy.
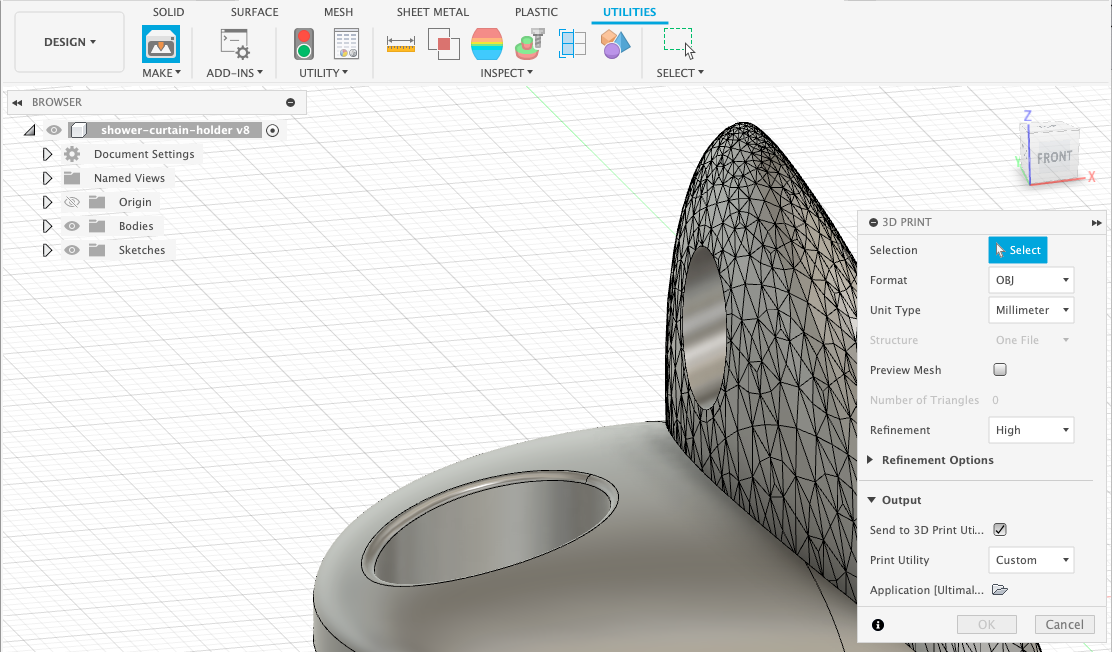
When I printed the duct ring for my paint booth, I had exported an .obj from Fusion 360 and imported it into Cura, but I noticed that the curves on the resulting print were awfully faceted. It didn’t make a huge difference on that print, so I lived with it. However, I noticed the same faceting on the smooth, “programmatic” surfaced created by Fusion 360 on my first bracket attempt. I went digging and discovered that there was a “Make > 3D Print” menu that gave me controls for a higher level of “Refinement,” resulting in the smooth curves I was after.
Then it was time for another print, and this time, a successful hardware test-fit!
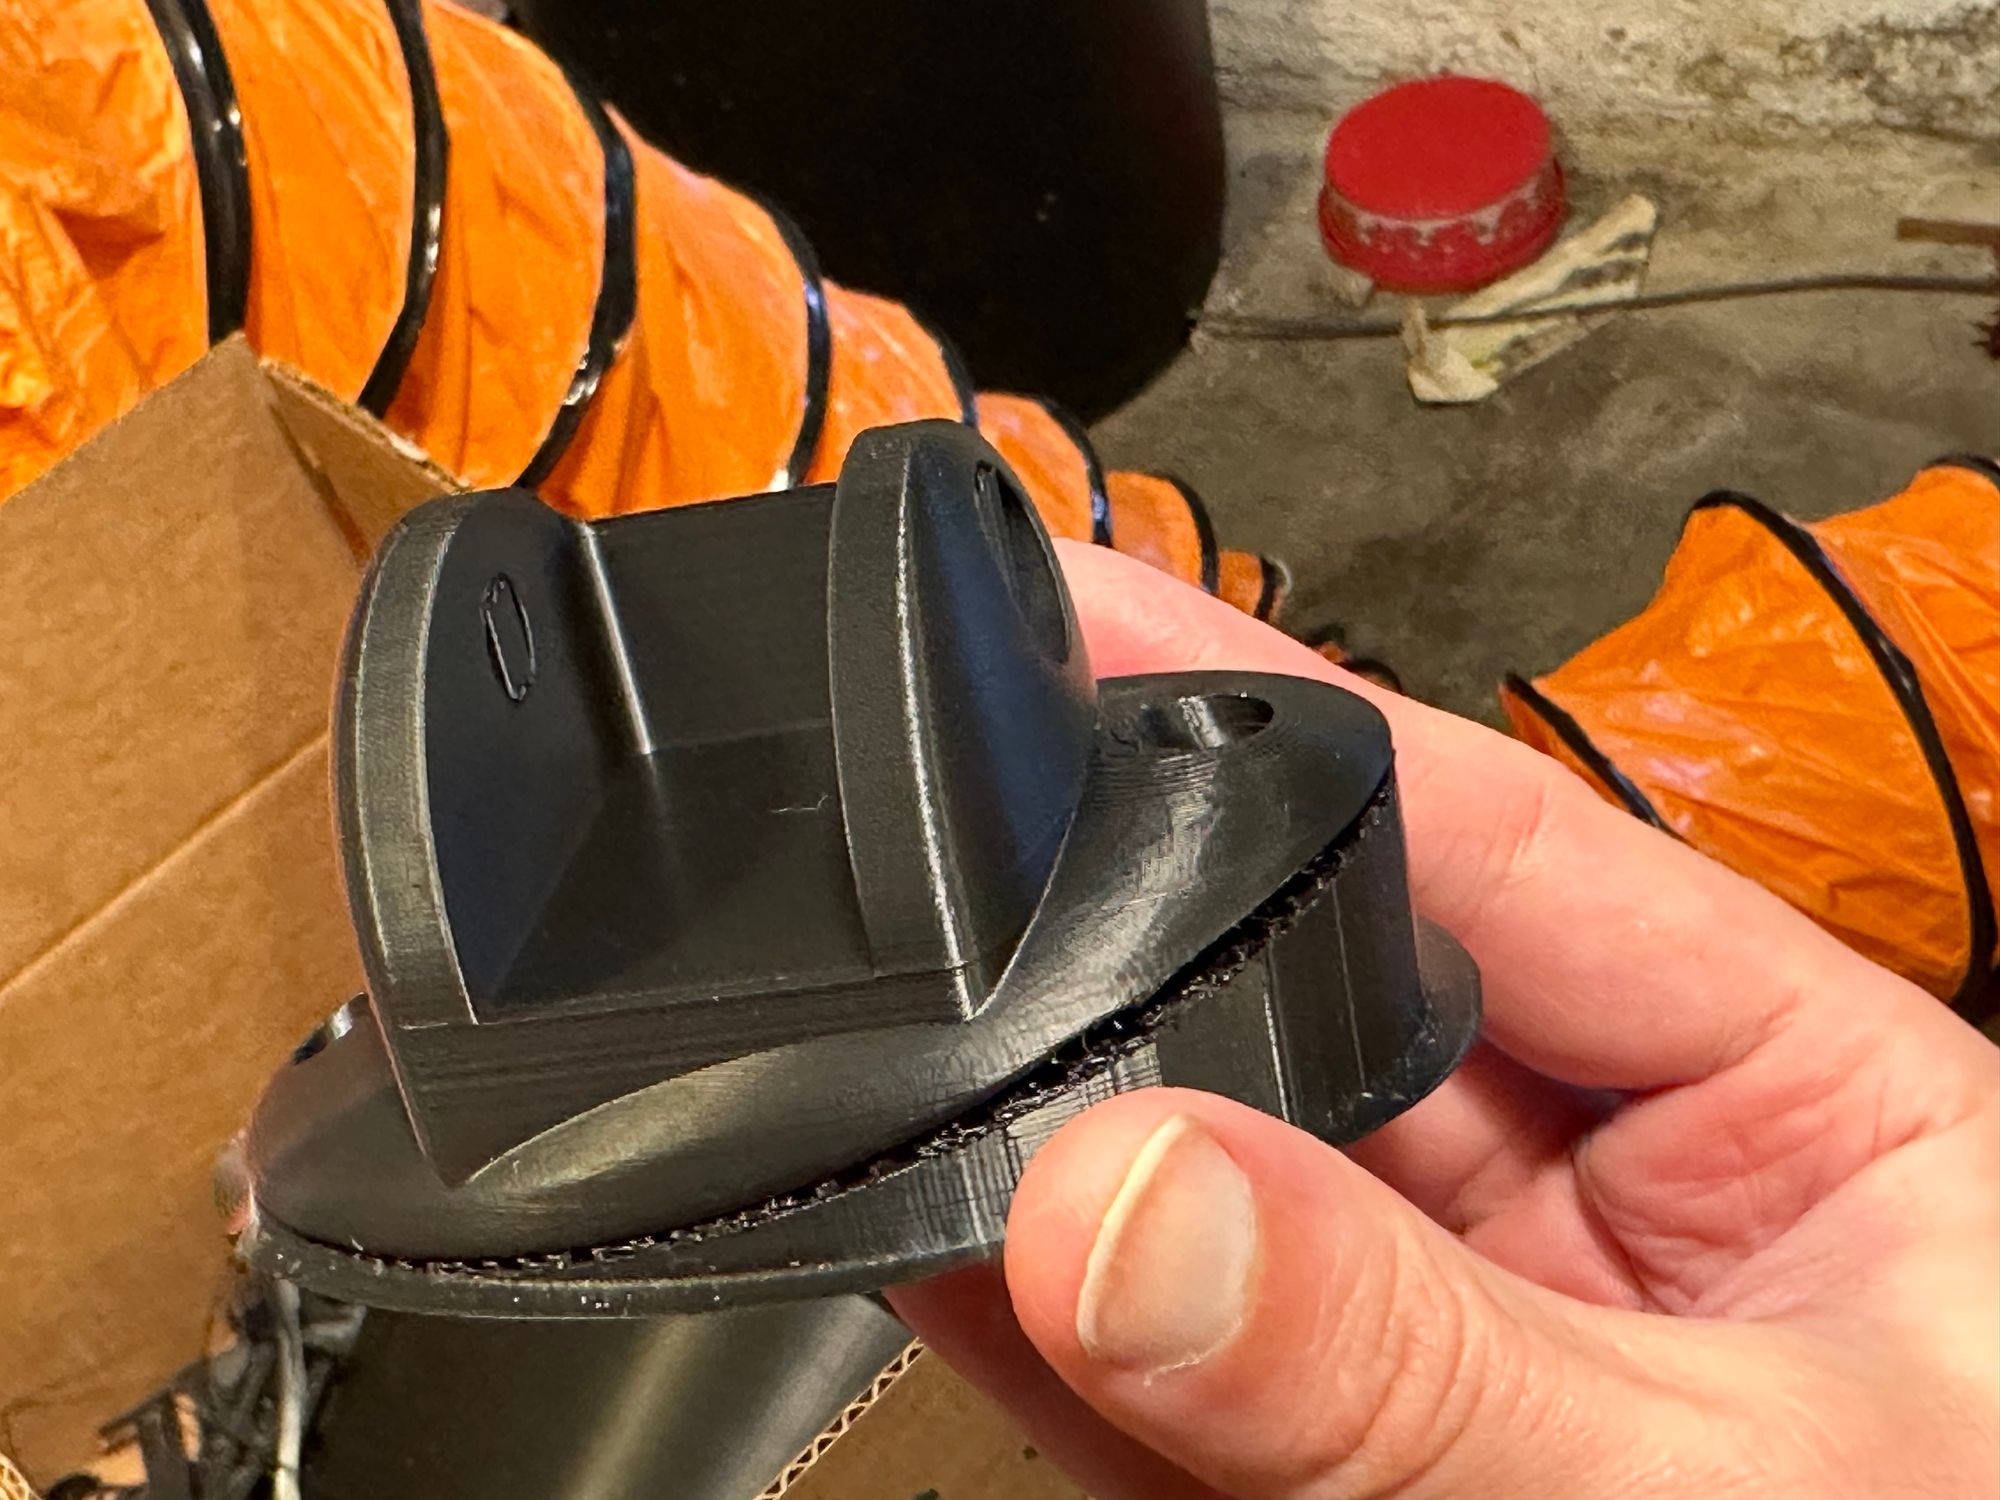
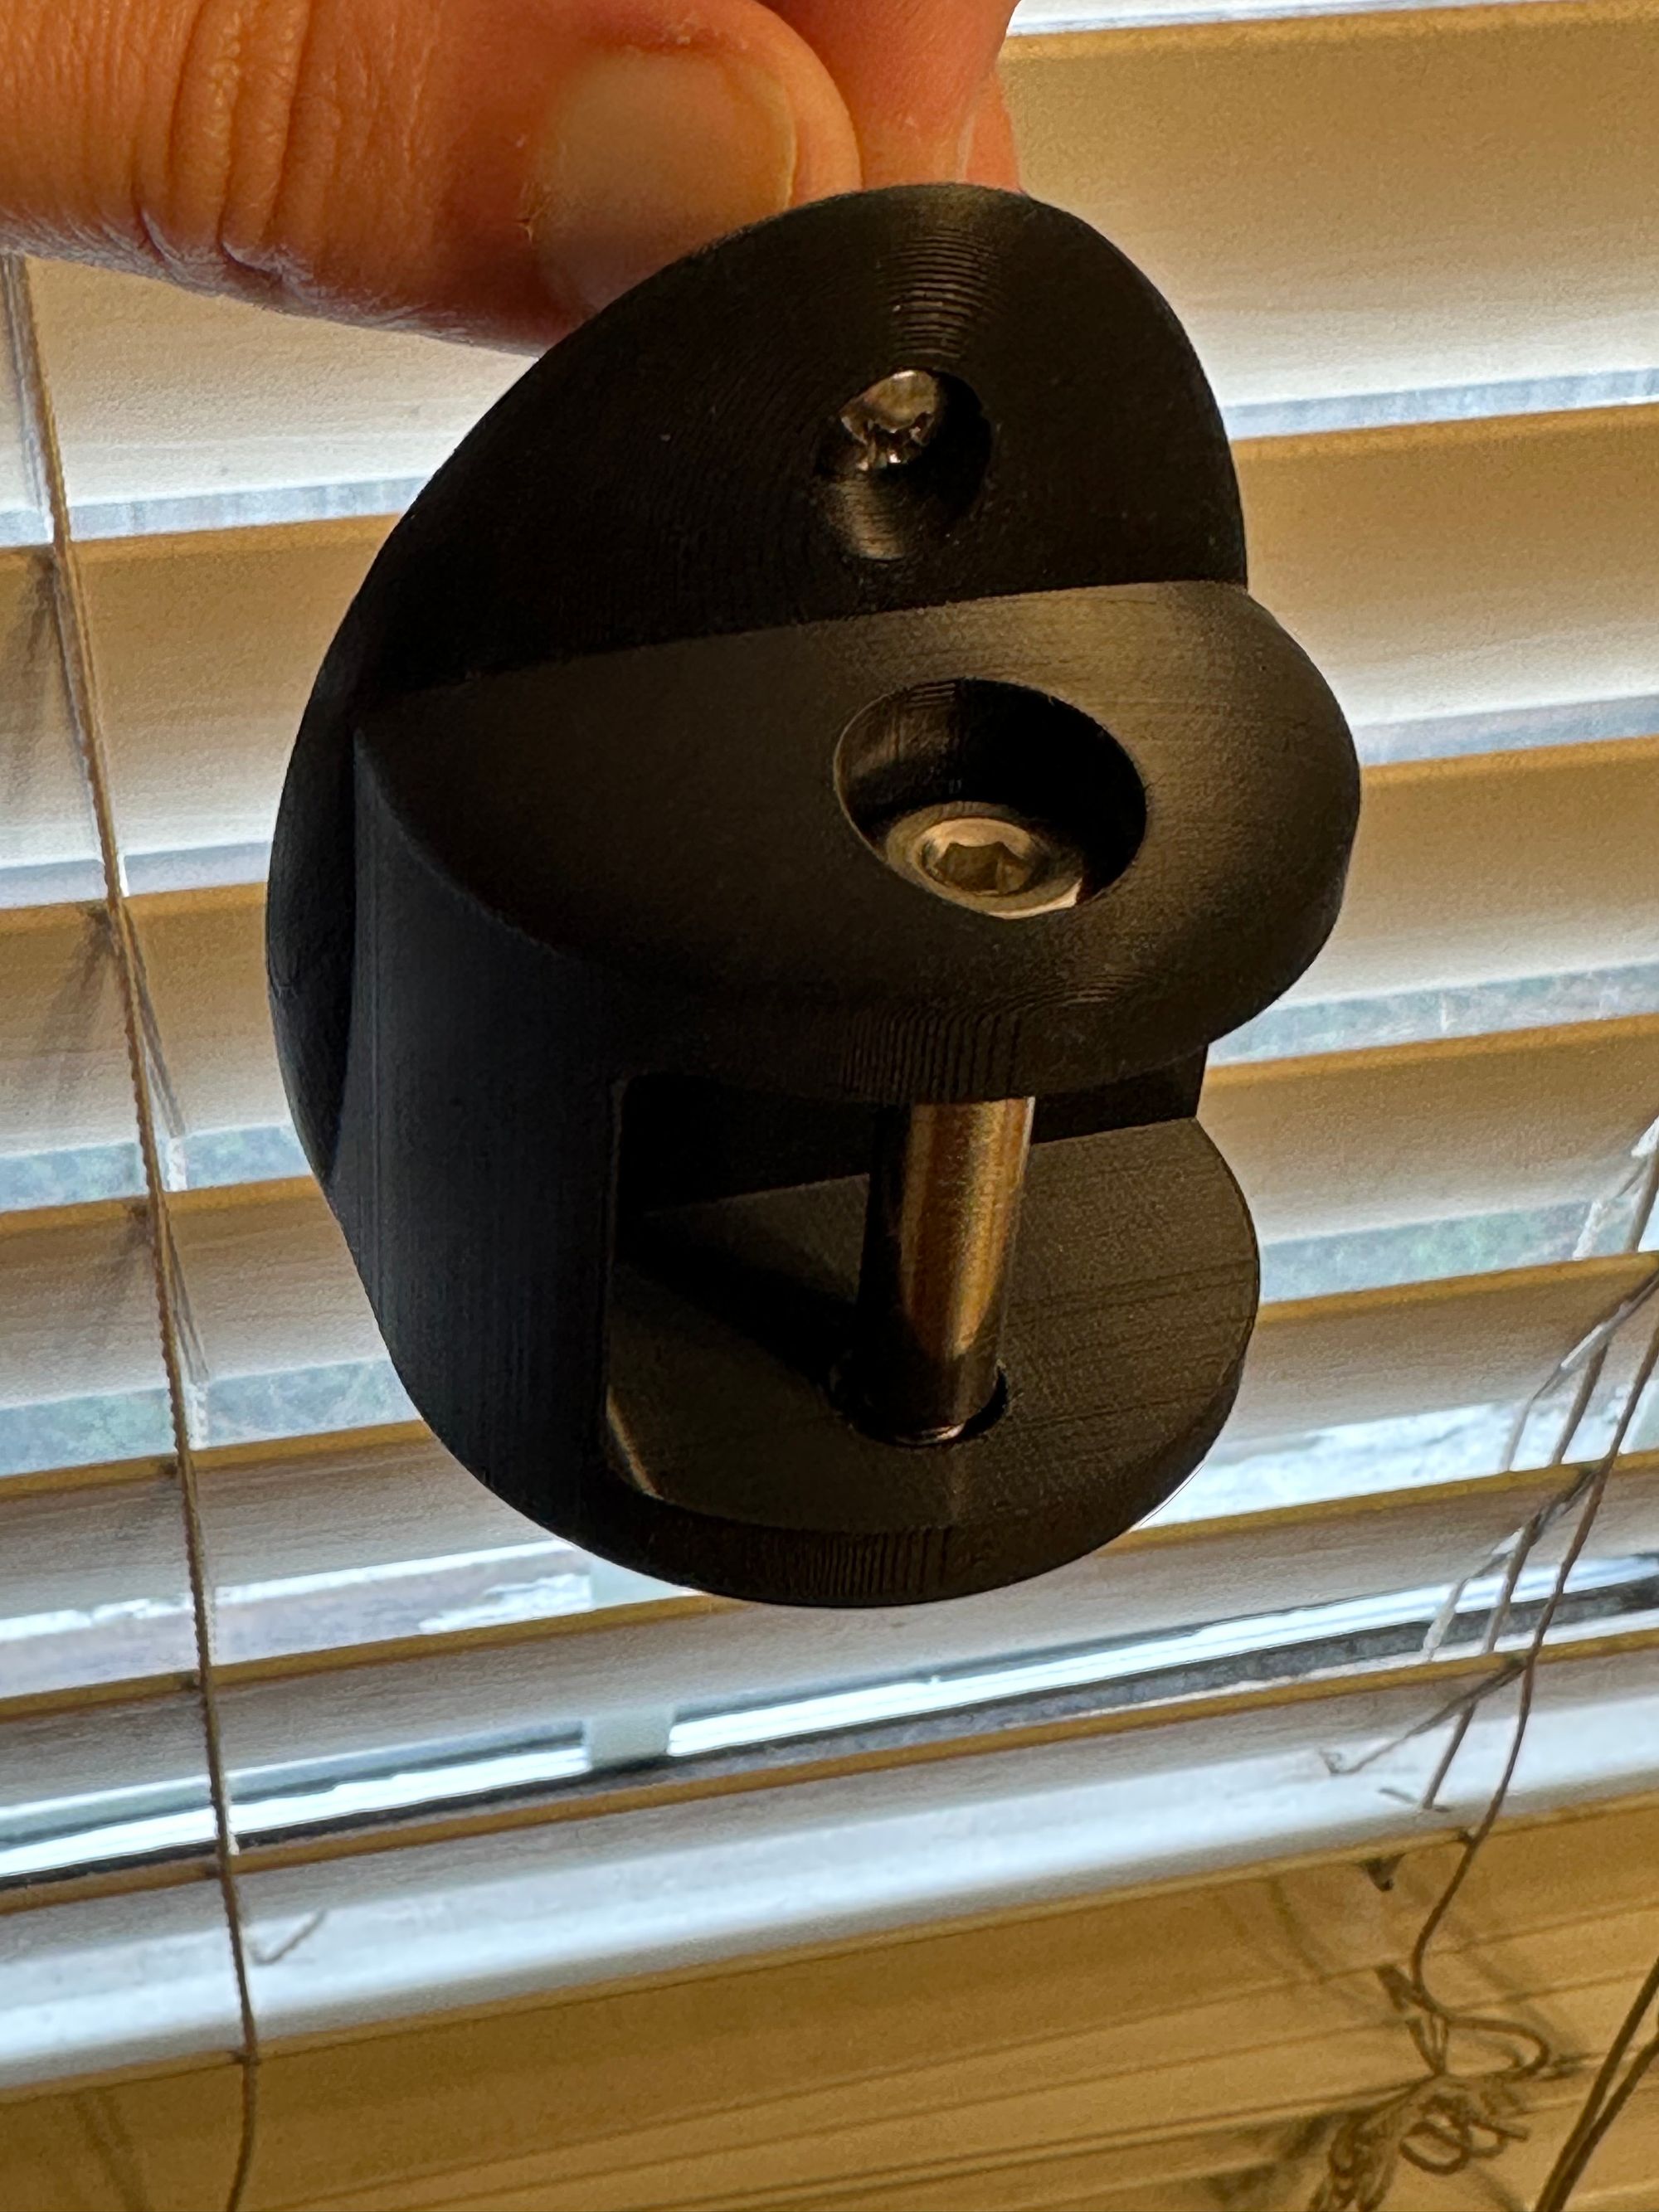
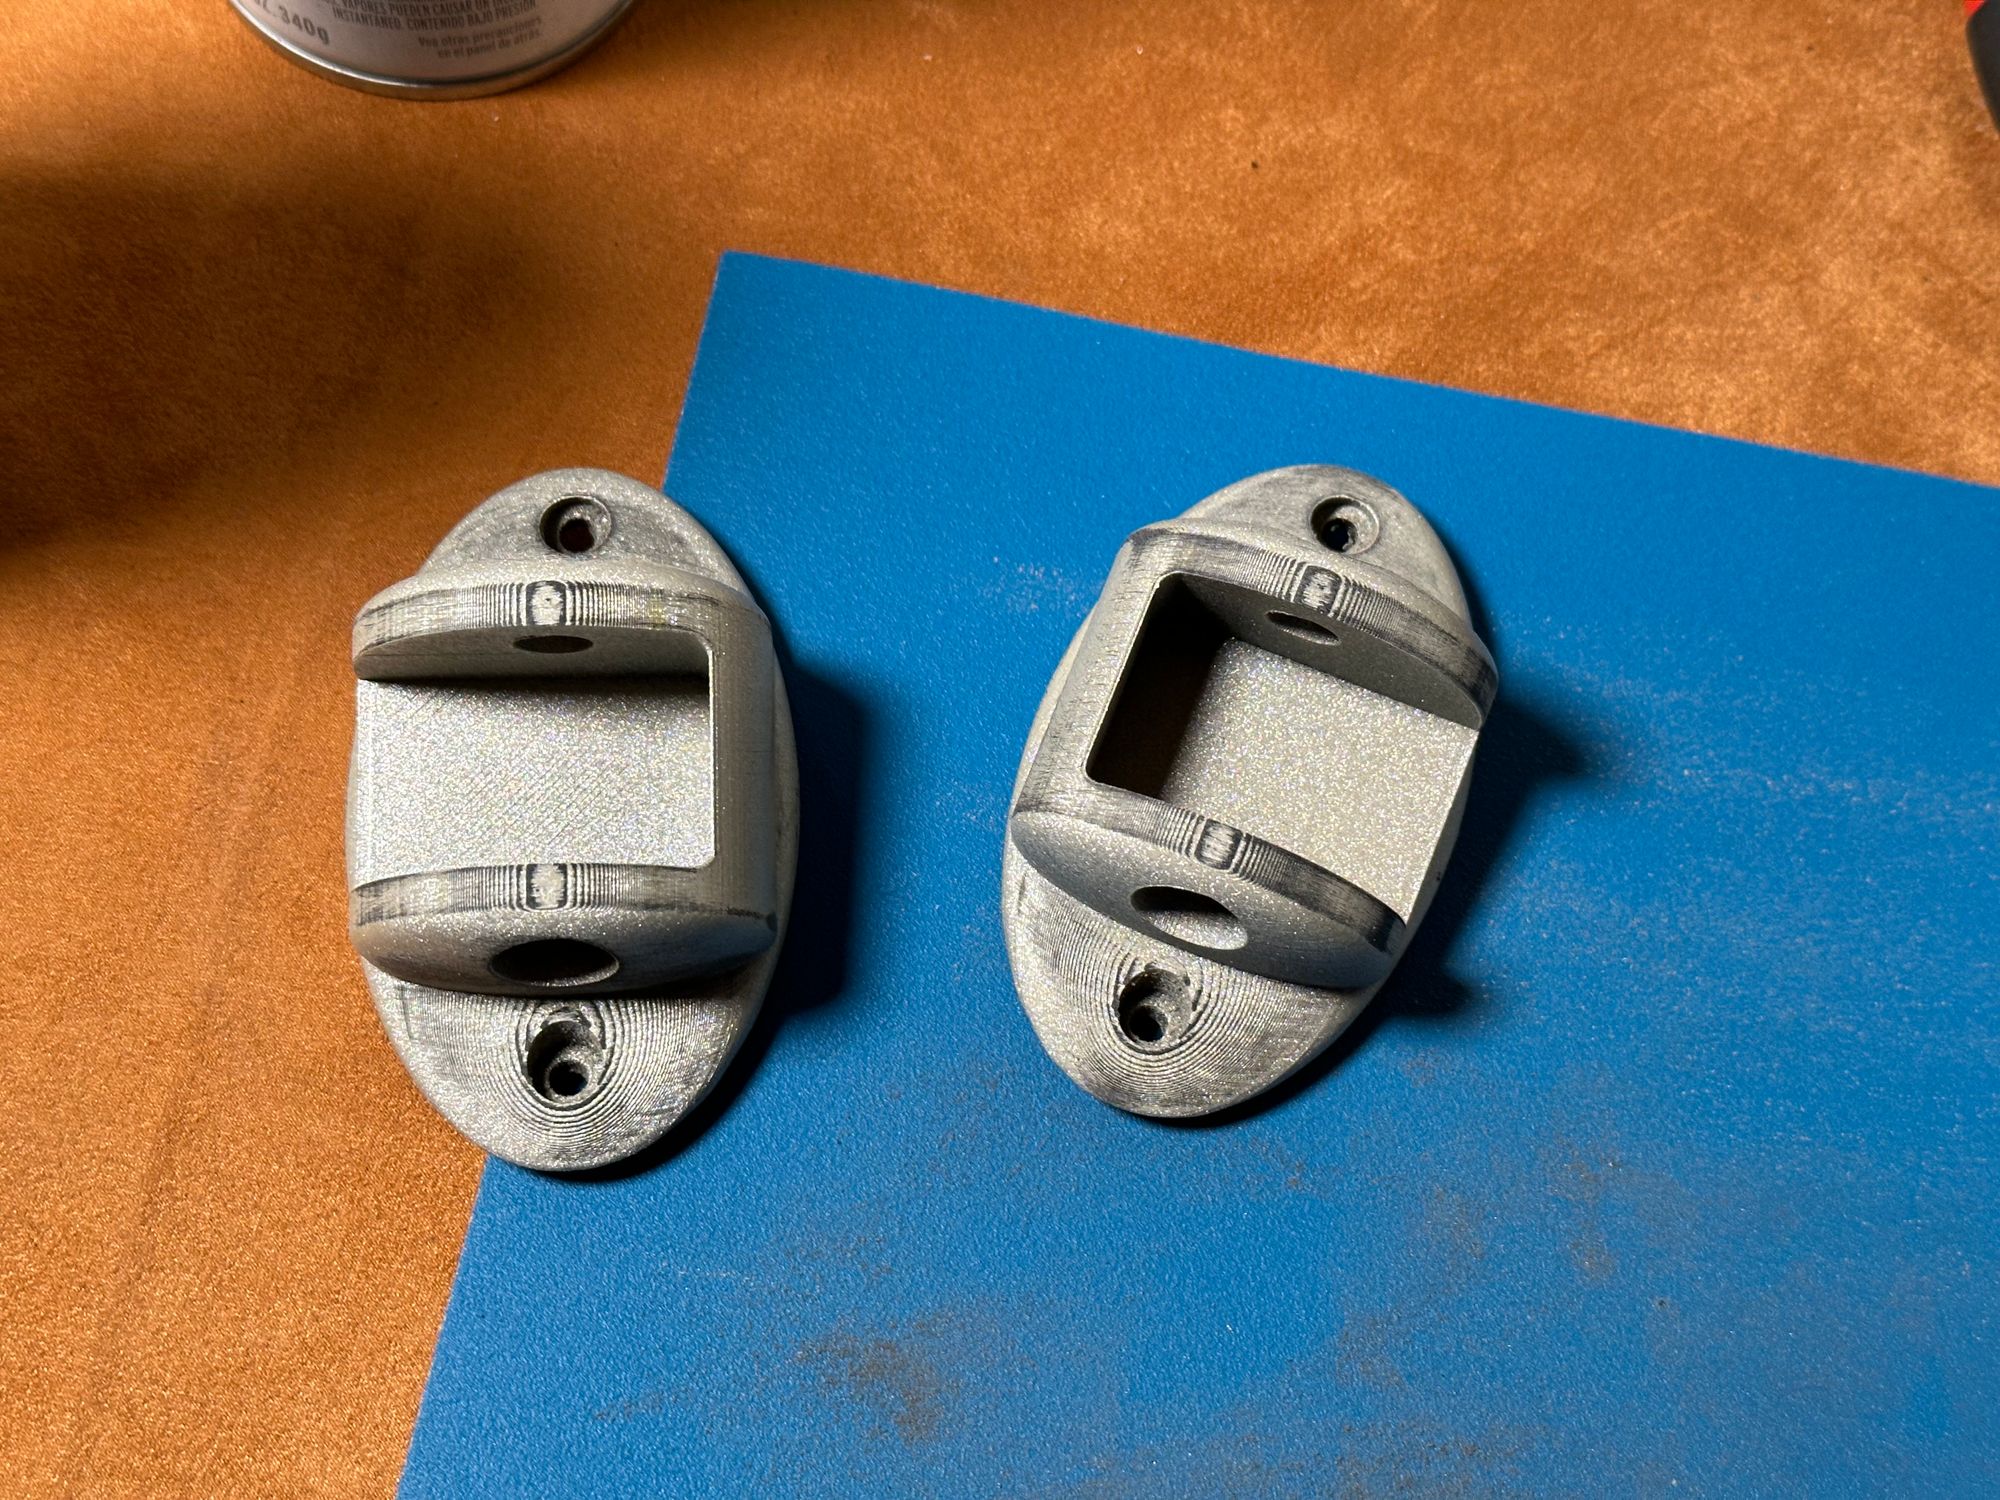
With that success in hand, I went ahead and printed the mirrored bracket for the other side.
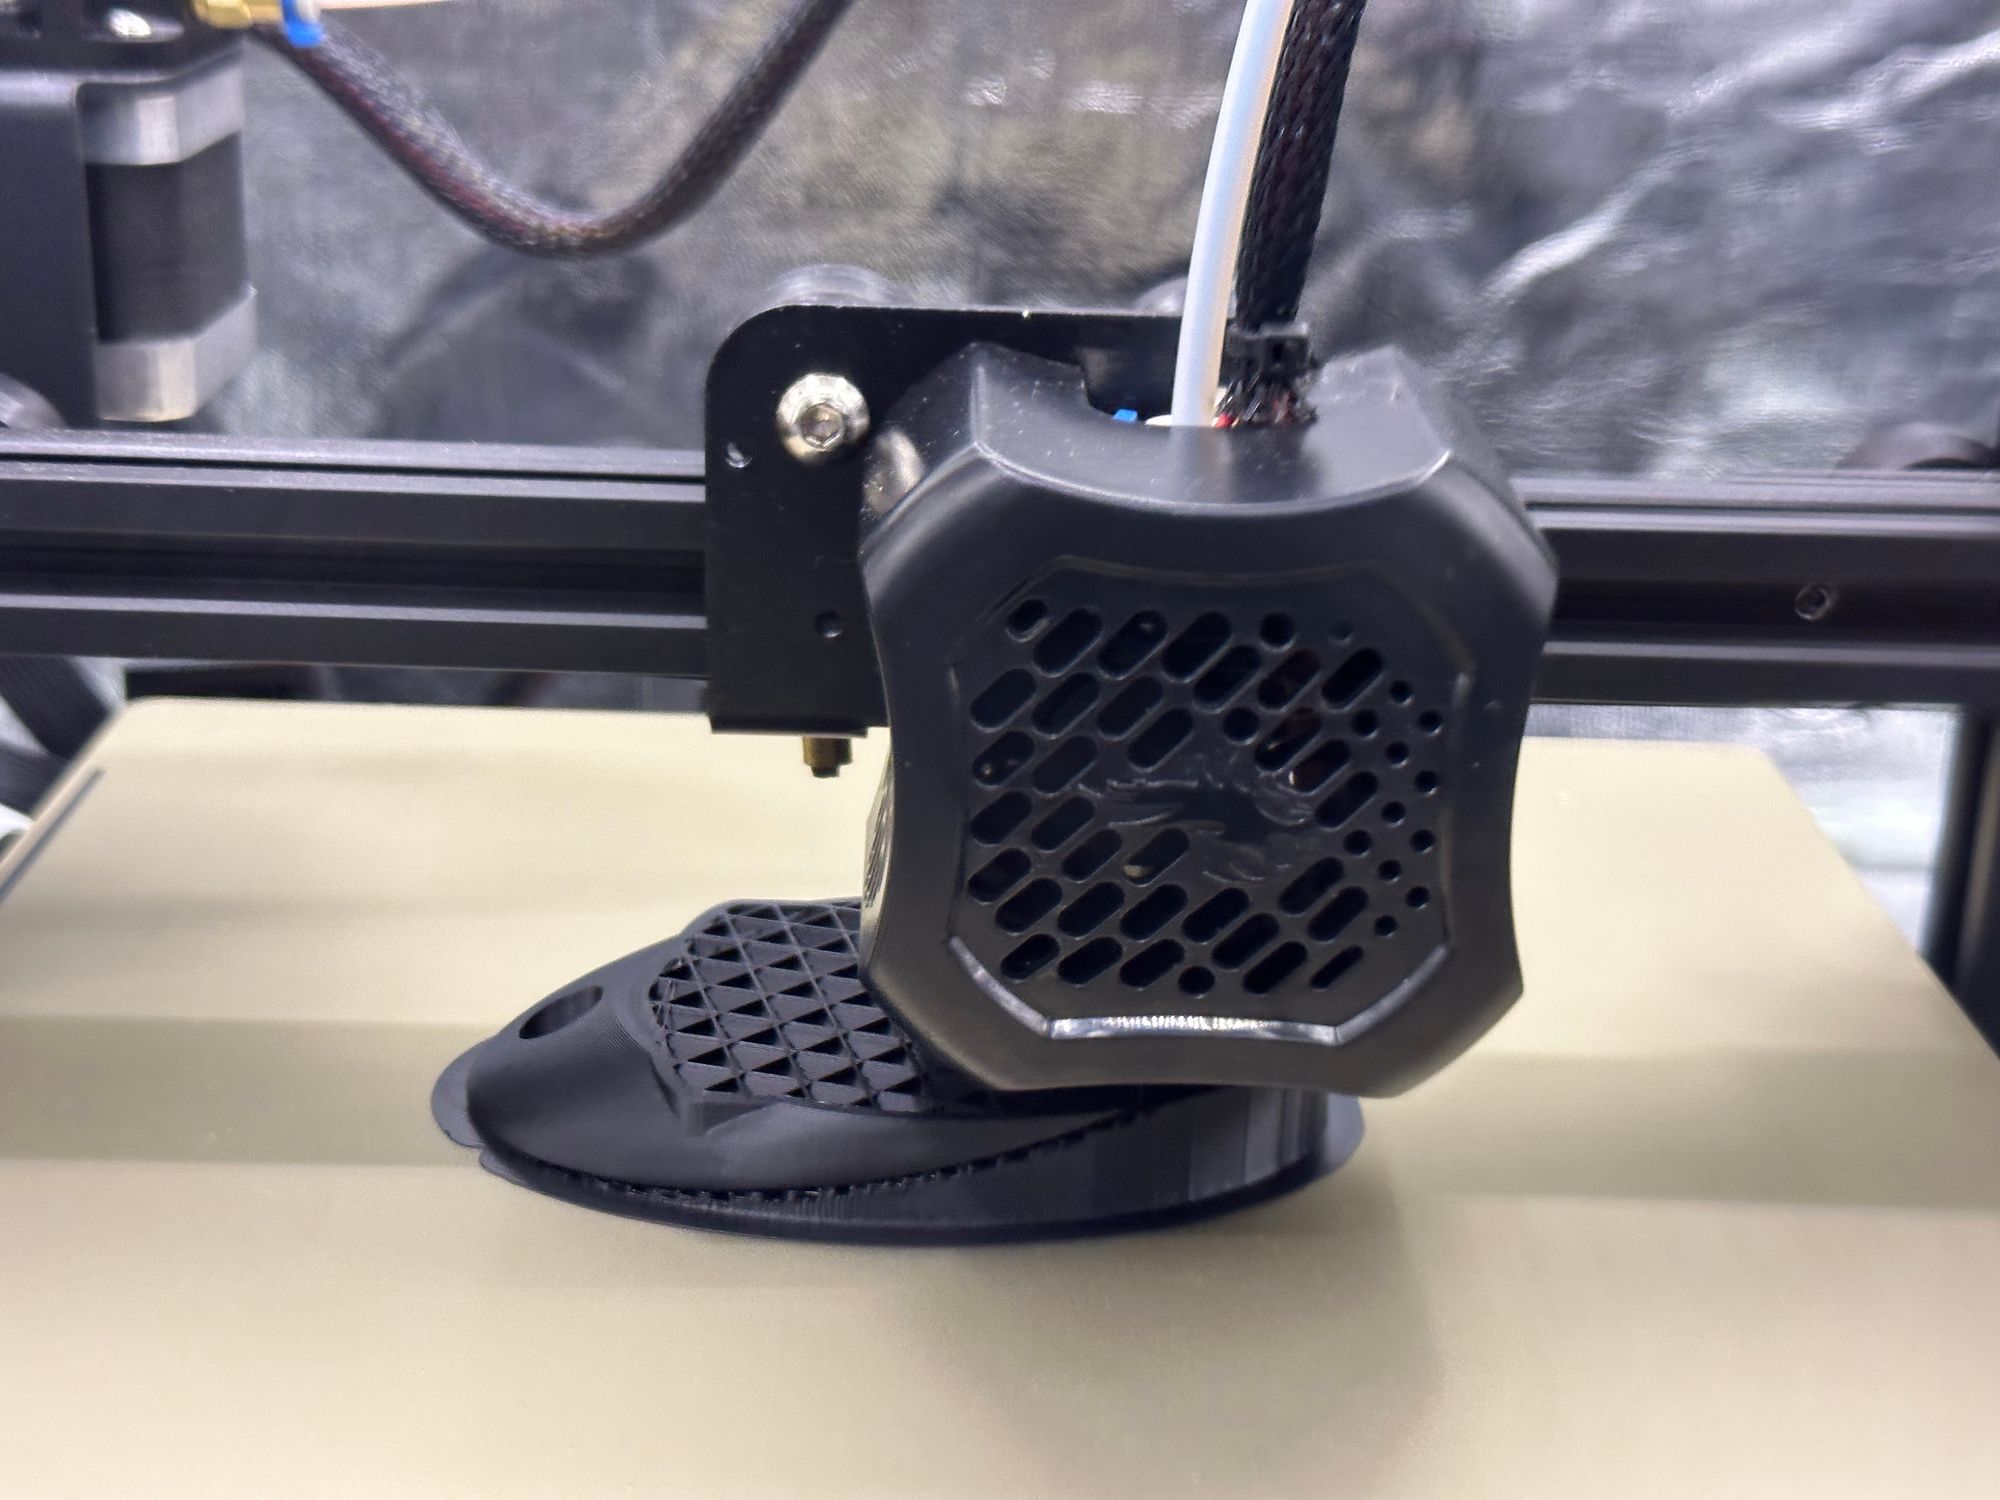
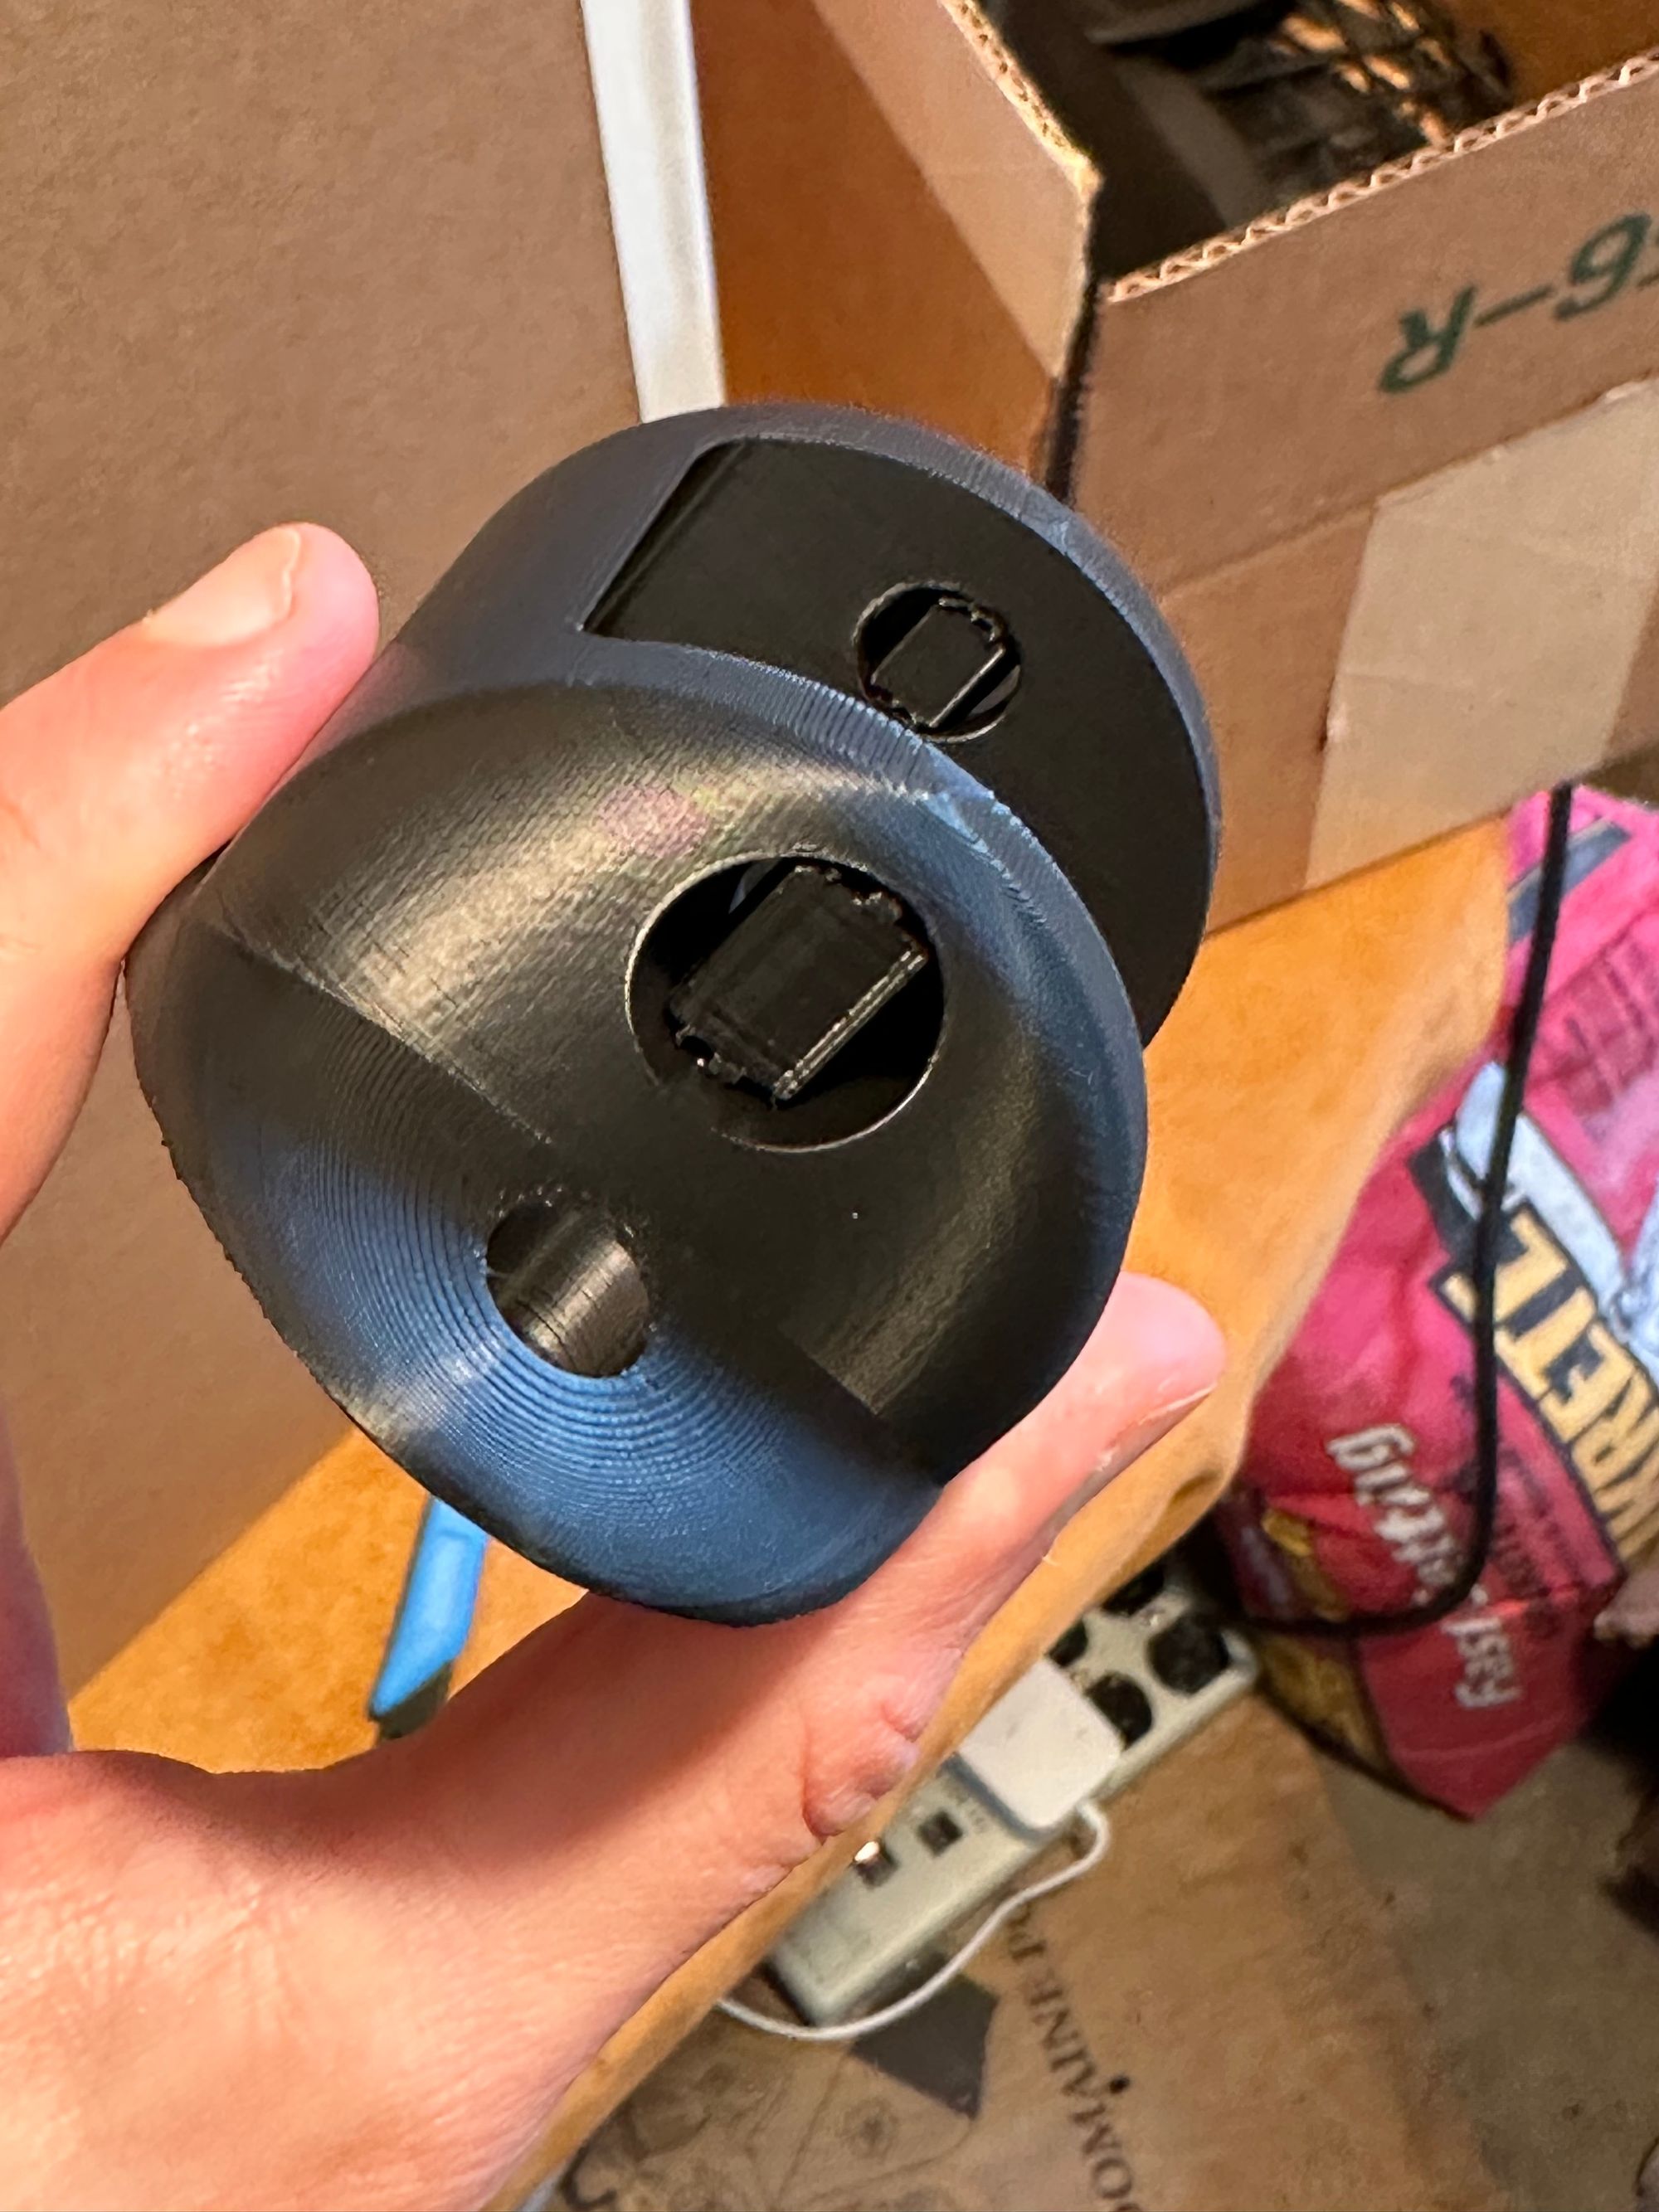
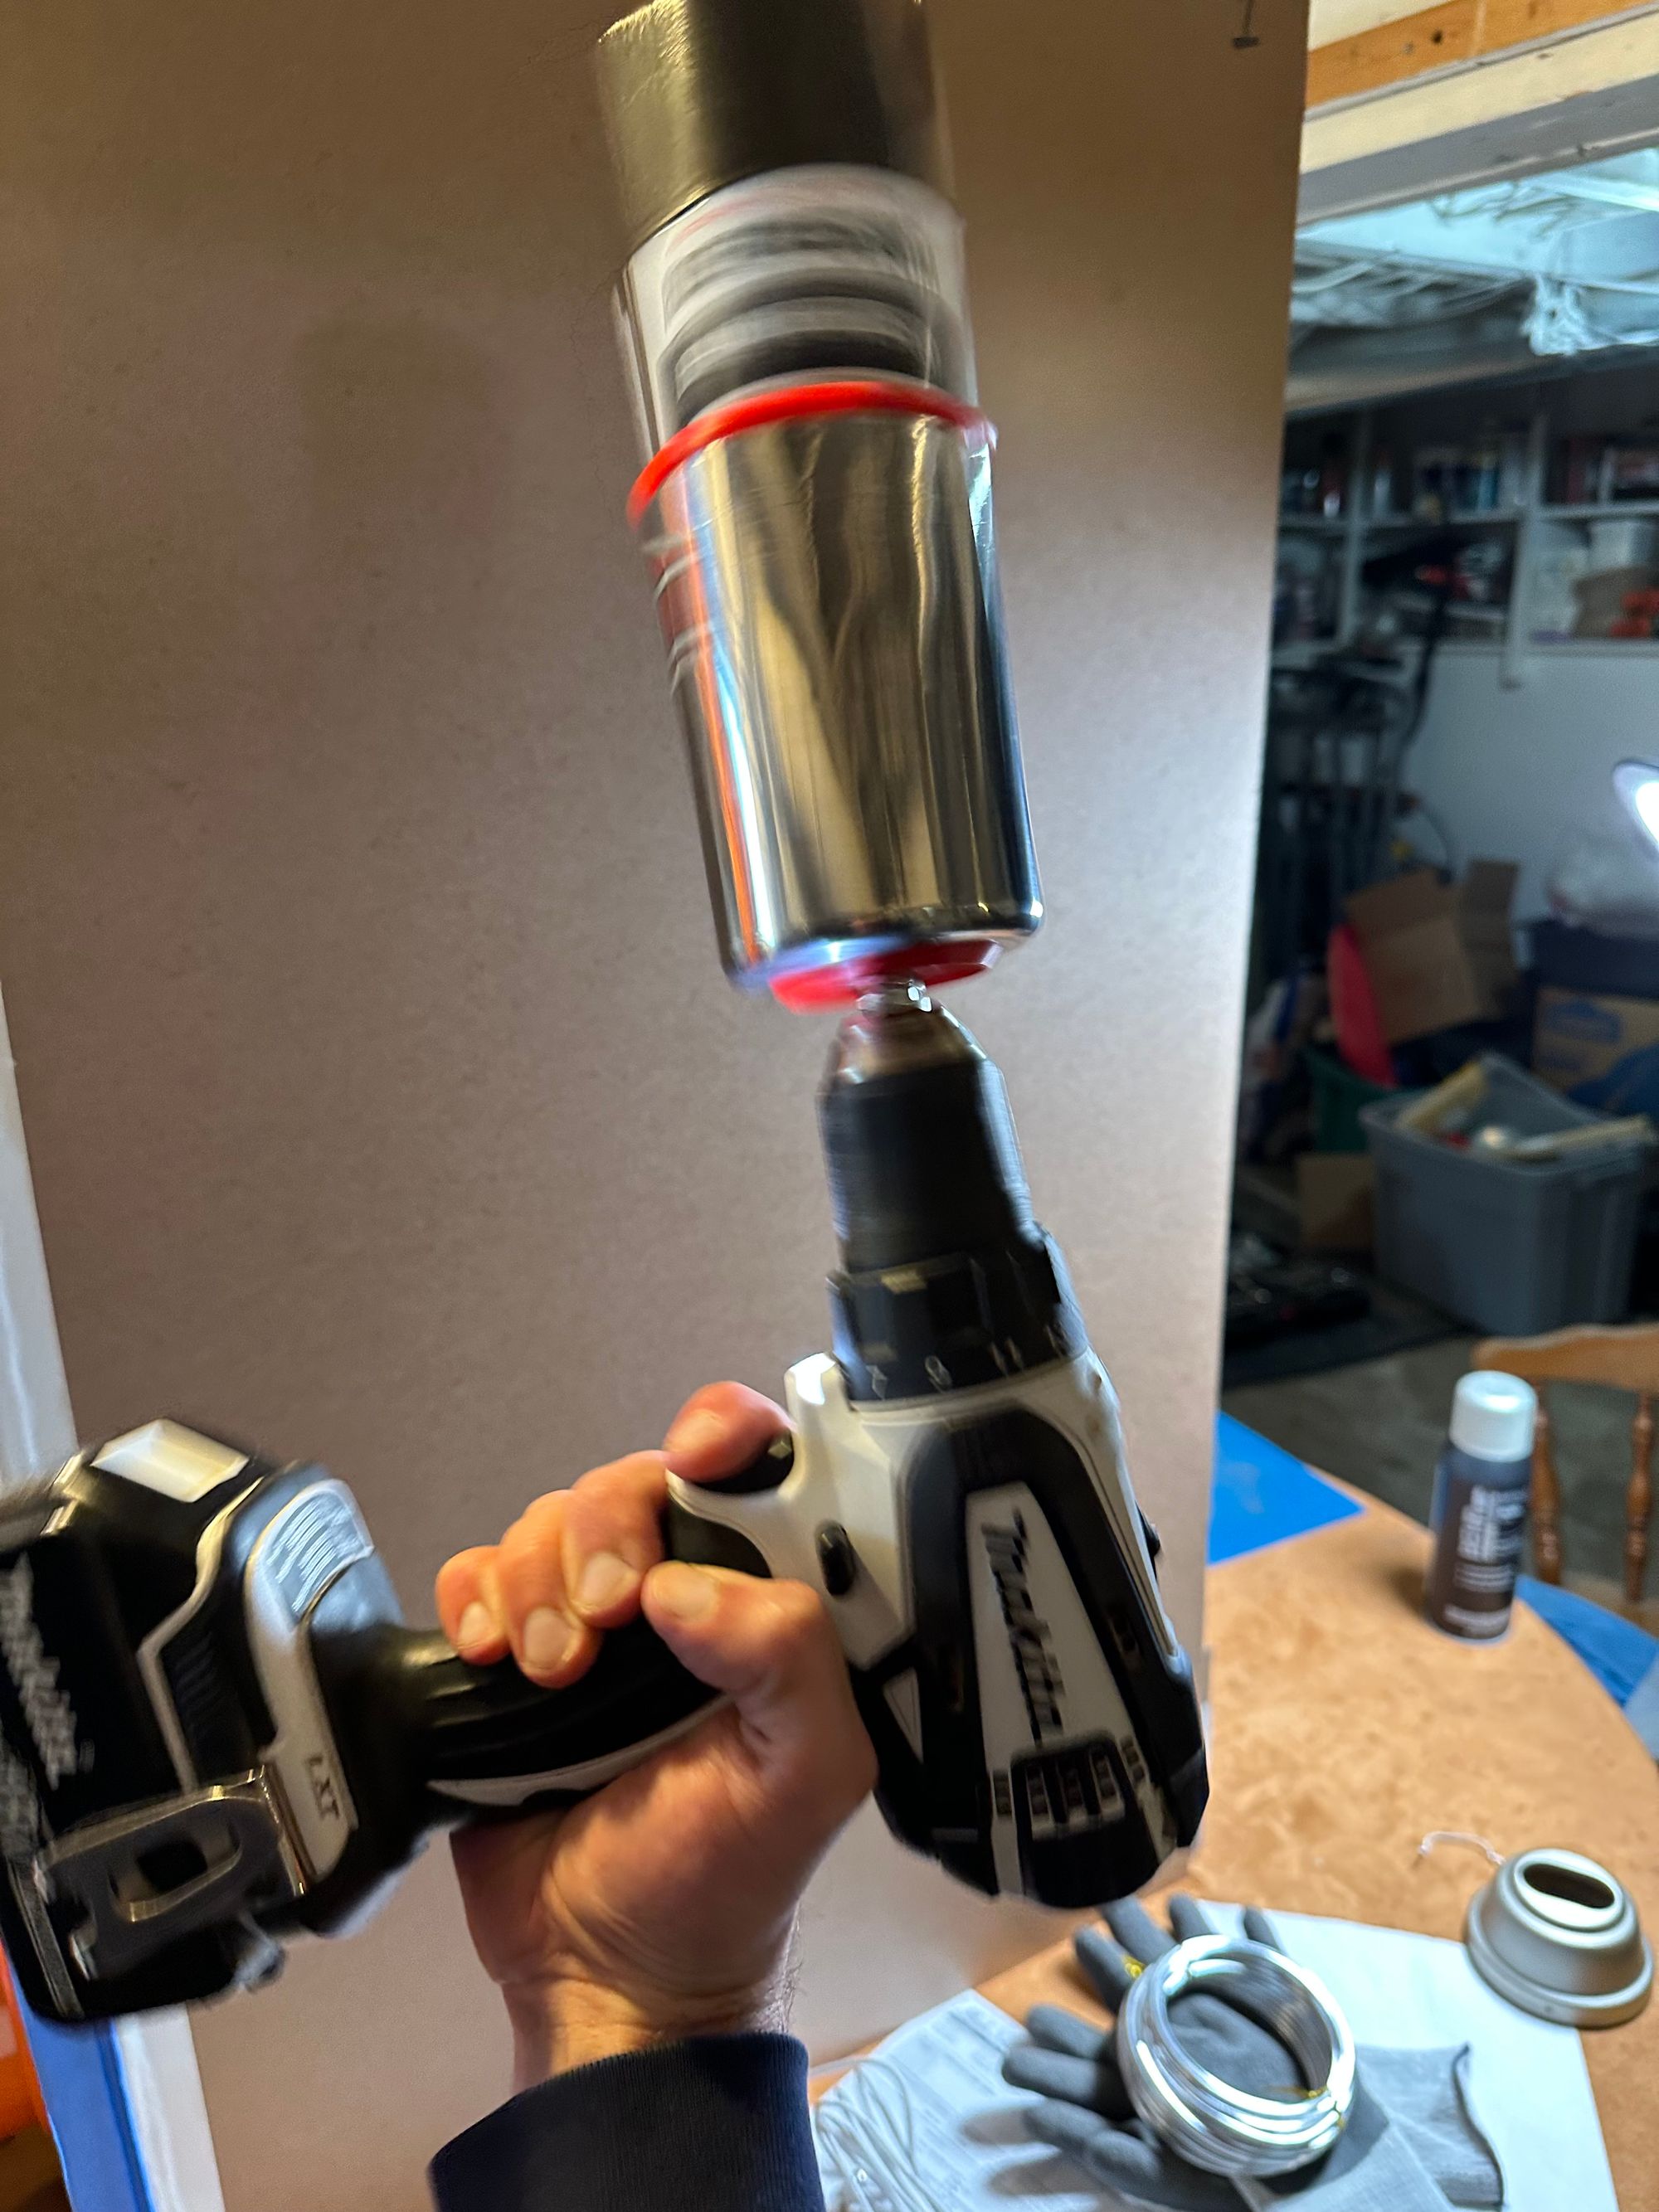
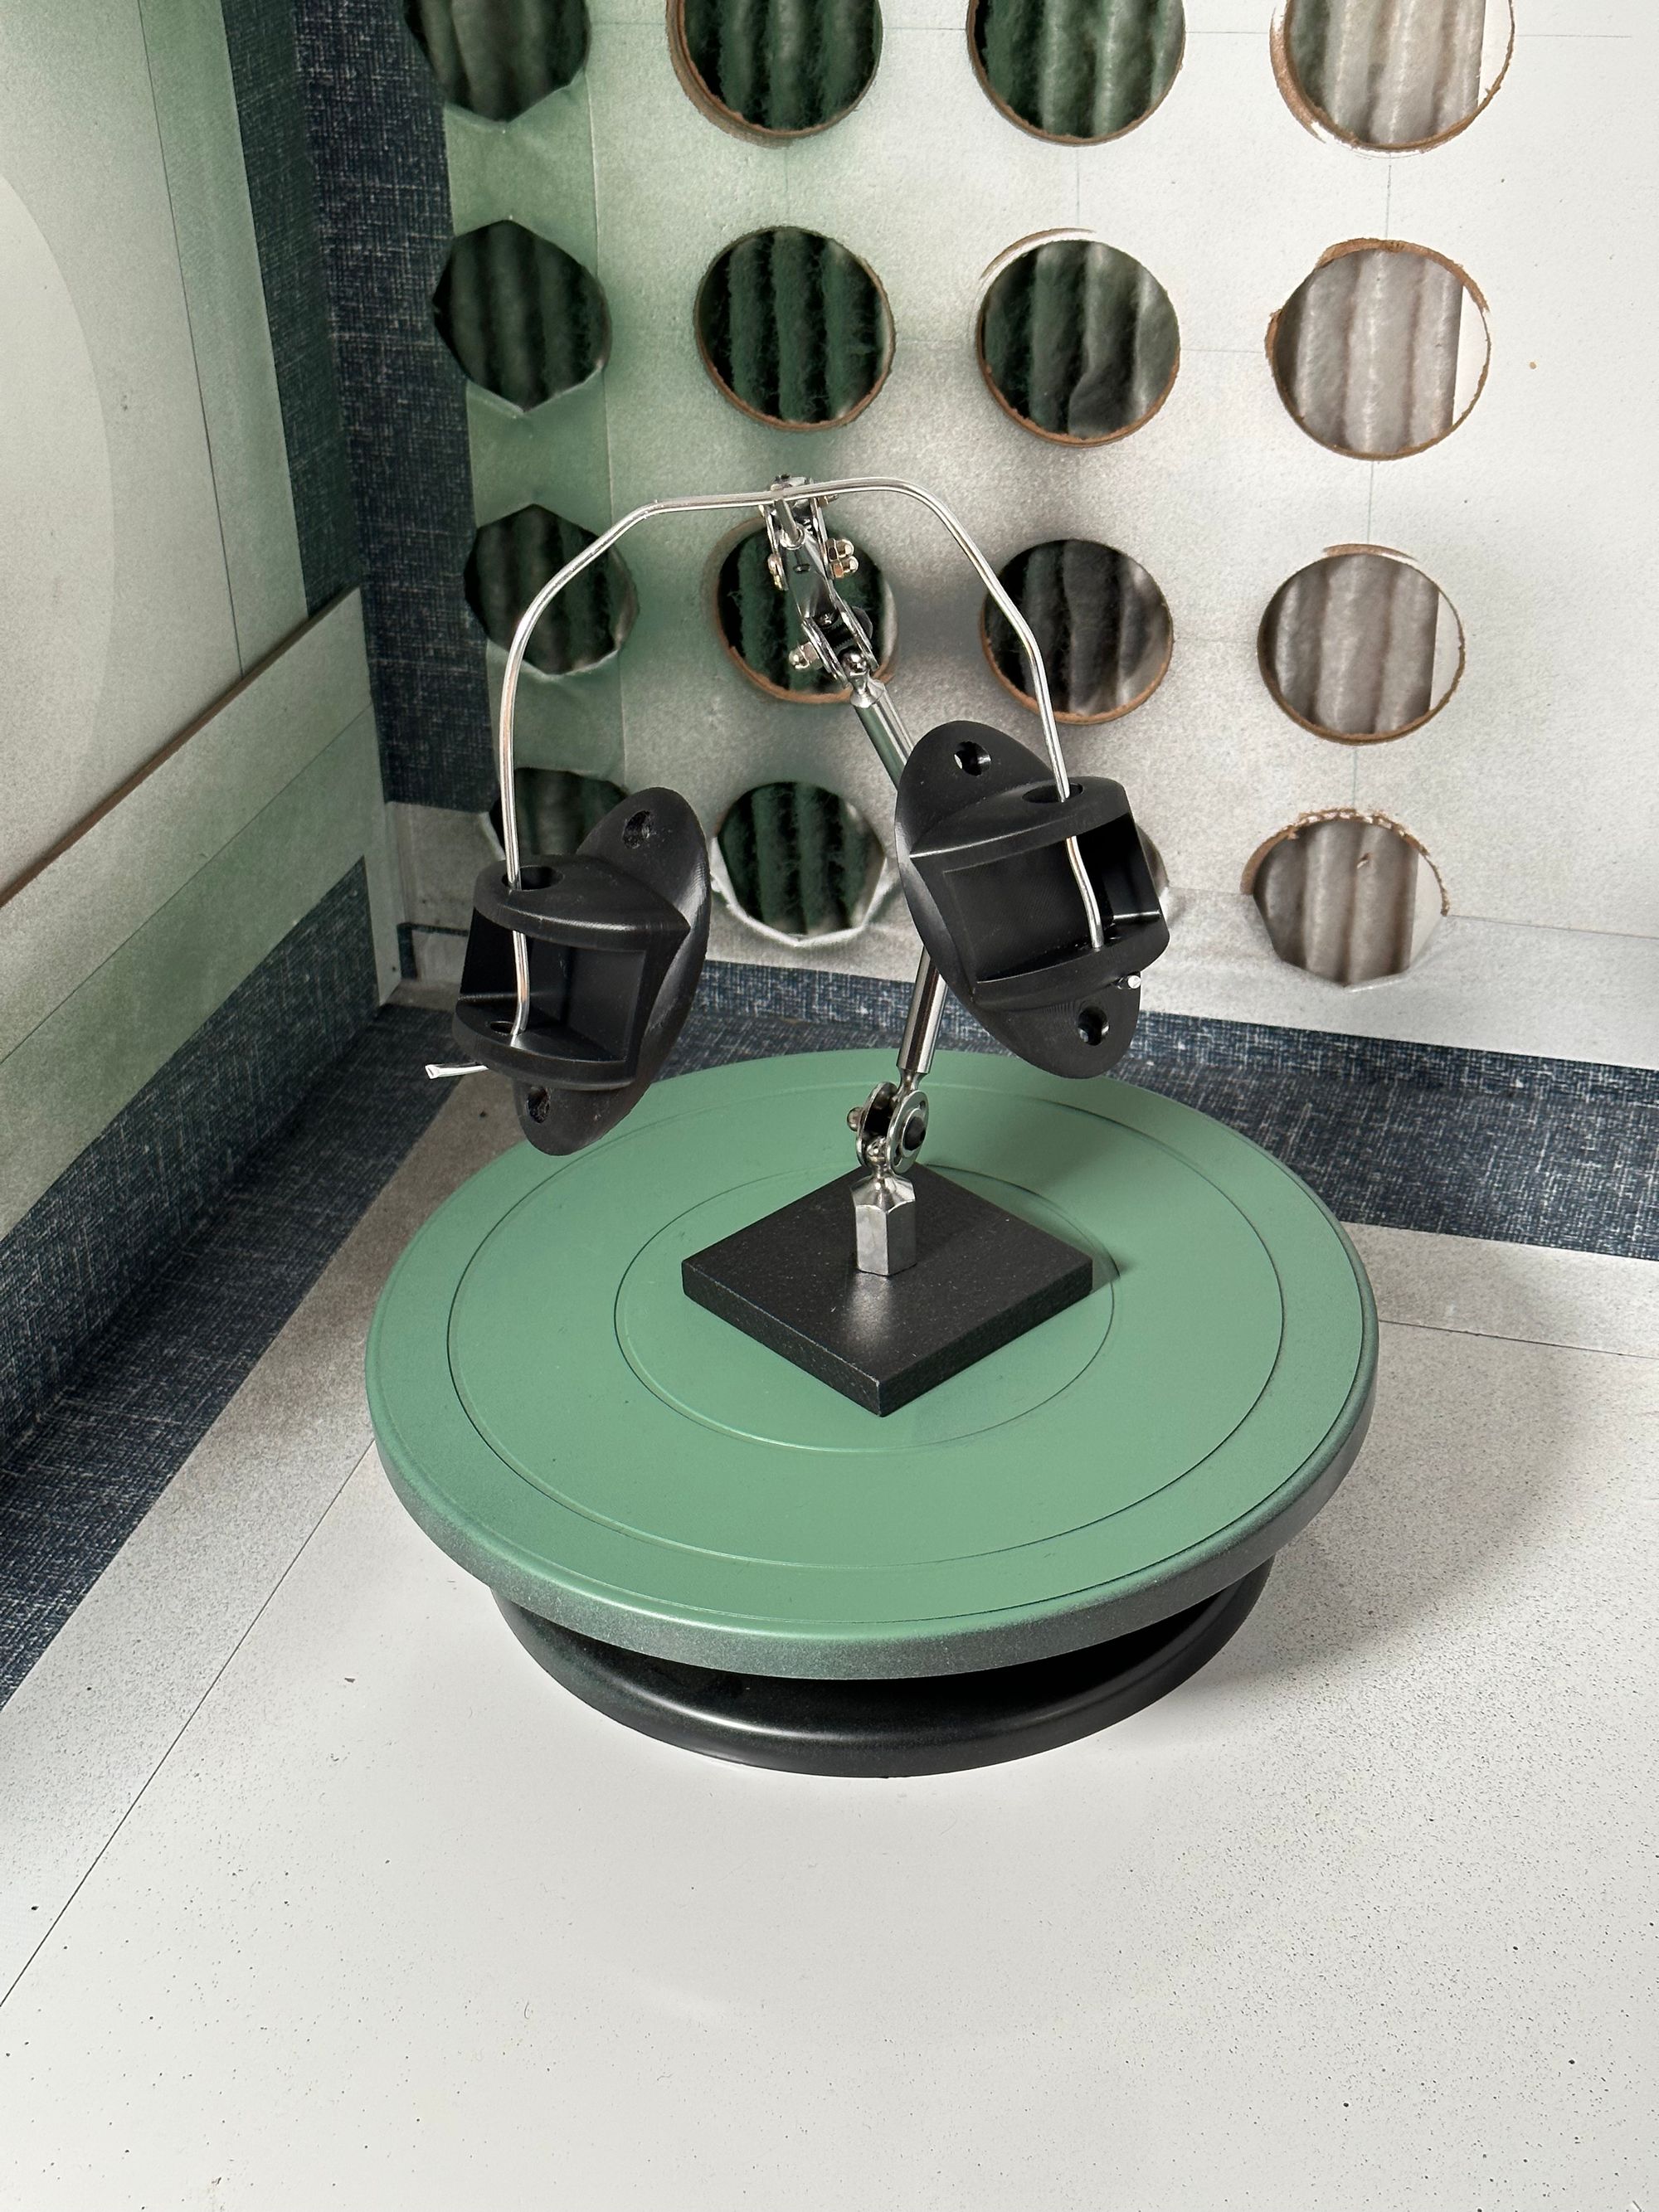
From watching other makers on YouTube, I understood that the best way to smooth out print lines was alternating passes of paint and sanding.
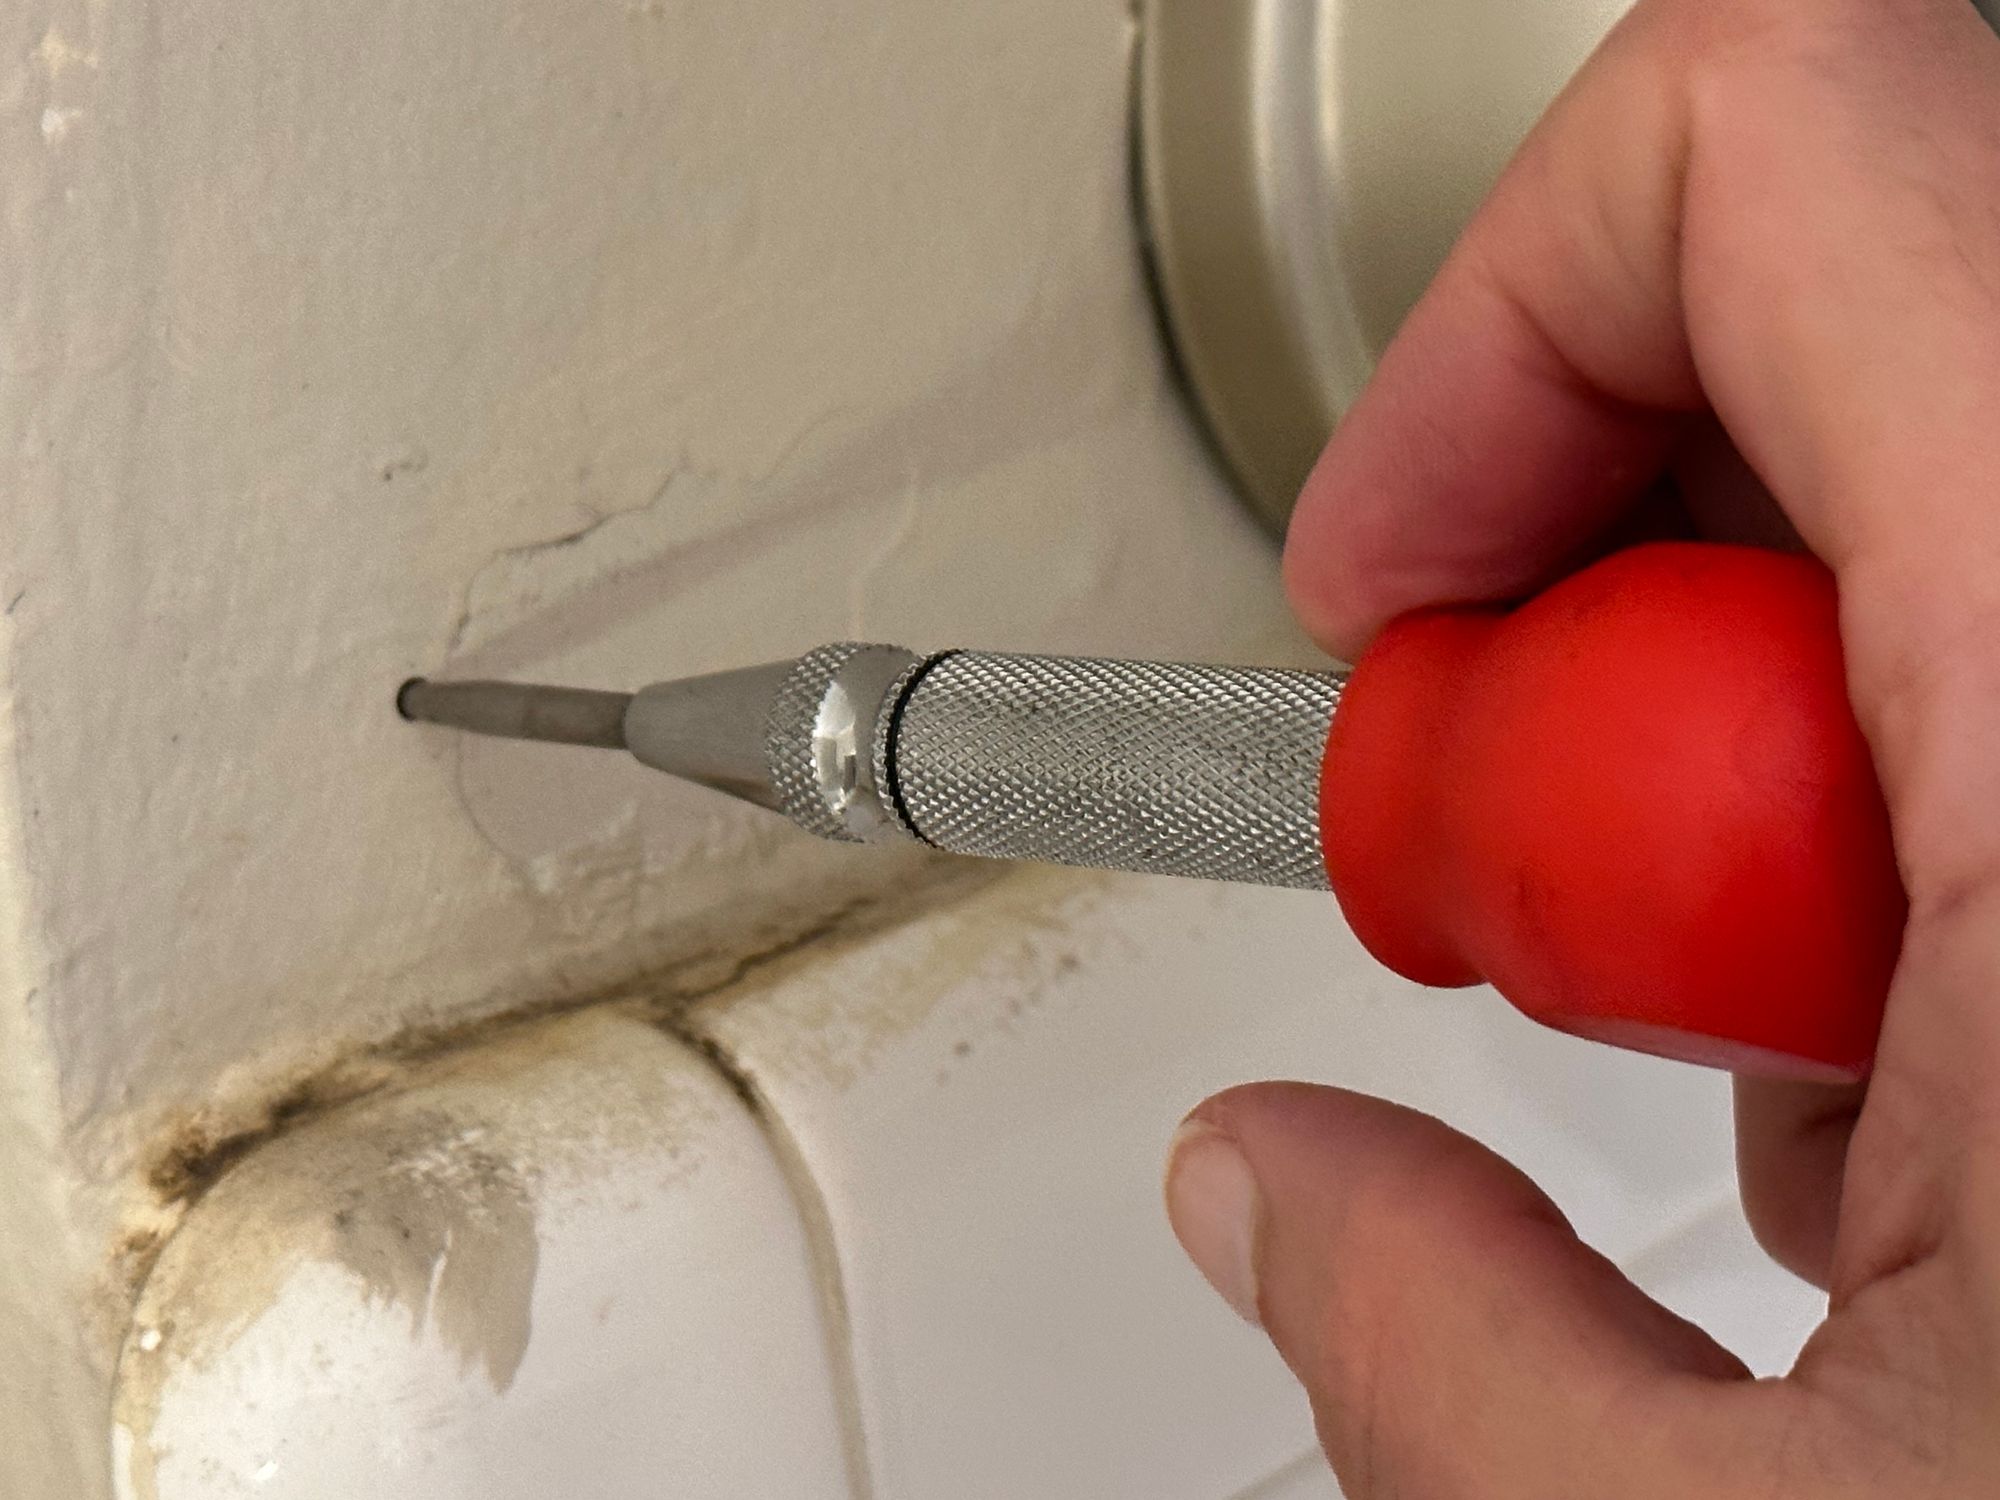
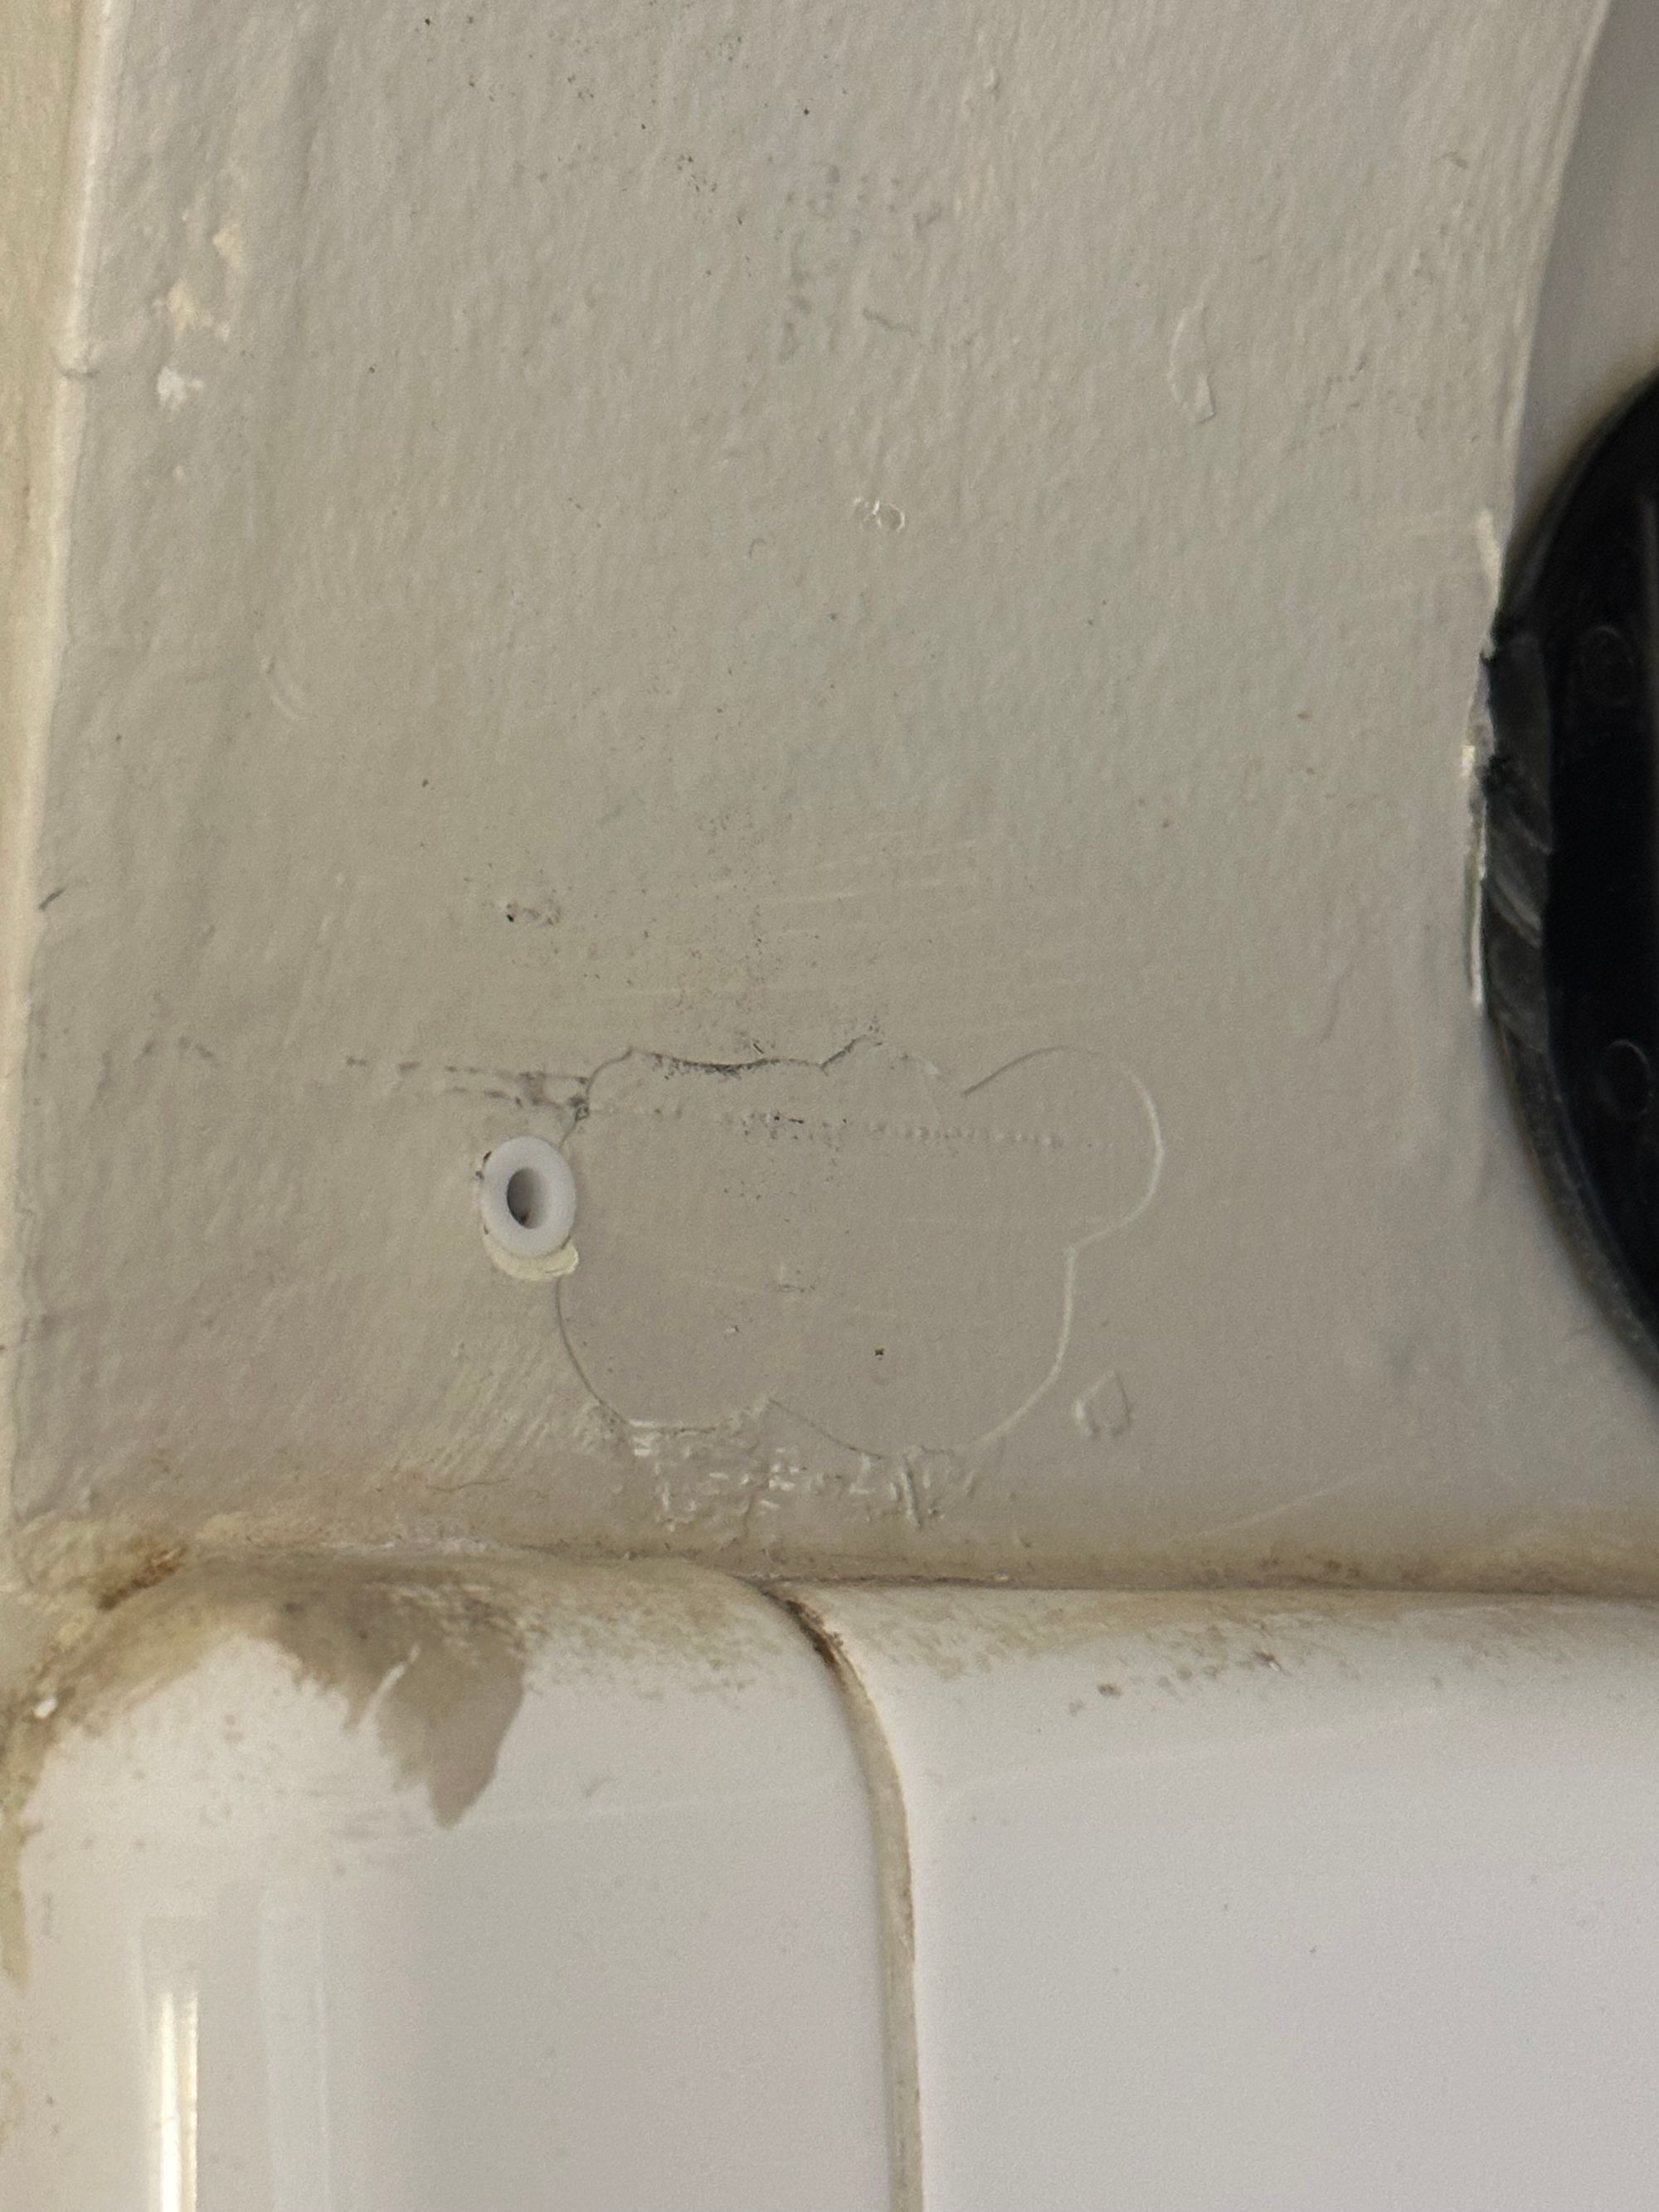
It felt like time to mount the brackets. Drilling the holes in the arch felt like something I could really only do once, and I’ve had trouble with the drill wandering a bit in the past when drilling holes, so I started with a spring-loaded punch to give myself a good pilot, and then used a drill guide to make sure I was drilling square to the curve at each point.
... Until I tried to put the end of the shower rod into the holder I’d just mounted. Turns out, I had checked the pin and screws to make sure they matched, but I didn’t check the opening for the rod, and discovered that the end of the rod was a few millimeters wider. I double checked measurements of the brackets, and... yeah, that’s not gonna work. (27mm vs 29.5mm)
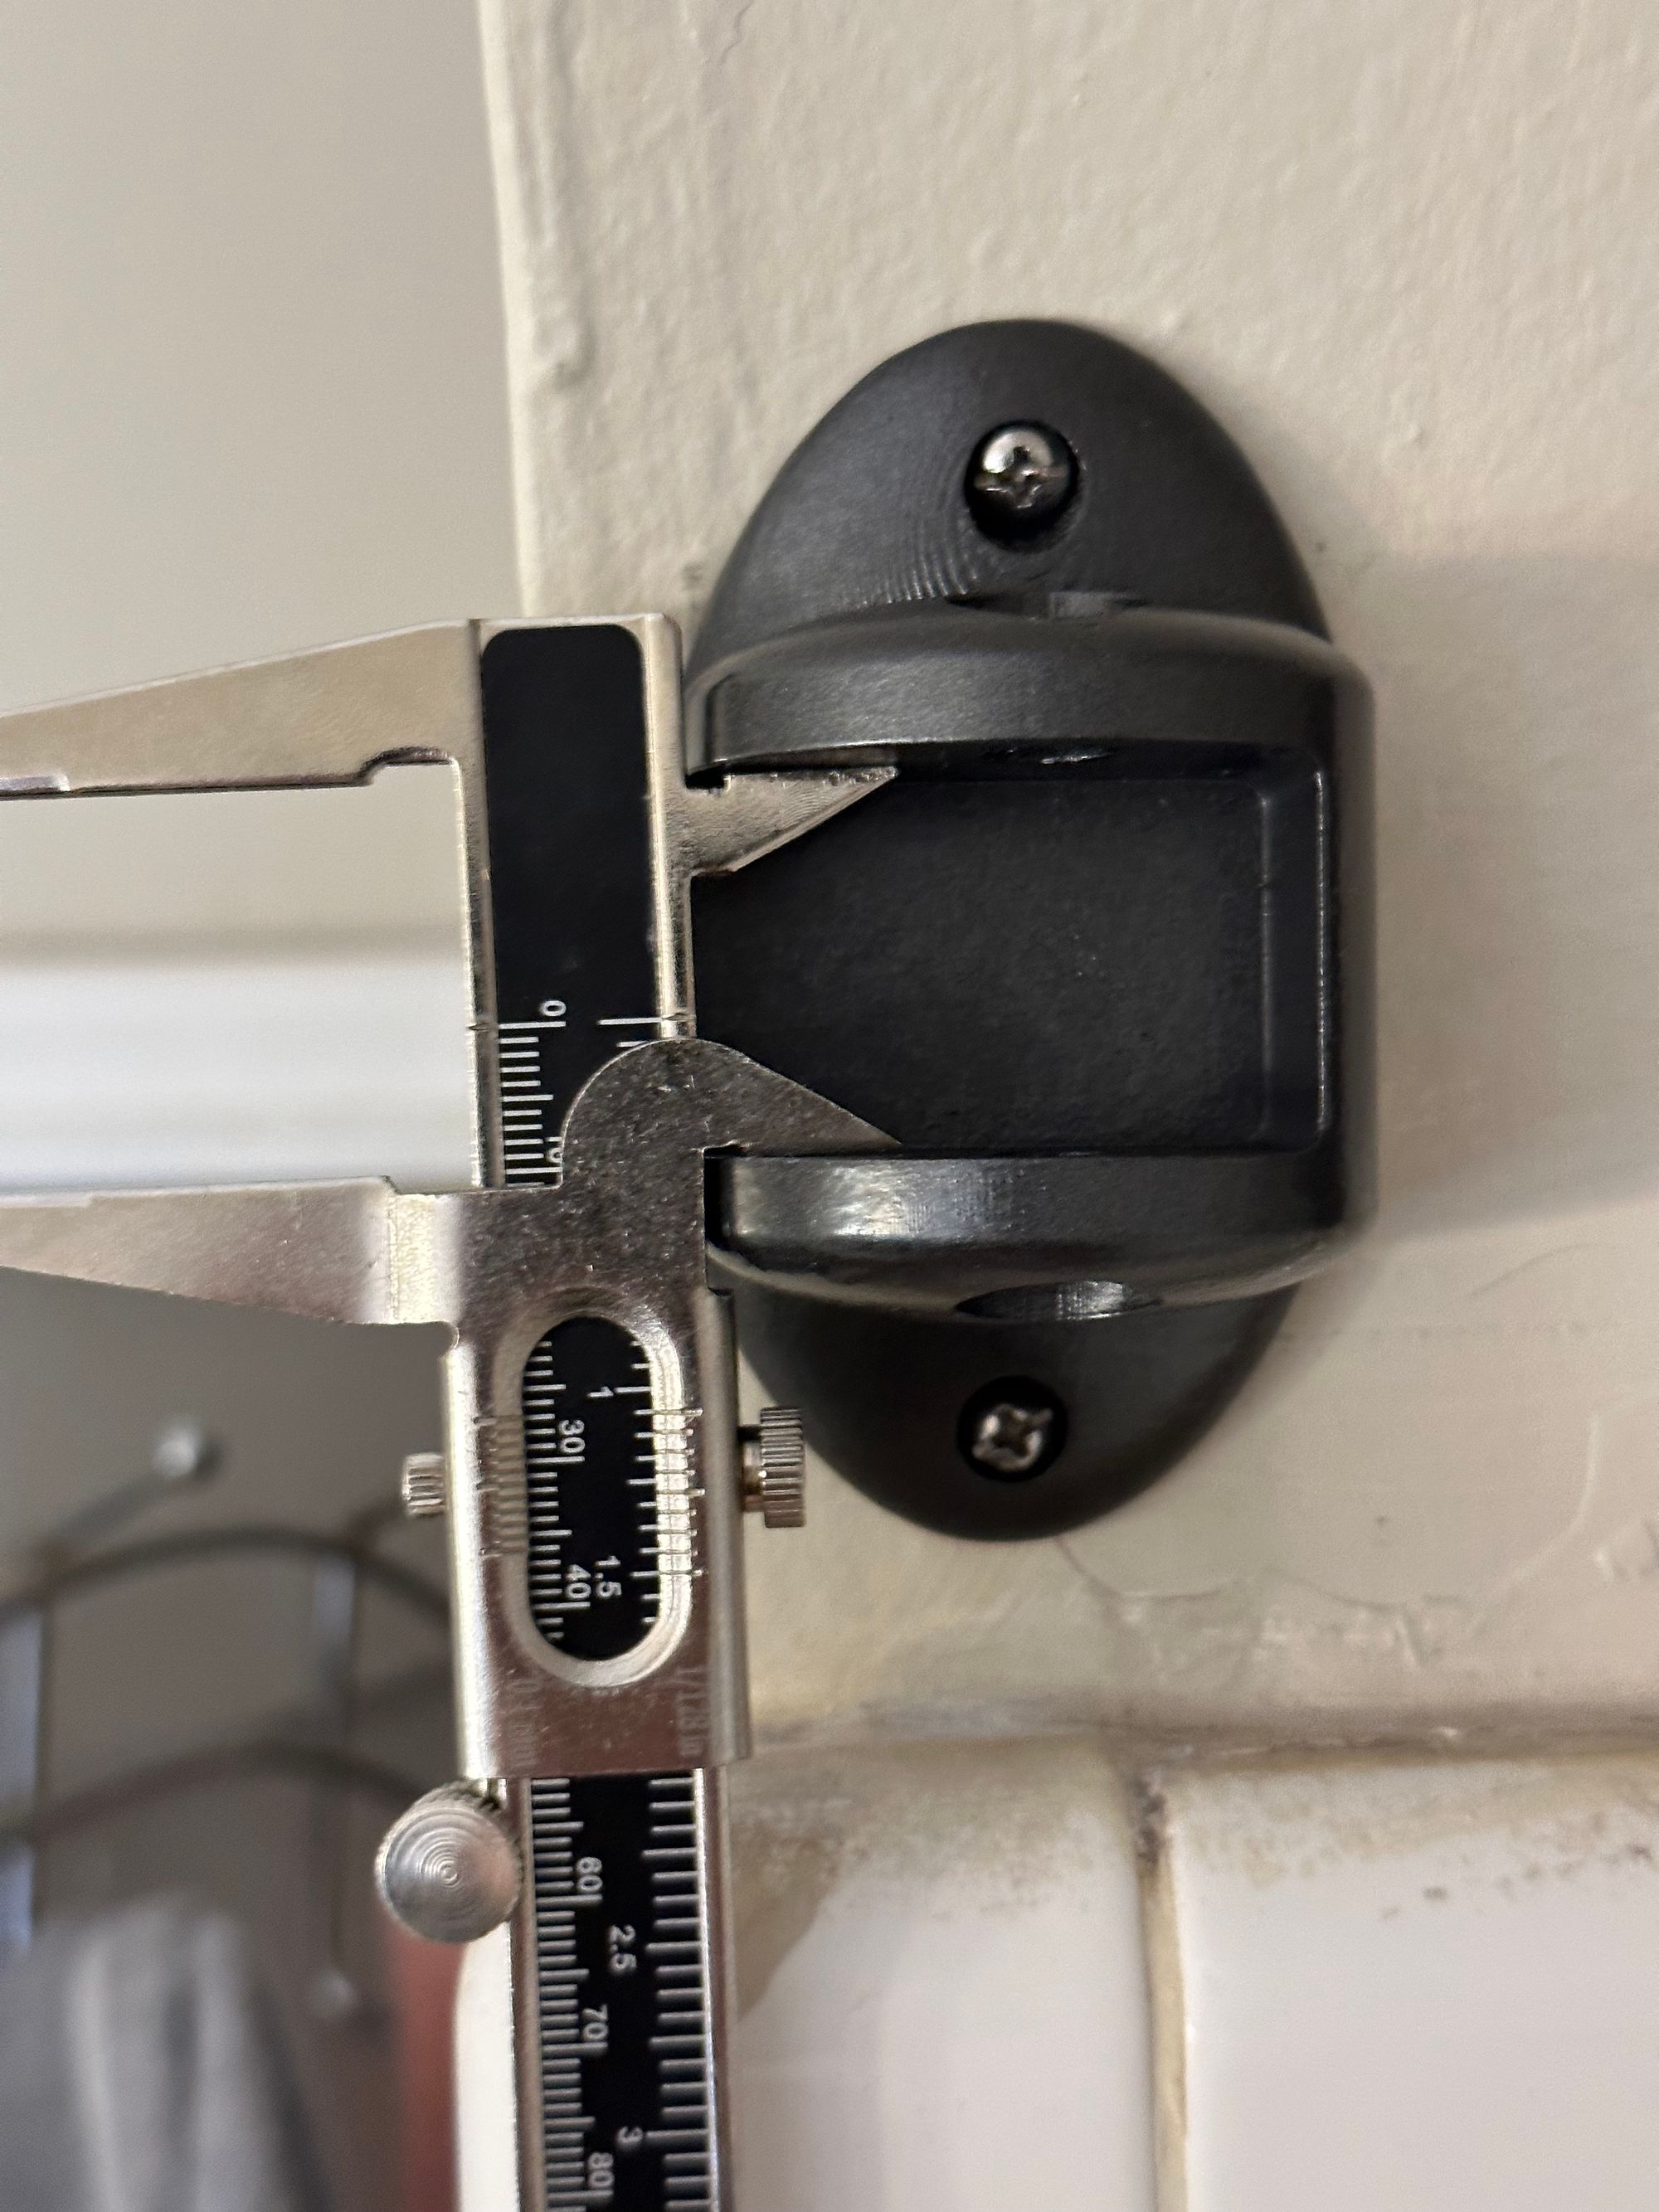
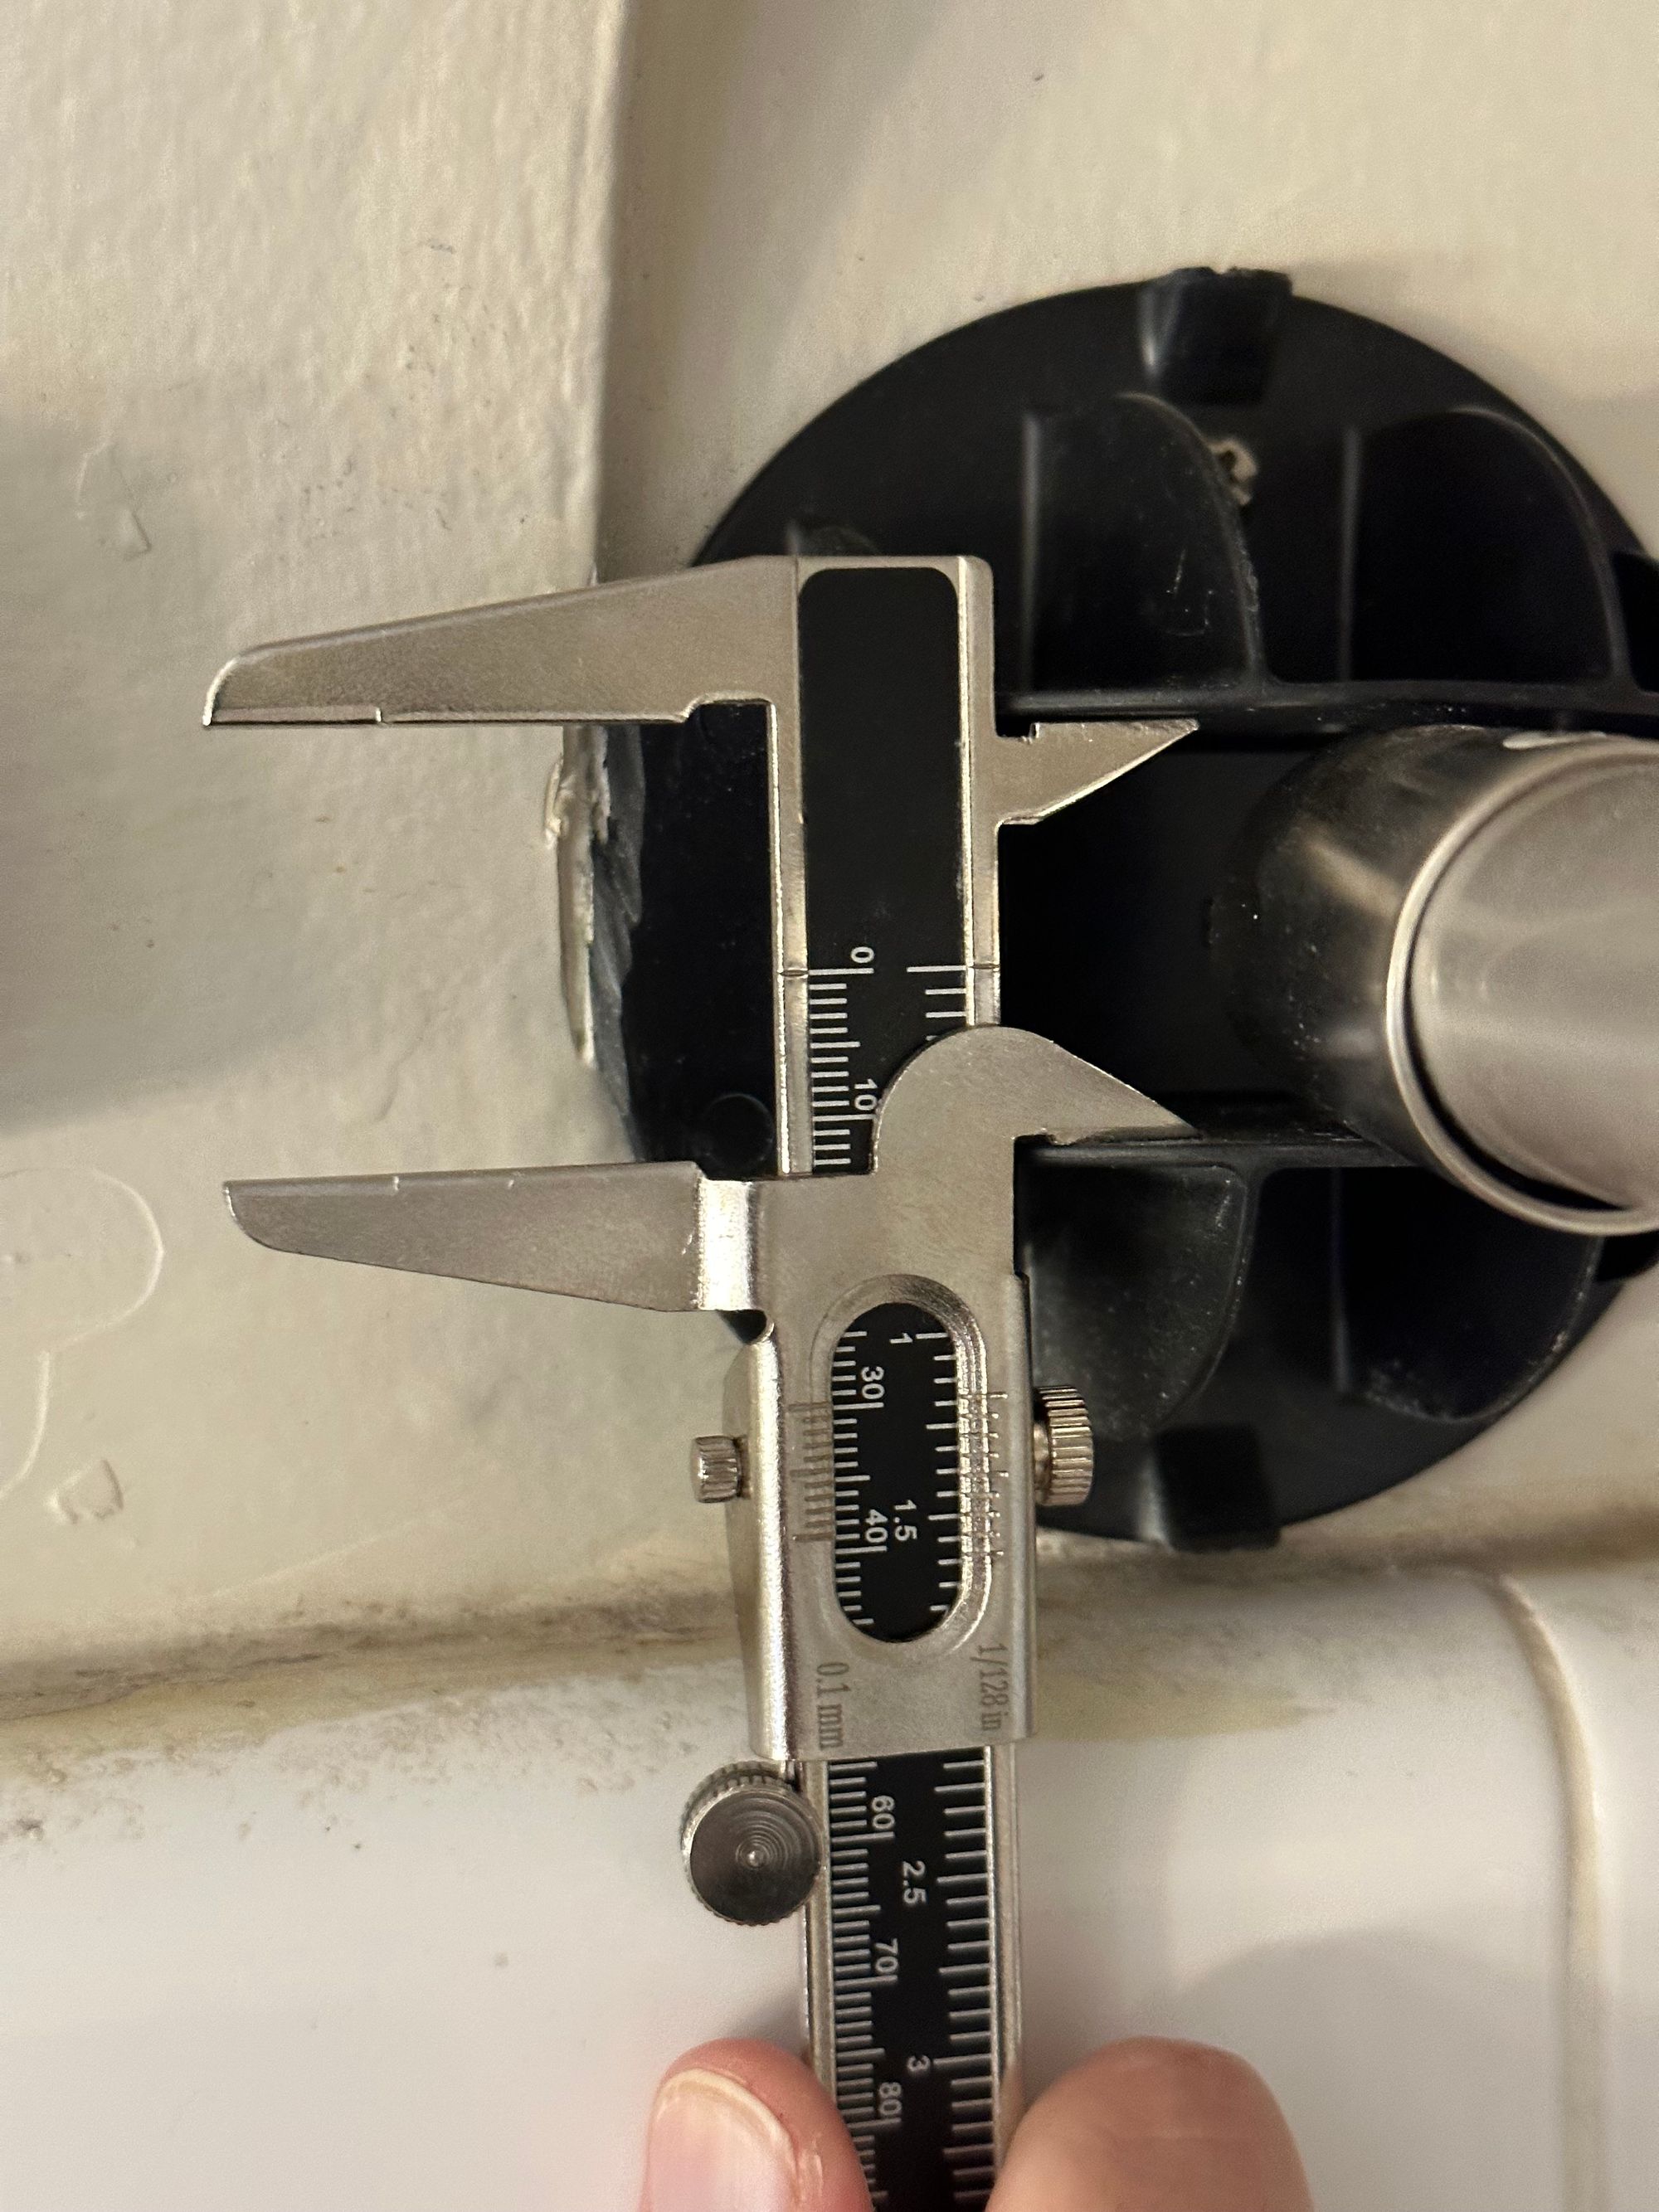
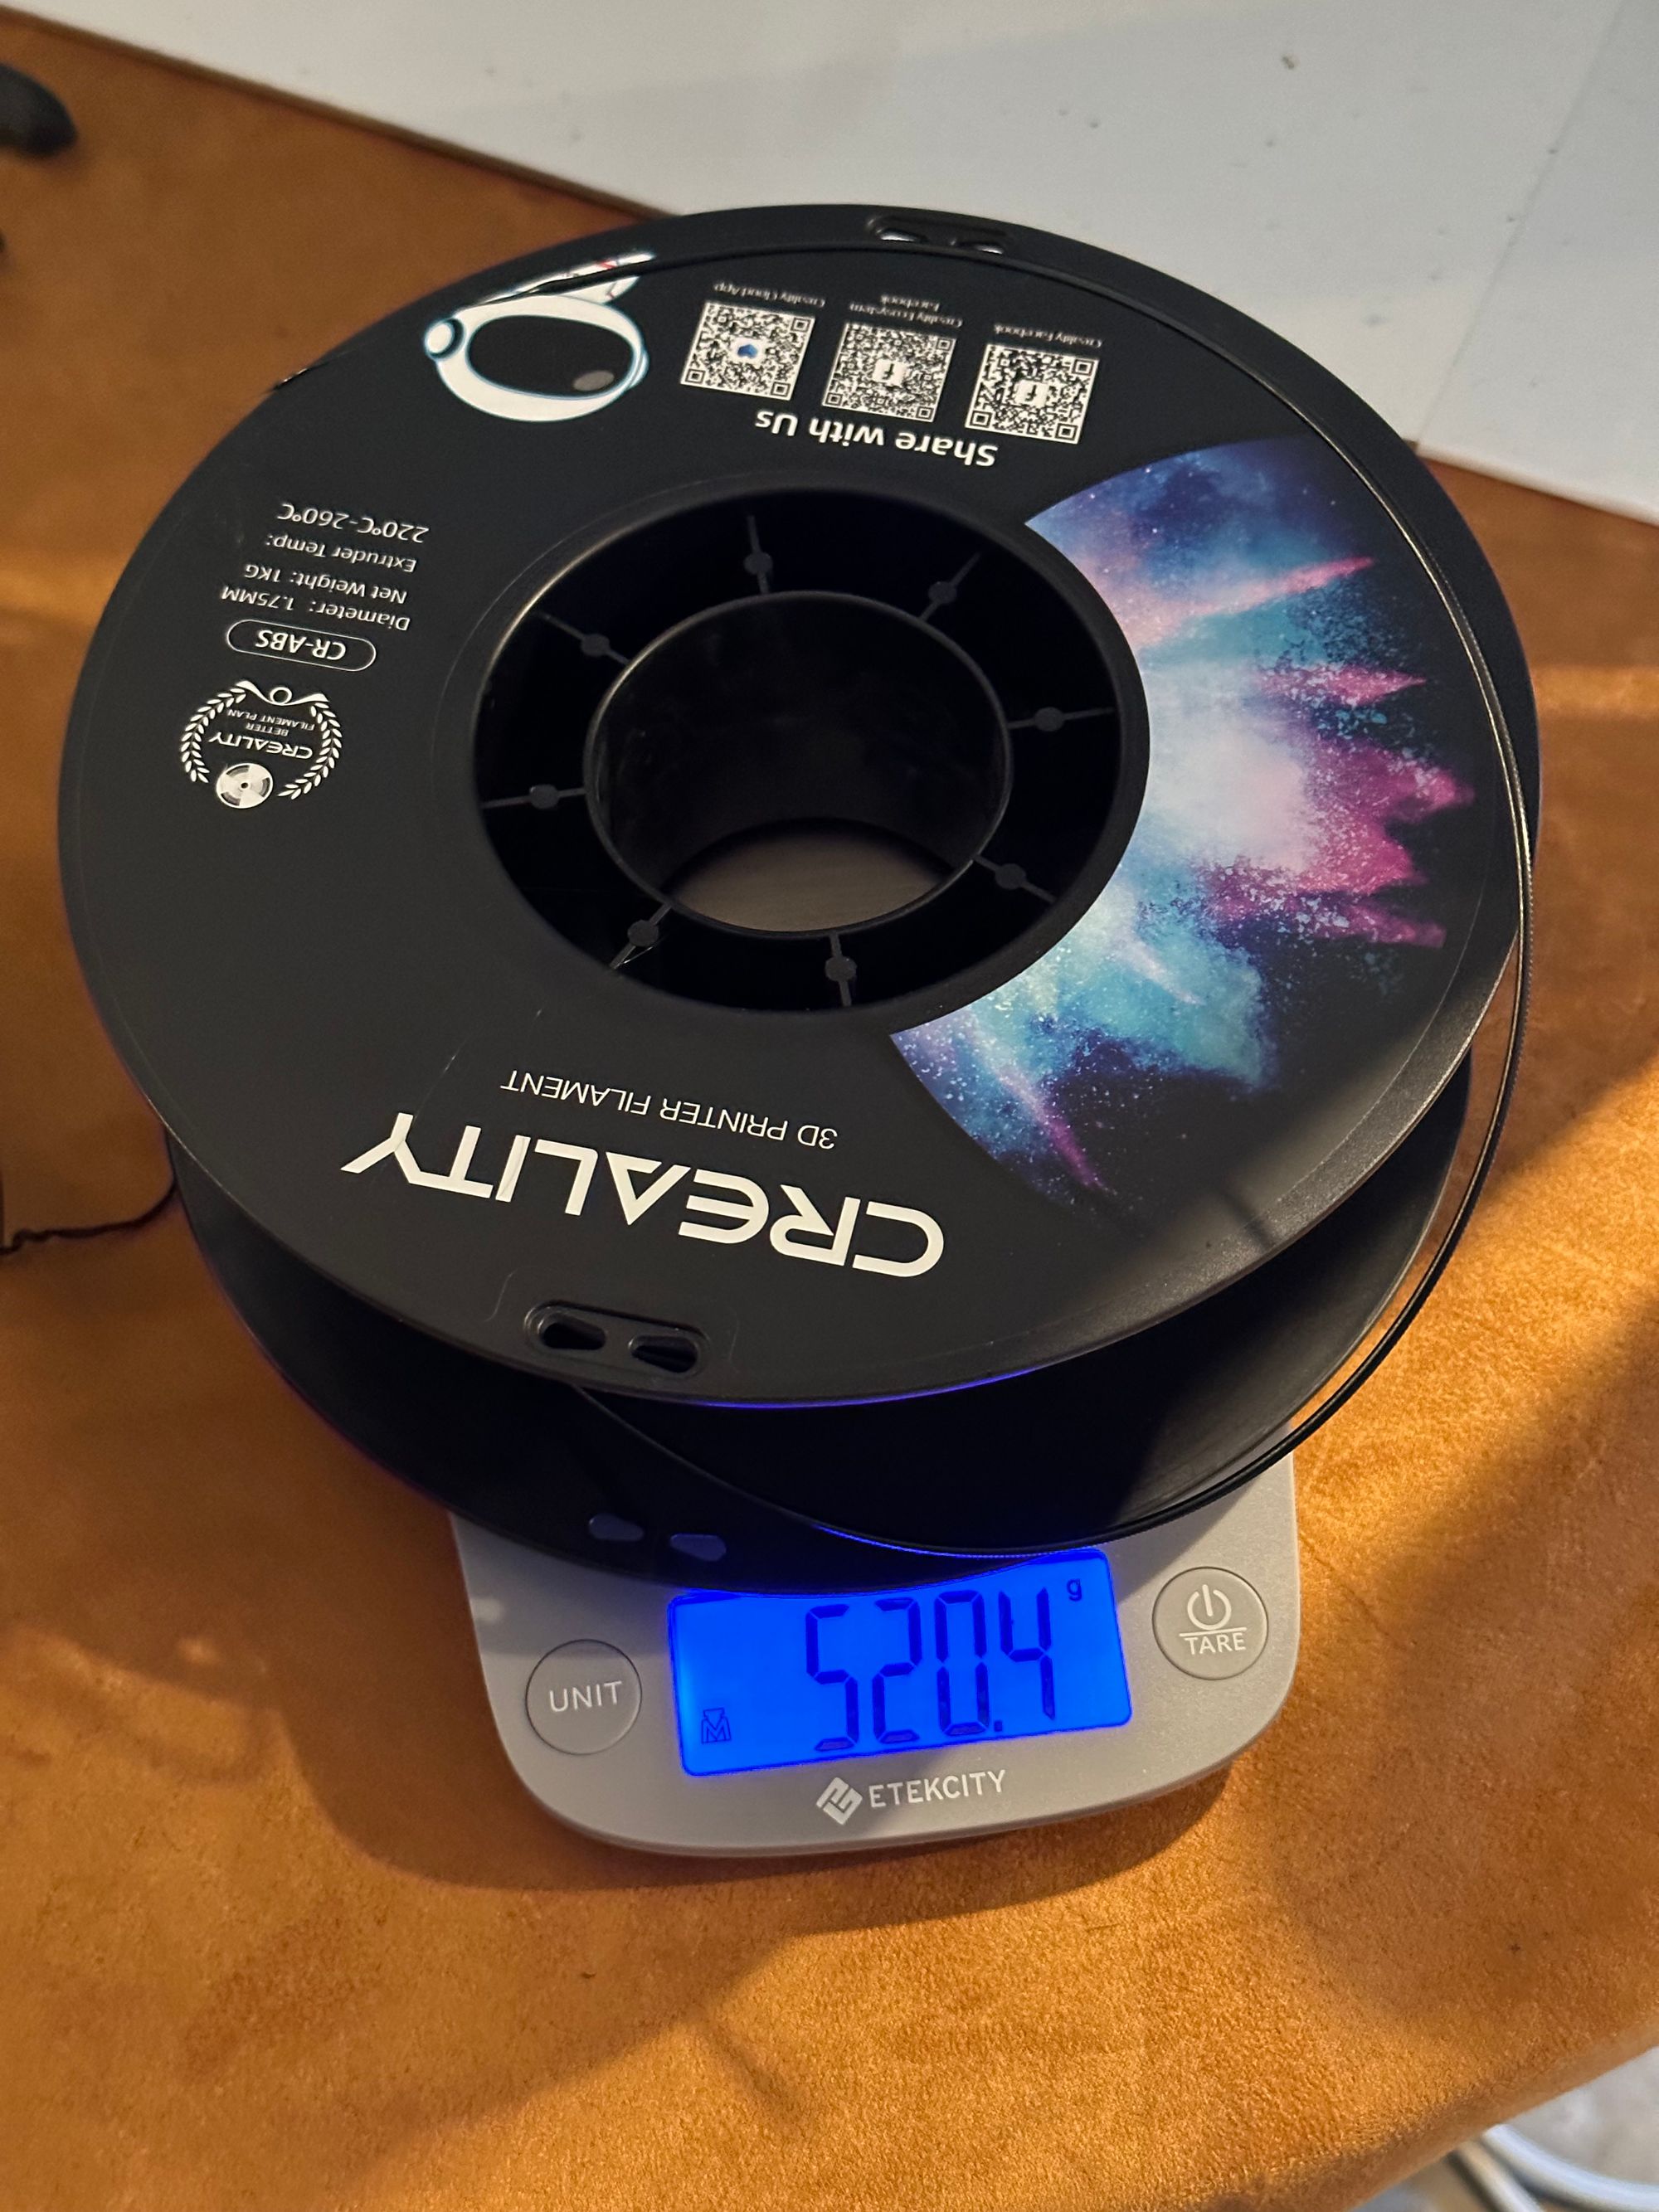
So, back to Fusion 360 one more time, to make the opening for the rod as wide it needed to be. I was concerned the spool of ABS was getting a bit low, so I broke out the kitchen scale to make sure I actually had enough to finish the prints. Then print, paint, sand, paint more, etc.
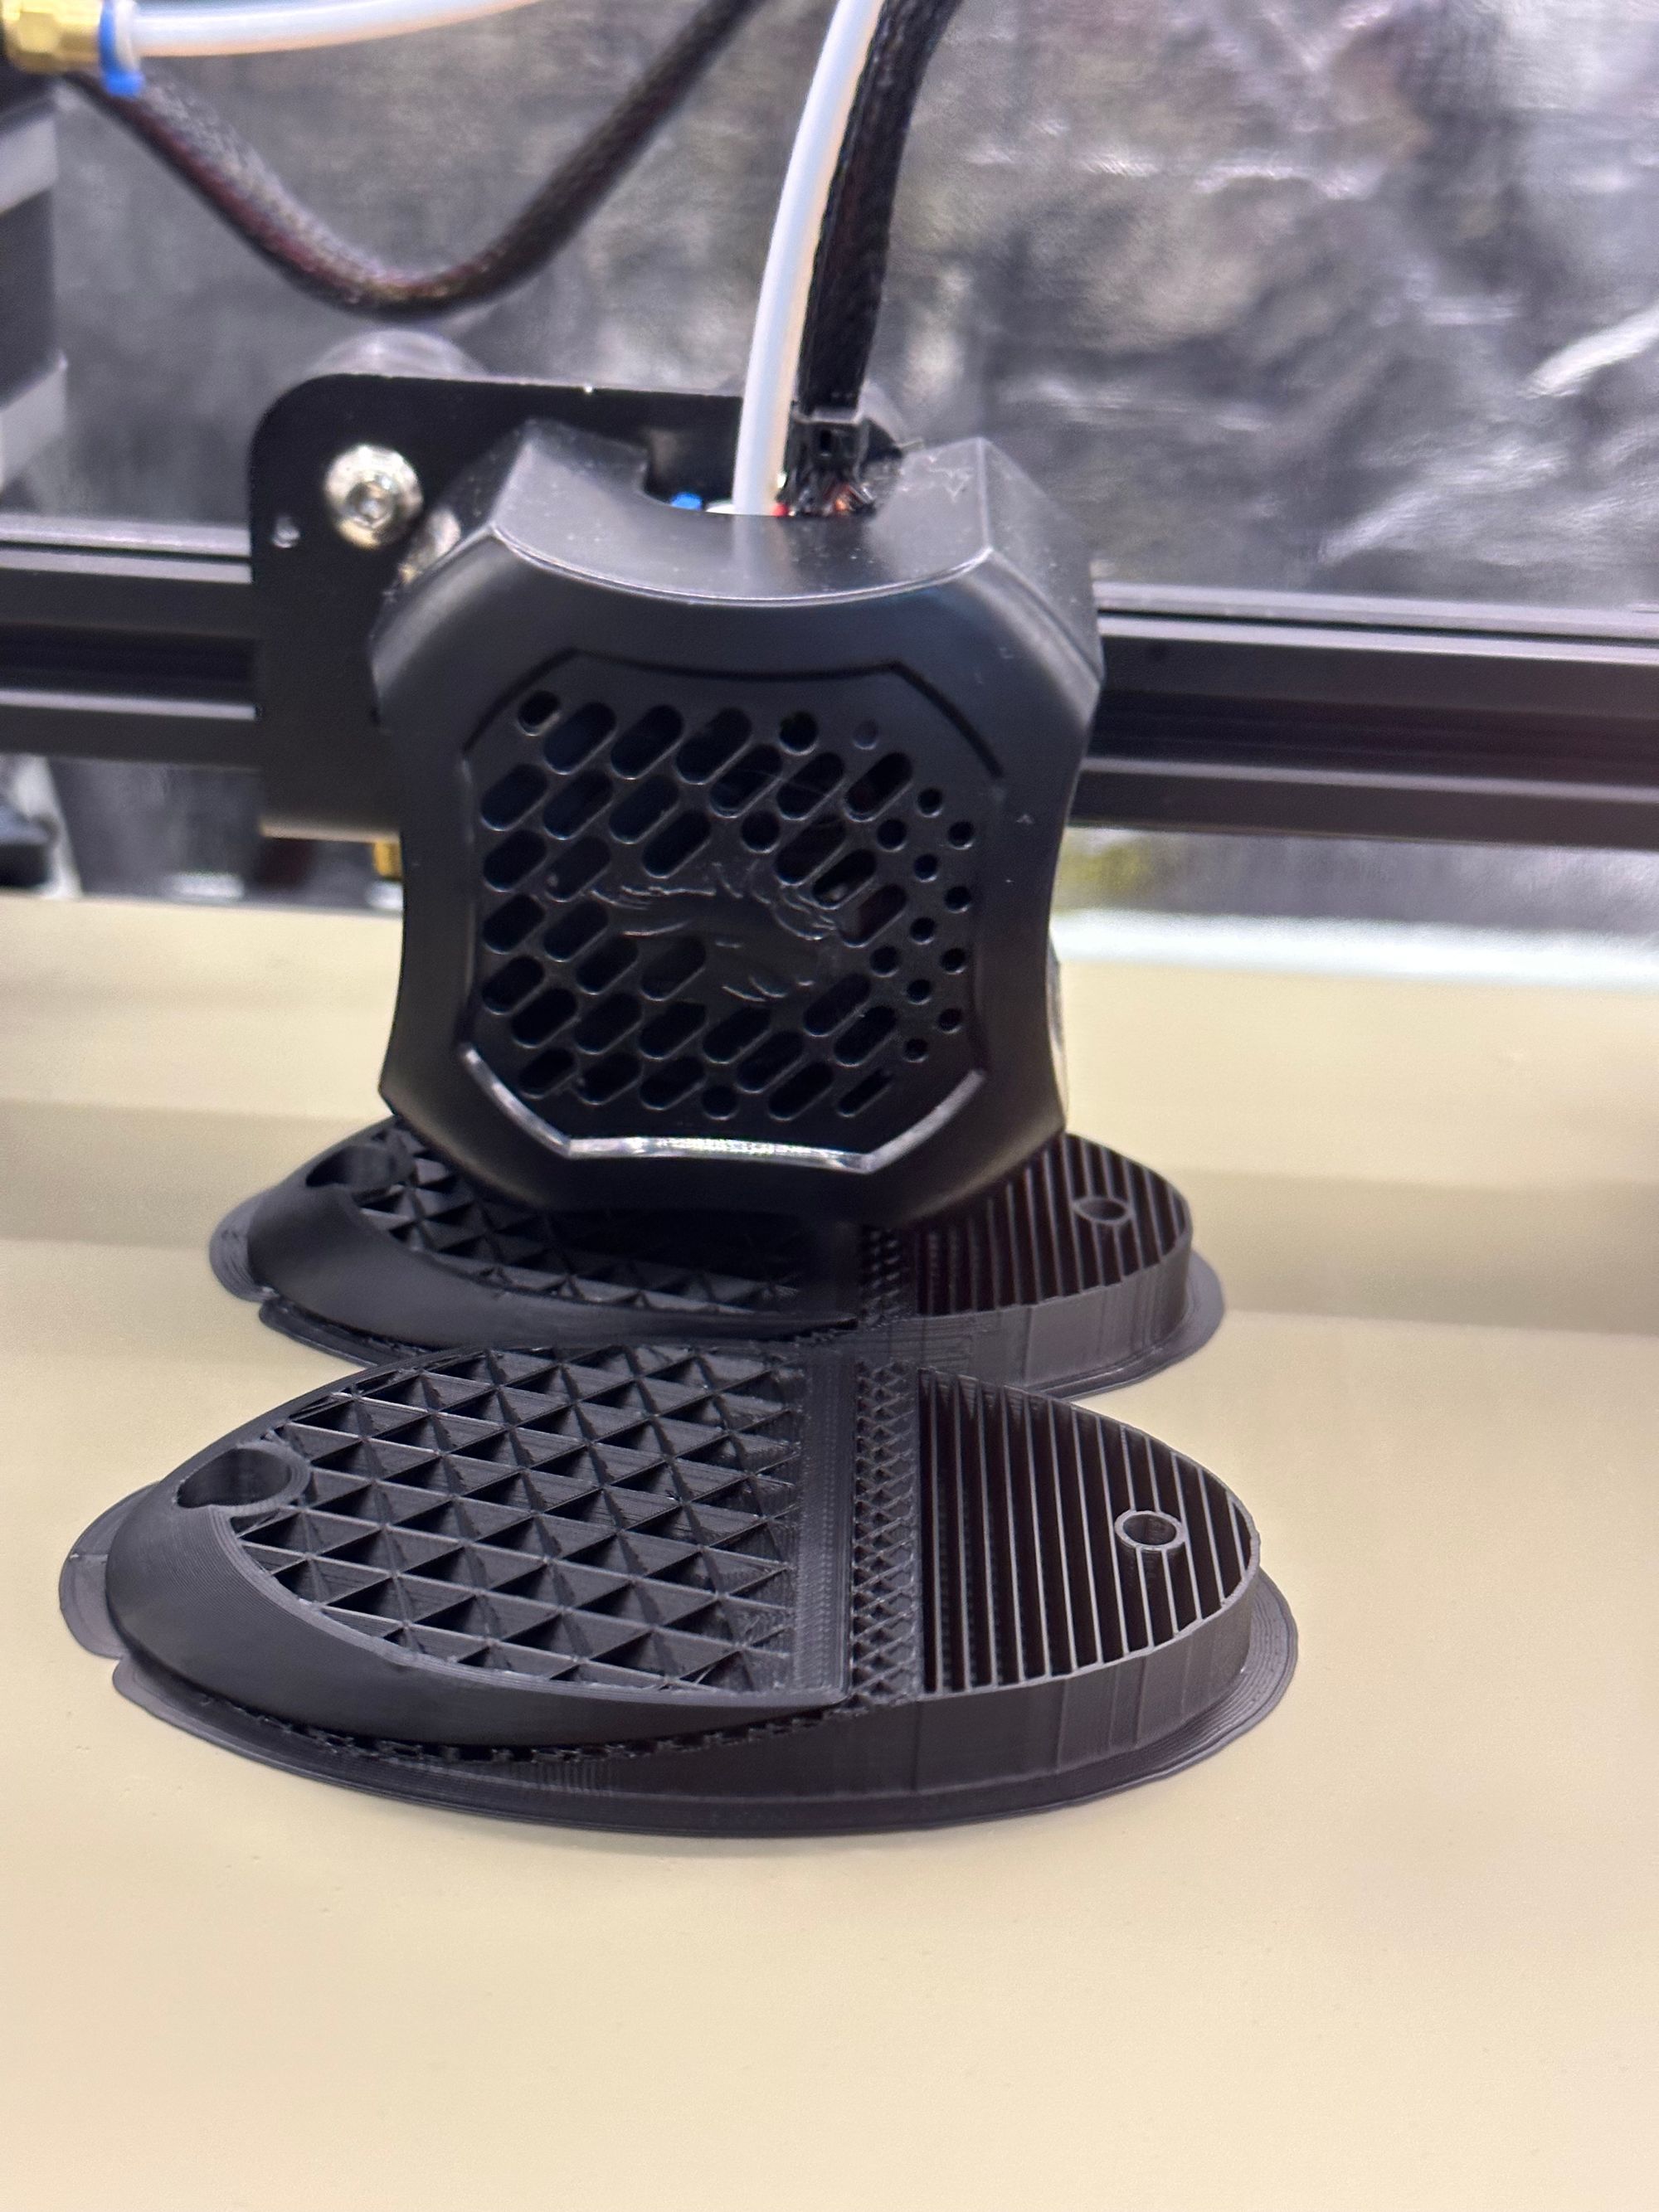
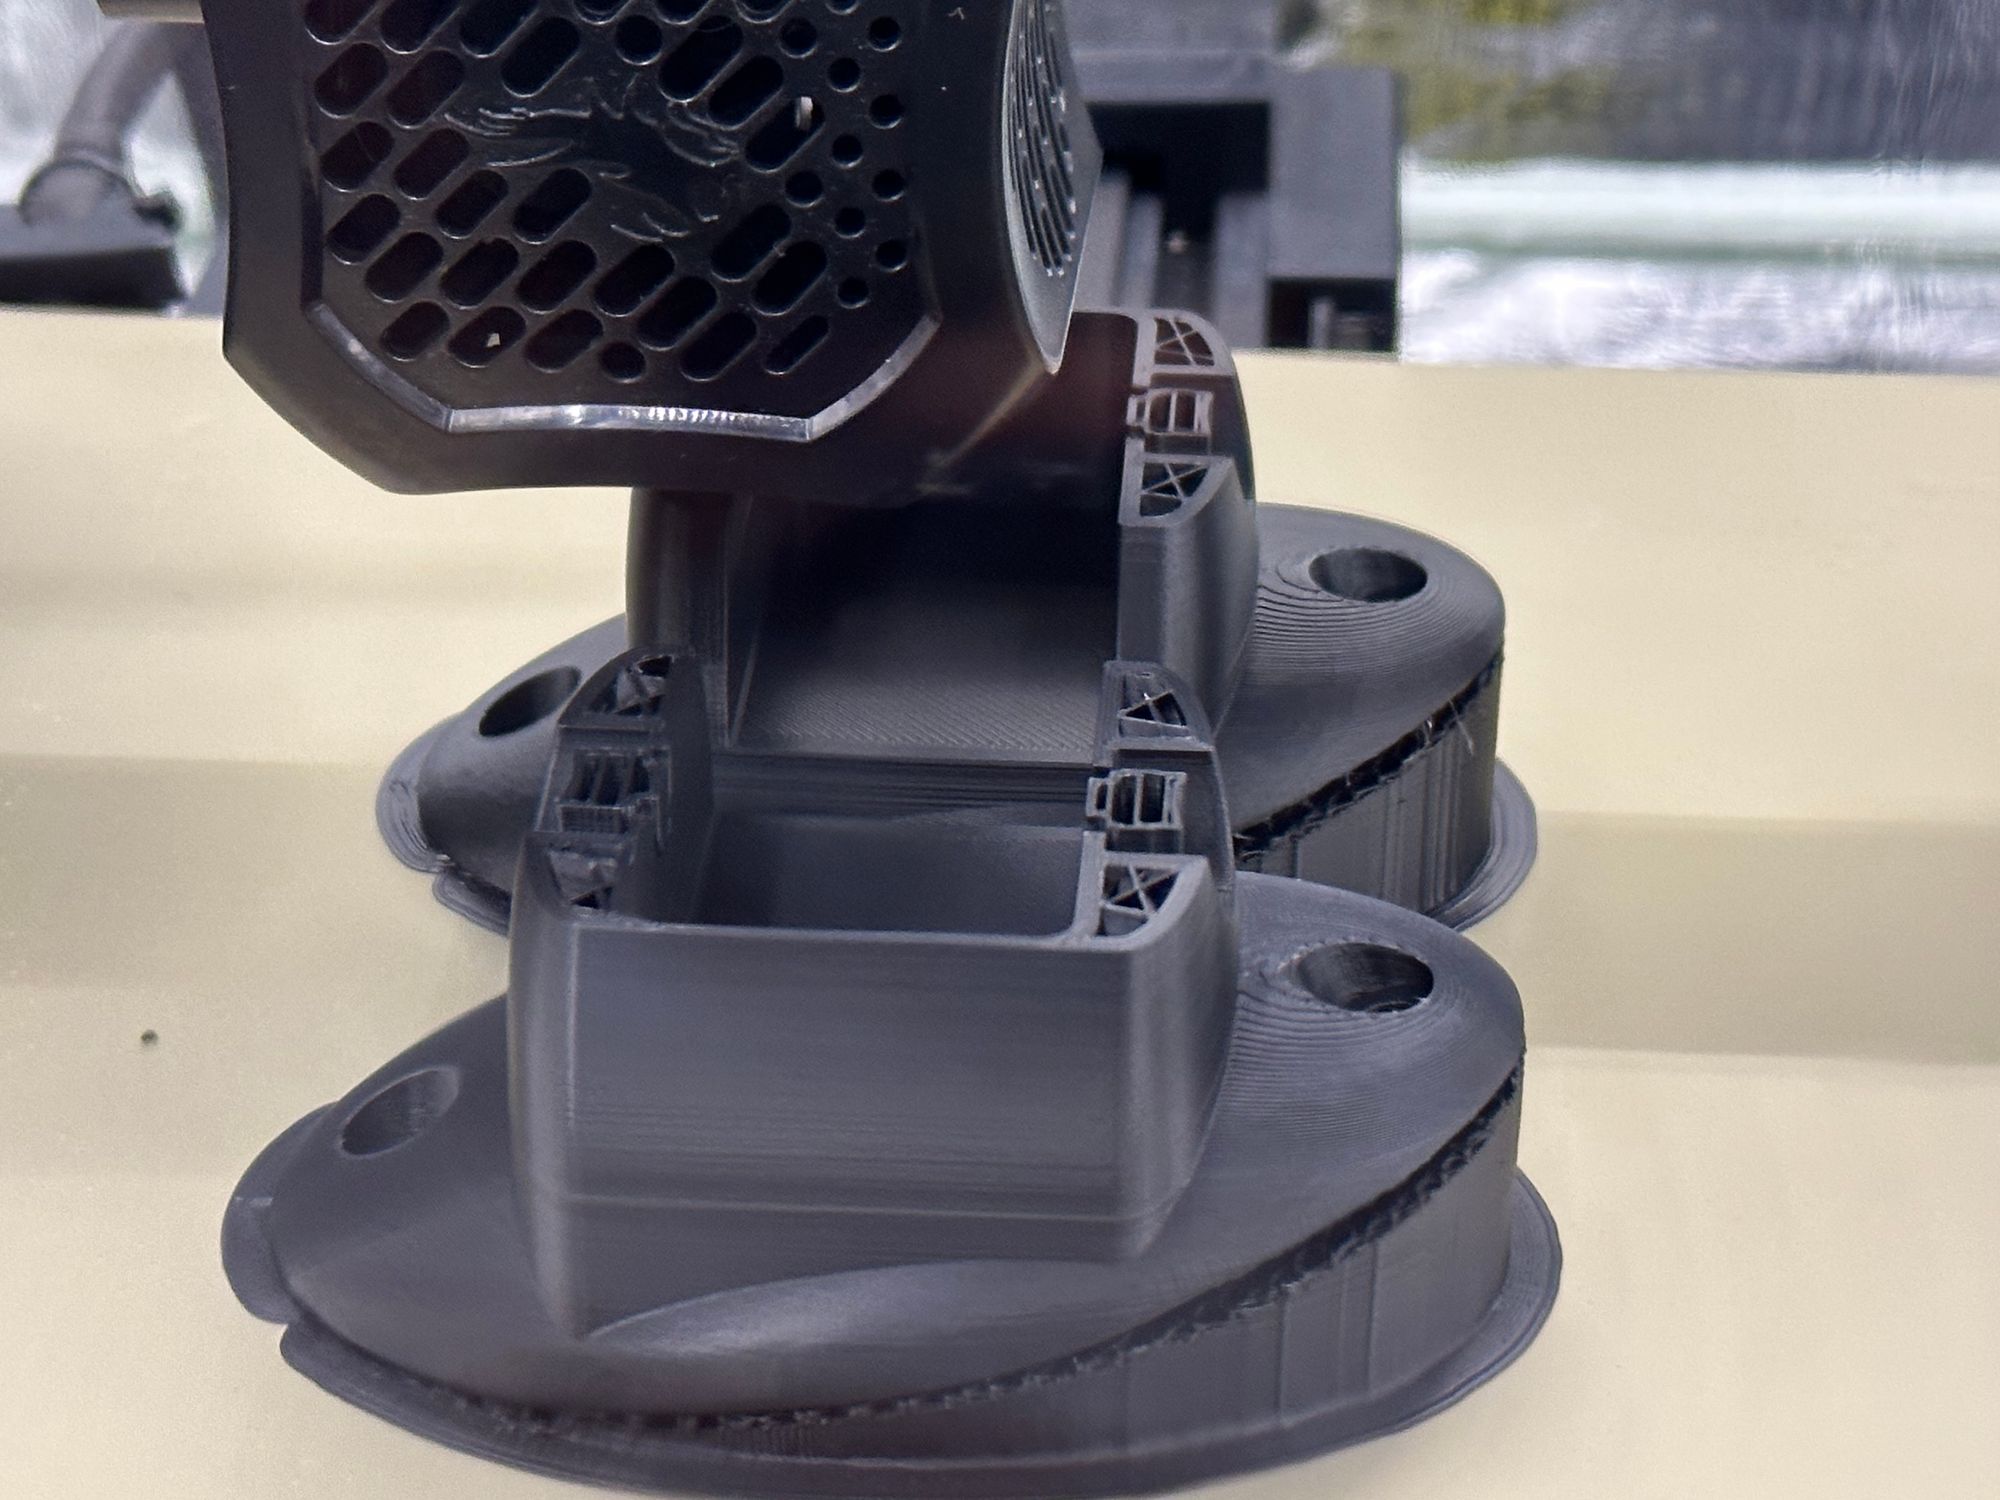
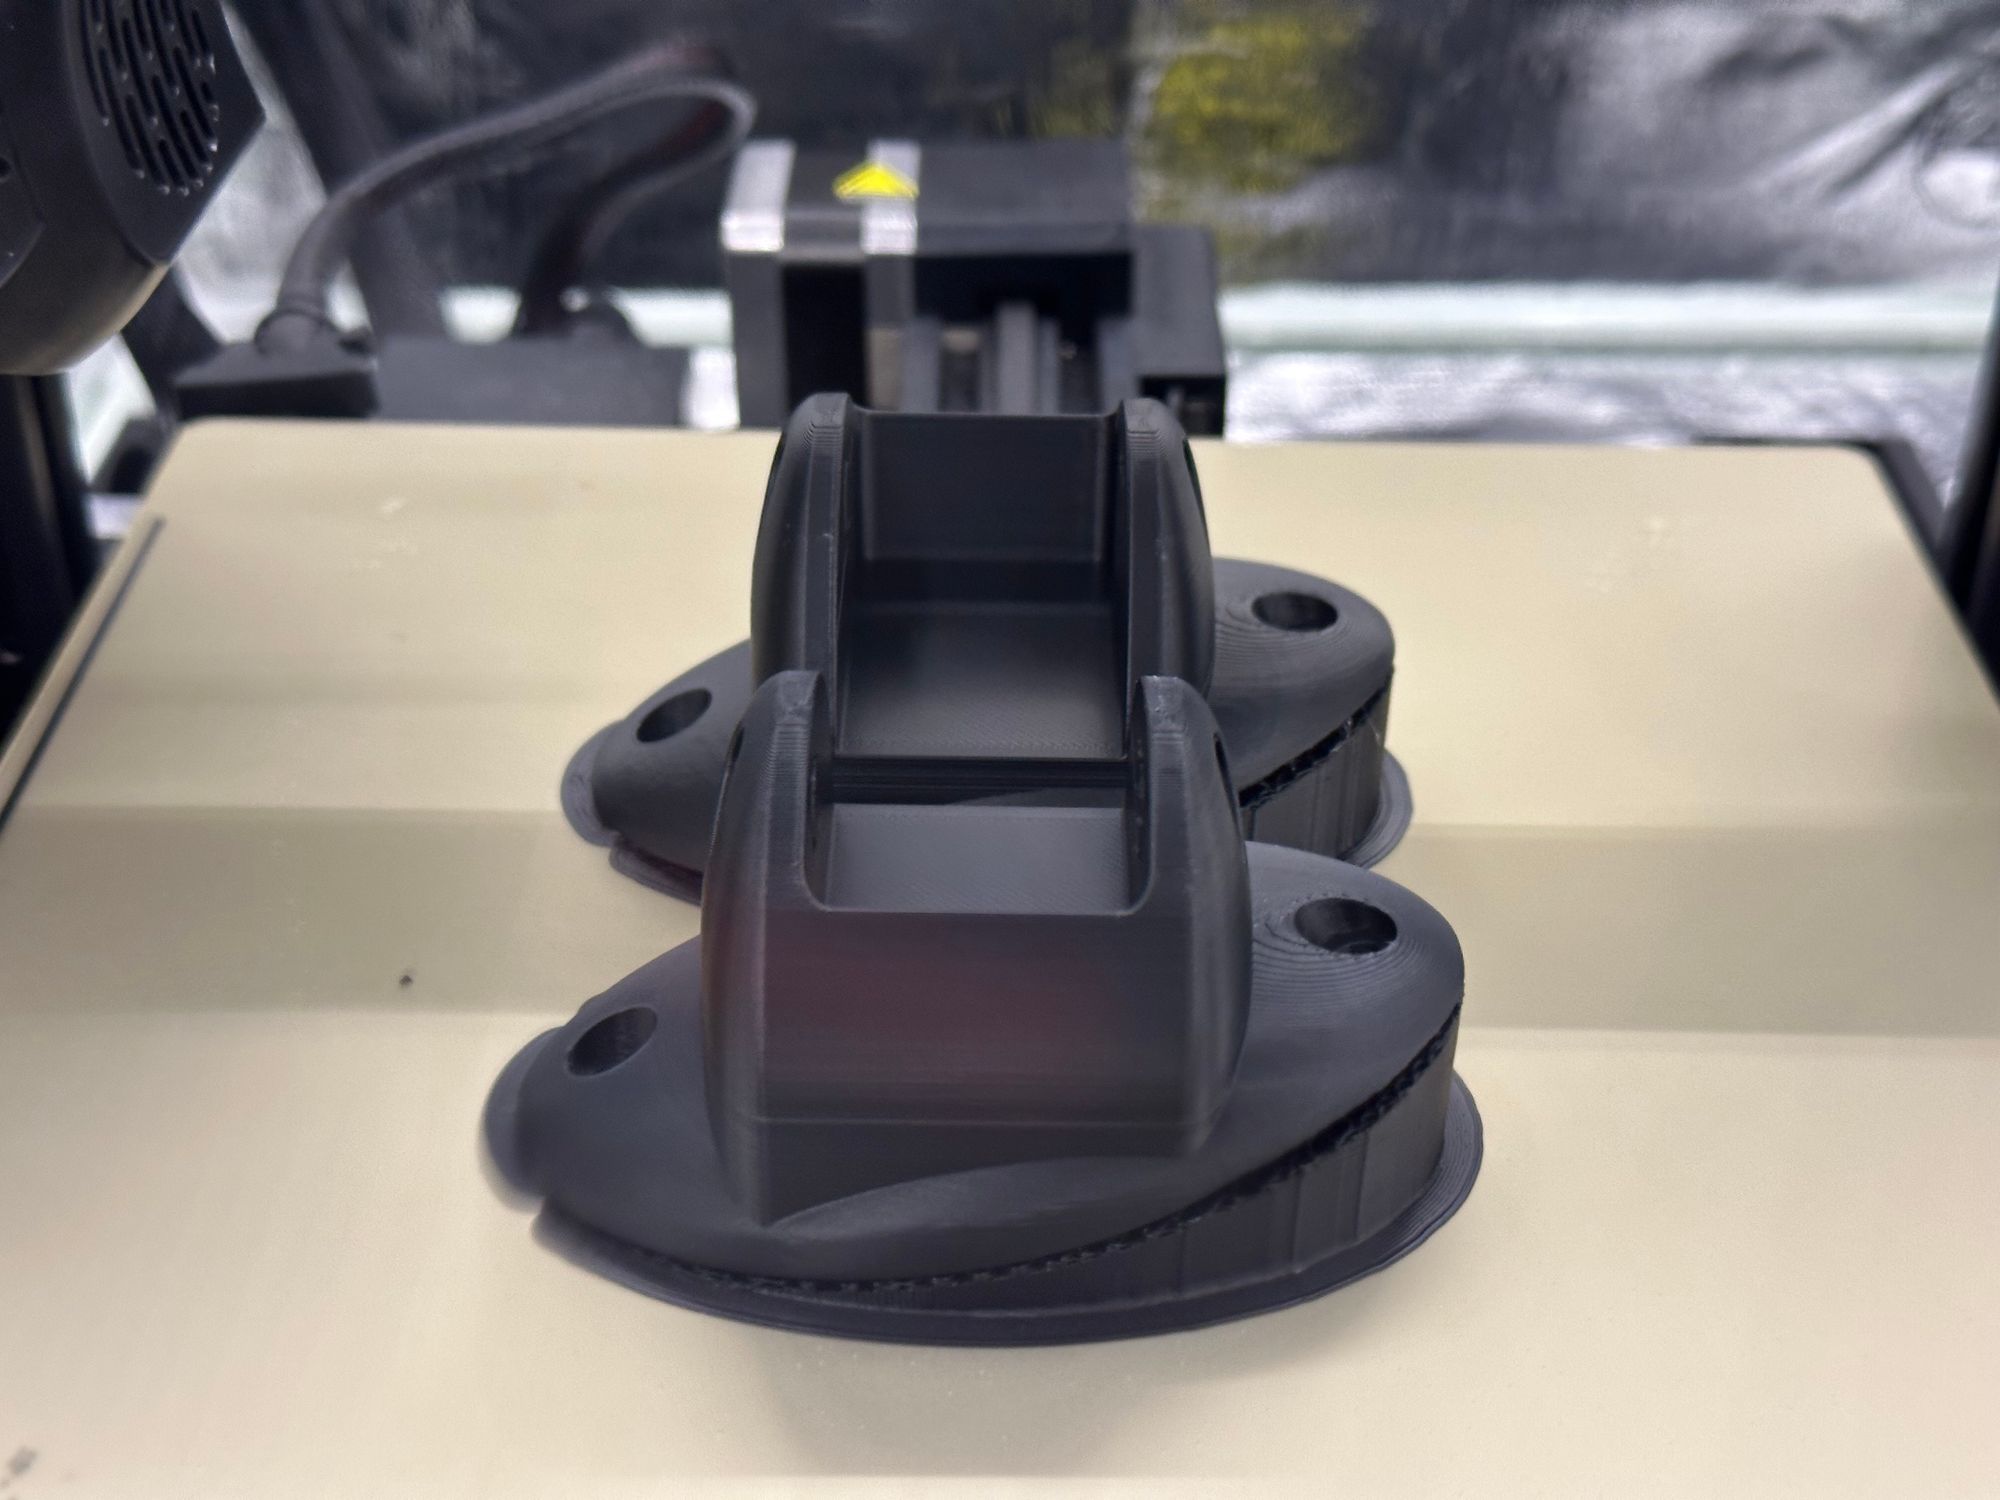
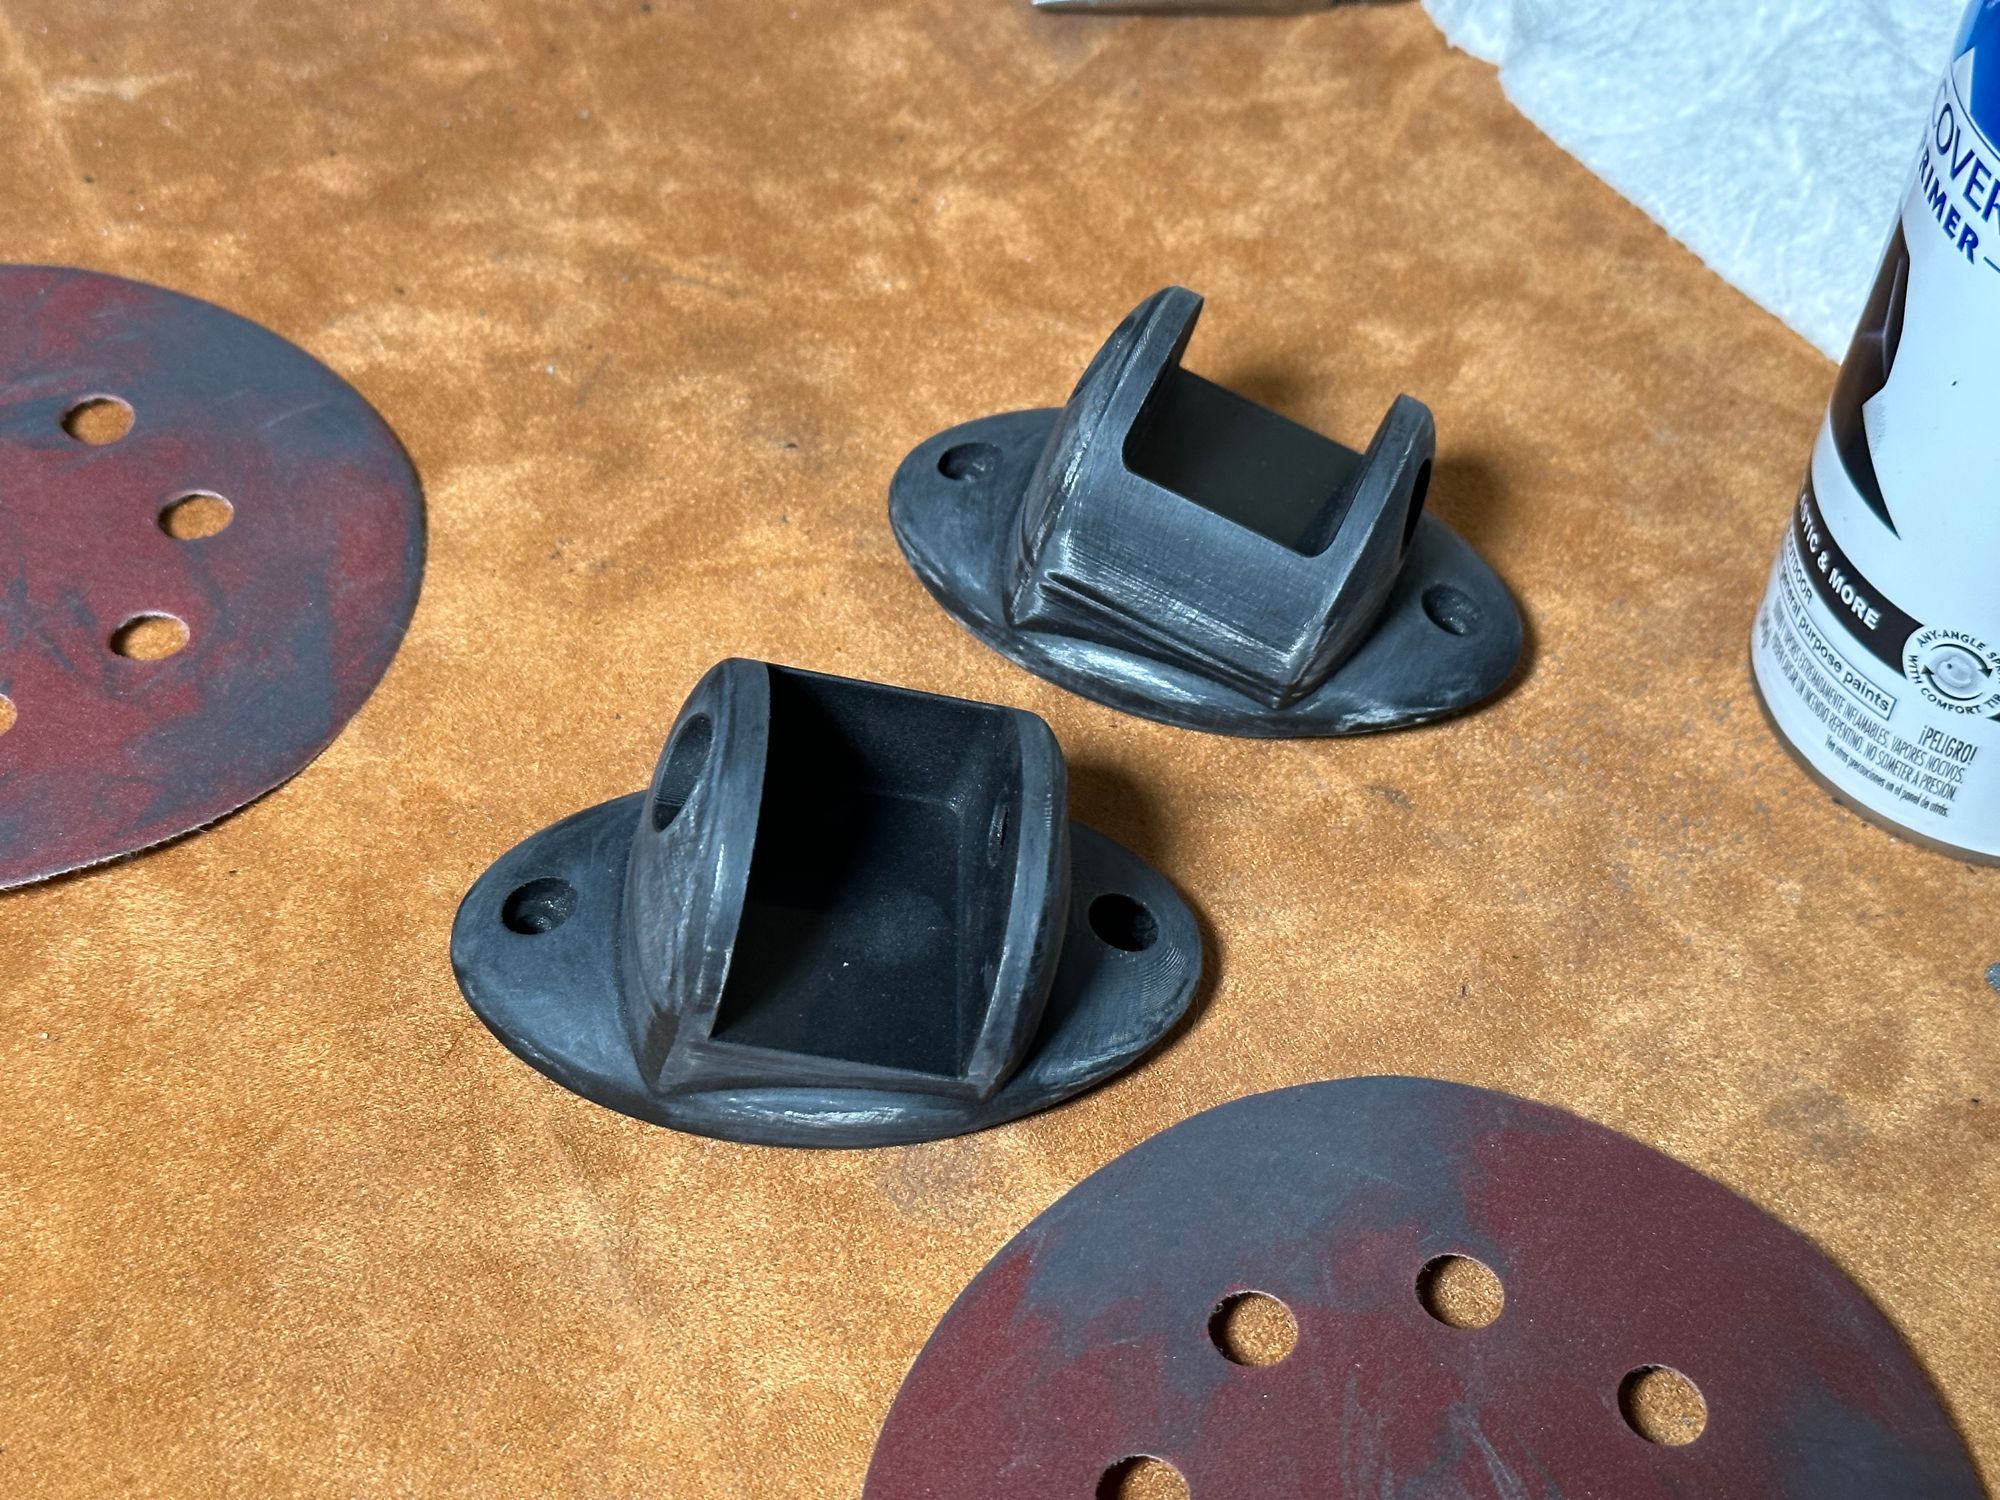
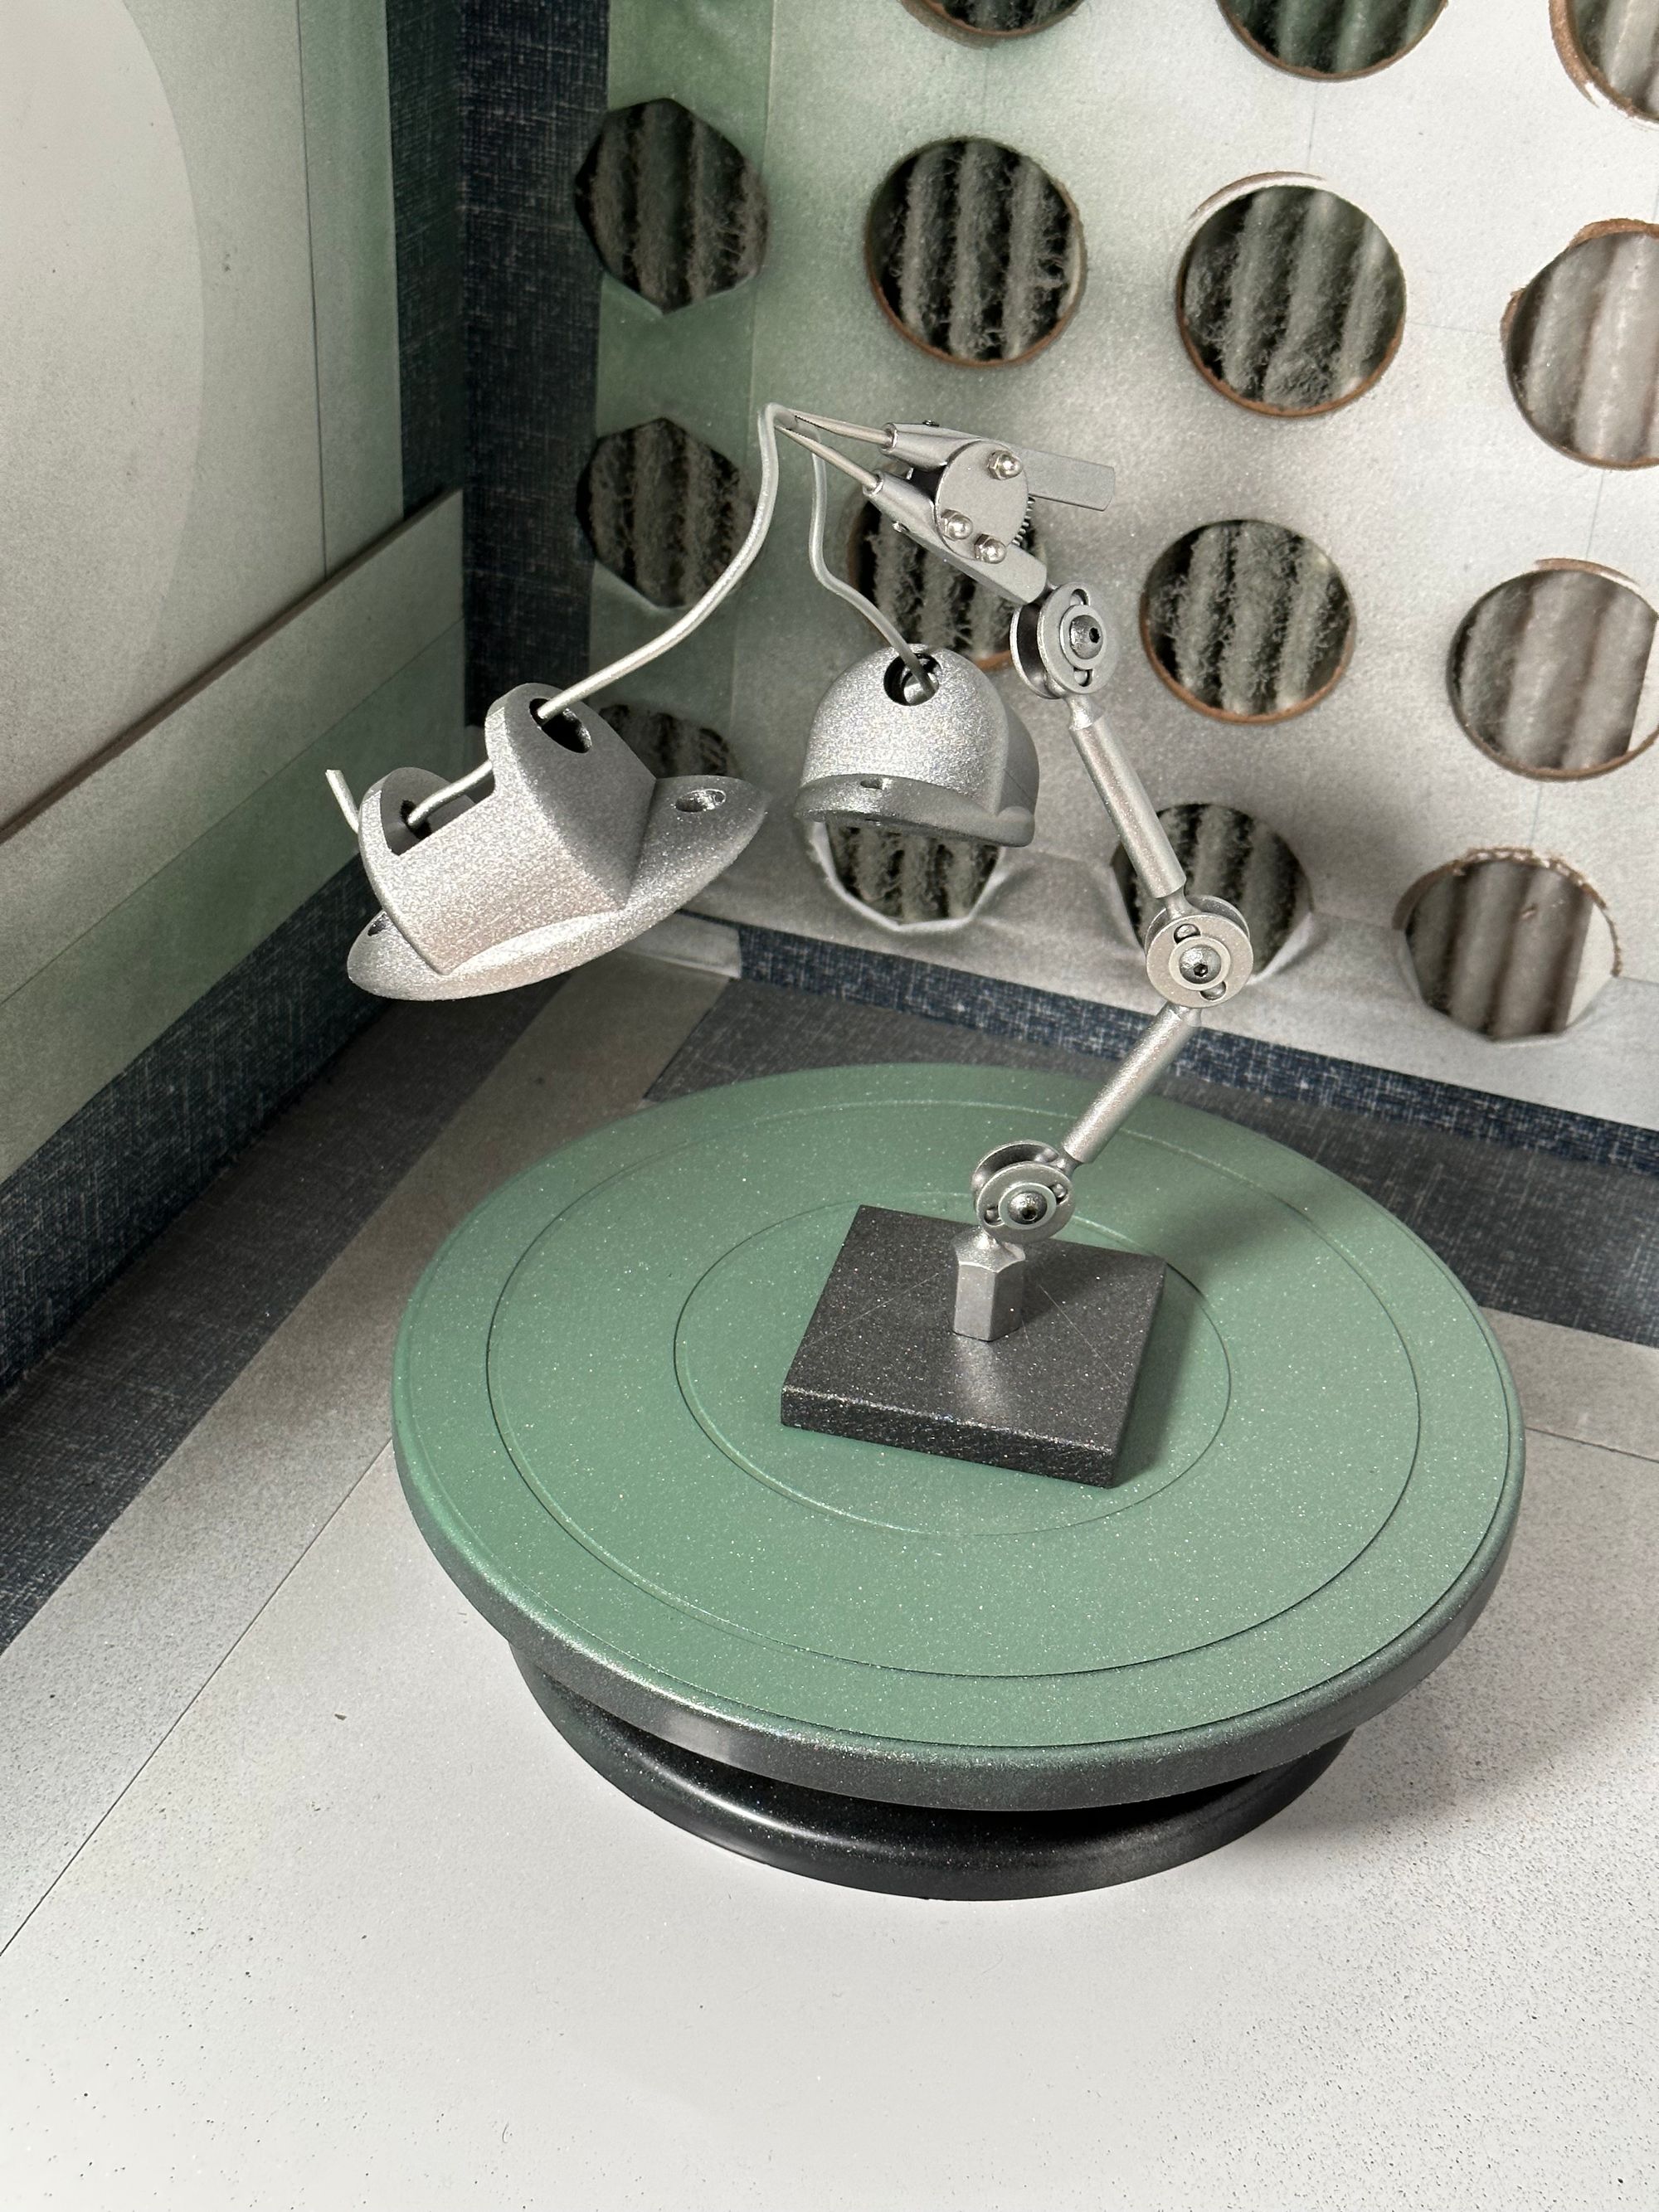
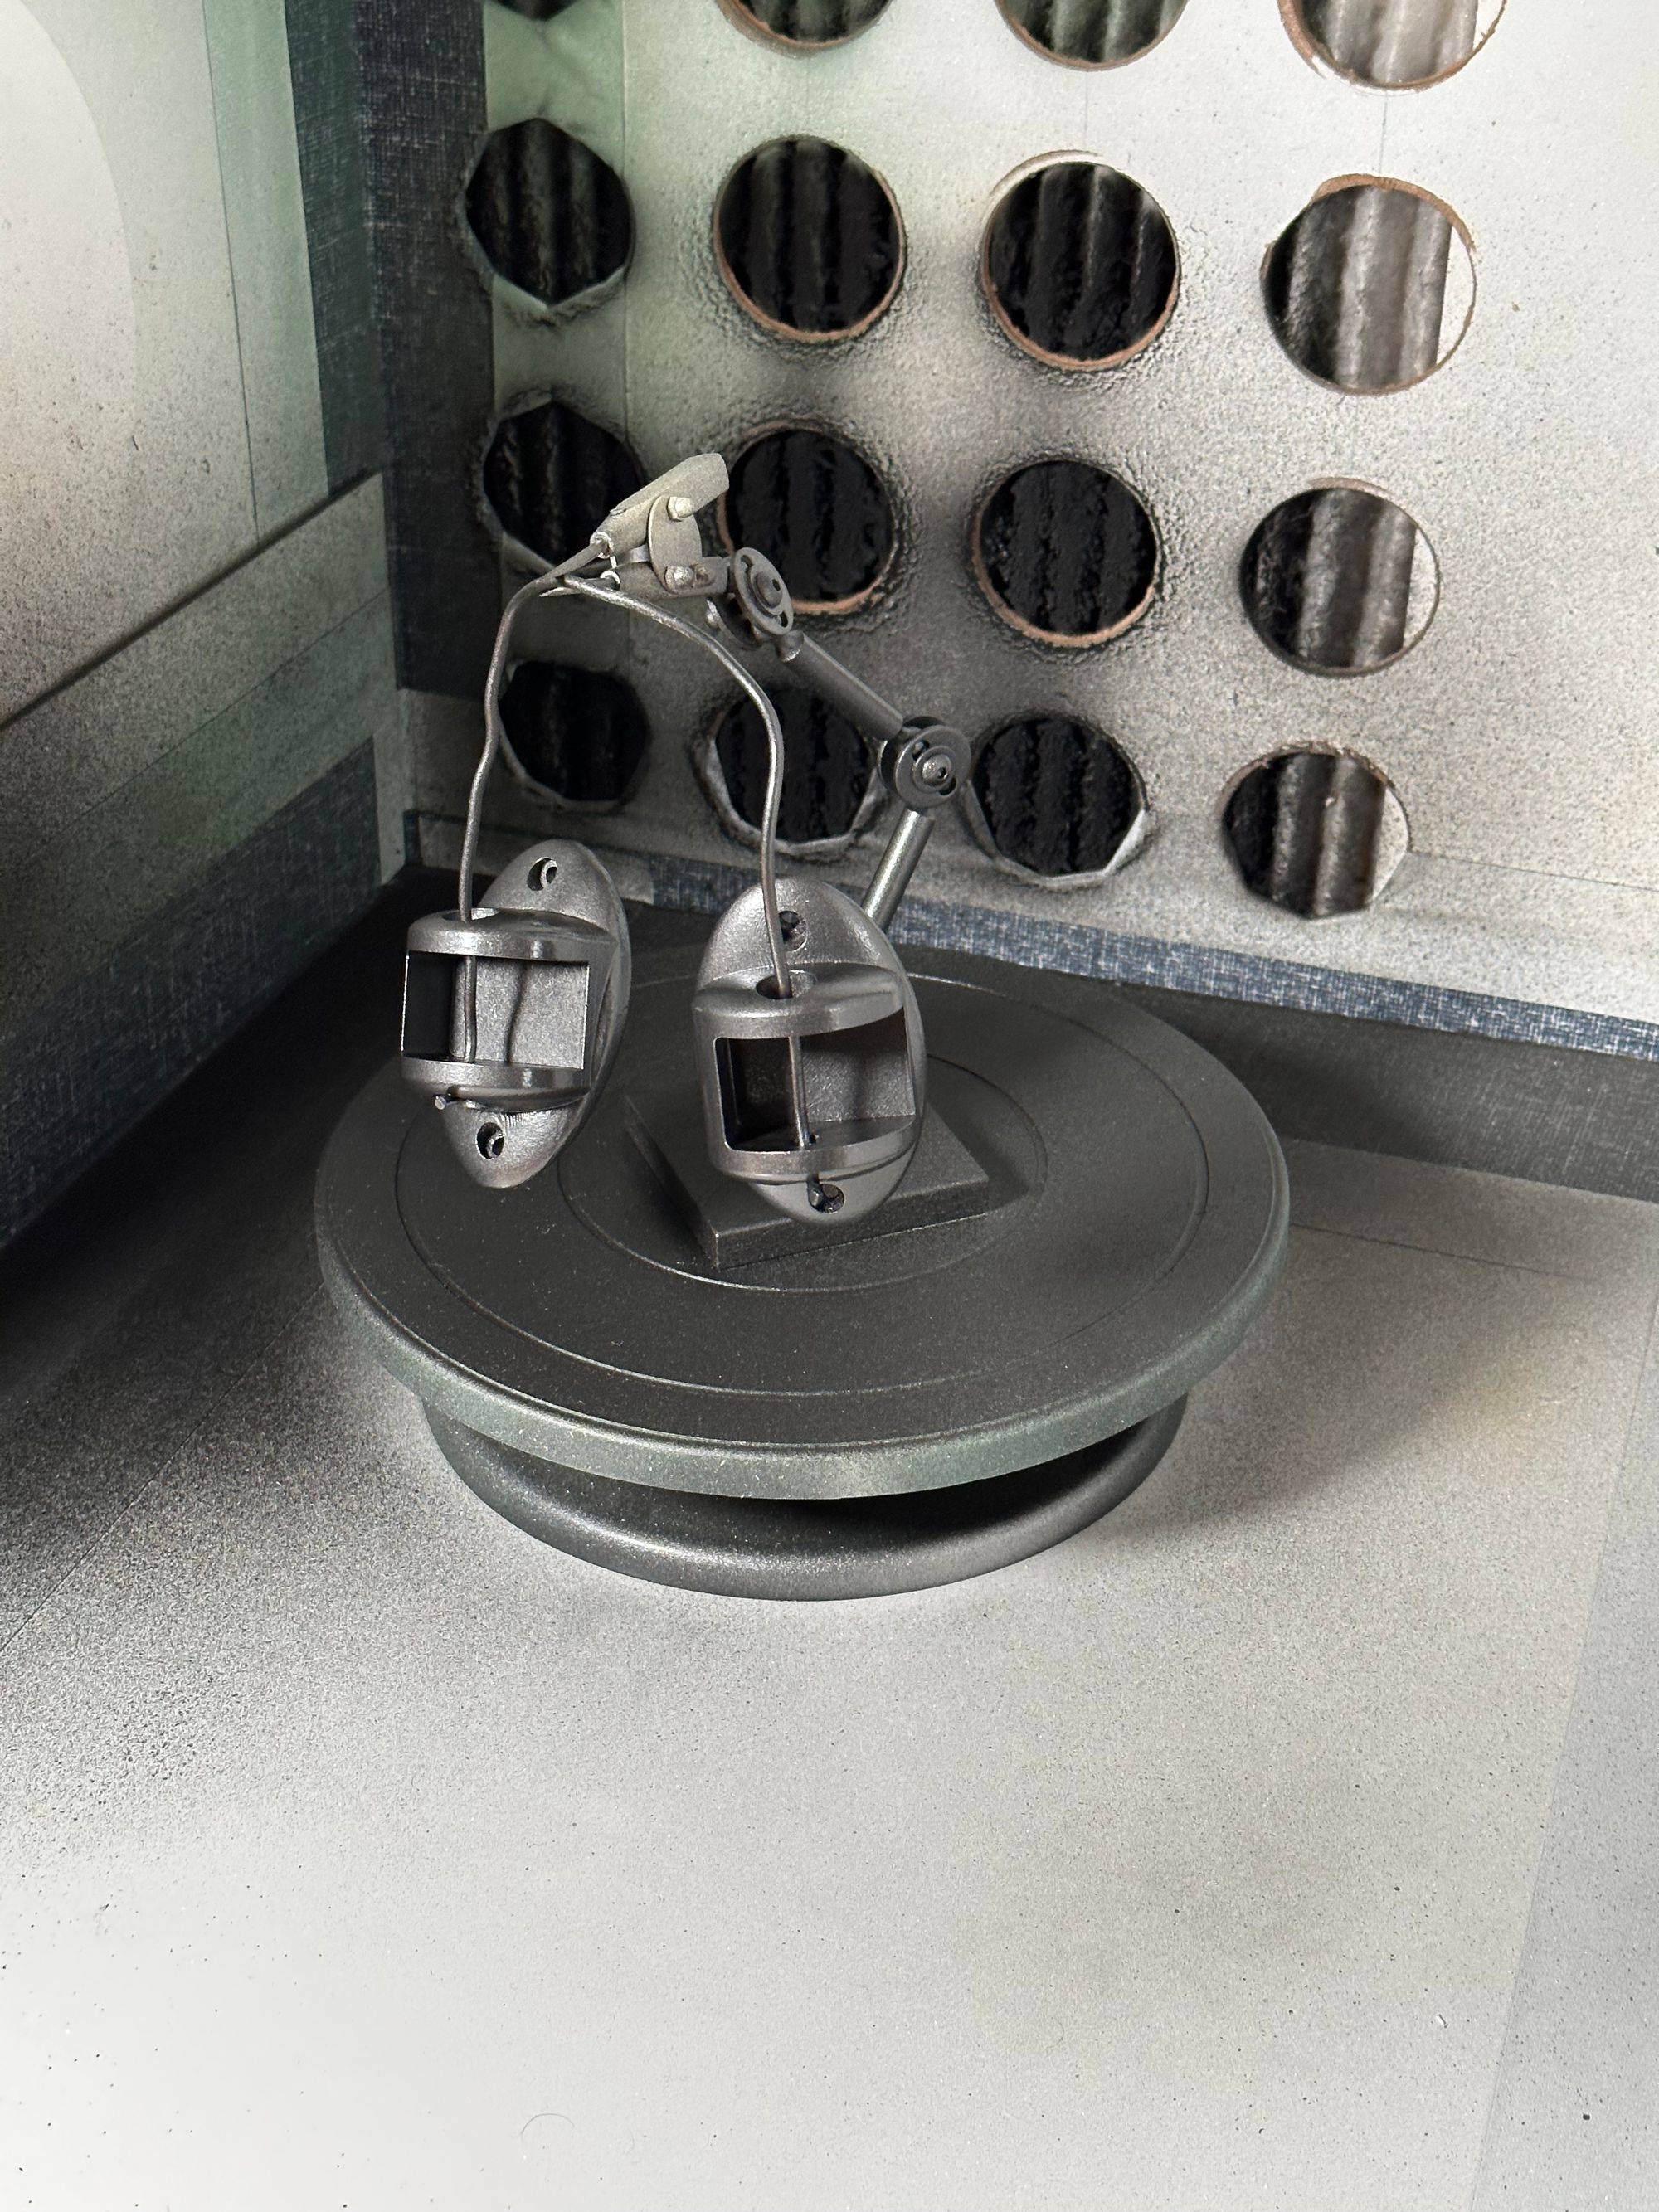
Since I was now pretty sure these were the final brackets, I took a moment to consider my paint choices. I had multiple paints that I thought might work, but matching the rod was challenging, and I ultimately opted for a contrasting “hammered metal” paint. I also did a finishing coat of enamel to seal and protect the paint from chipping.
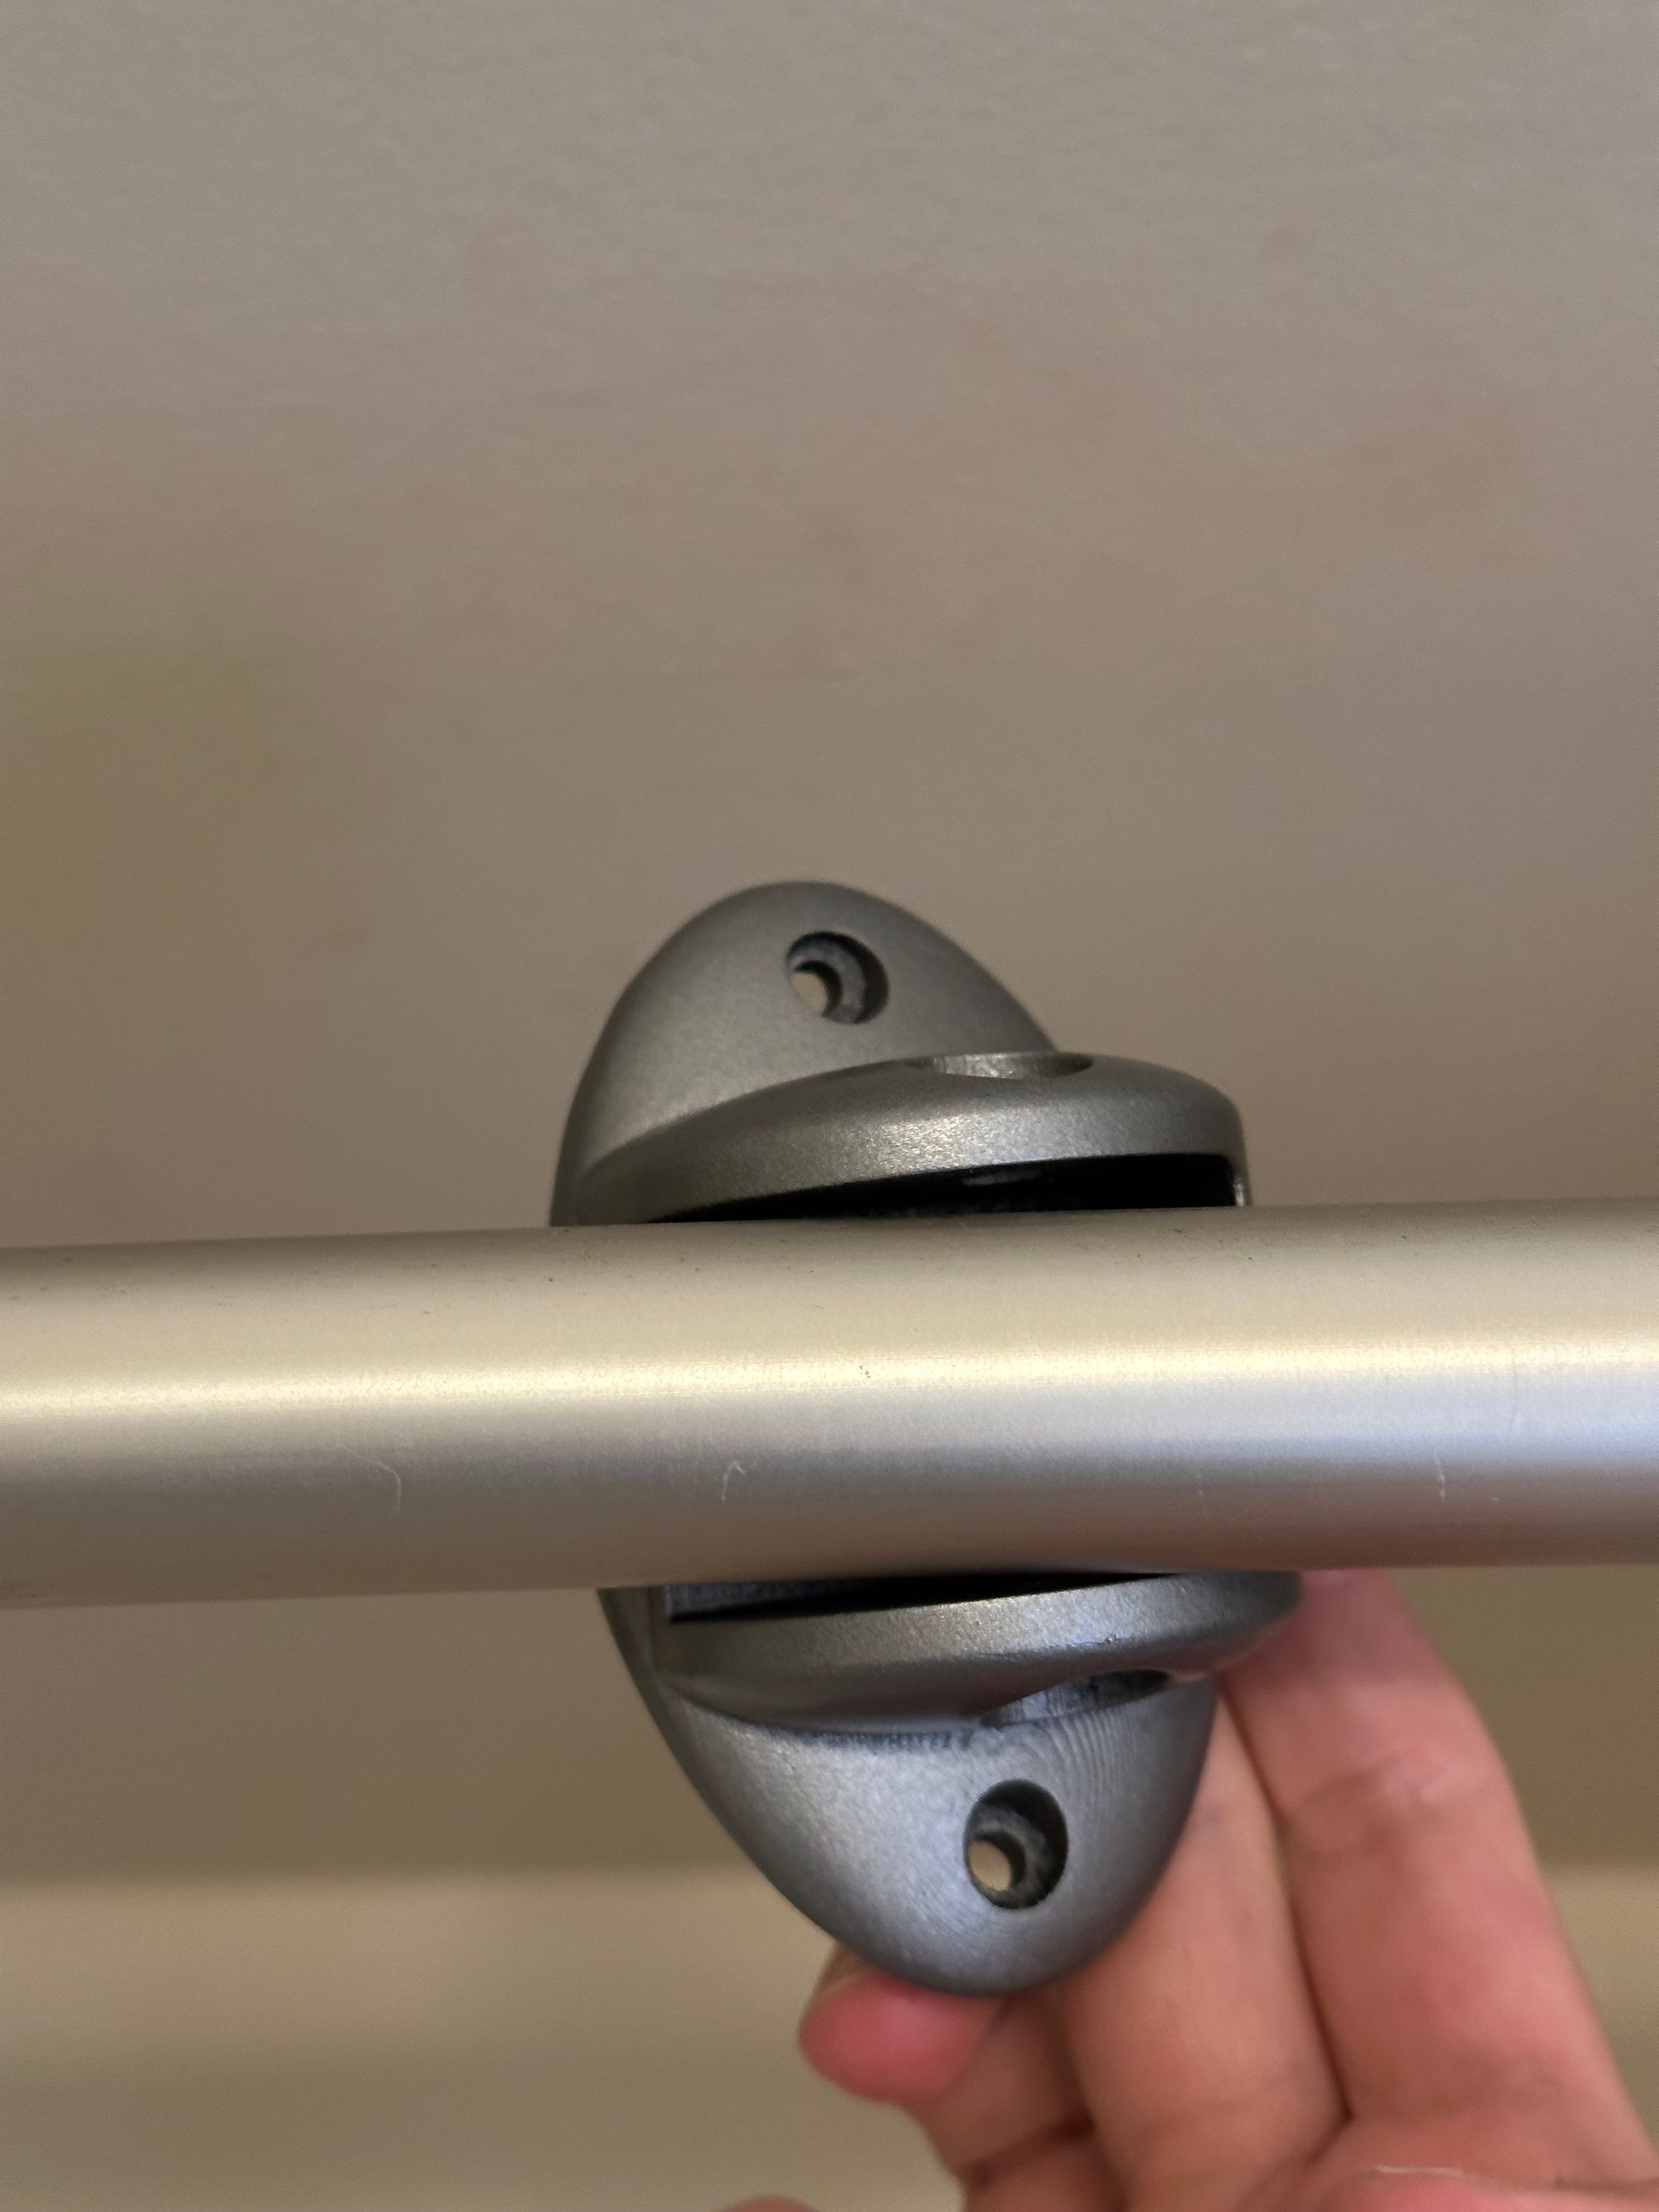
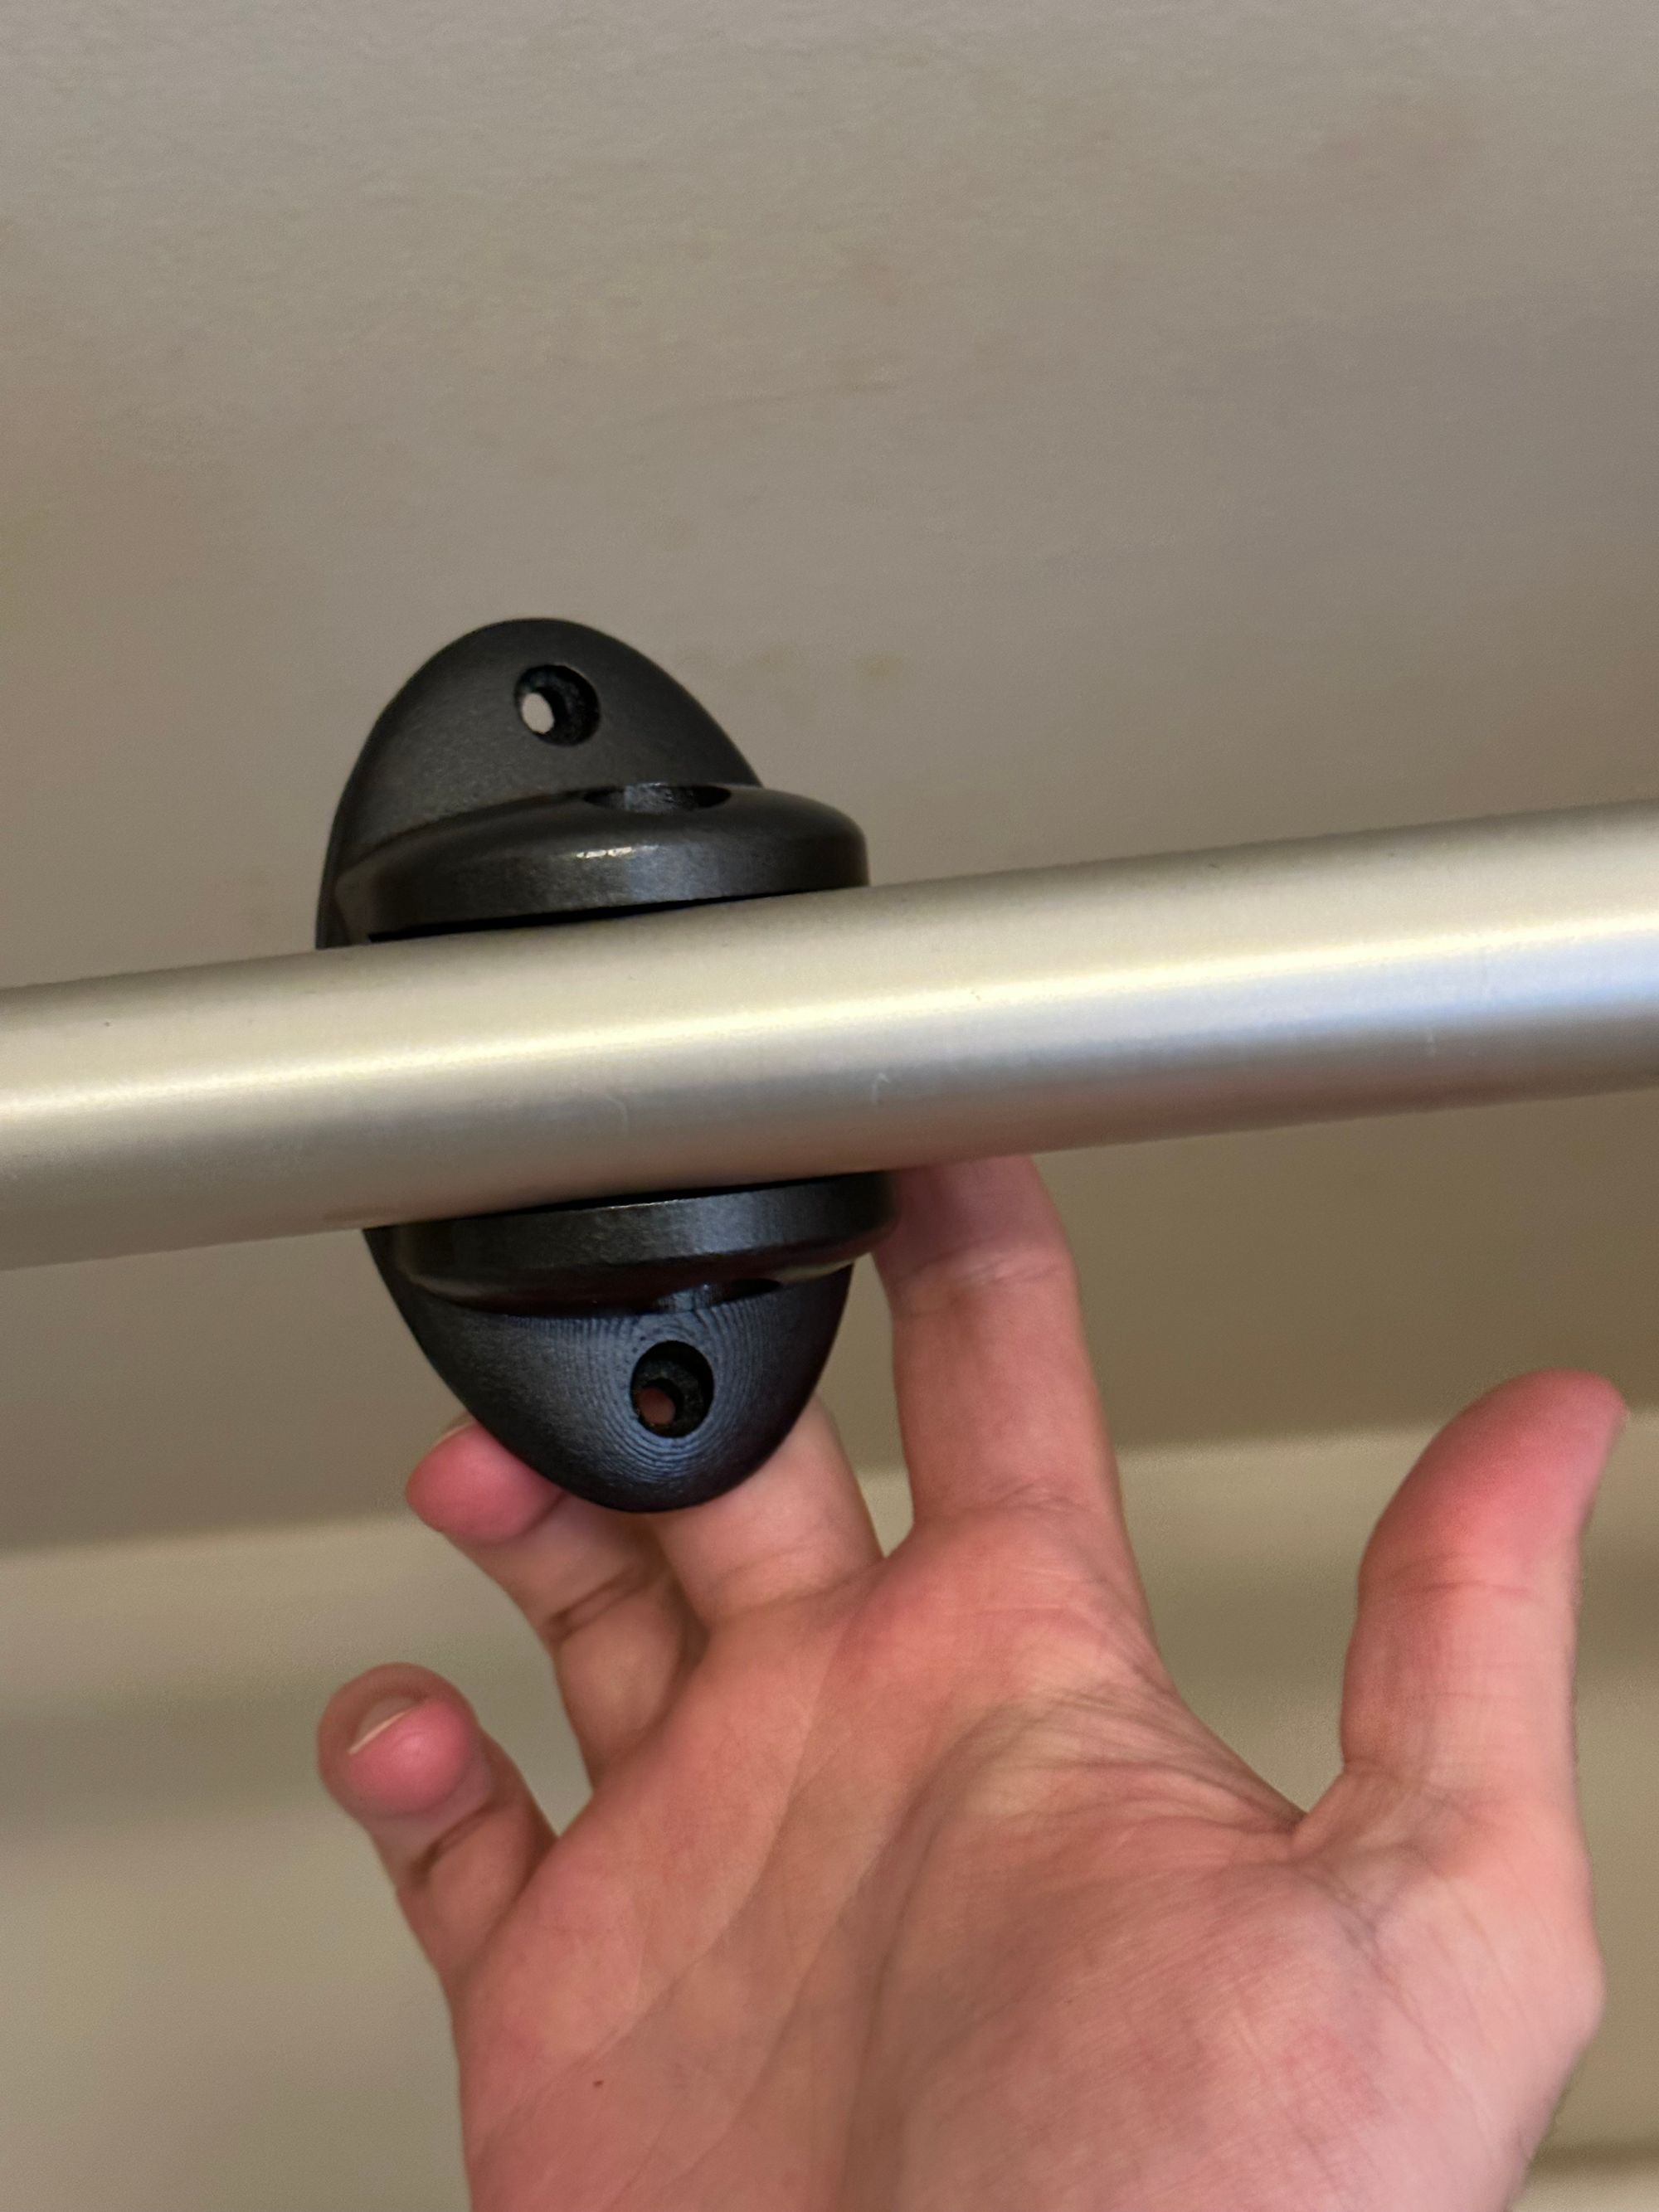
Once everything had plenty of time to dry, I got everything put up and put together.
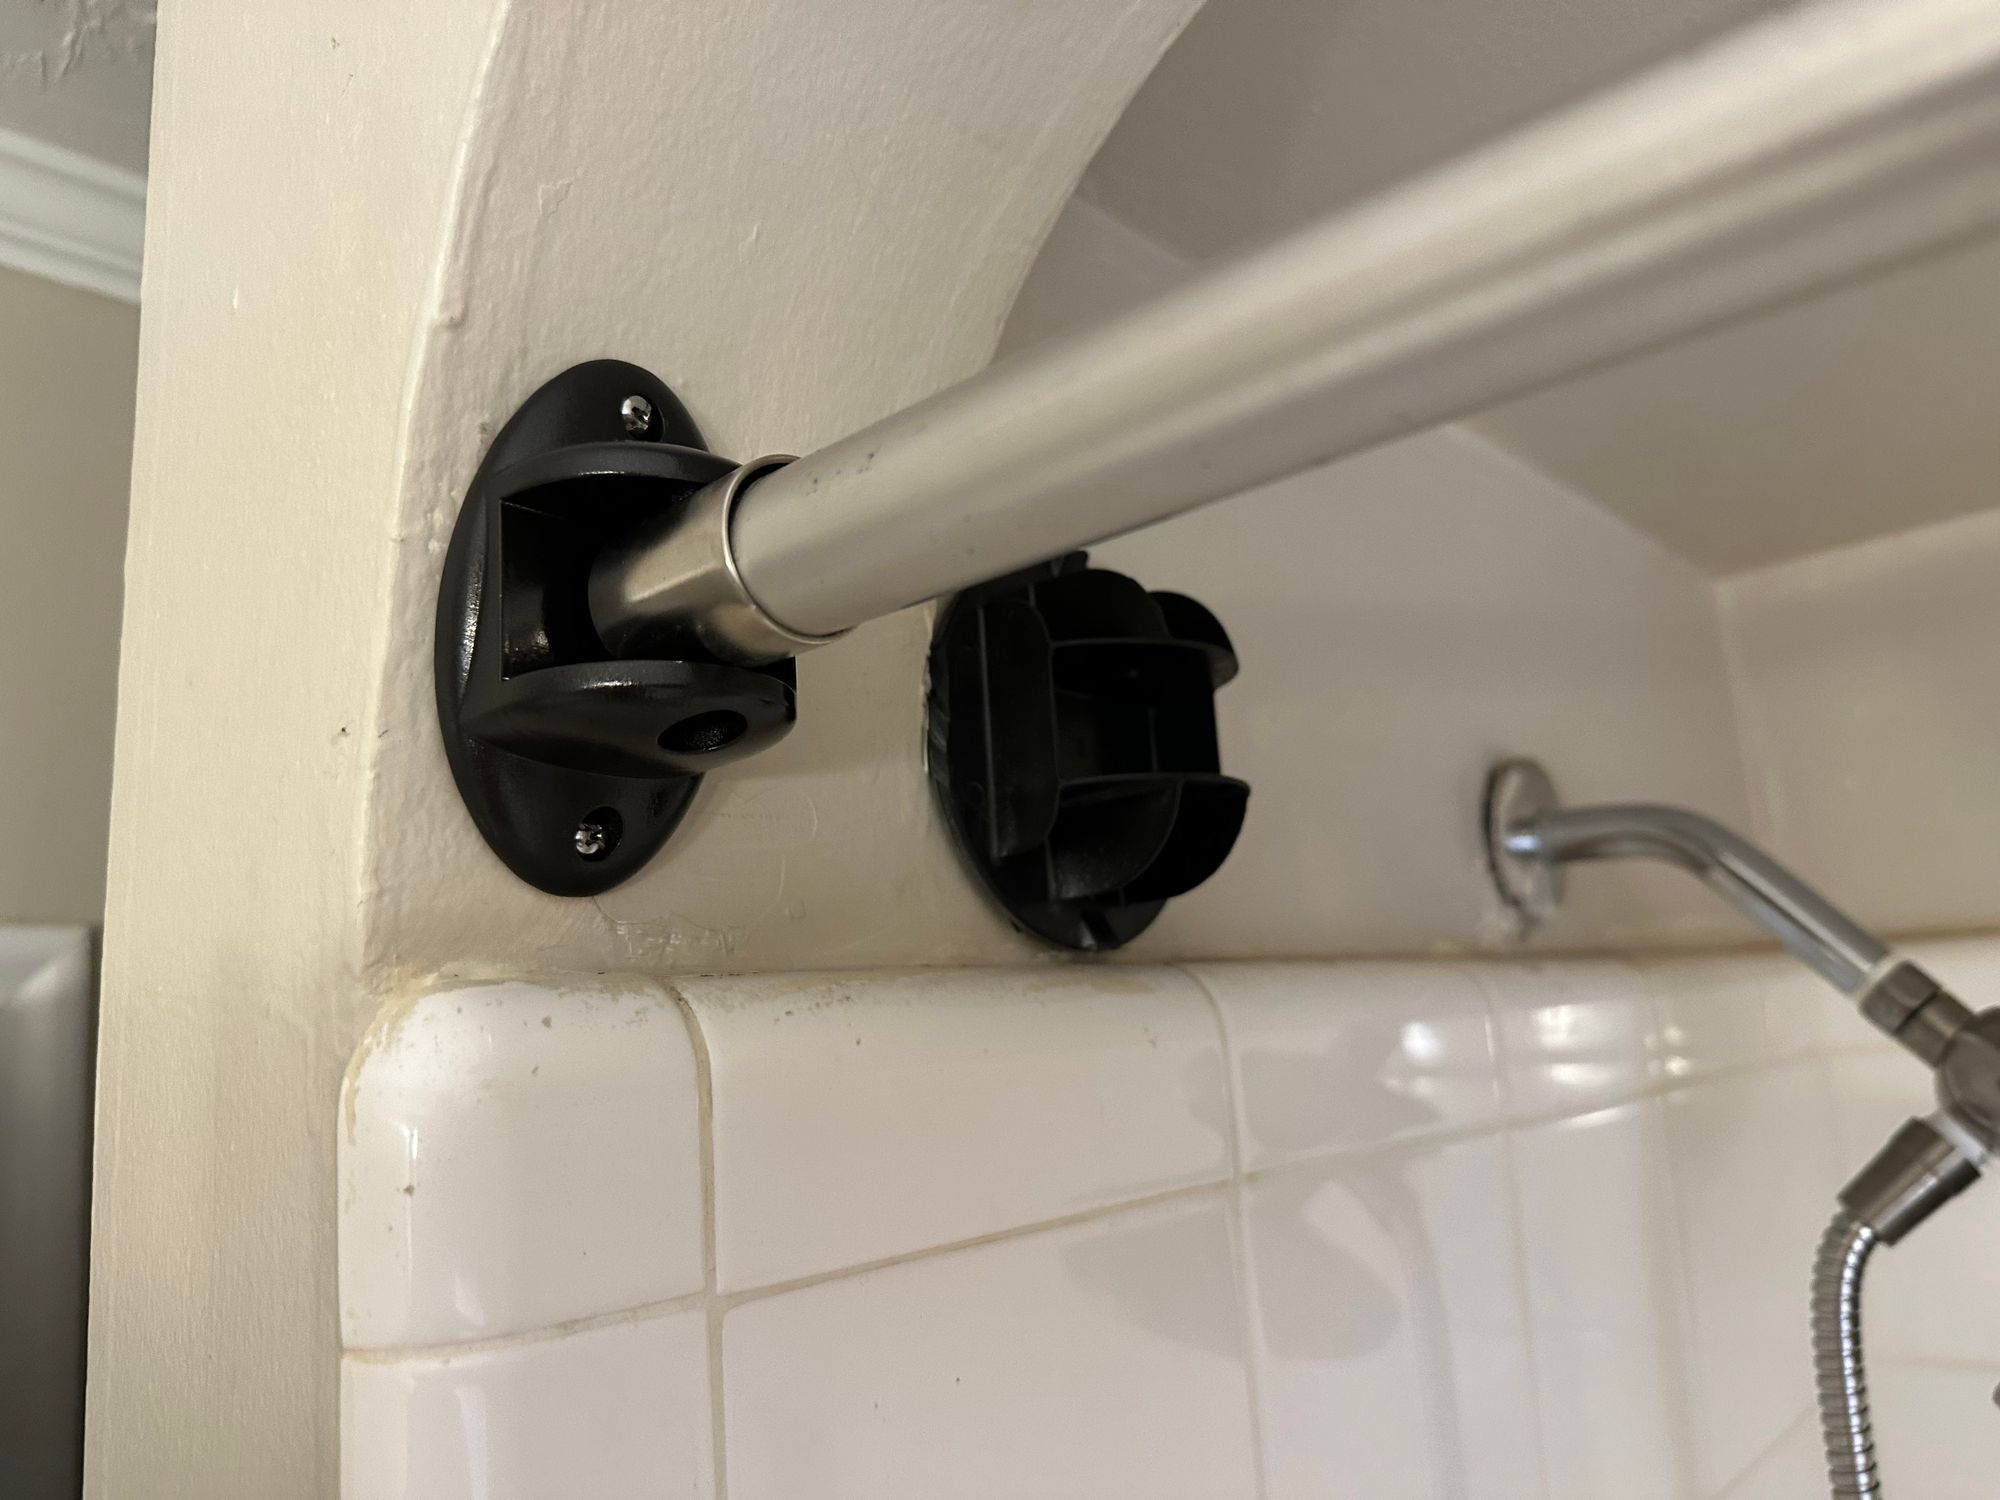
All told, I got back 5.5 inches of space in the shower. Not too bad.
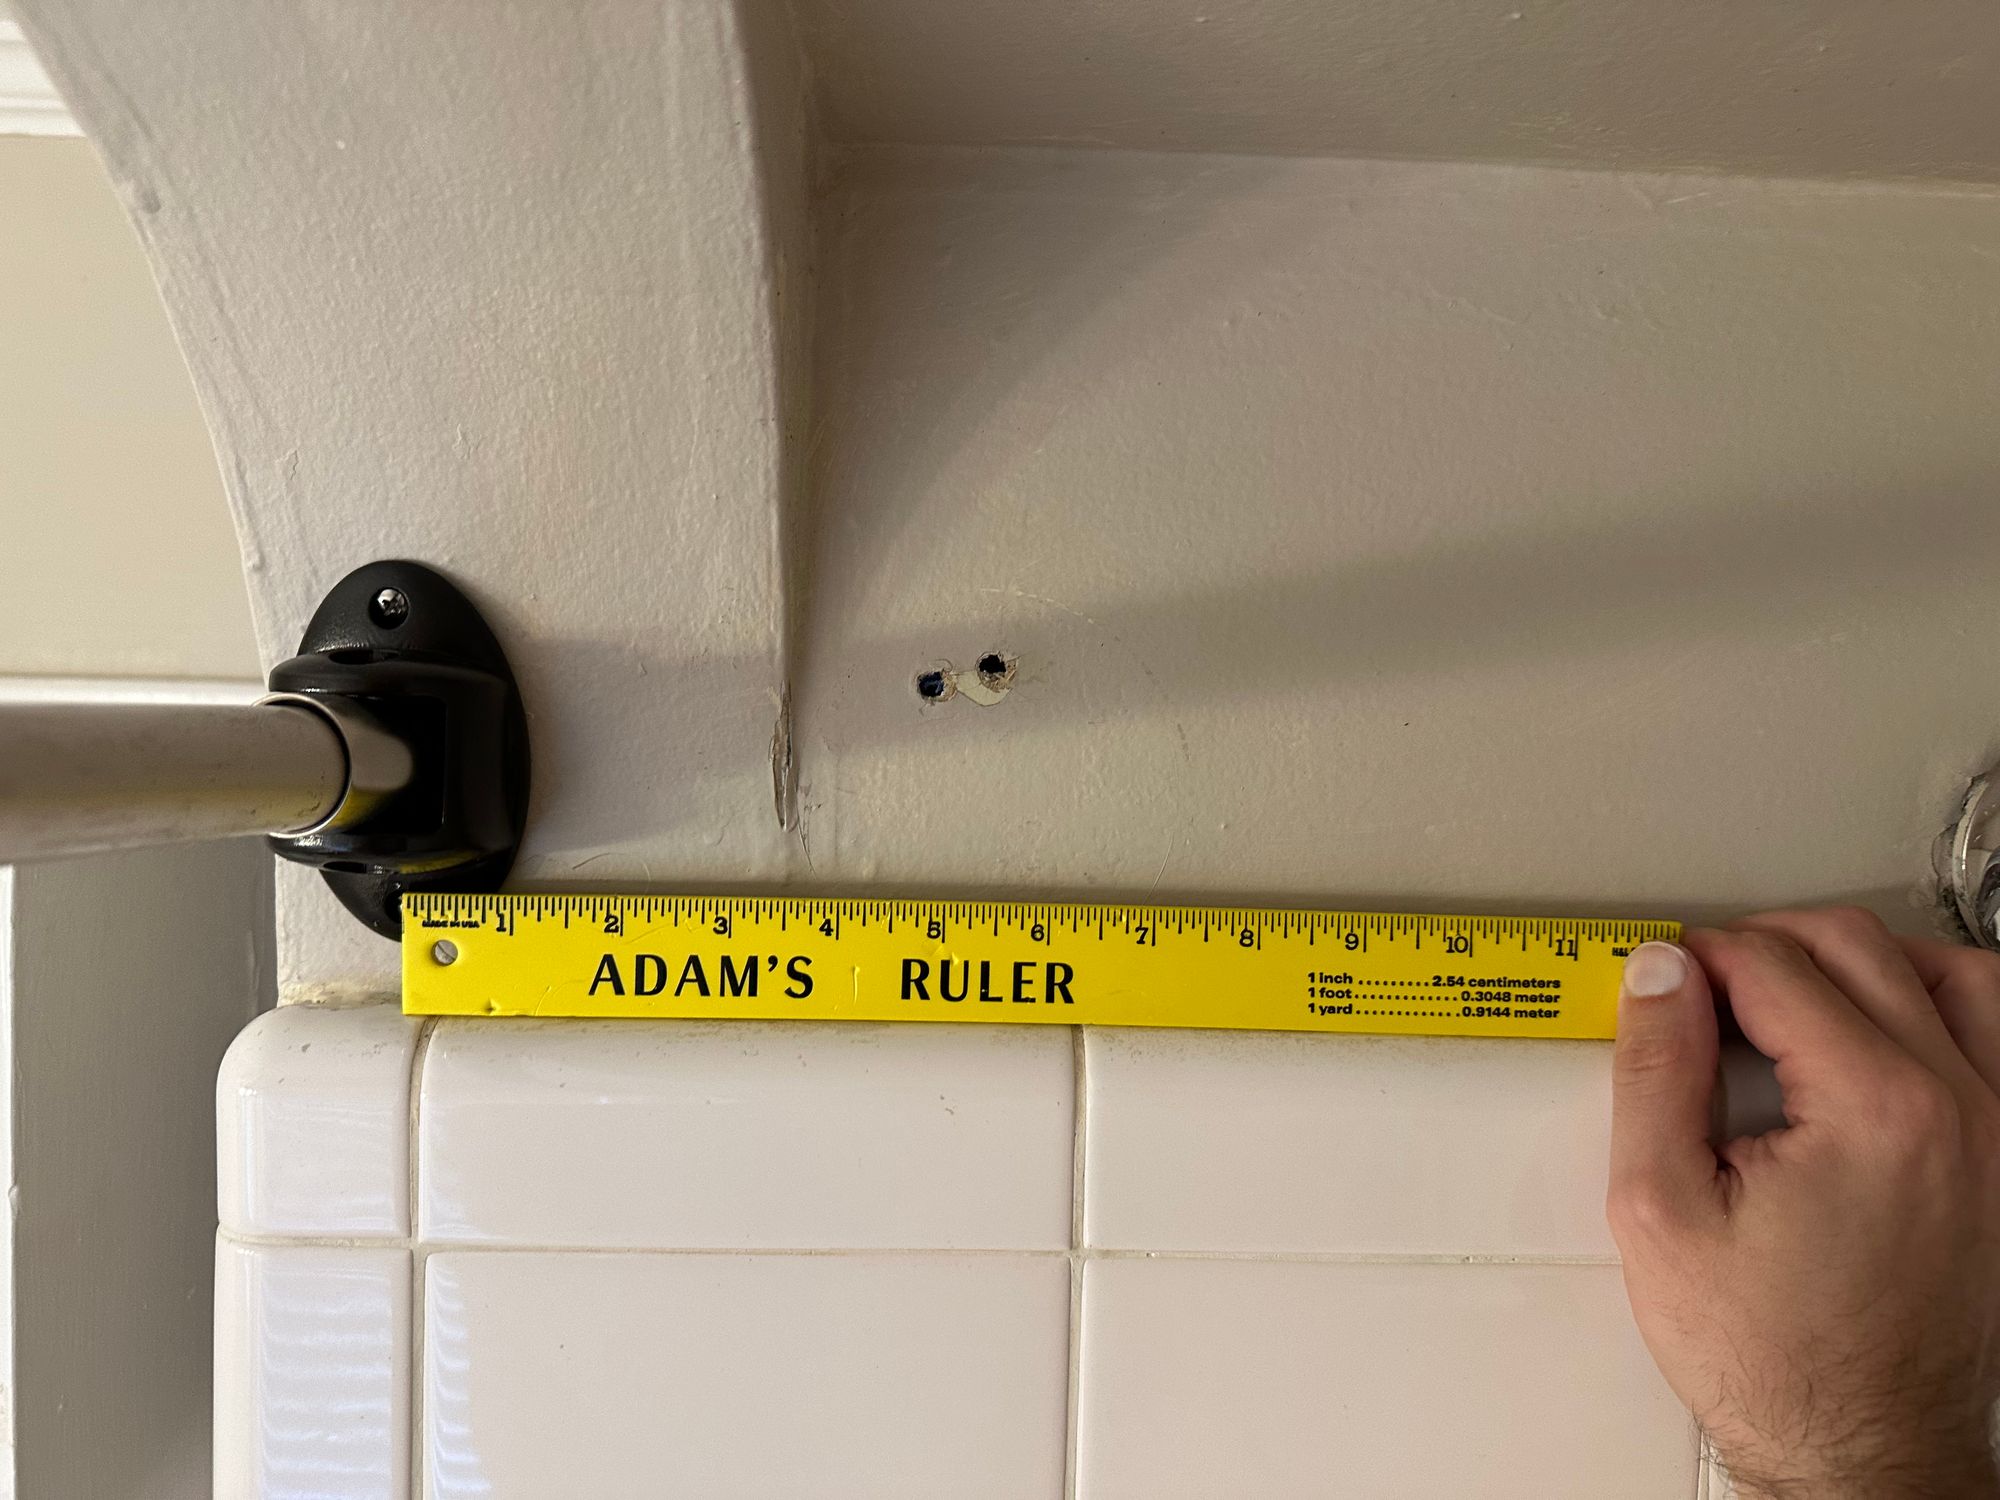
And that was it! ... for now, as this project gave my more ideas for how to facelift the shower area with custom finishings. But more on that later.
