Printer Enclosure Lighting
Super quick infrastructure improvement!
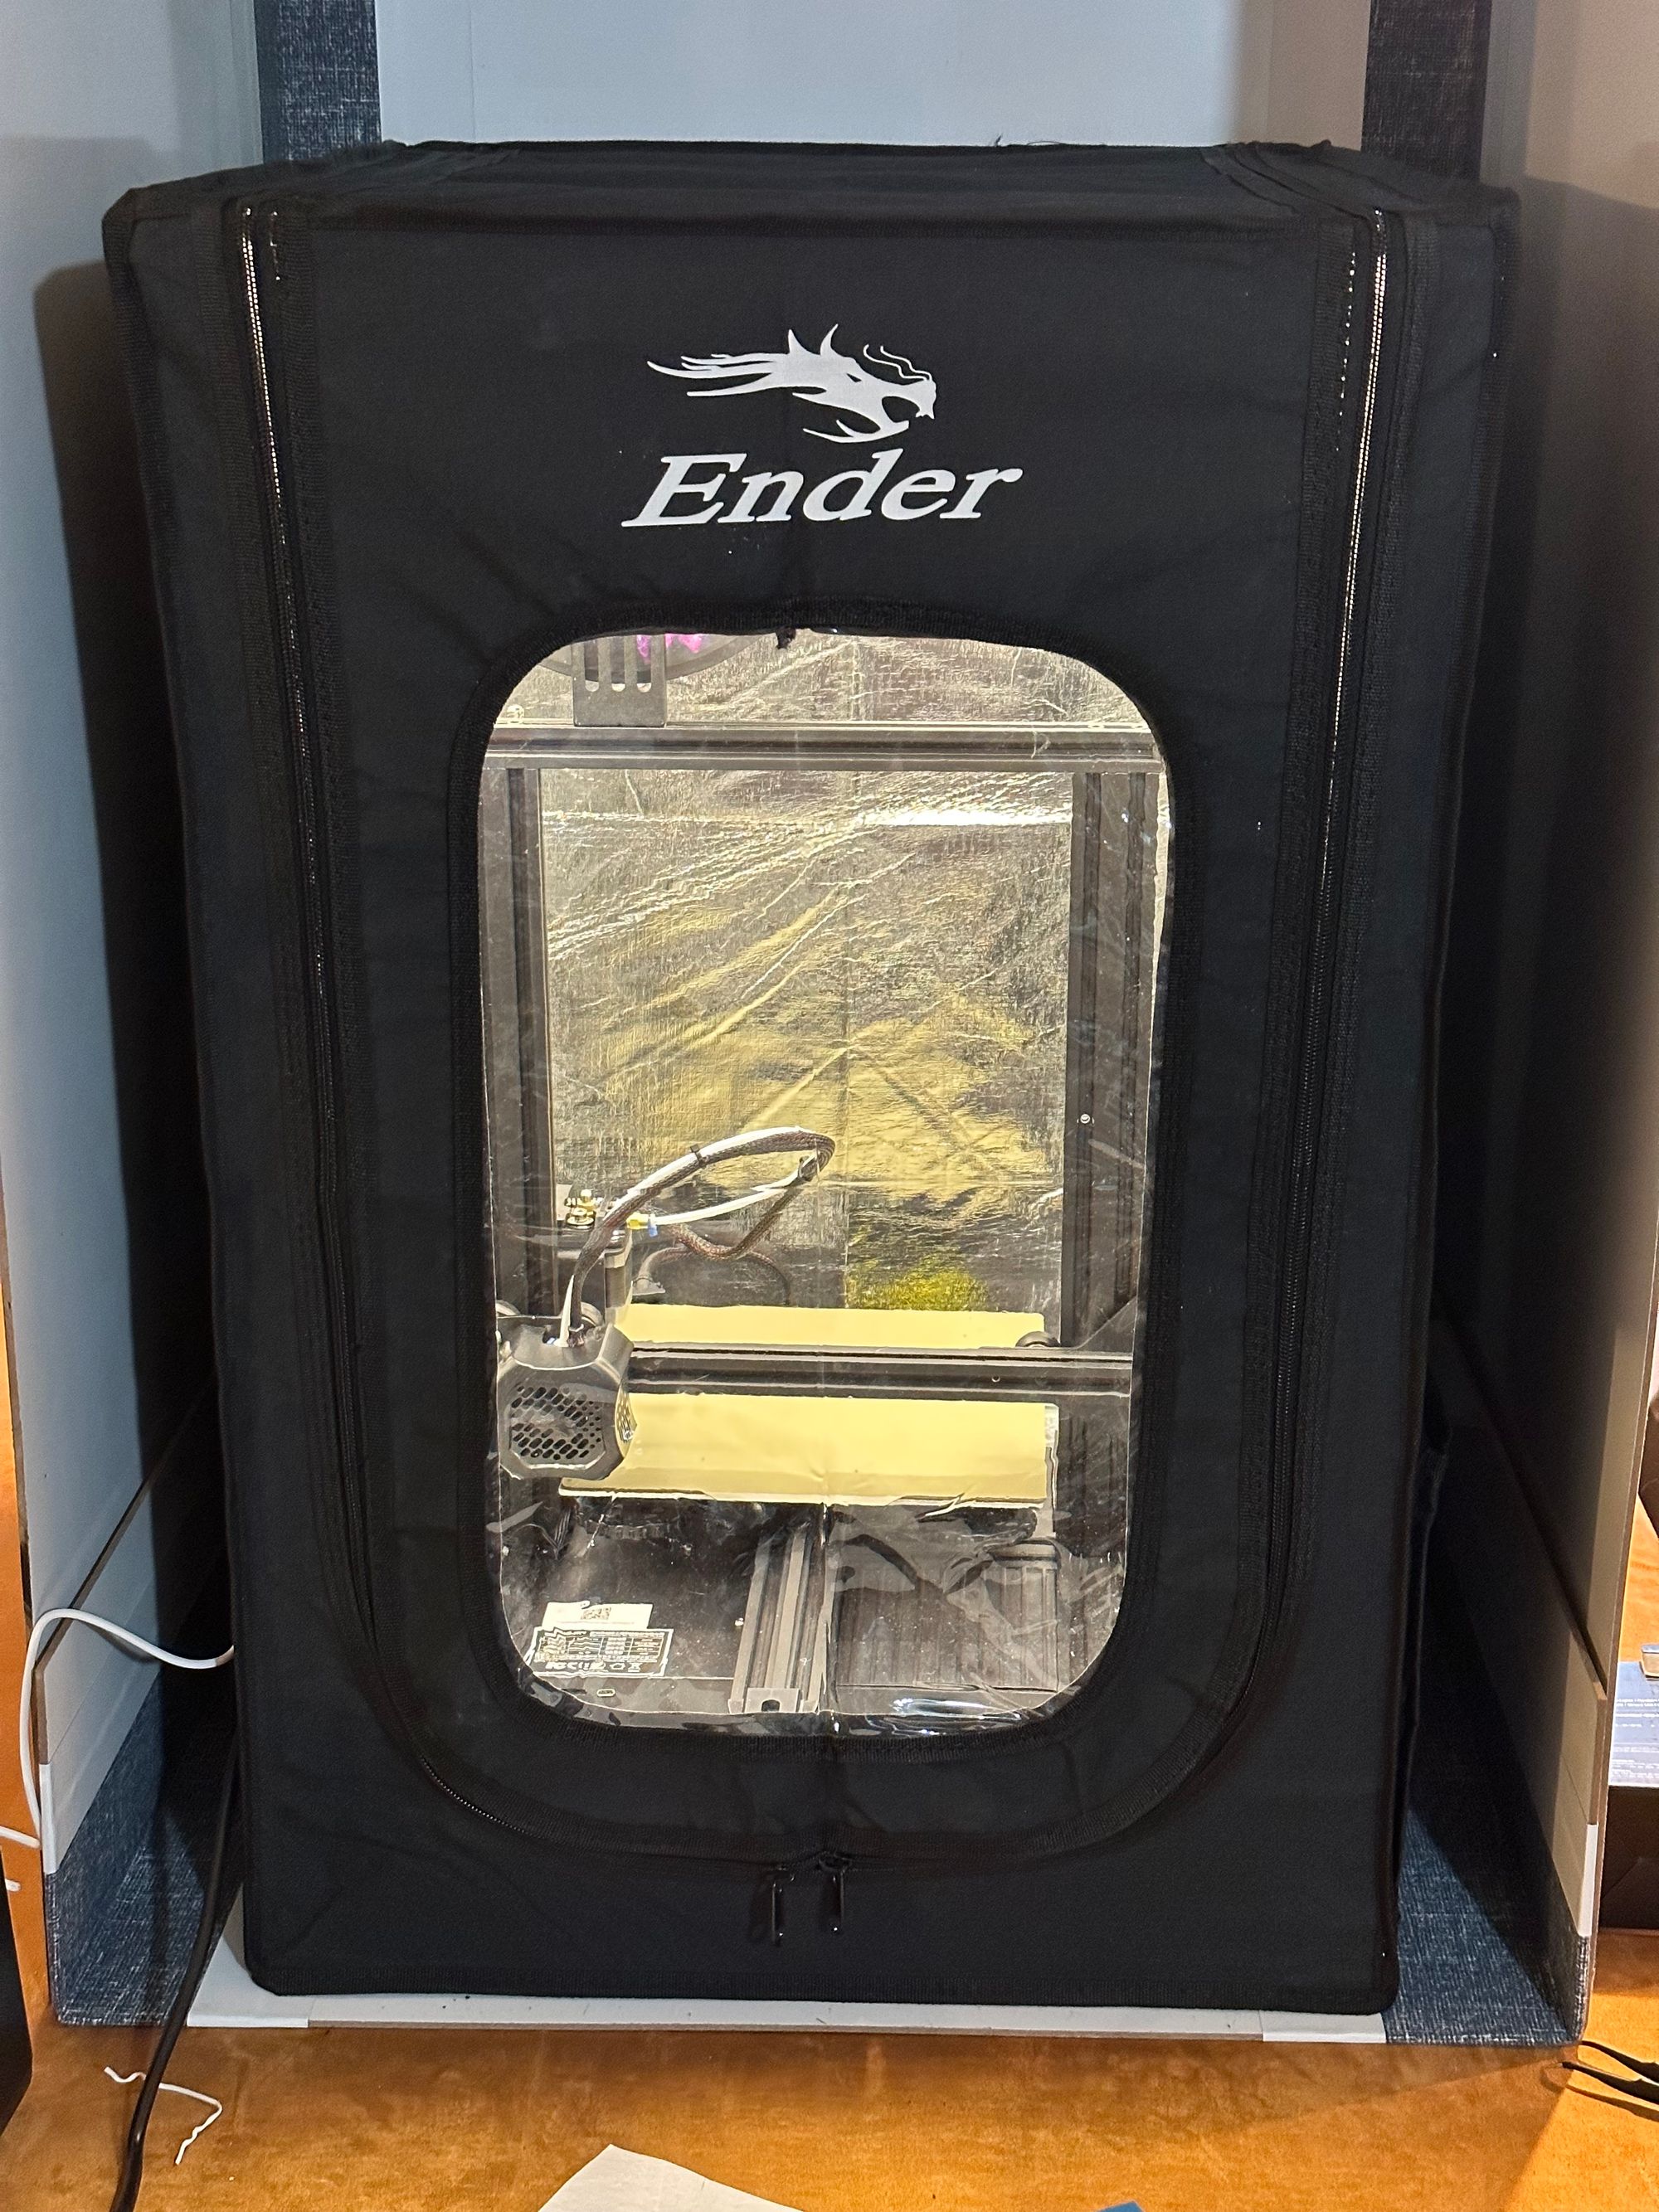
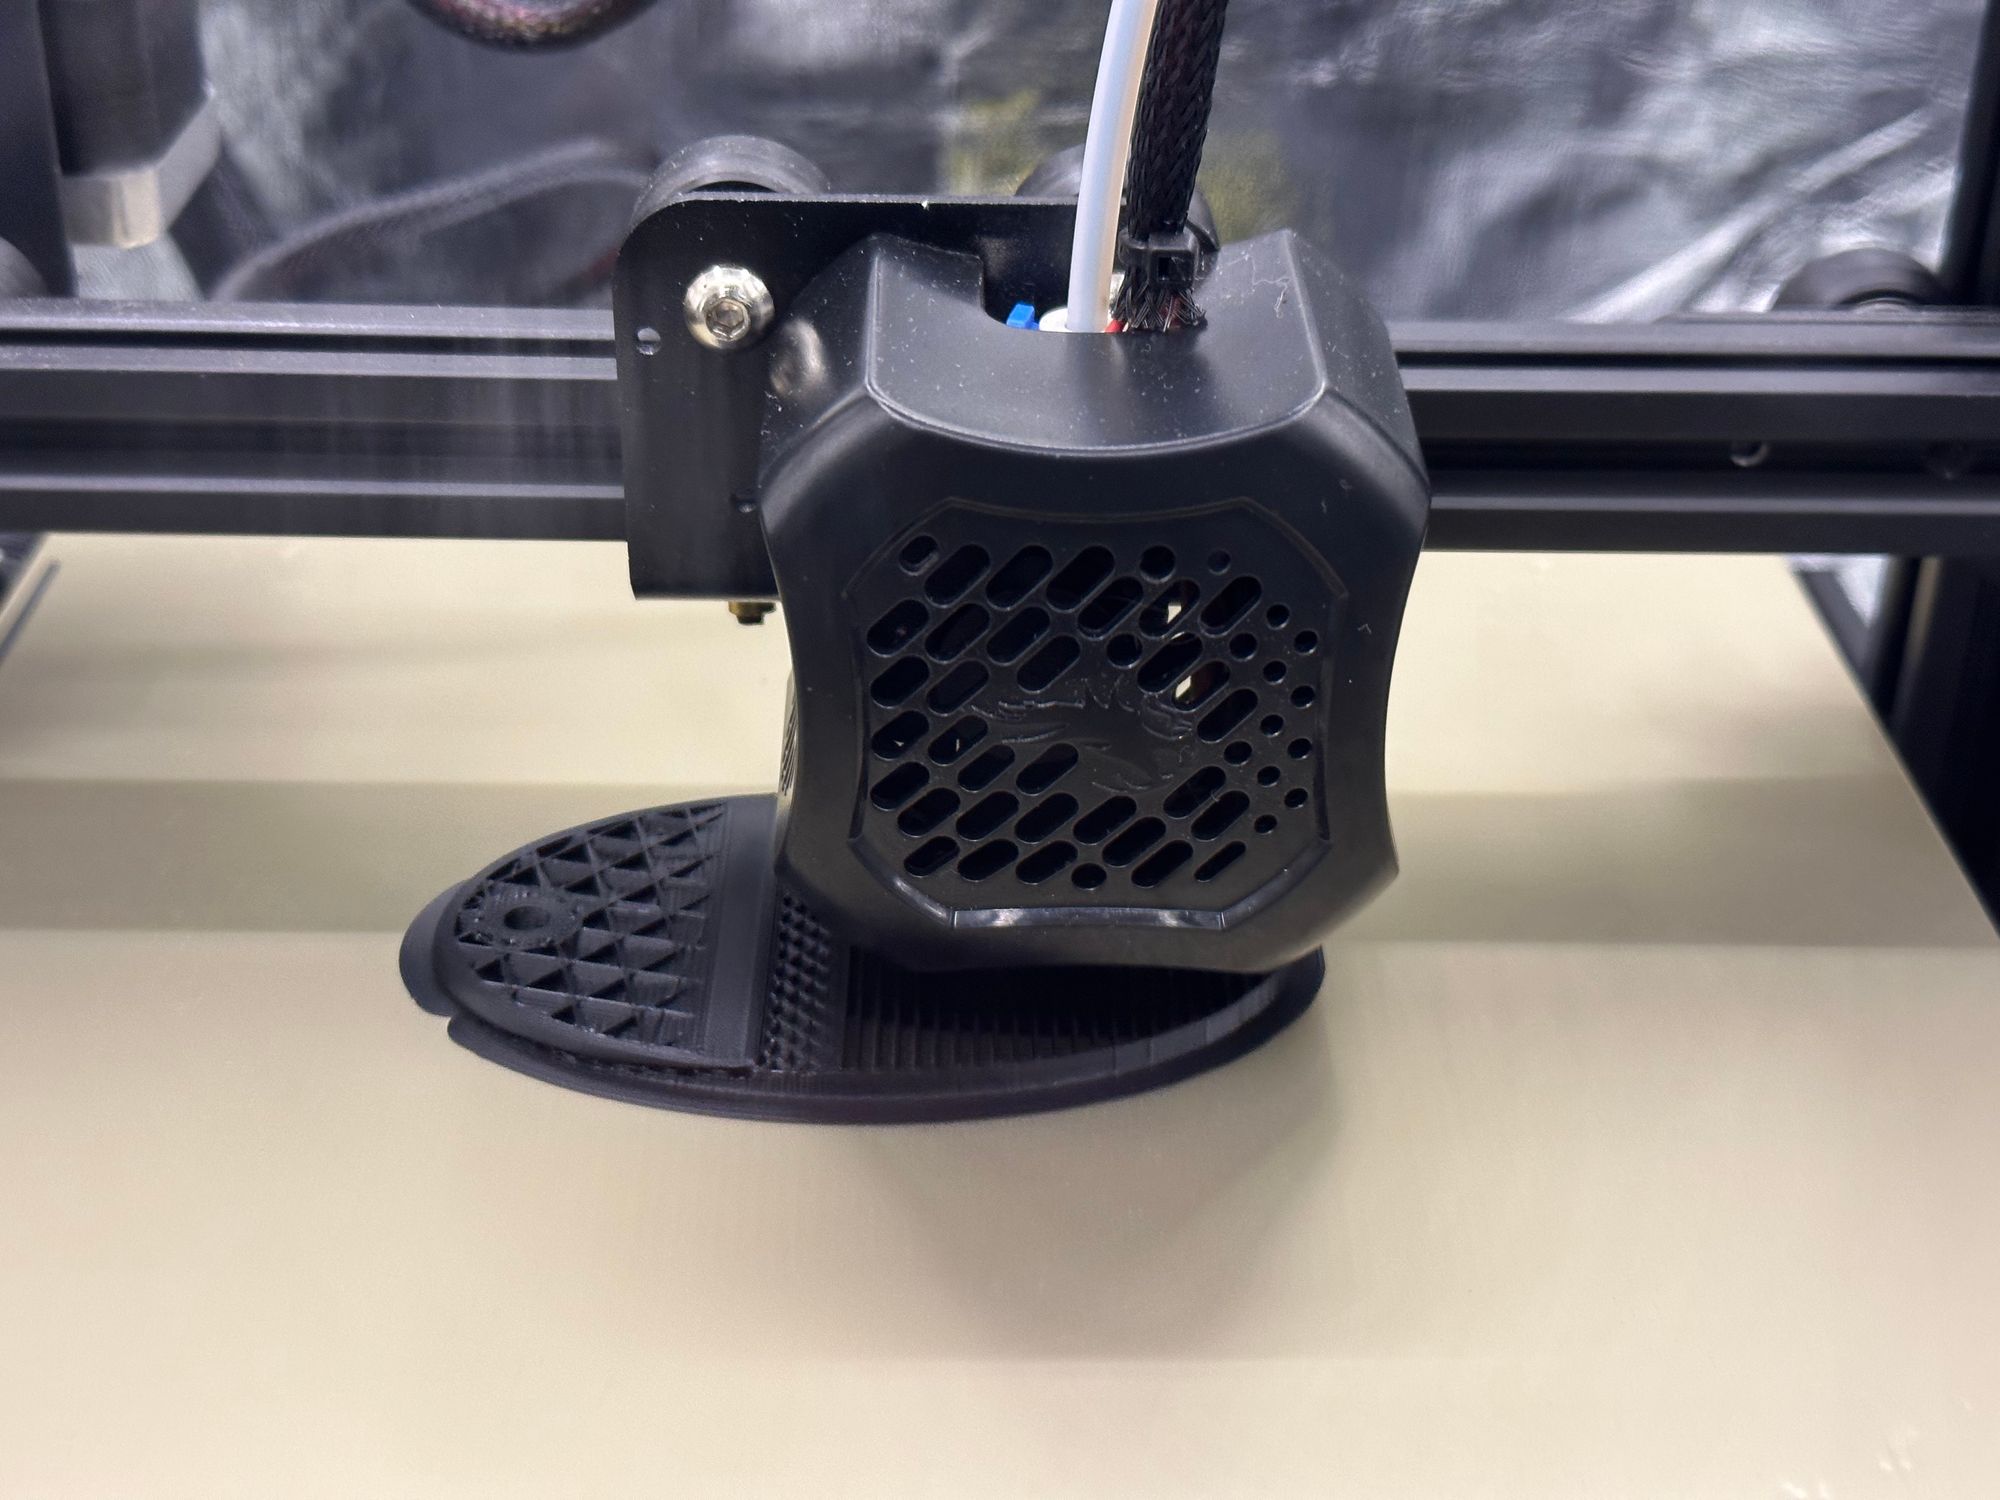
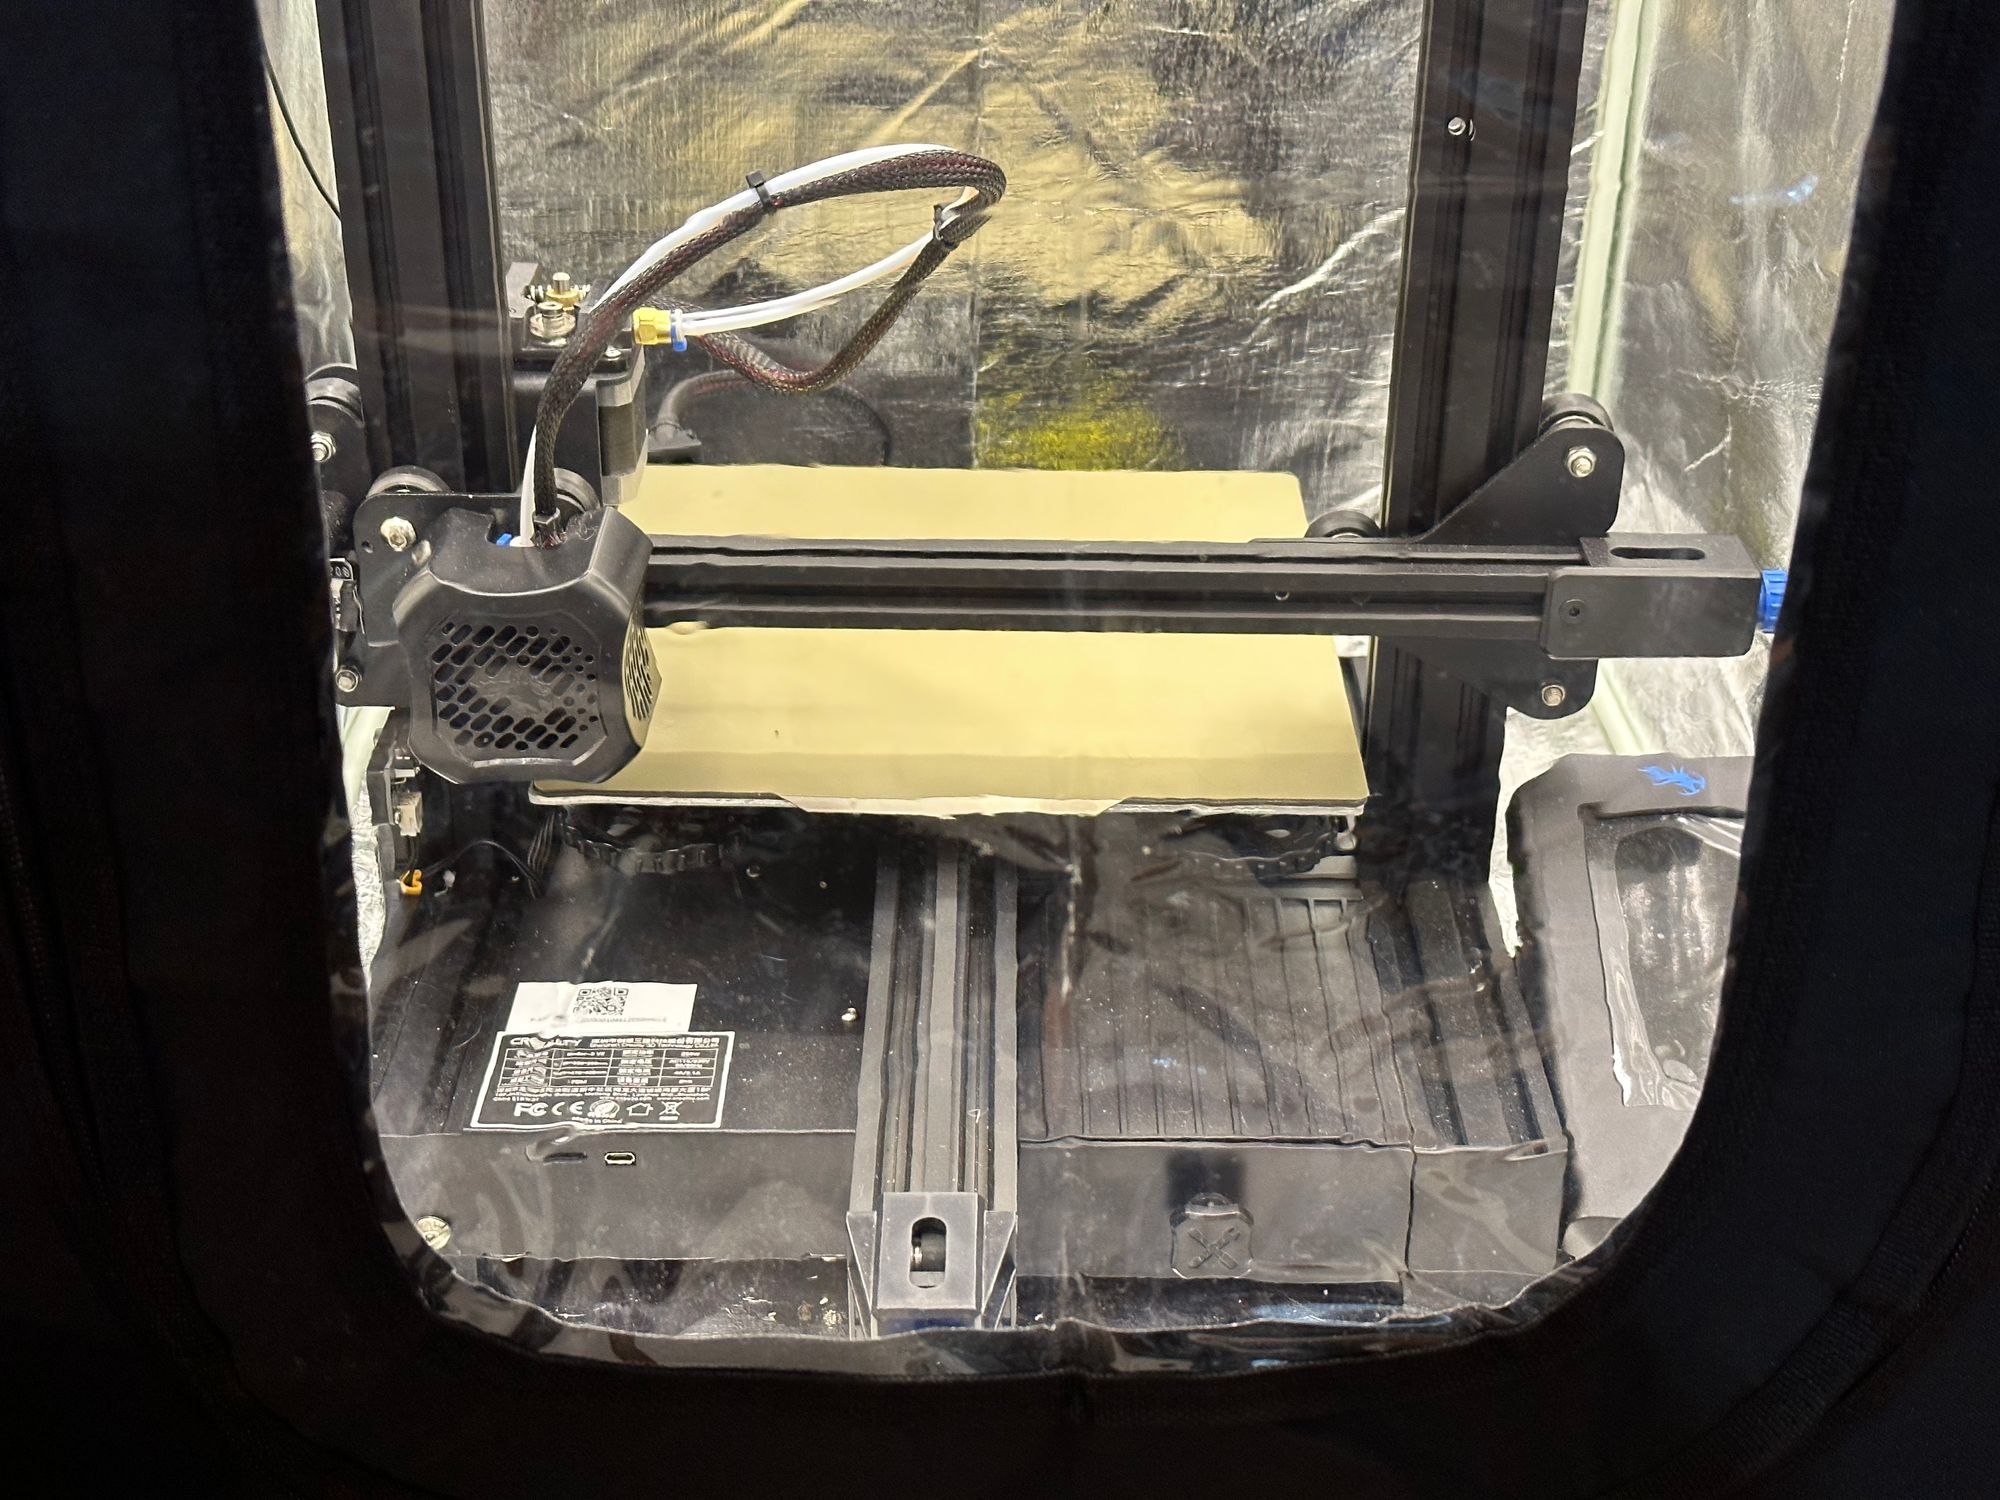
I’ve been doing a lot of 3d printing lately with ABS, which means printing inside an enclosure, itself inside my paint booth. While it’s printing, I want to keep the enclosure closed to contain the ABS fumes, but that makes it hard to see the in-progress prints. Turns out, it’s dark in there.
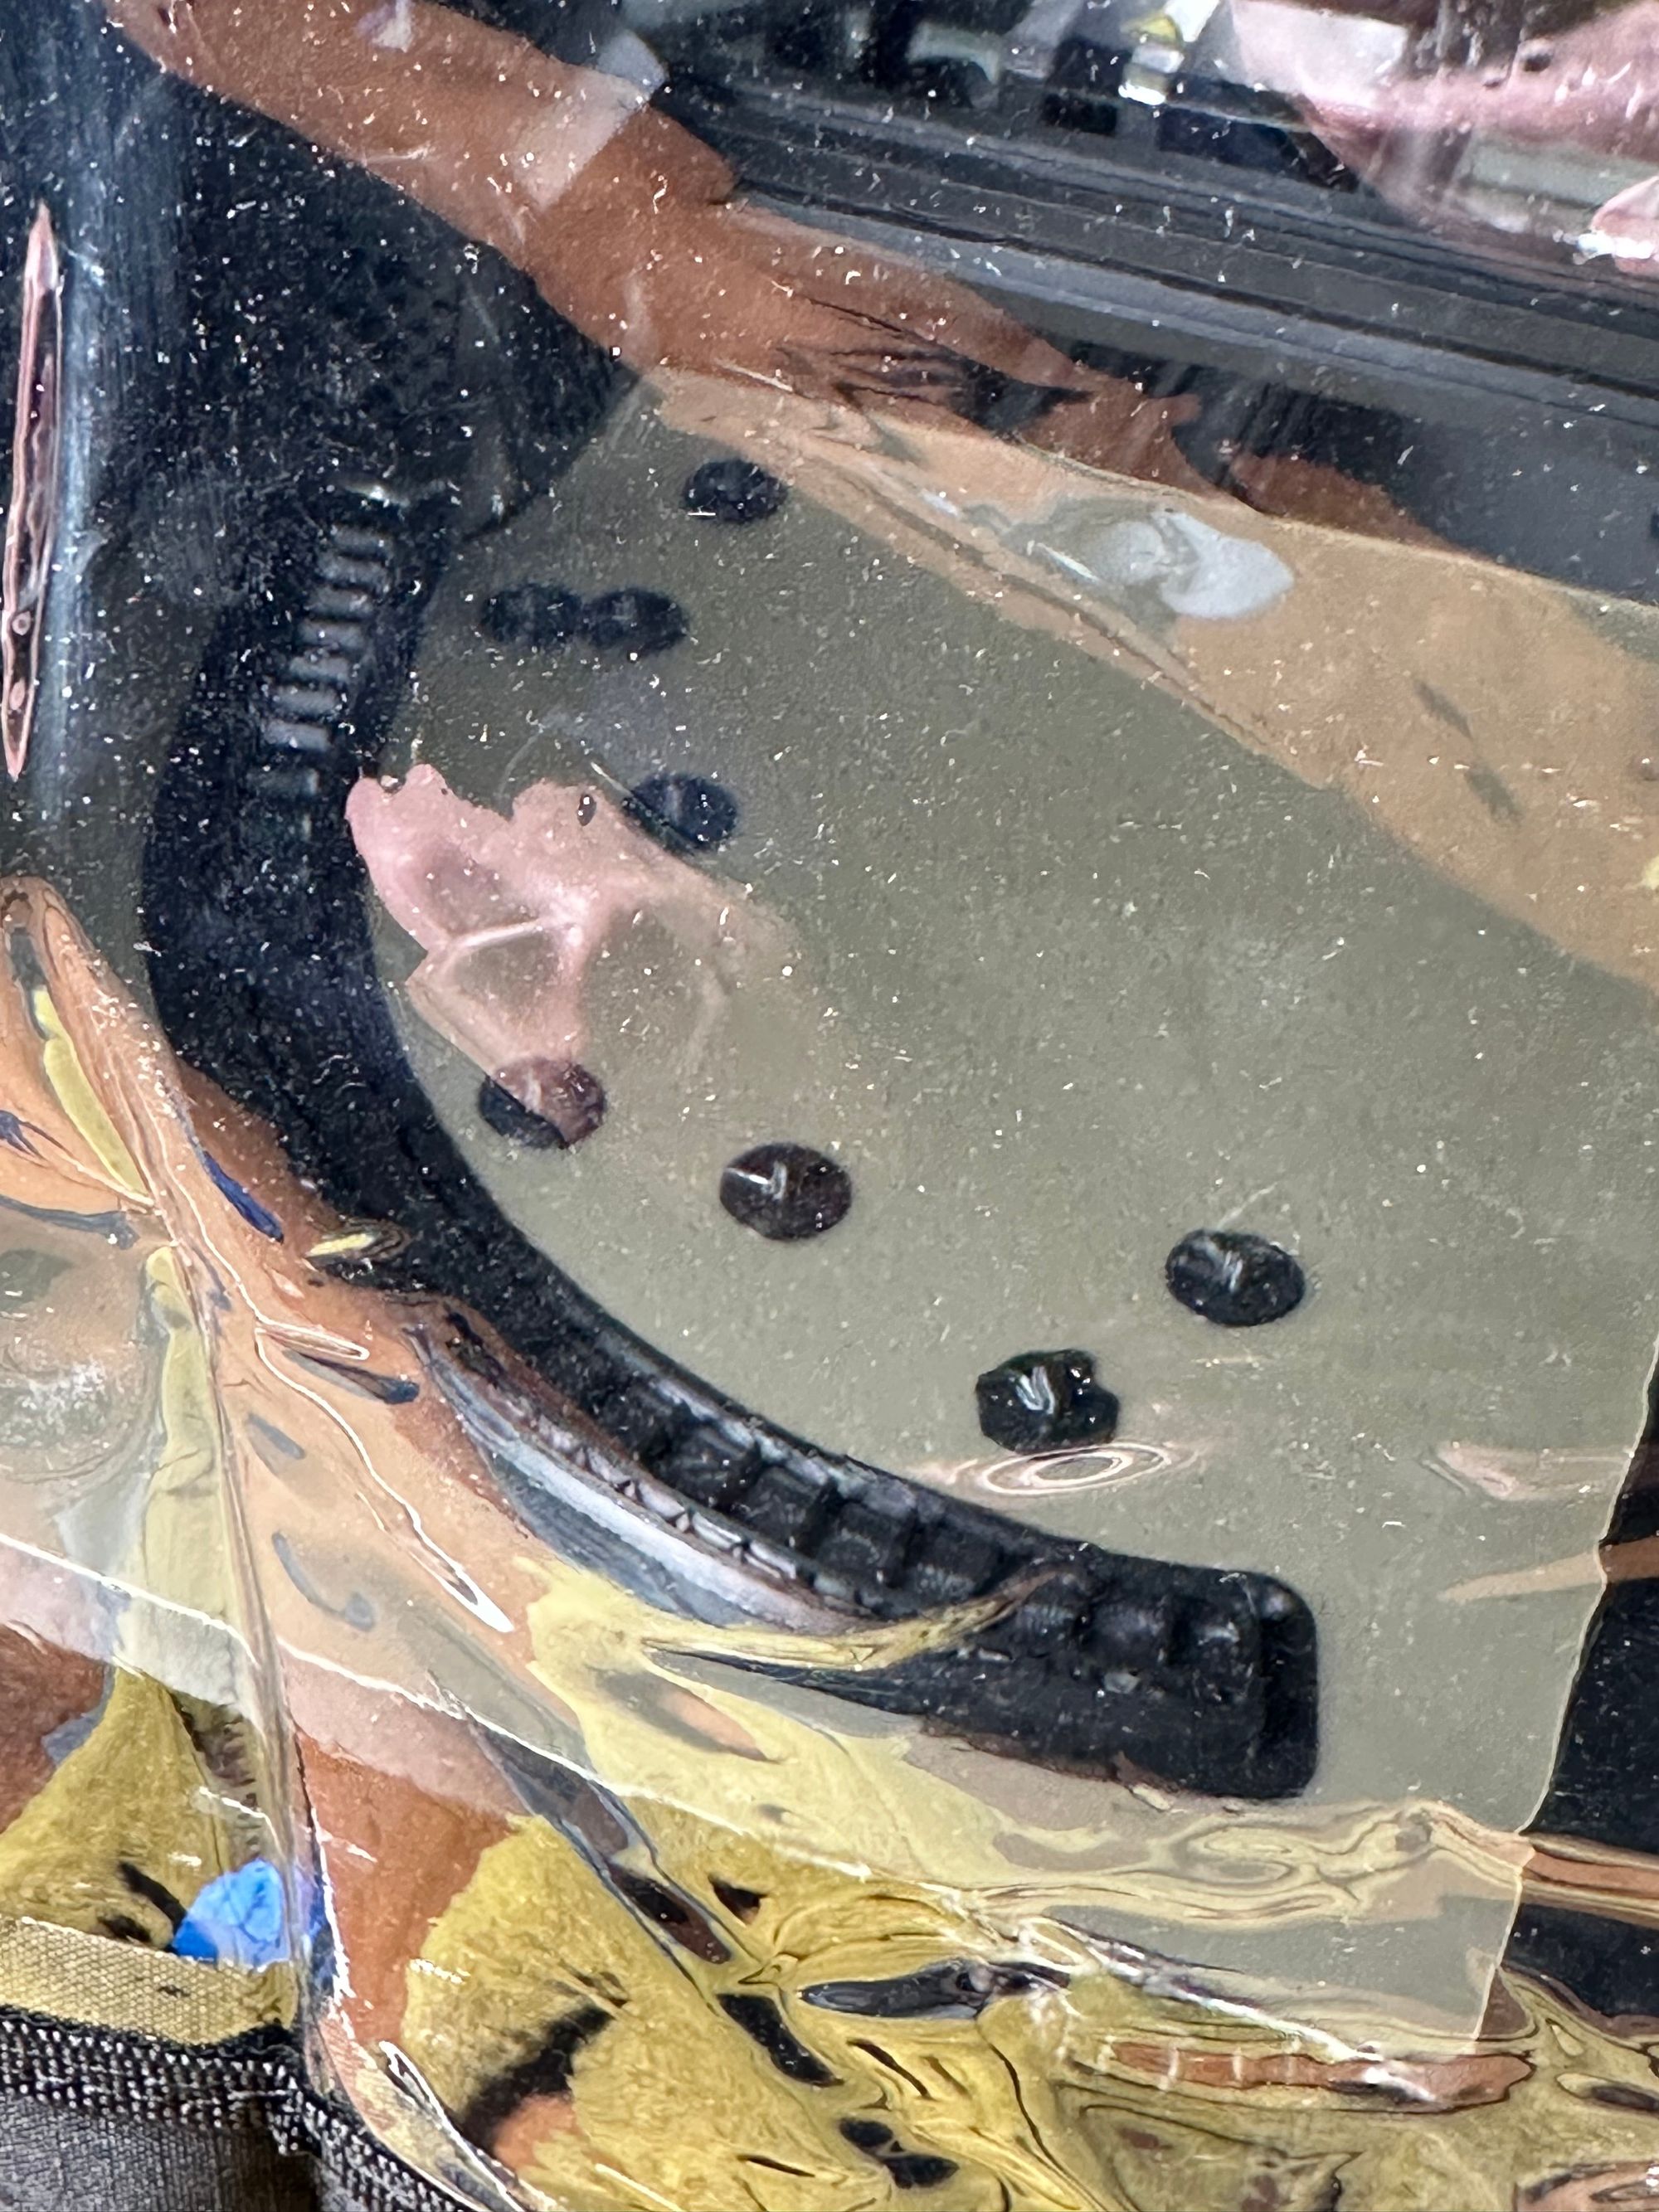
I’ve been using my Cricut Bright 360 lamp to shine light in from the outside, but it tends to reflect off the plastic window of the enclosure, making visibility (and good photos) less-than-ideal.
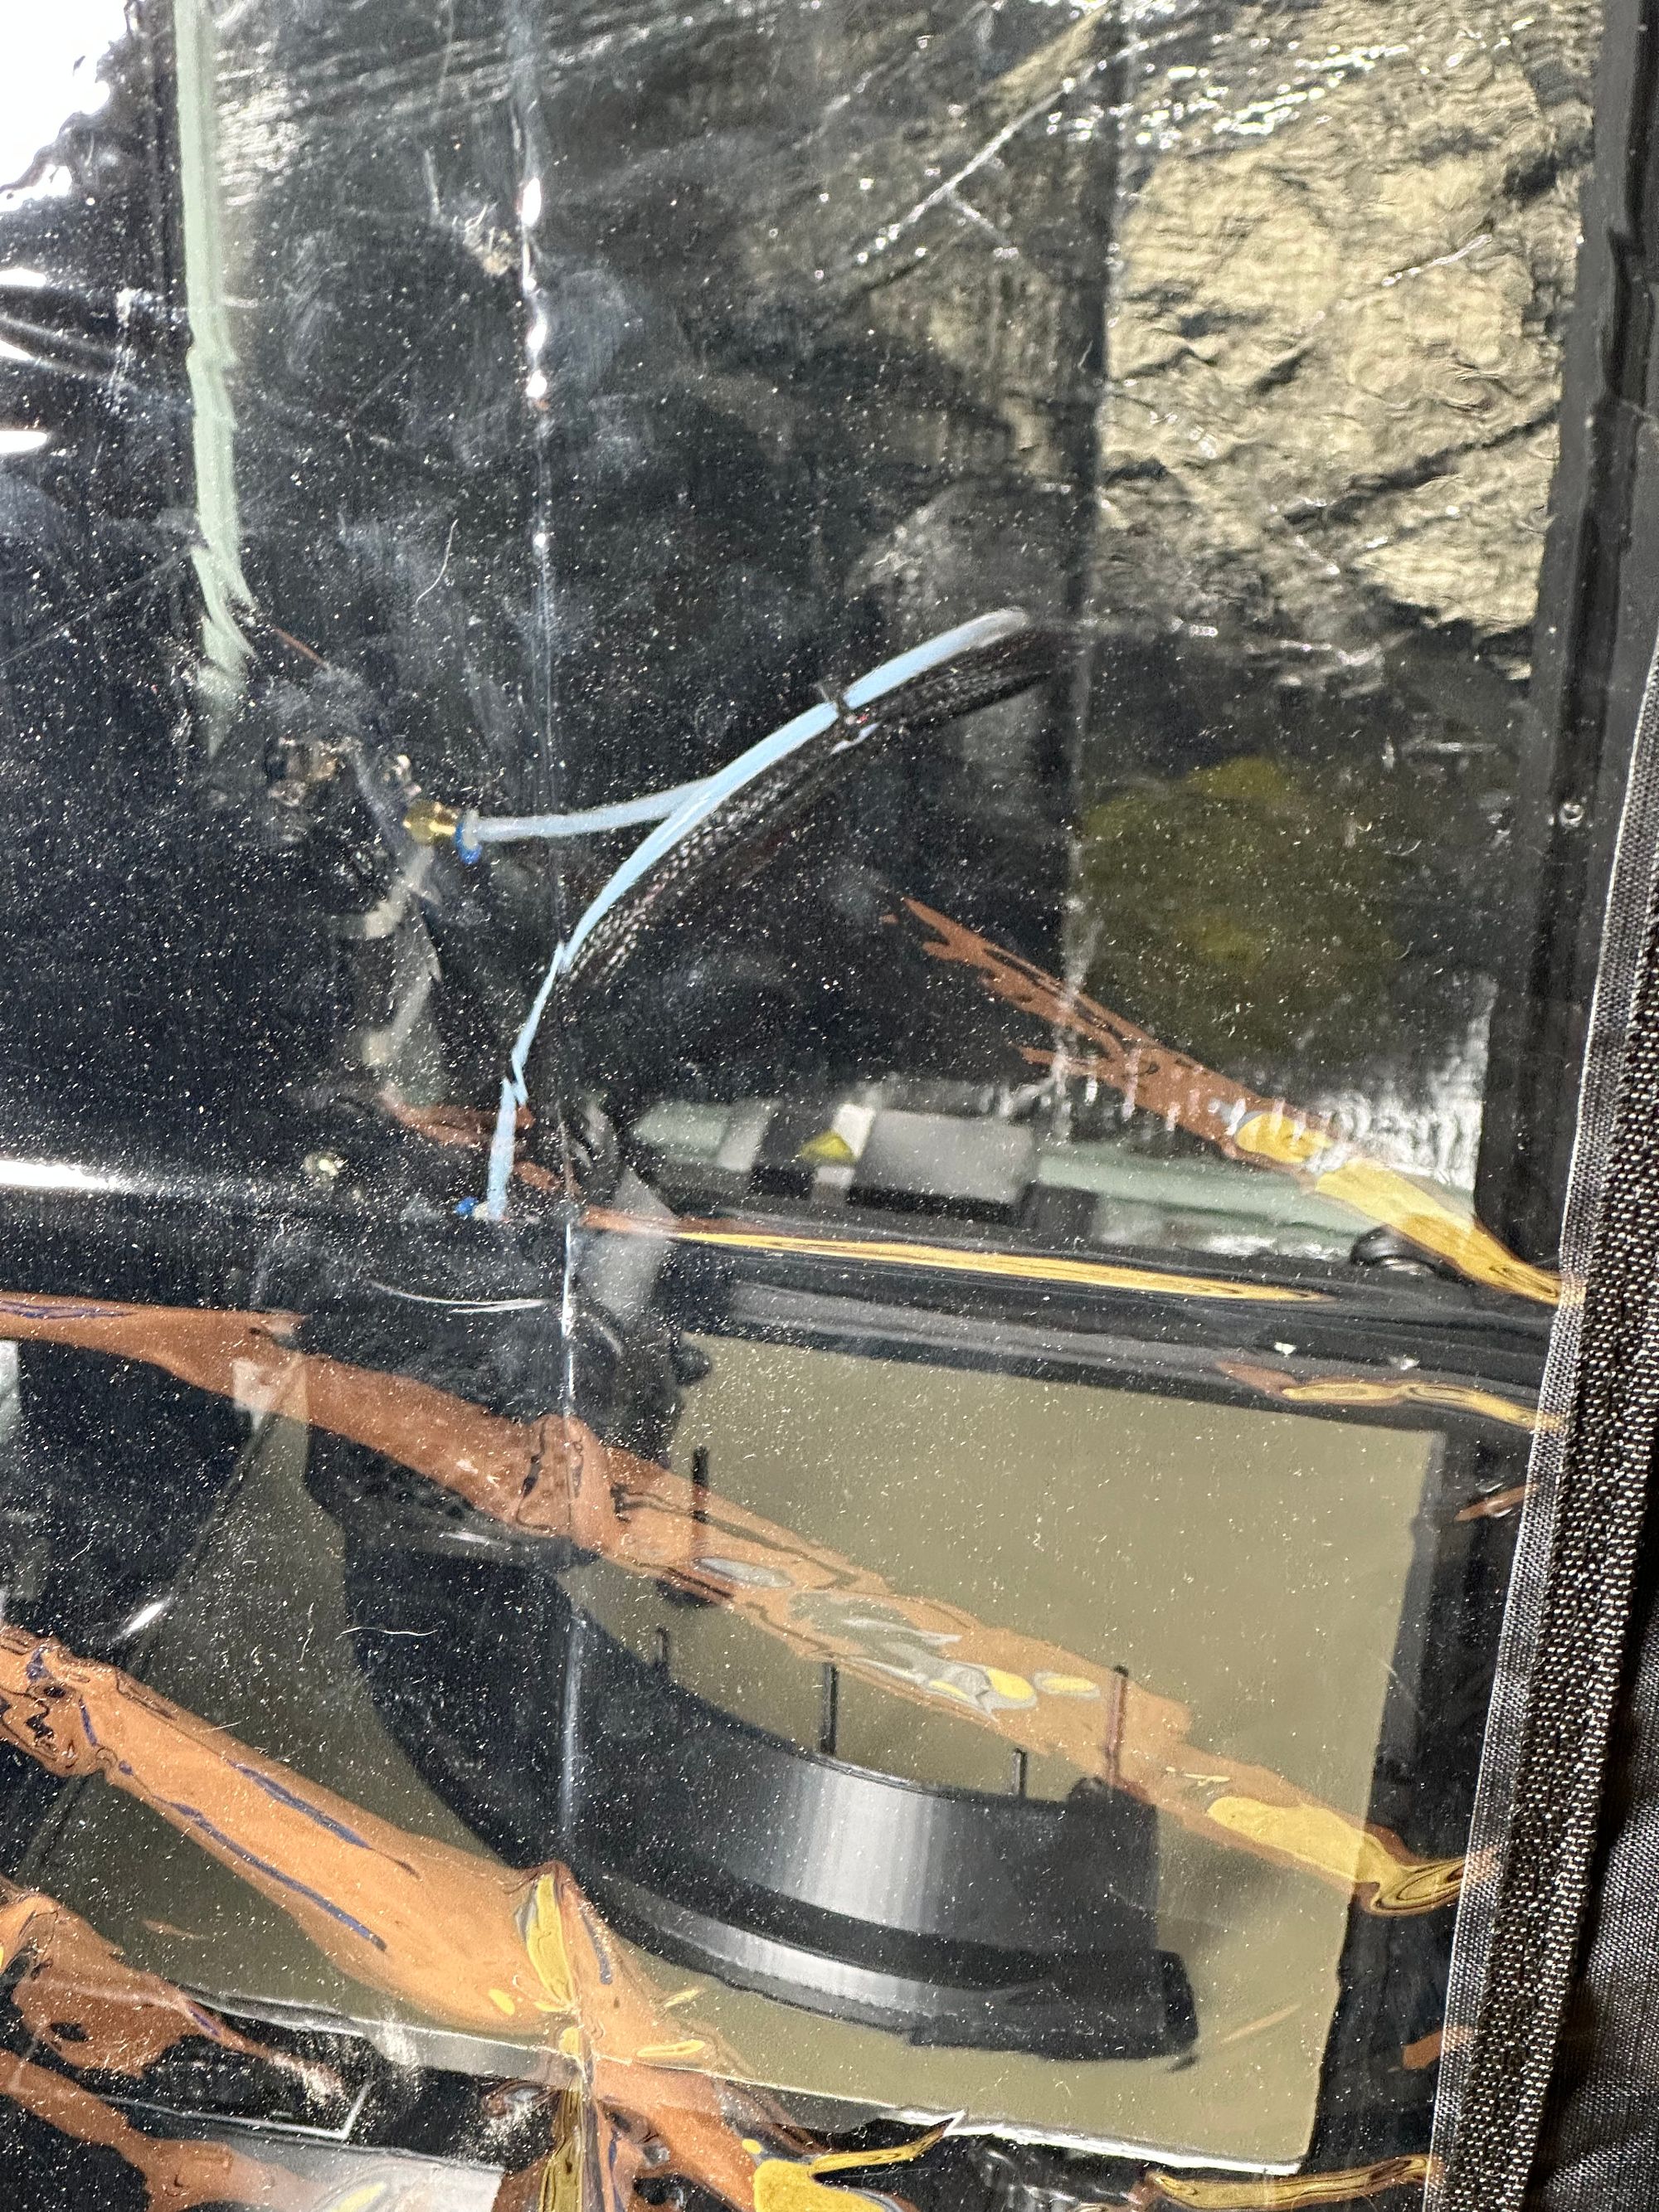
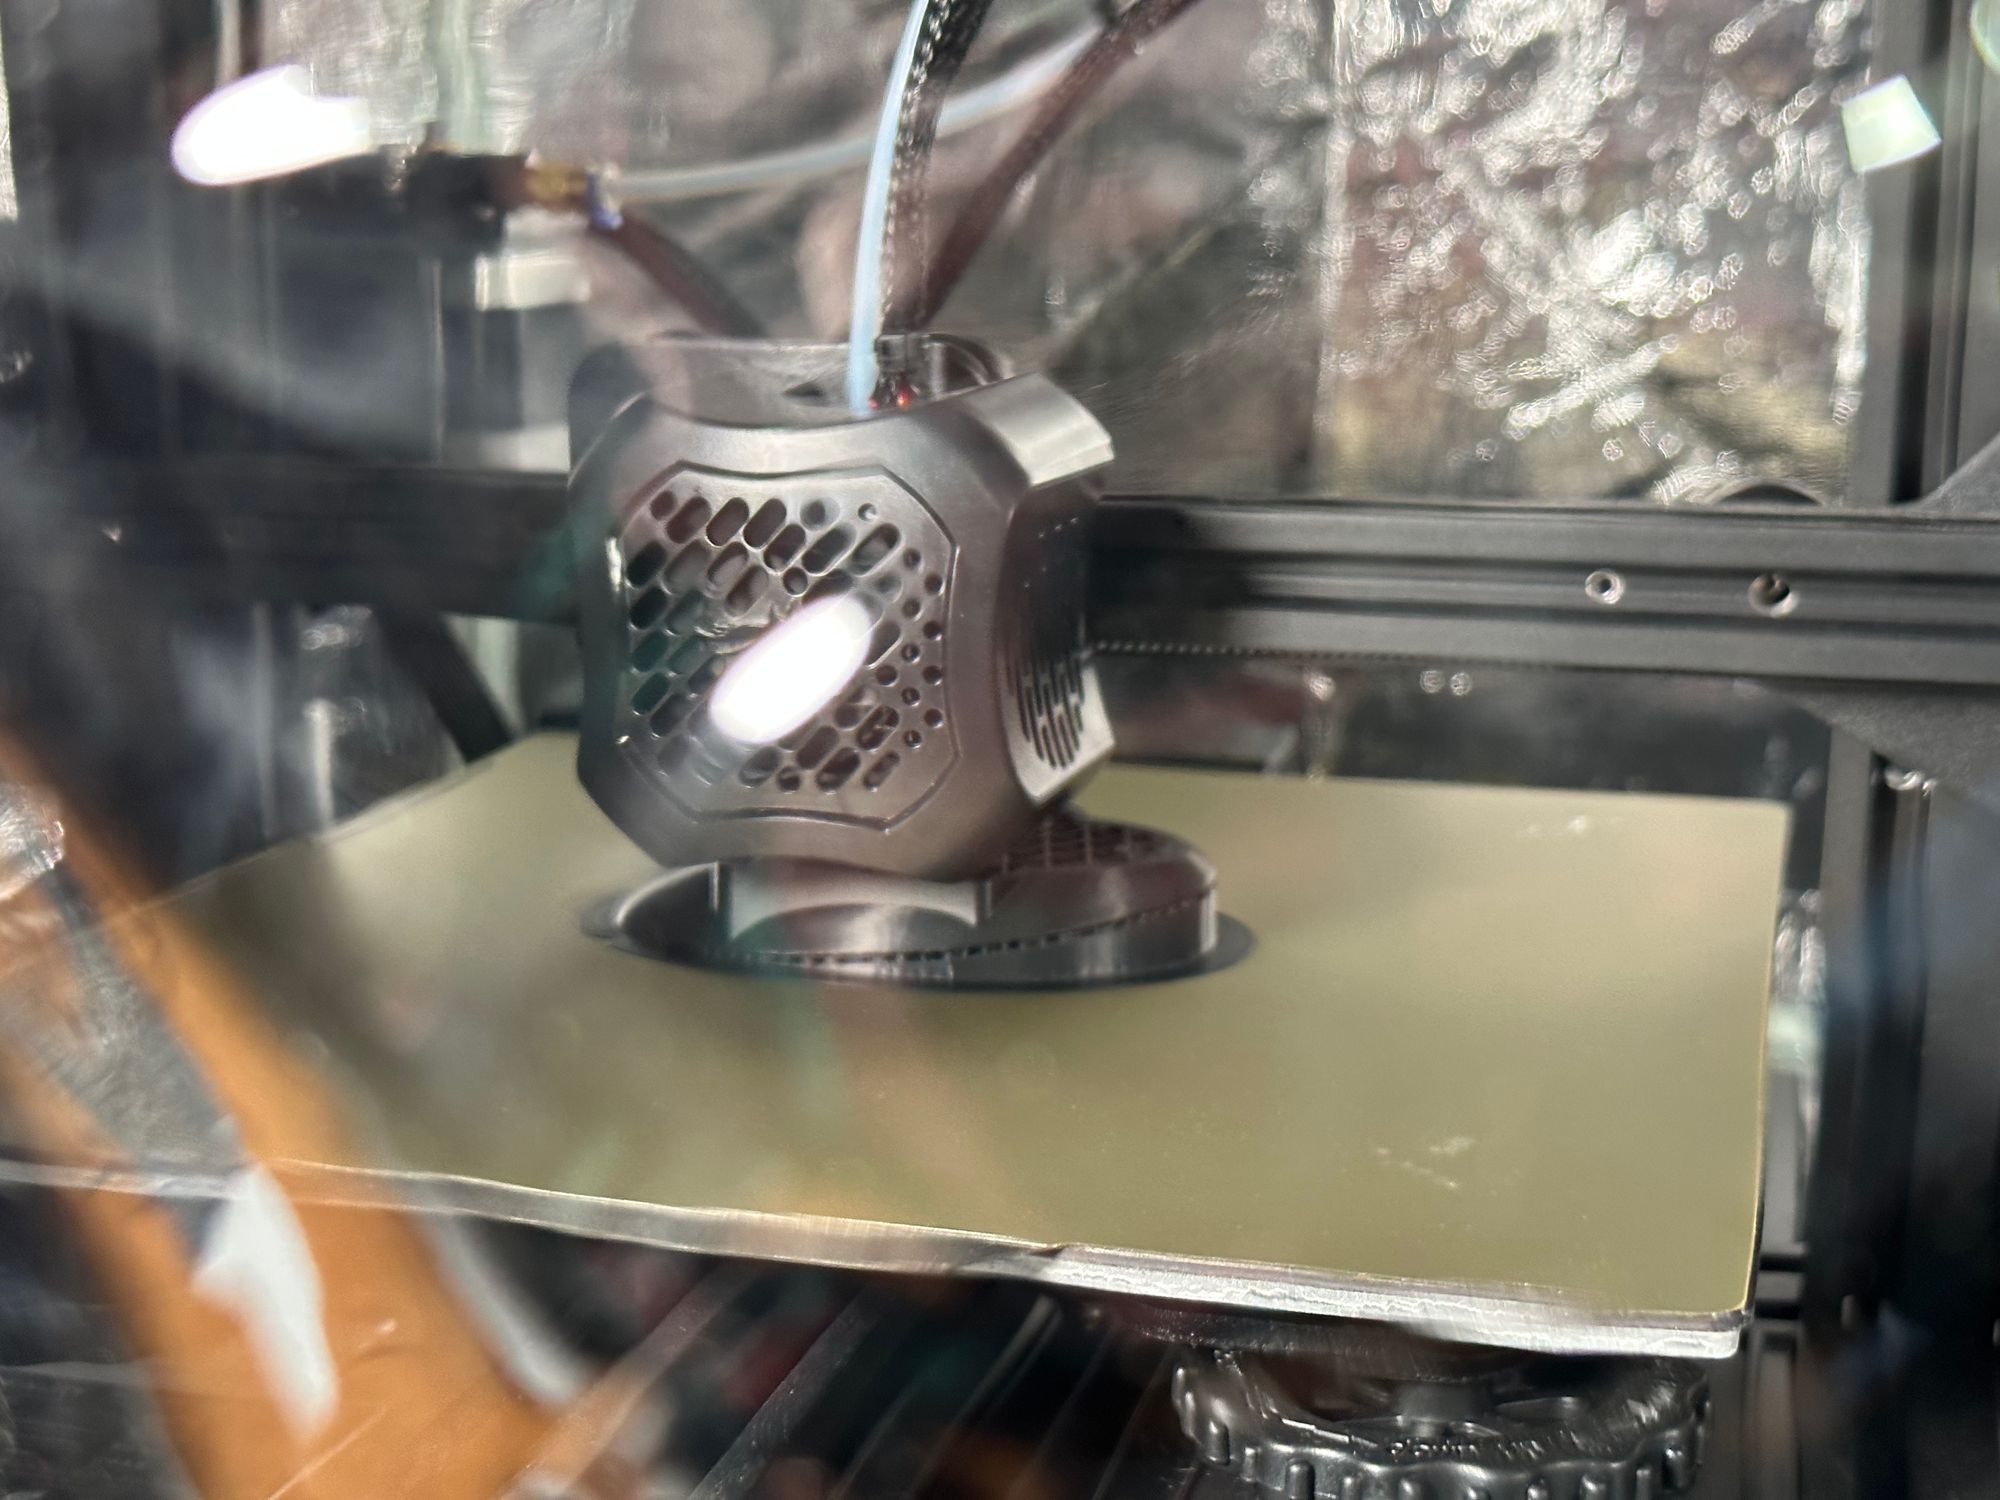
The solution, I think, is some internal lighting.
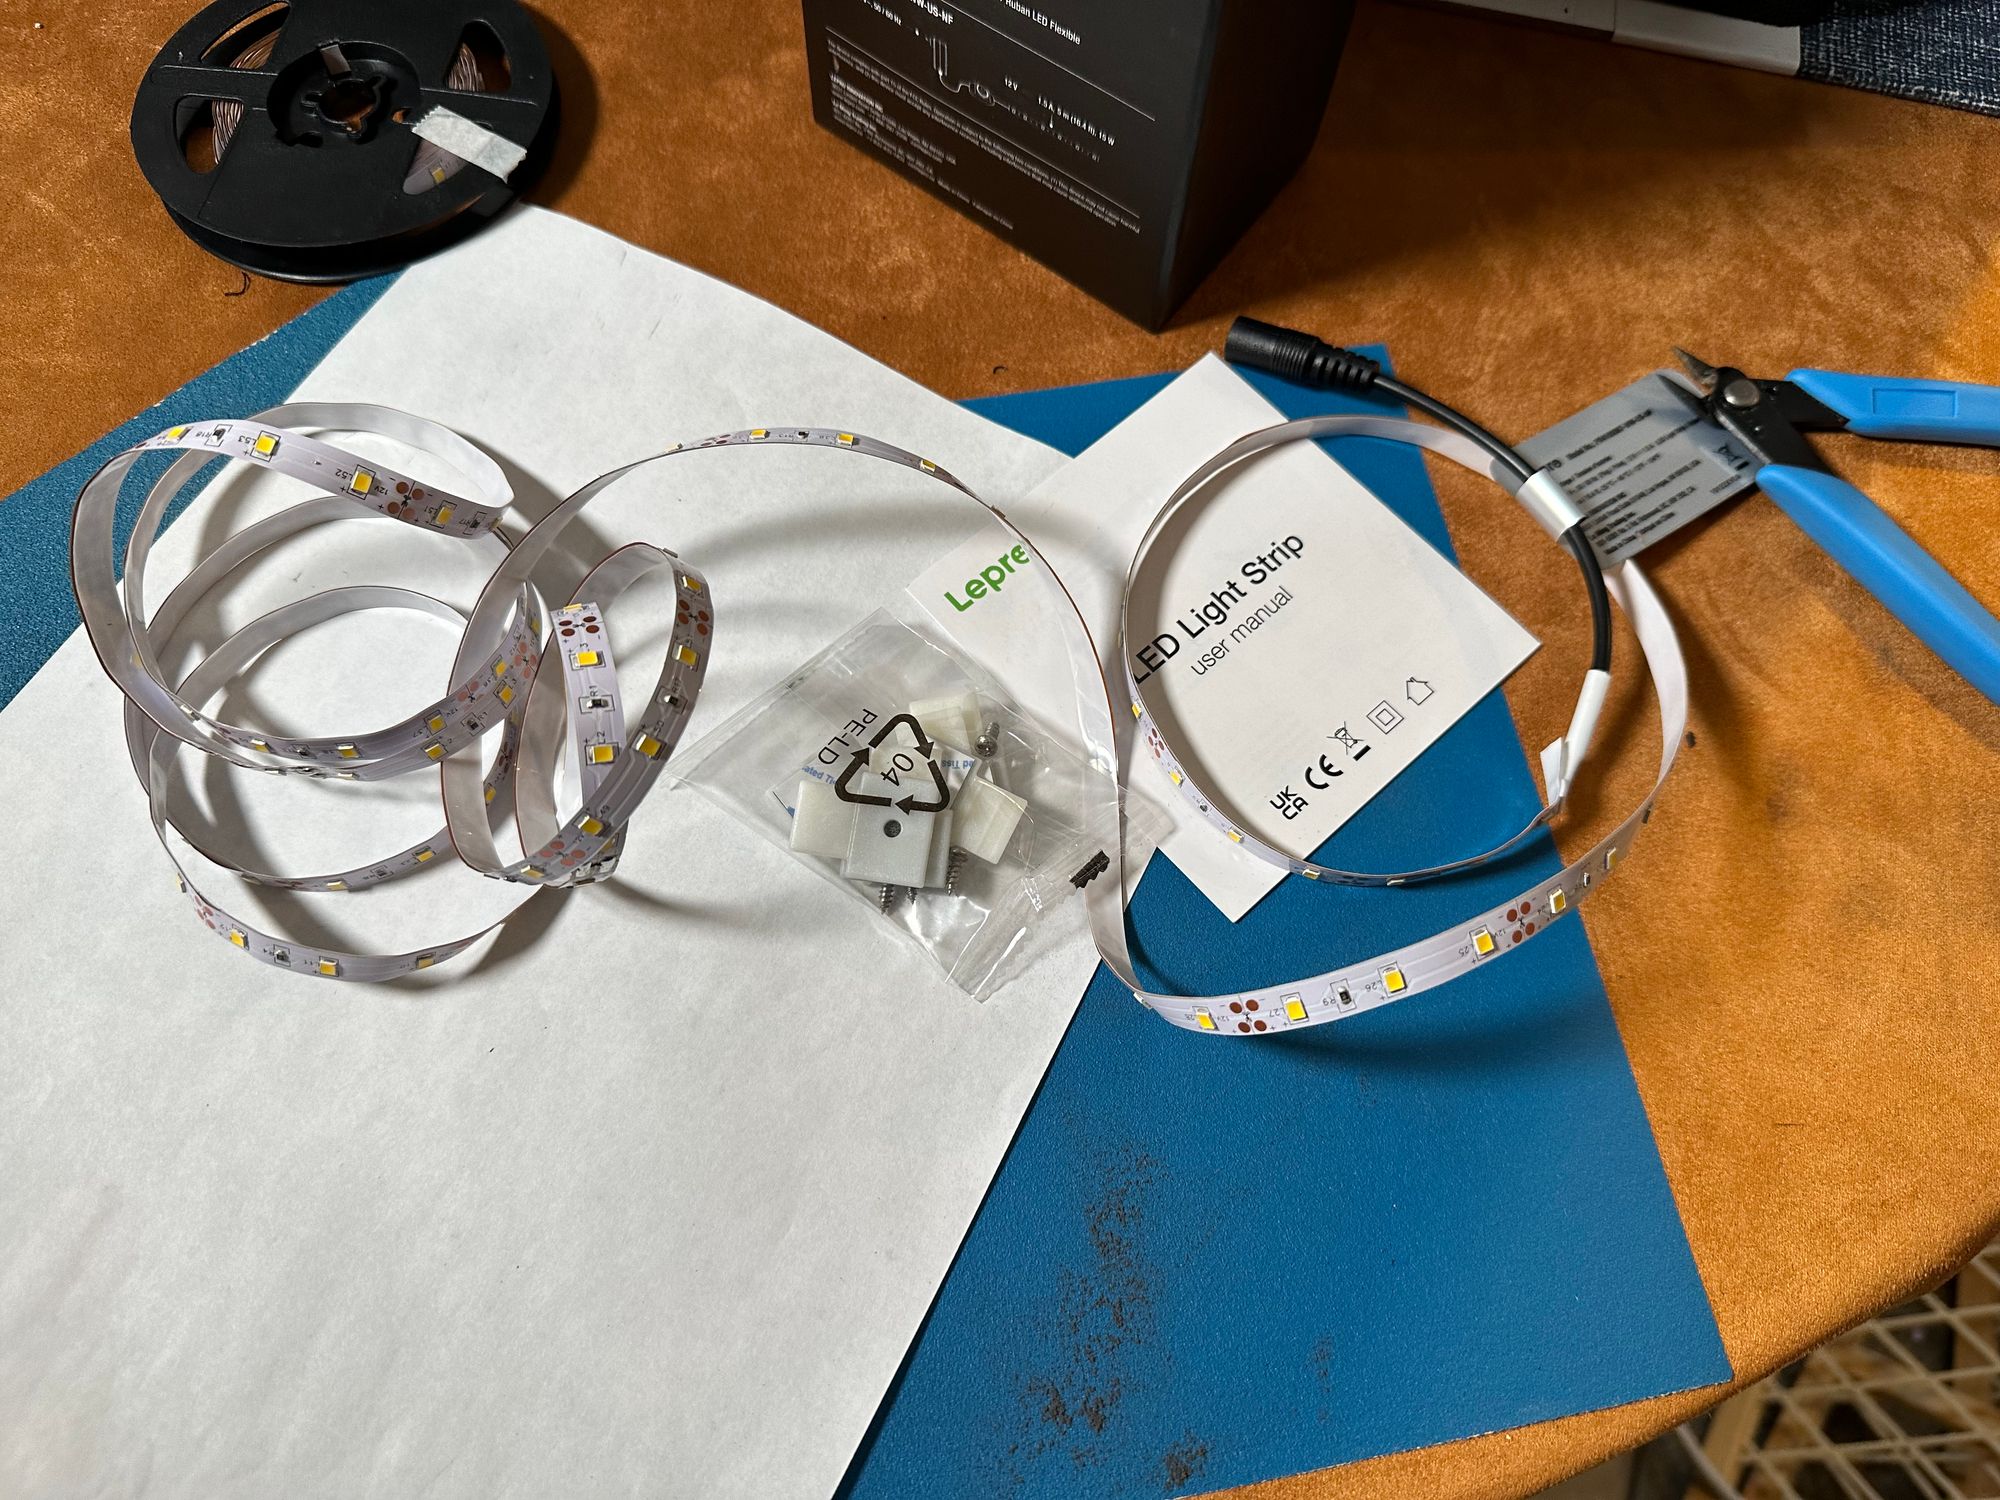
I picked up some LED Strip Lights, and trimmed to the length I need.
The construction of the enclosure is quite simple, so I just peeled the outer fabric of the enclosure off to expose the top of the frame.
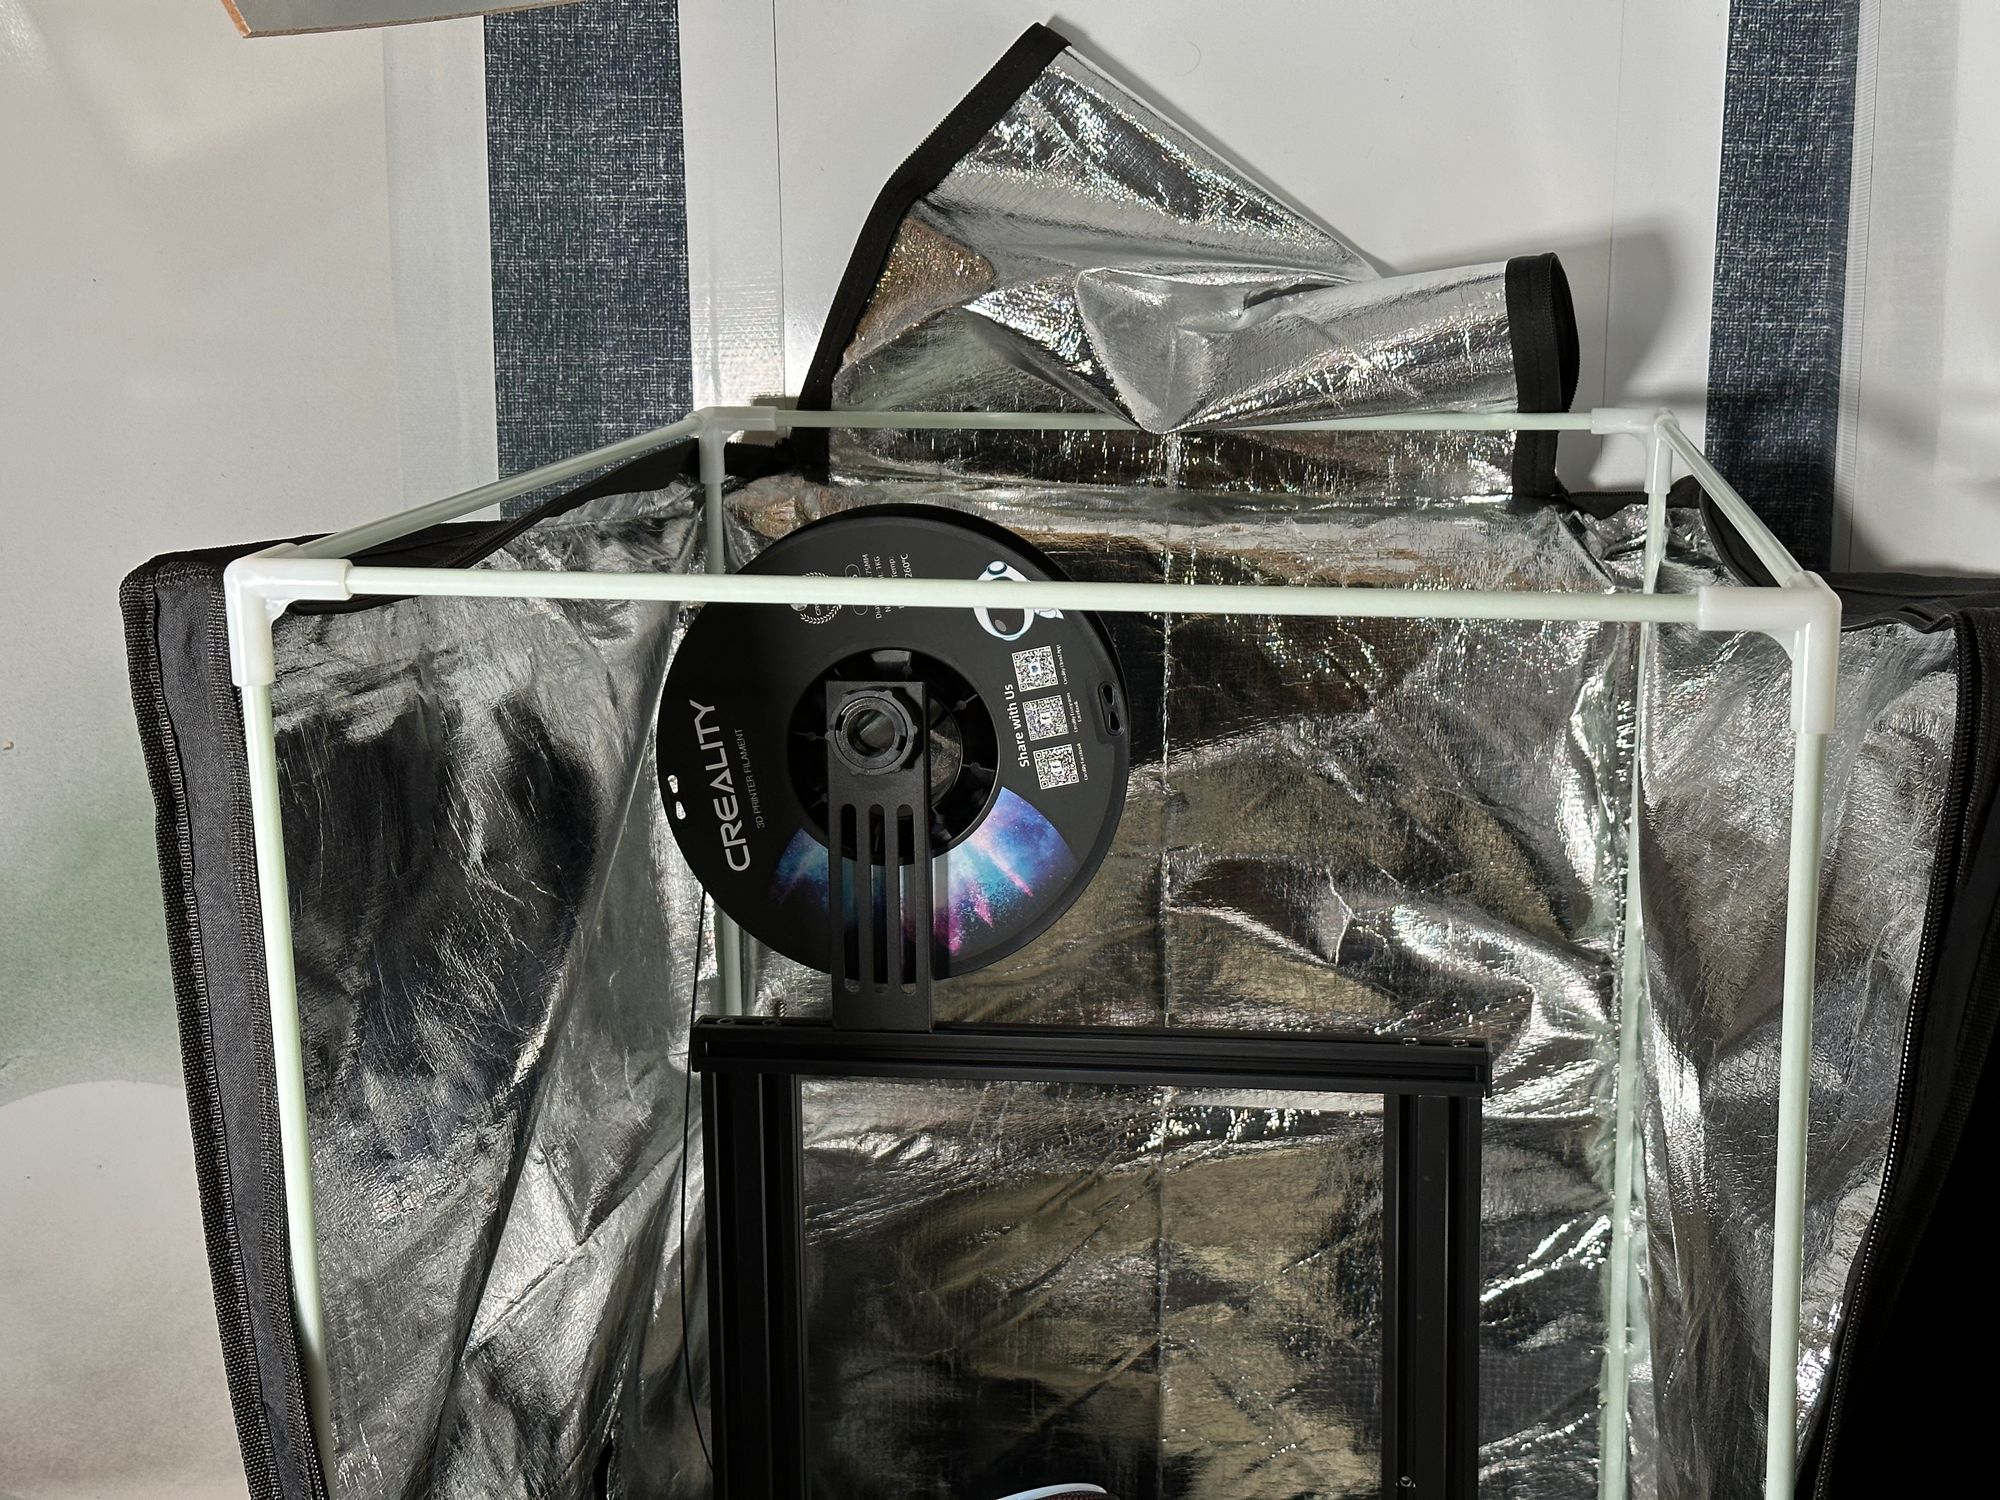
The strip lights came with adhesive, but that seems better suited for applying to flat surfaces—and besides, I like a solution that I can modify easily in the future. So, zip ties.
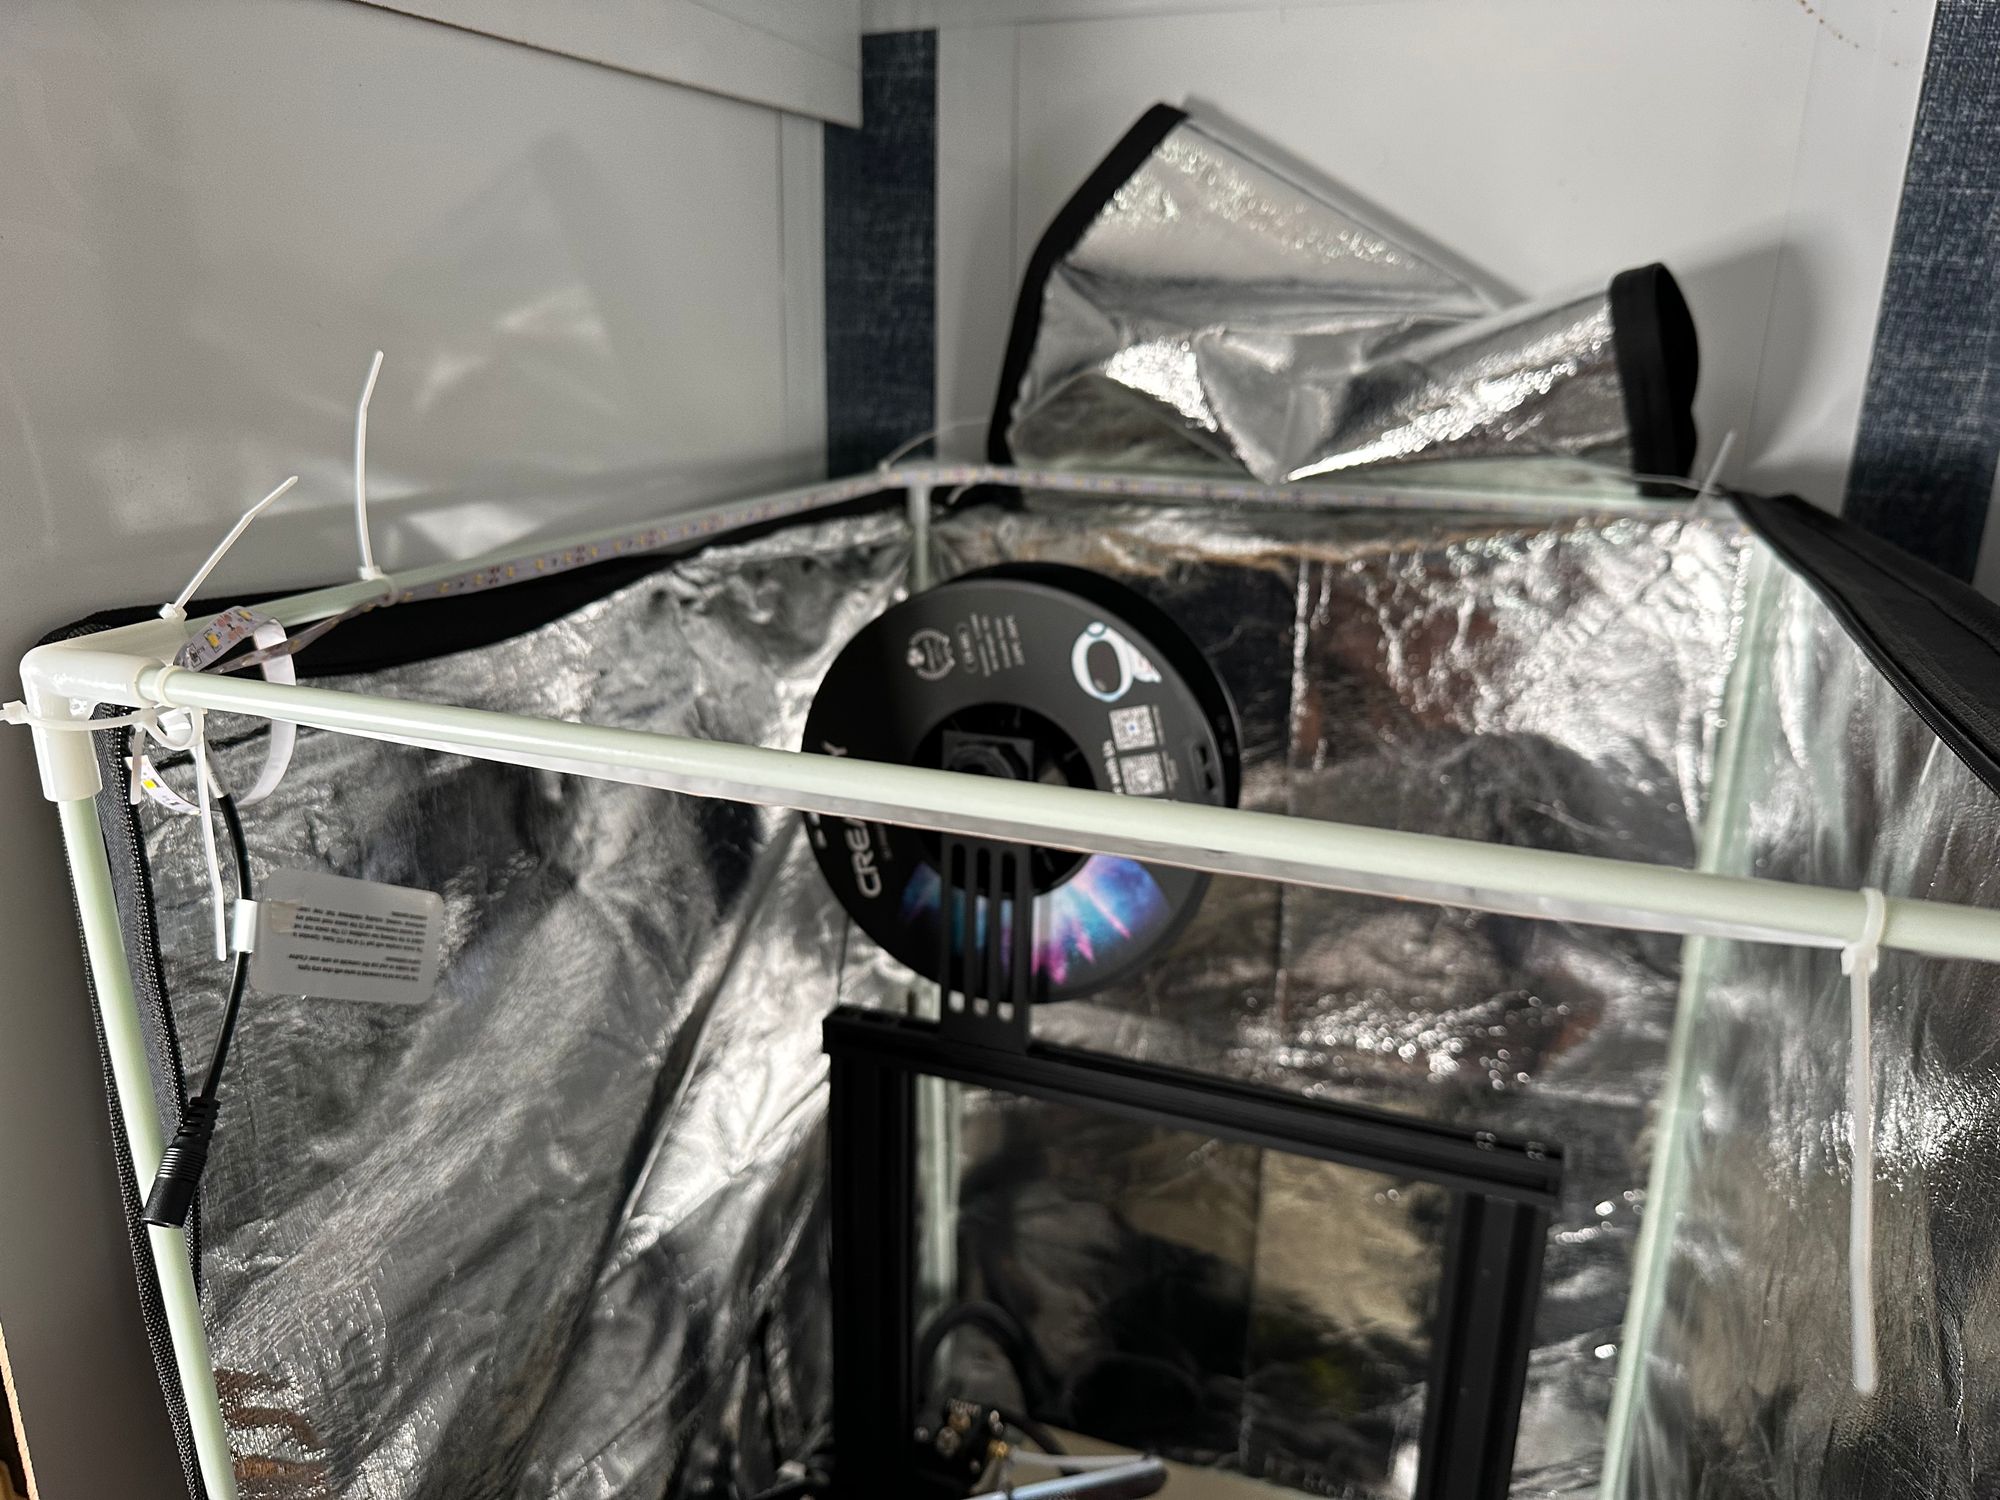
With enough tension on the zip ties, I’m actually able to position the LED strip pretty easily. The reflective coating of the interior also helps bounce the light around, illuminating the entire space effectively.
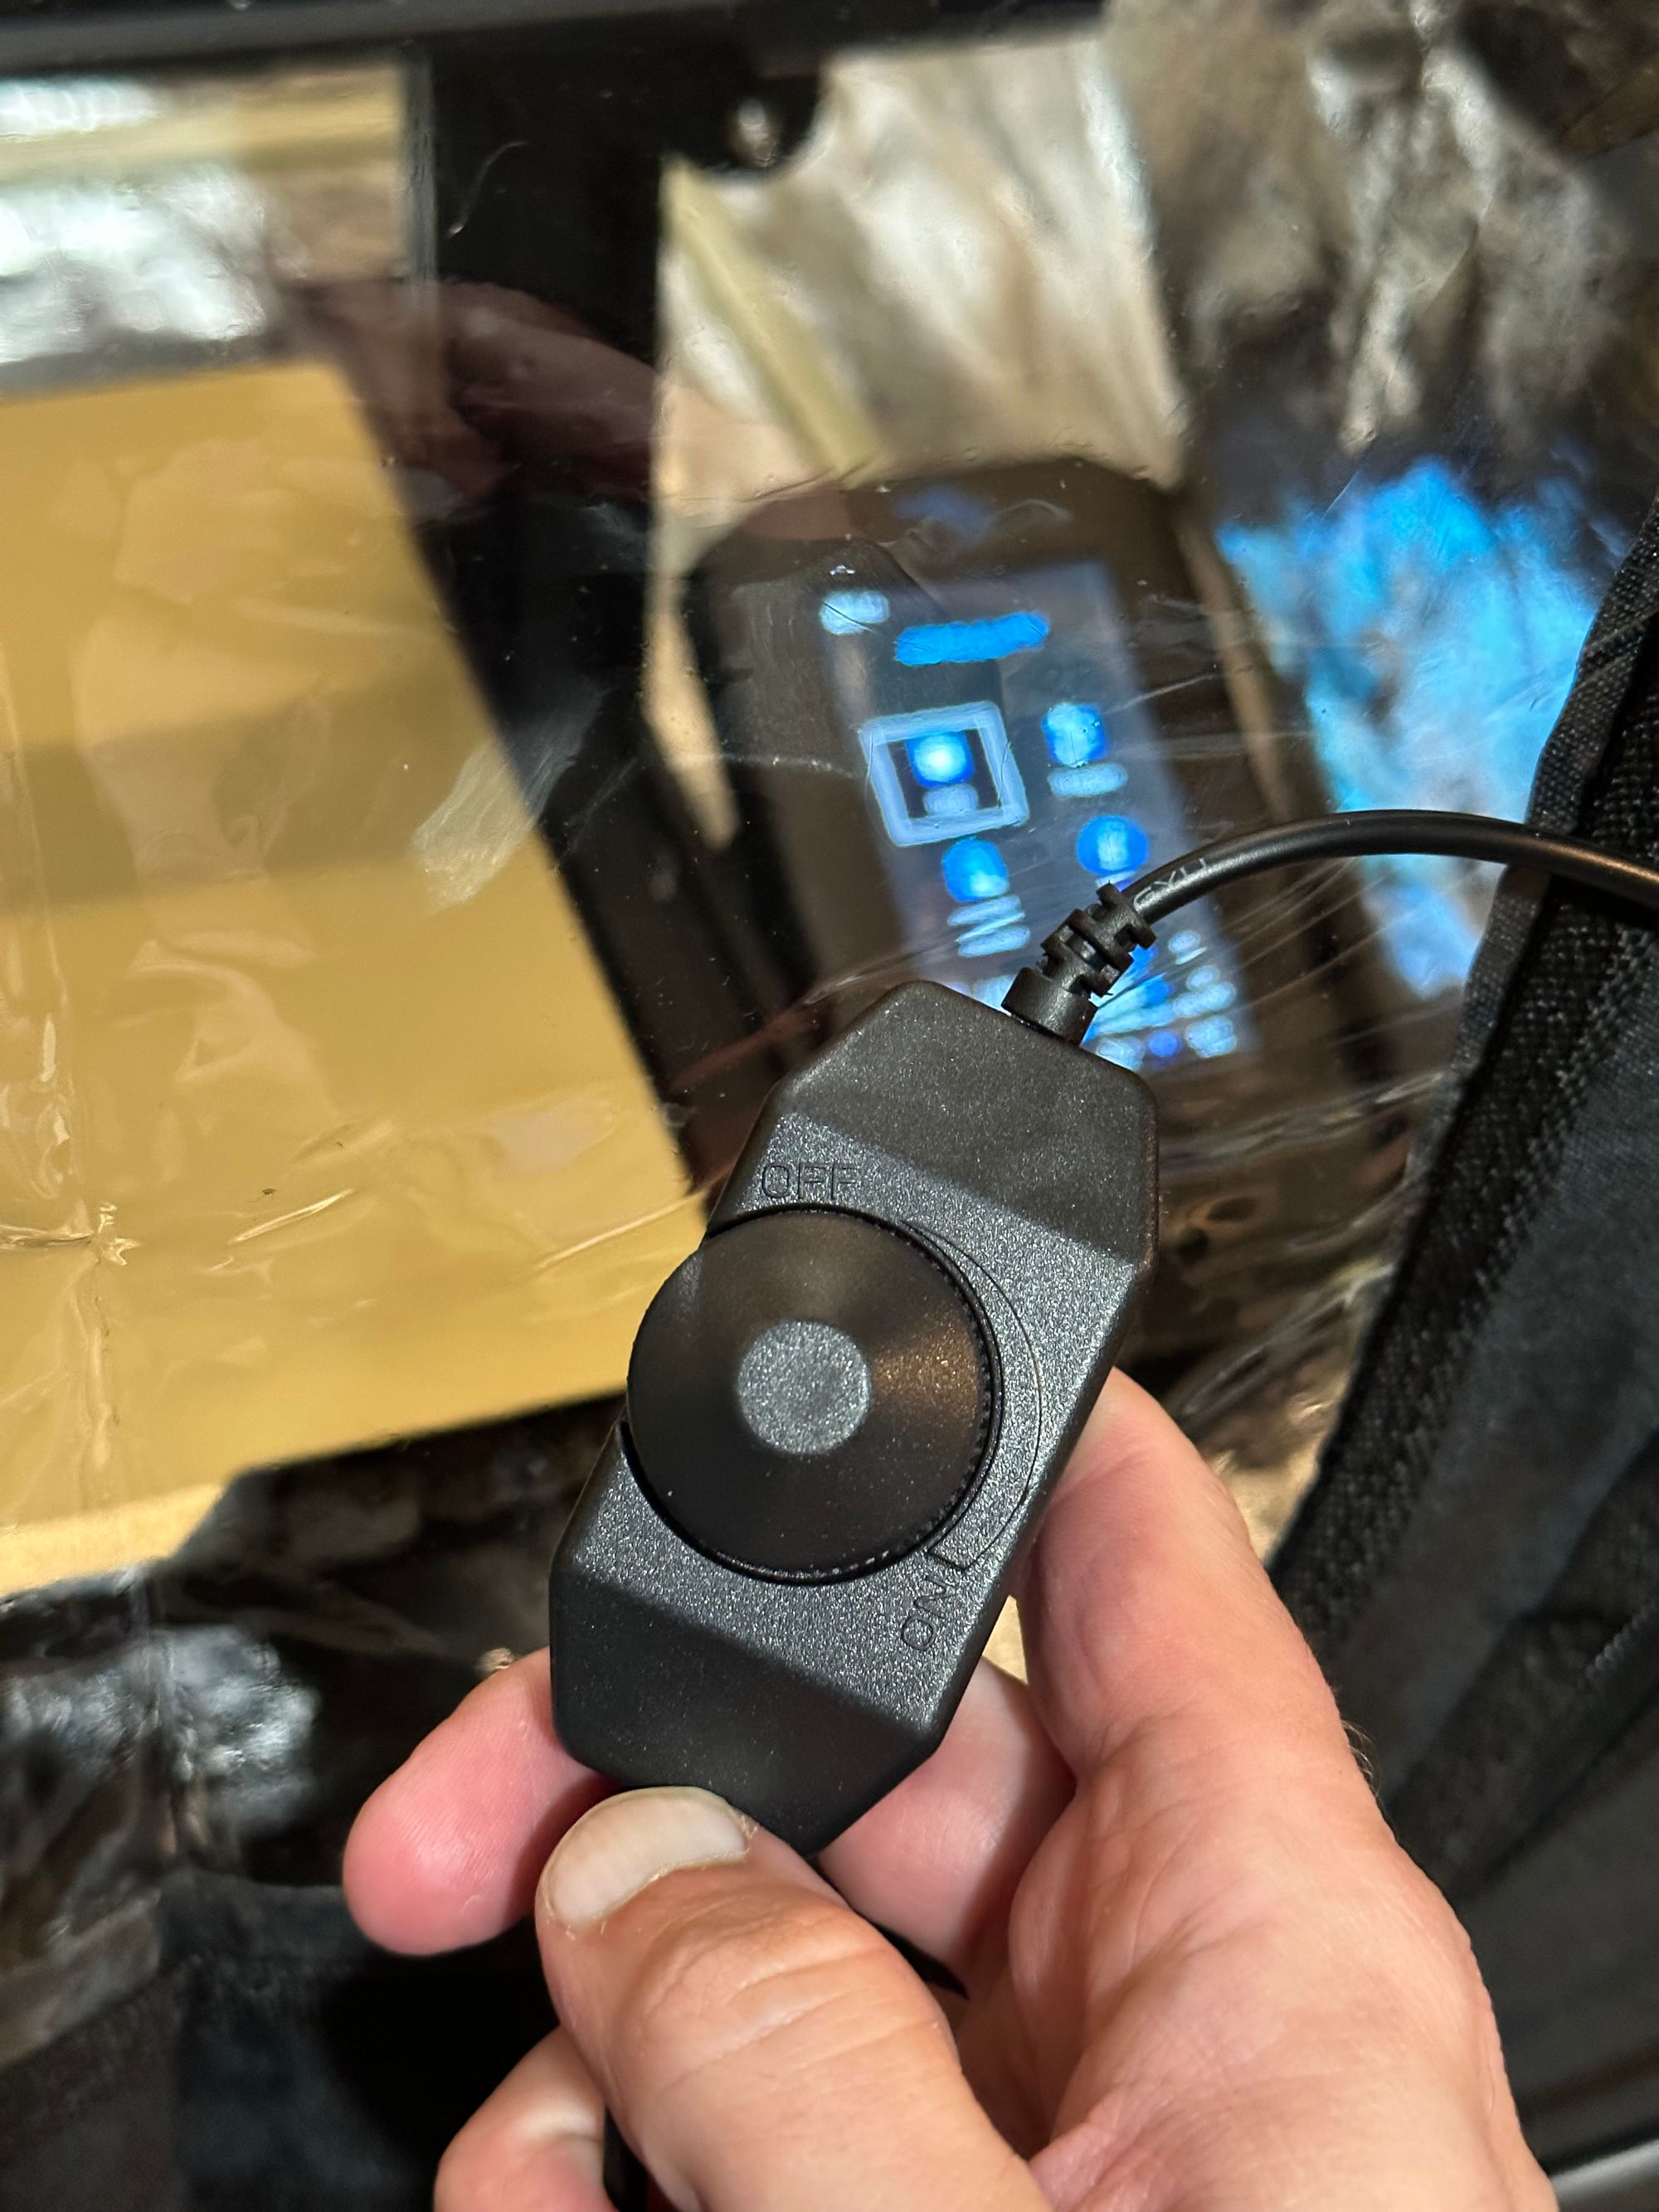
The lights came with a dimmer, which is convenient, because ironically the Ender screen is a bit hard to read with the light up all the way. However, the cords were a bit short, so I picked up some DC extension cables so that I could run the power out the side of the enclosure and have the dimmer accessible outside.
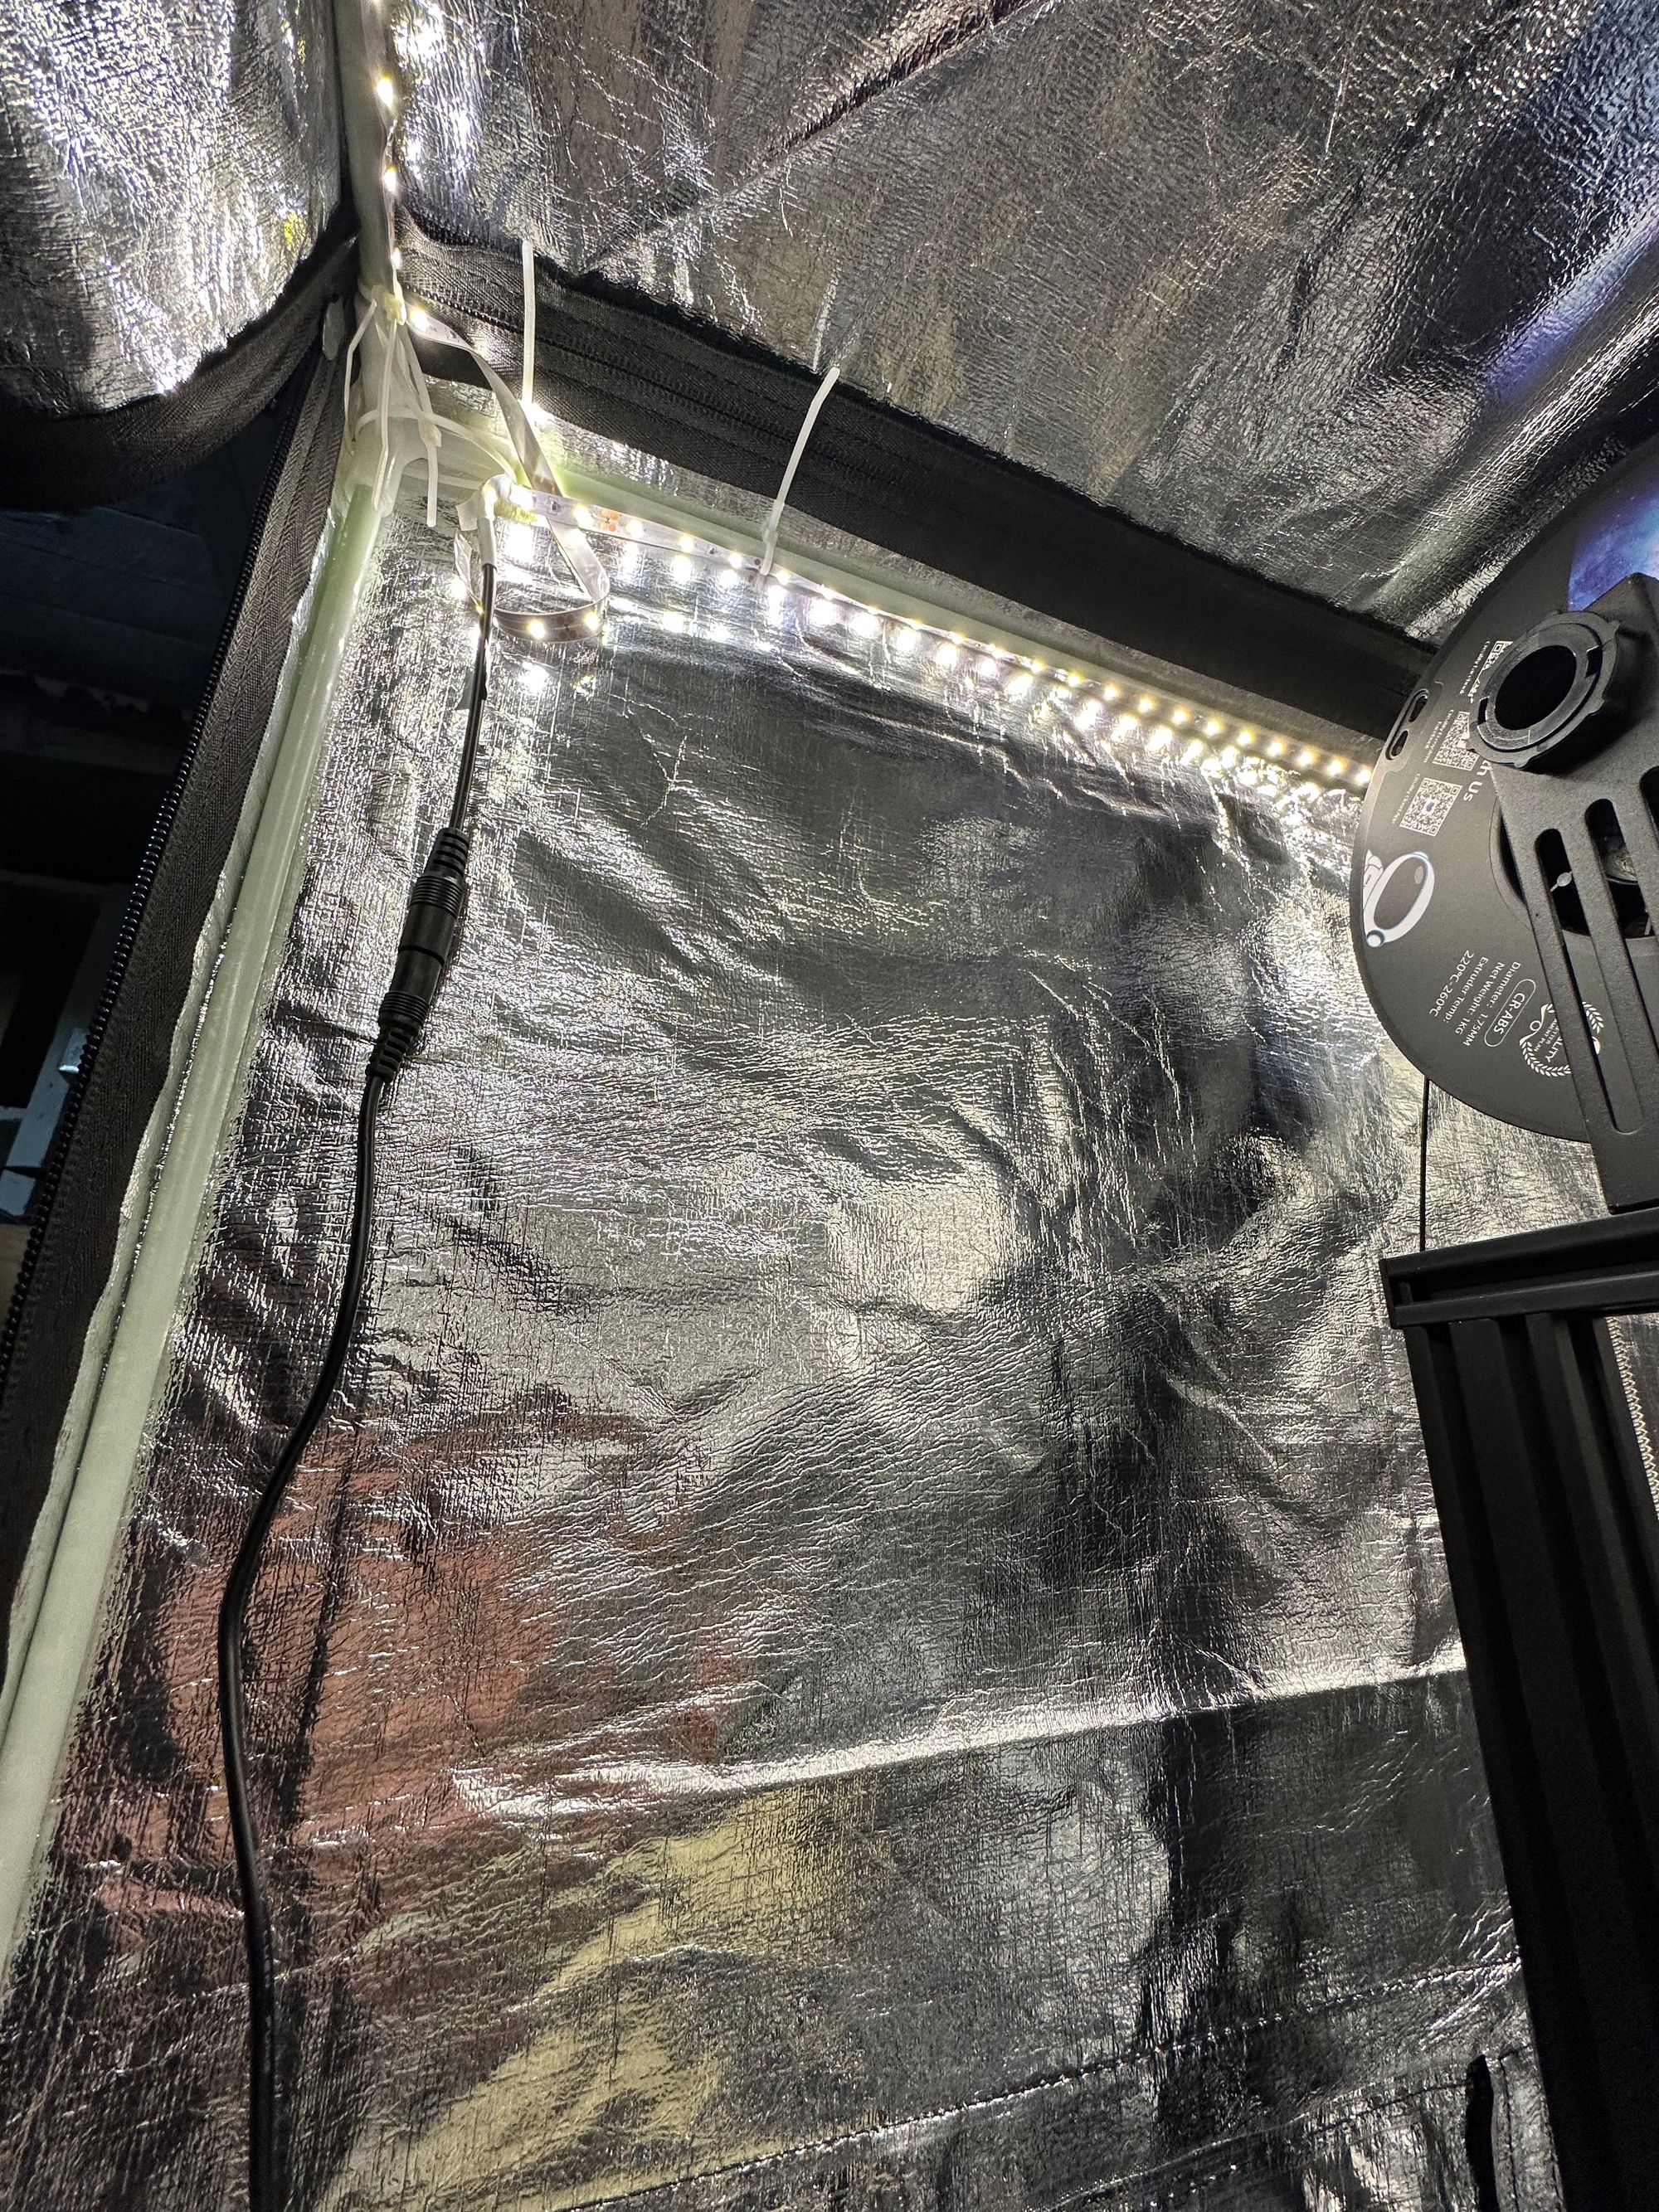
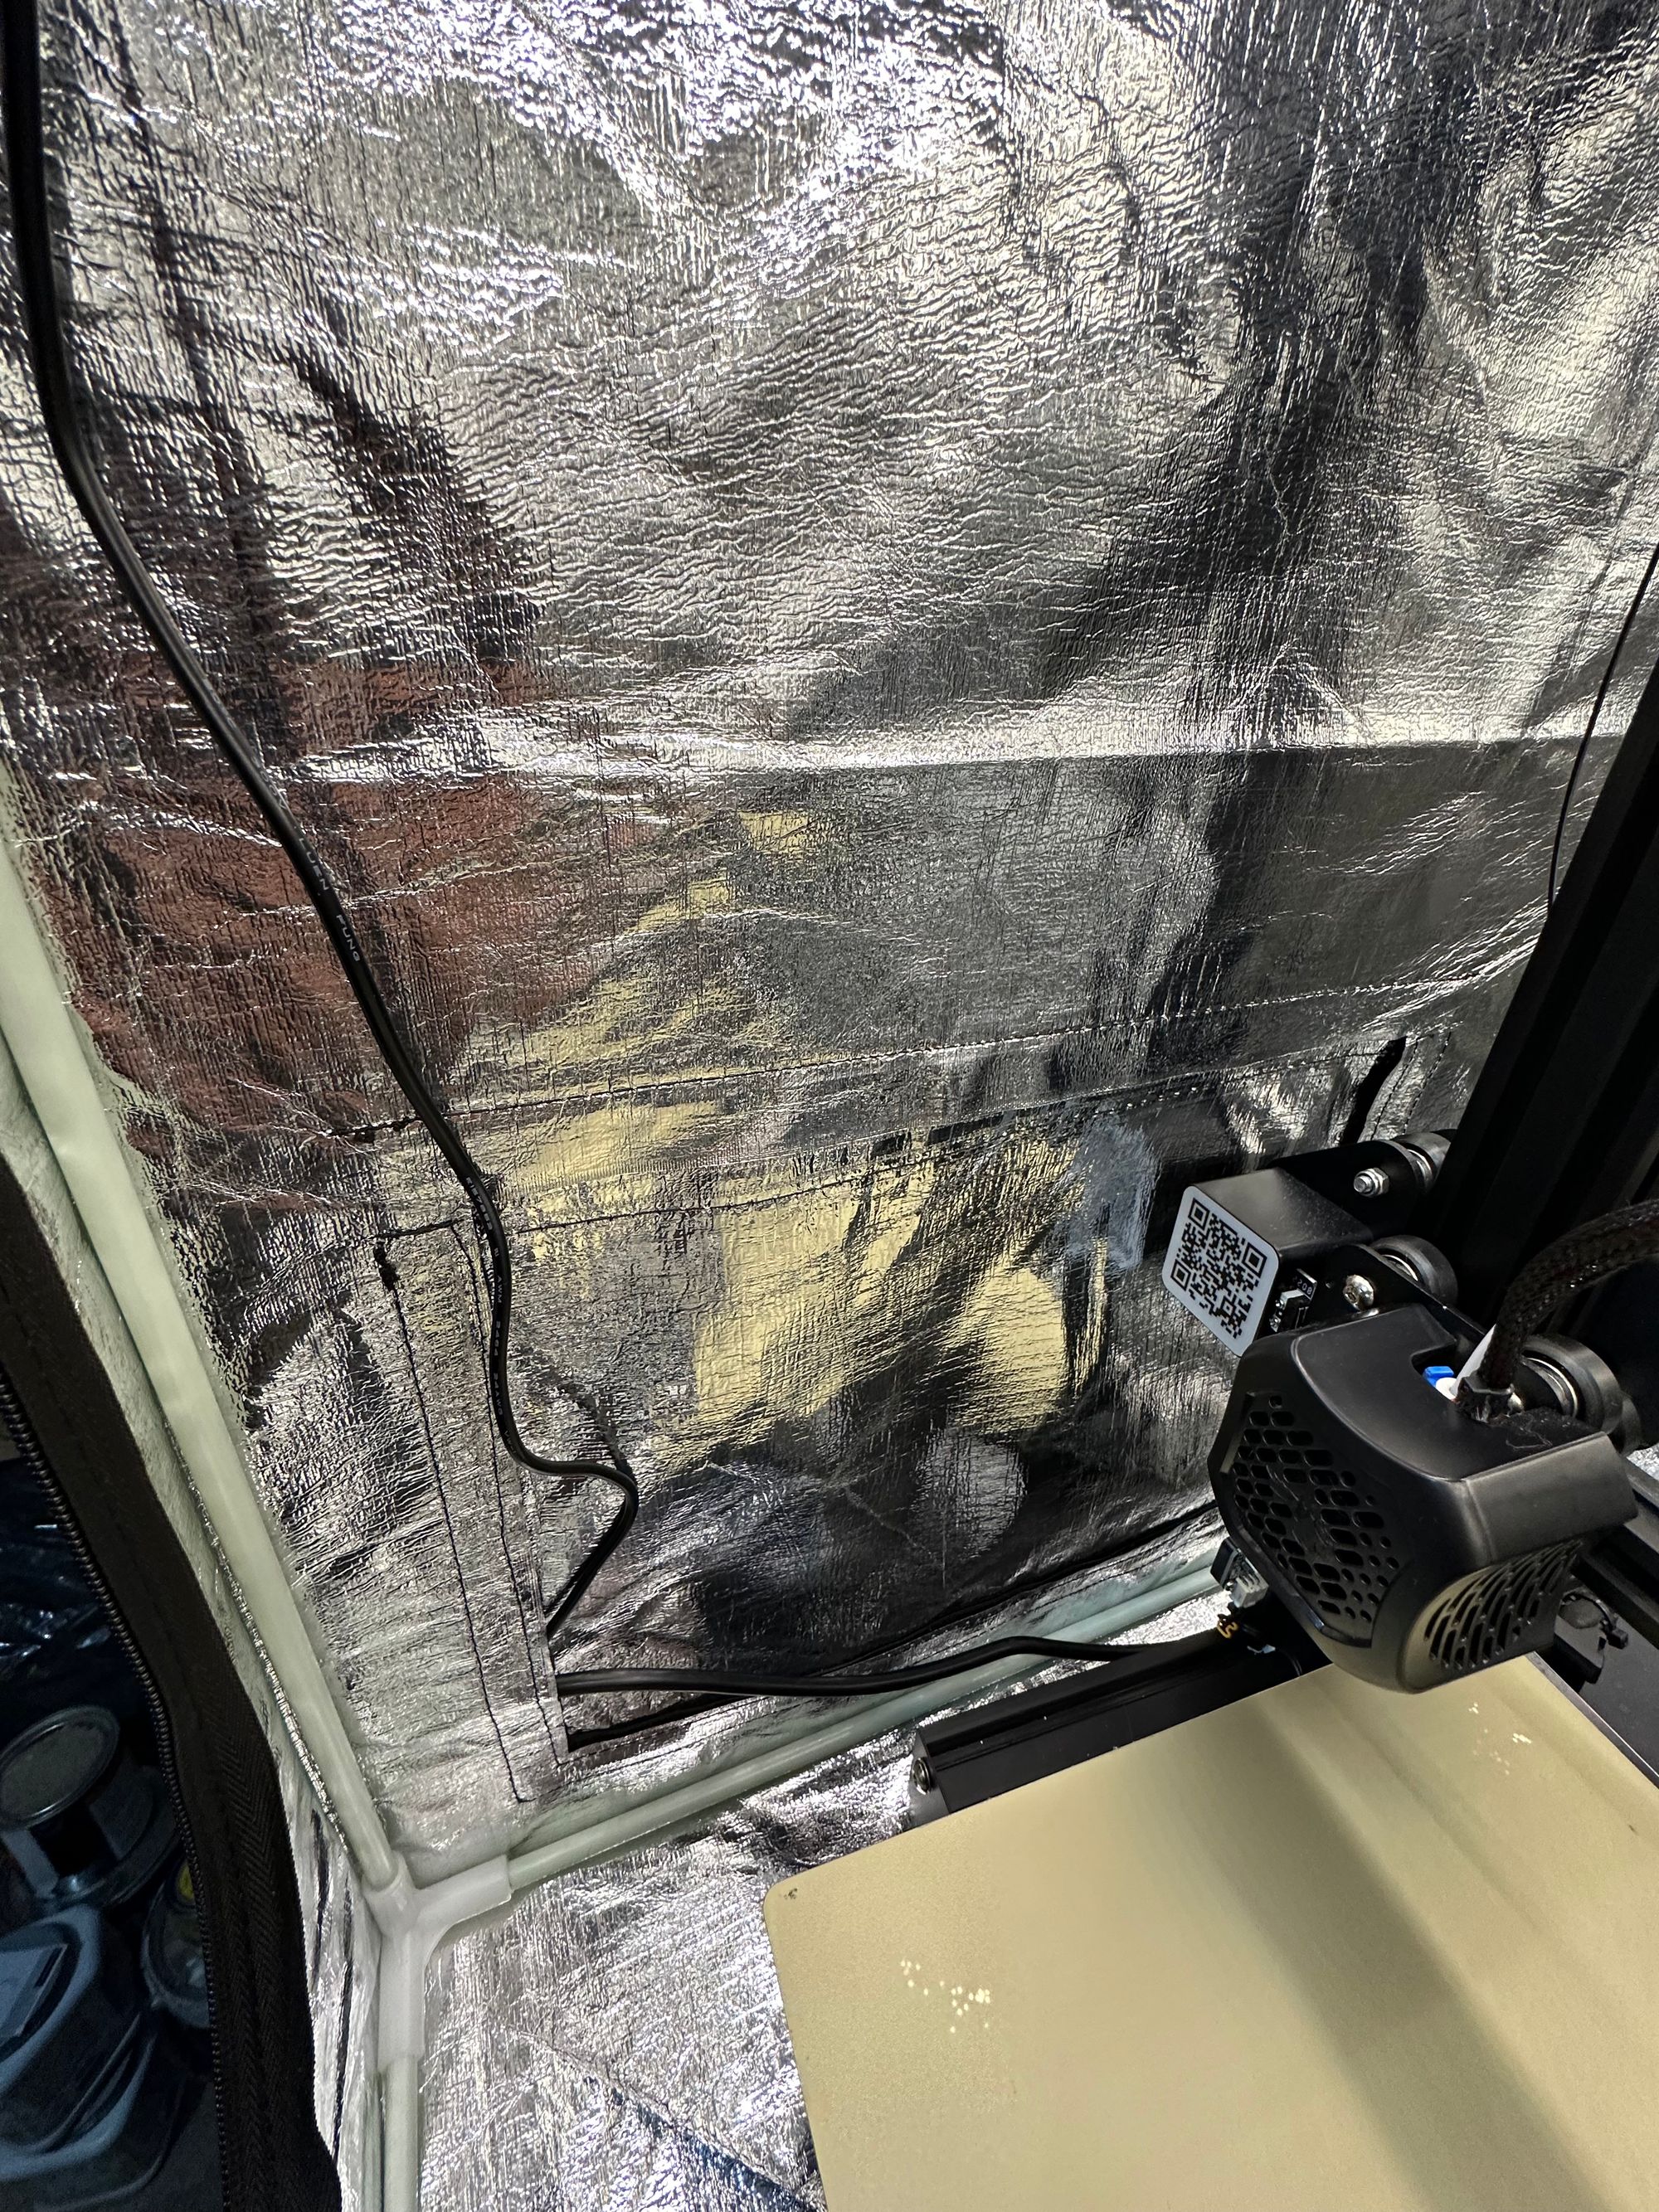
Quick and easy mod to my printer enclosure, and now I can see (and photograph) what’s going on inside much better. 10/10.
