Paint booth (part 1)
Painting outside has never seemed like a super viable proposition. My main workshop space is my basement, and I don't have a ton of space. So I need a paint booth, and something portable and collapsible is clearly required.
Time to actually get serious about painting.
Painting outside has never seemed like a super viable proposition. For one thing, the weather in Utah is... not good for painting for a significant part of the year. And when it's not too cold, there's dust or pollen or just crap blowing around in the air. Which leaves me painting inside, which has... some obvious drawbacks.
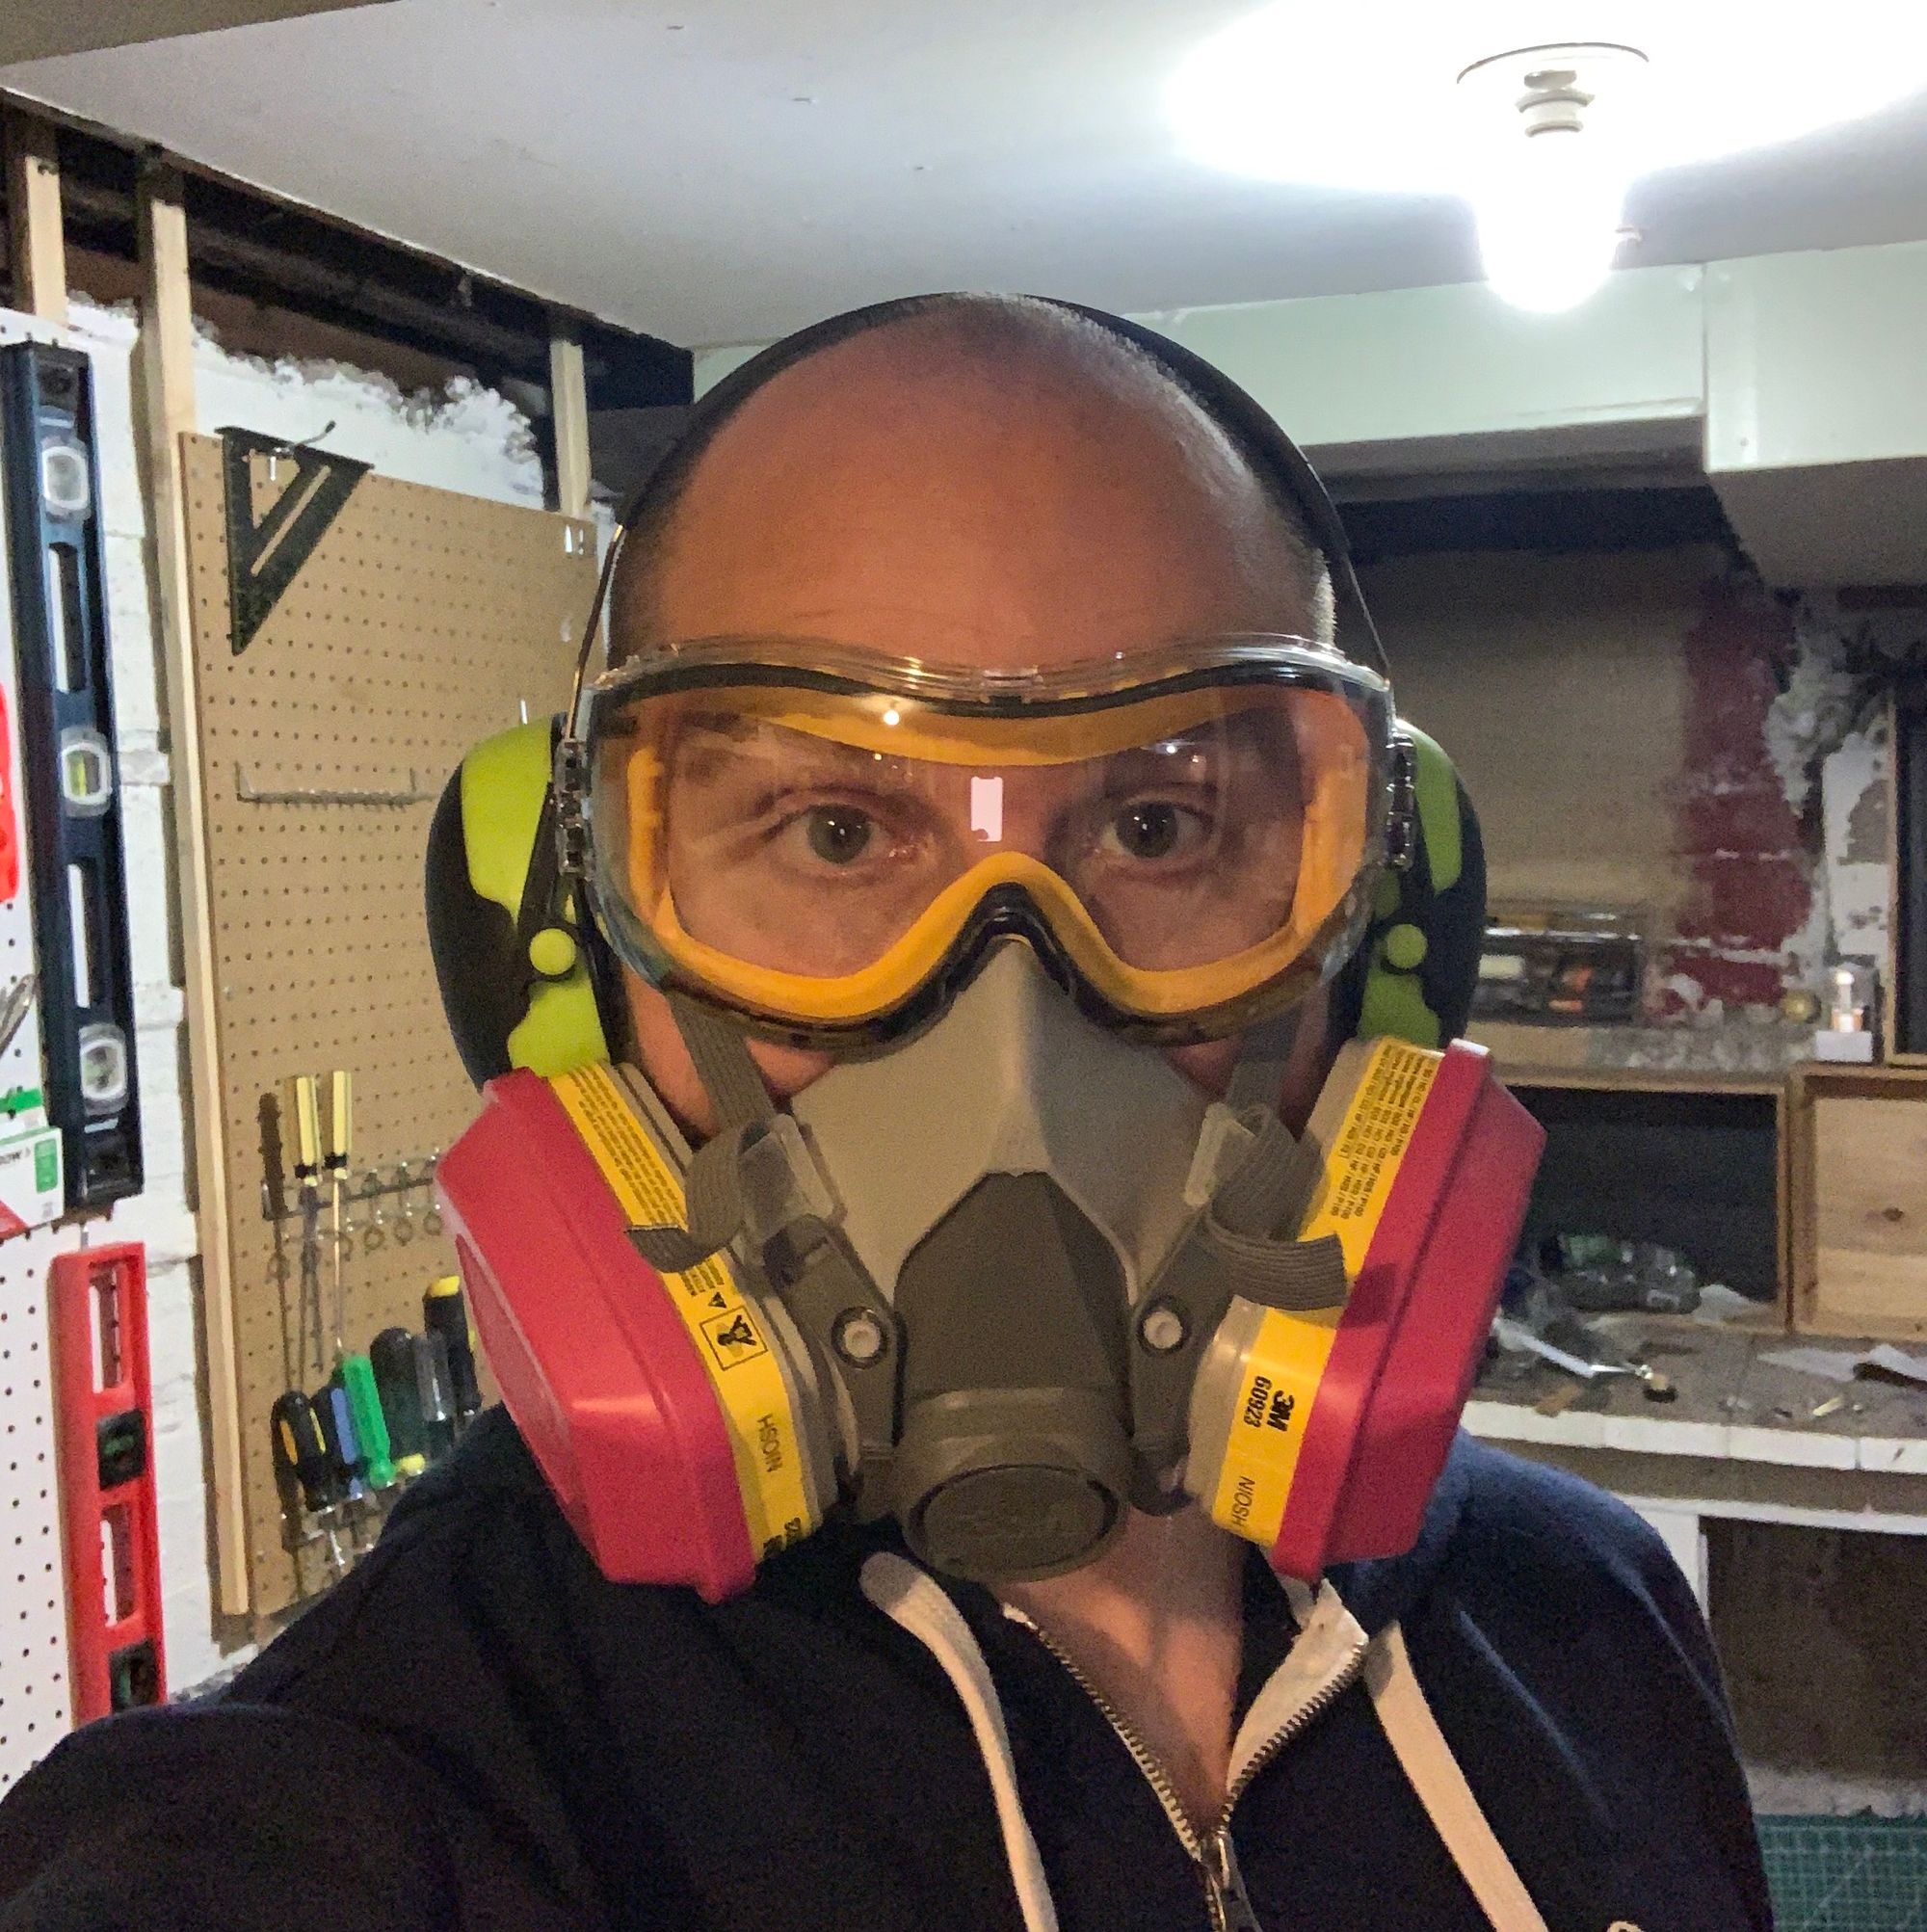
My main workshop space is my basement. I've actually done a number of quick spraypaint jobs over the years, and I feel like I've done a pretty good job protecting myself with a half-decent respirator. However, our HVAC is also in the basement. It's an inescapable fact that if I do any significant amount of spraying, it starts getting sucked into the HVAC and gets pretty fume-y upstairs. Not great.
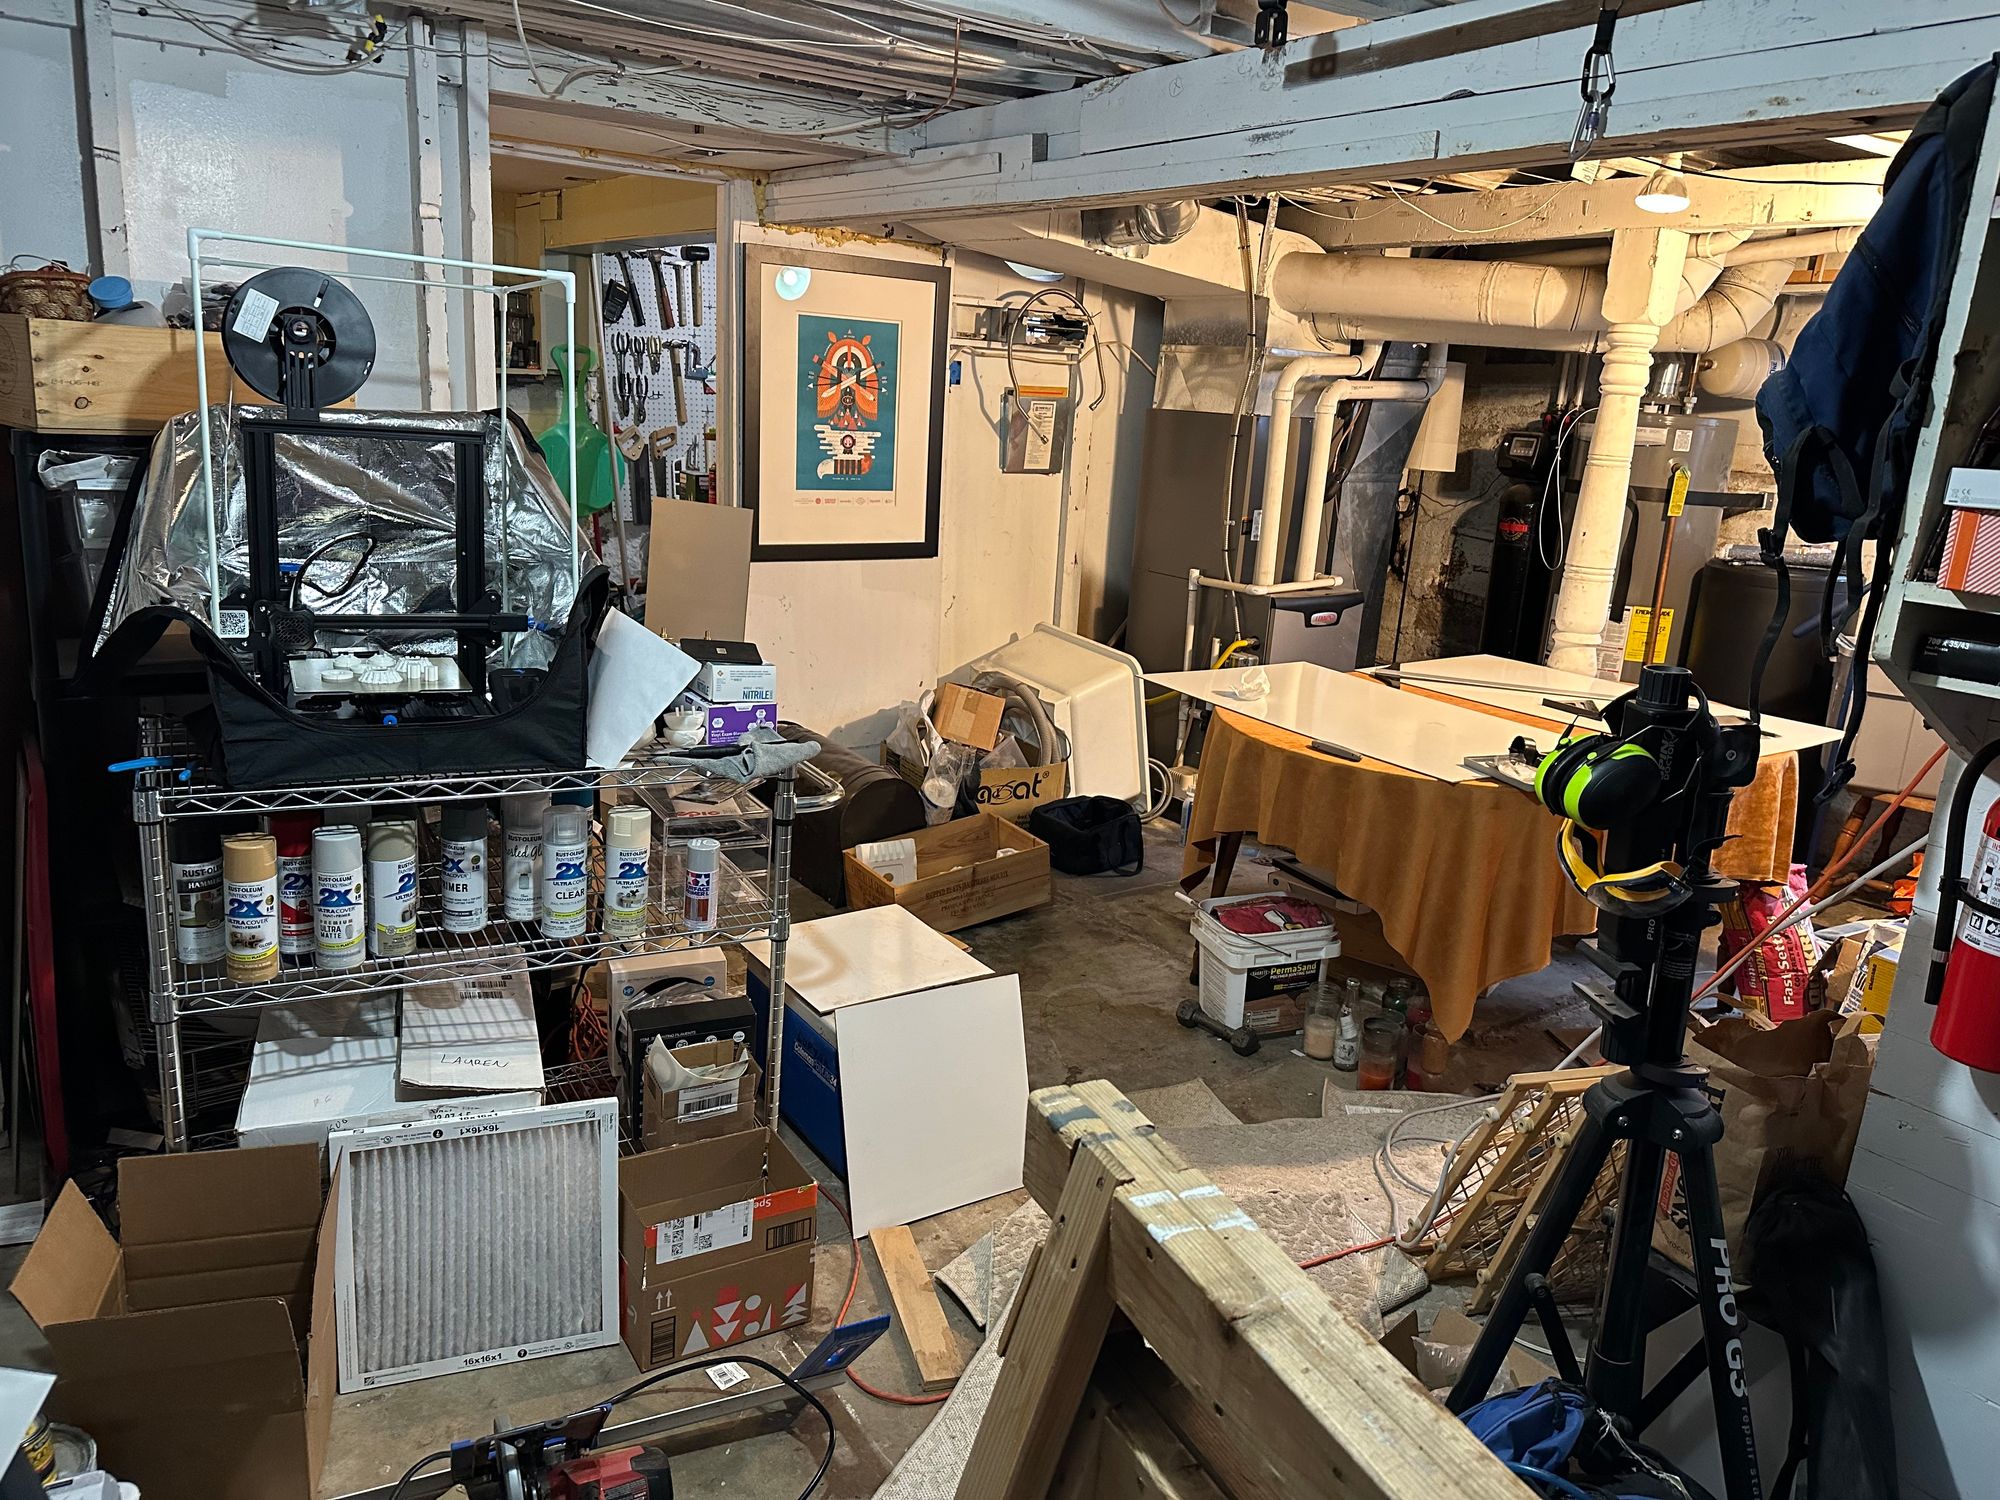
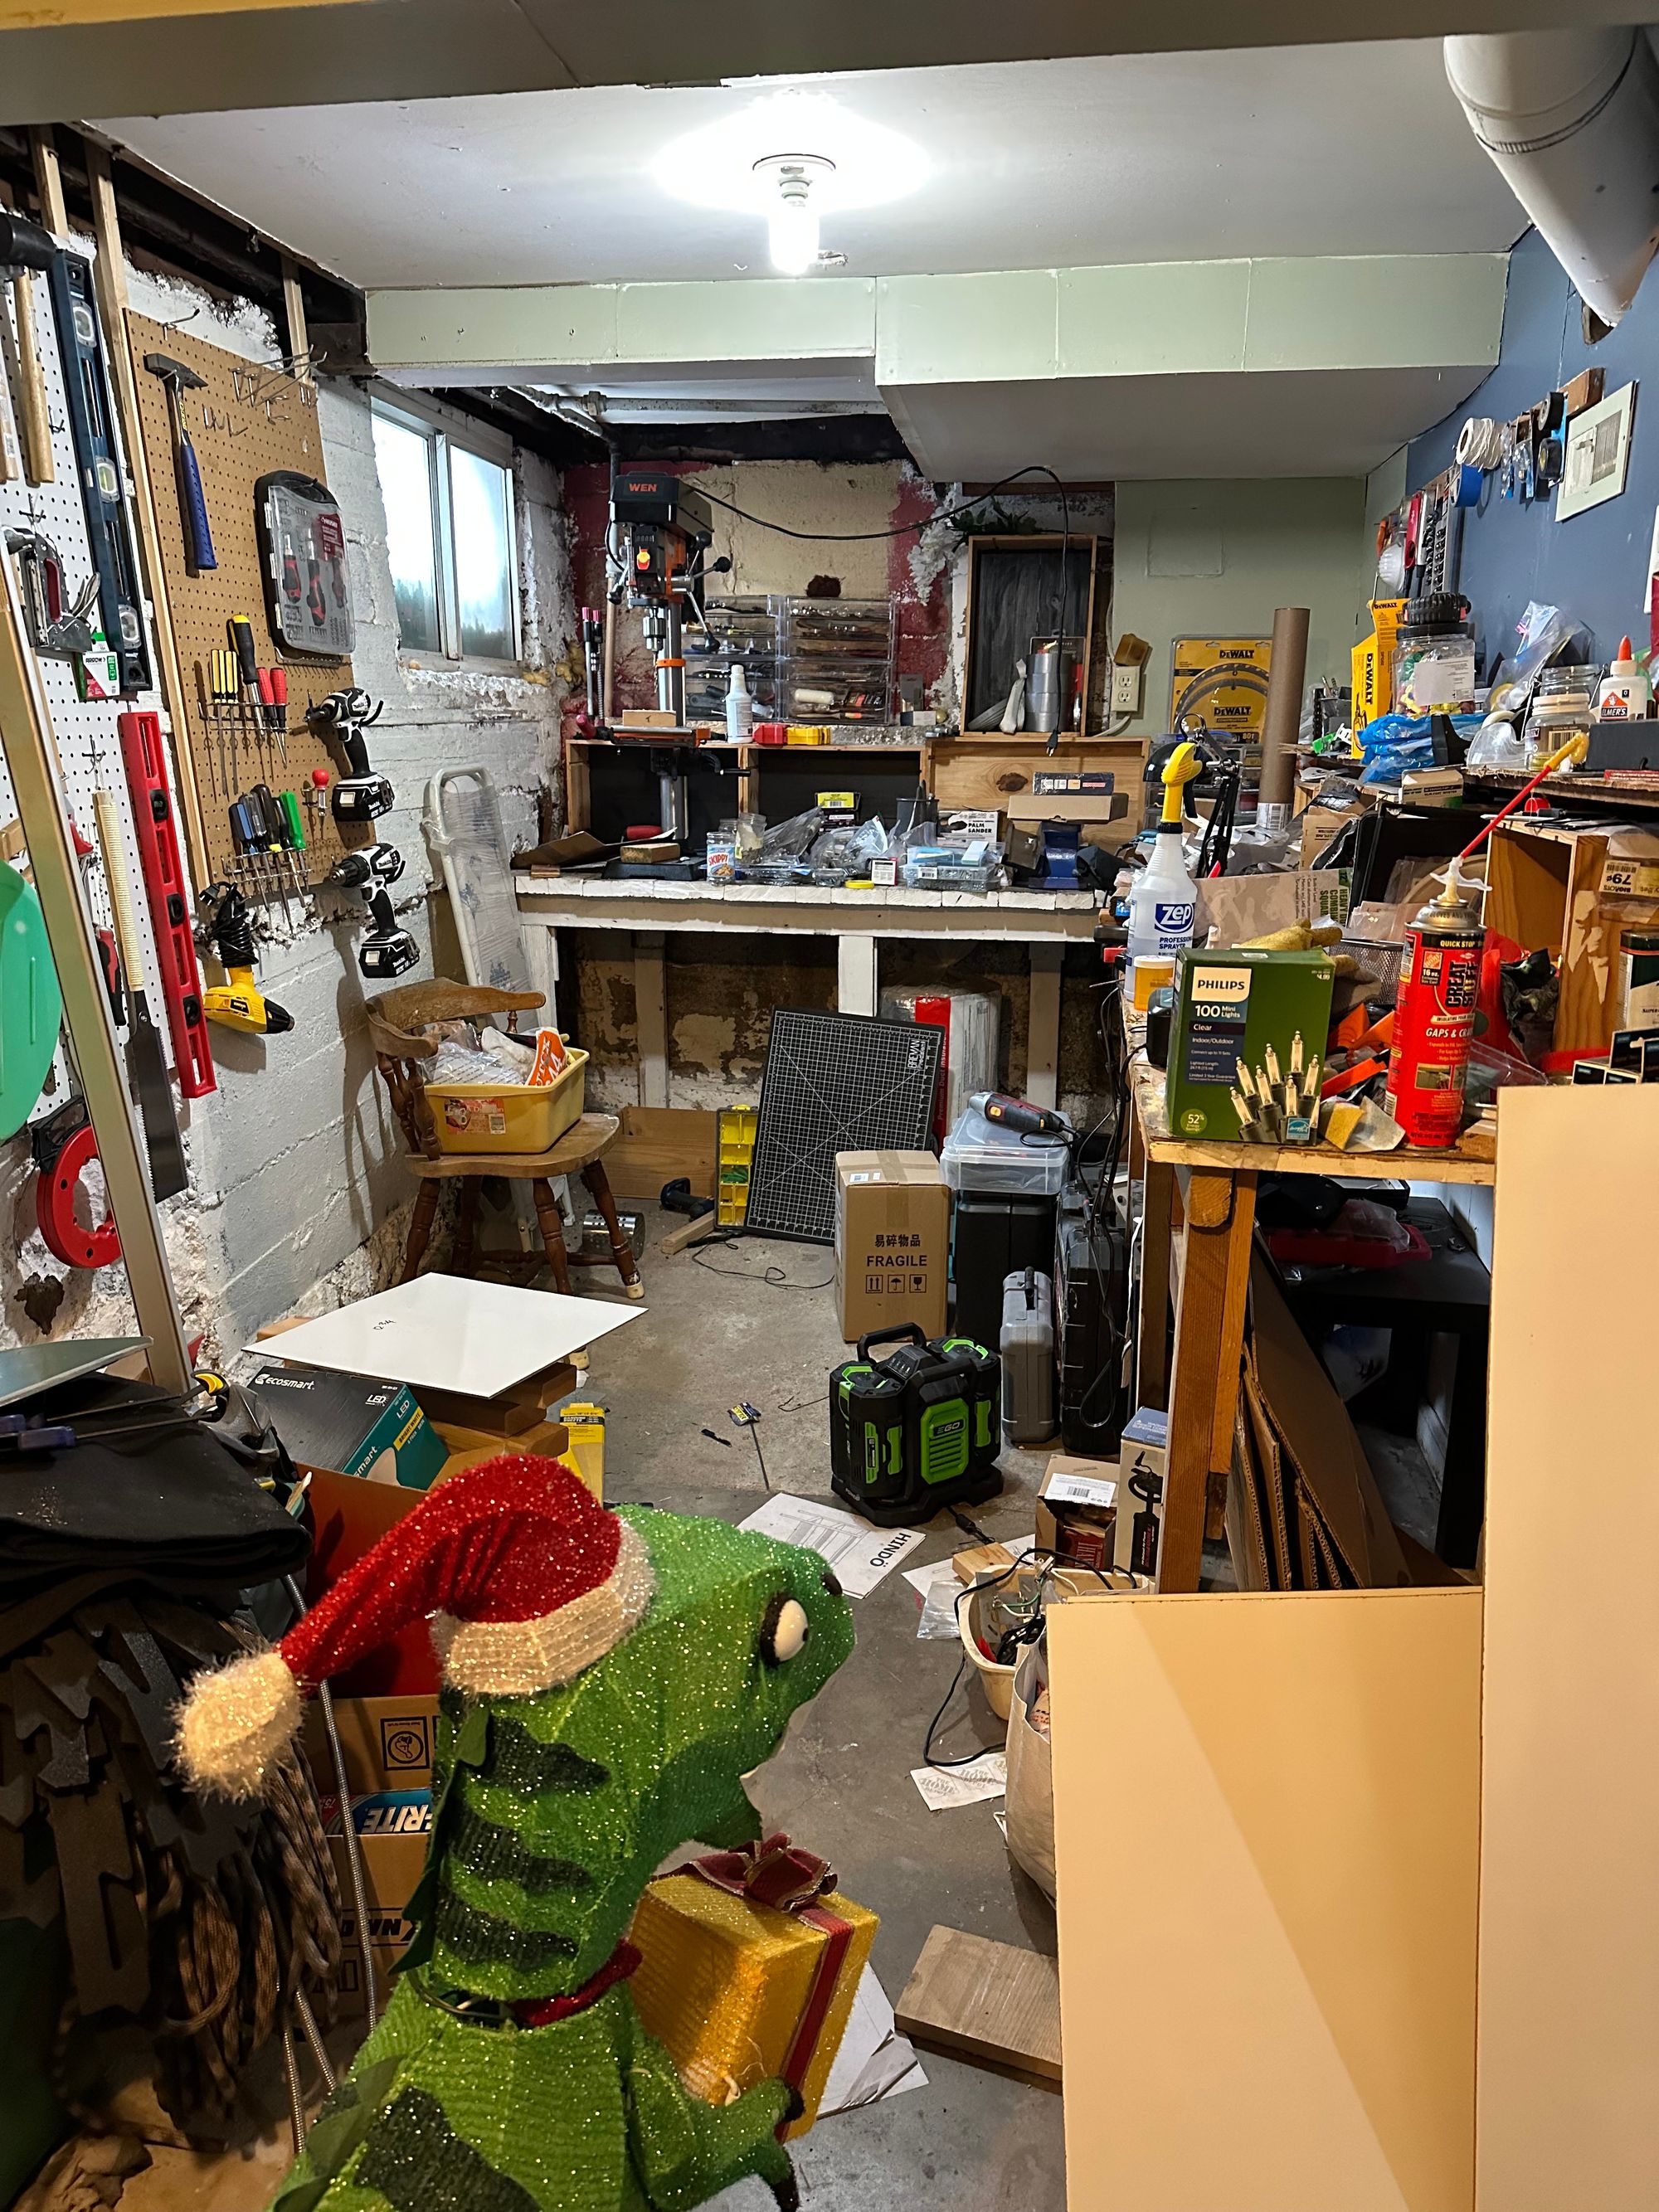
I also don't have a ton of space. Now, this is partly my own fault; the basement is also storage space, and I'm neither the most organized nor the quickest to throw things out. Clutter aside, it's still not that much space (I say, recognizing that my friends with NYC apartments would kill for this much basement workshop square footage). This is all to say that I don't have the space for a dedicated painting area, so something portable and collapsible is clearly required.
There is, however, a nice window well in a good spot in my main workspace, so that is going to be my best bet for venting paint fumes out of the house.

In doing a little research into paint booths, I came across this video of Bob from I Like To Make Stuff building a collapsible paint booth. His design almost perfectly fit my needs, except that it is just using a box fan to pull air through a filter, but doesn't vent outside. However, helpfully he built a permanent, ventilated paint booth a few years later, and that gave me enough idea about making my own modifications.
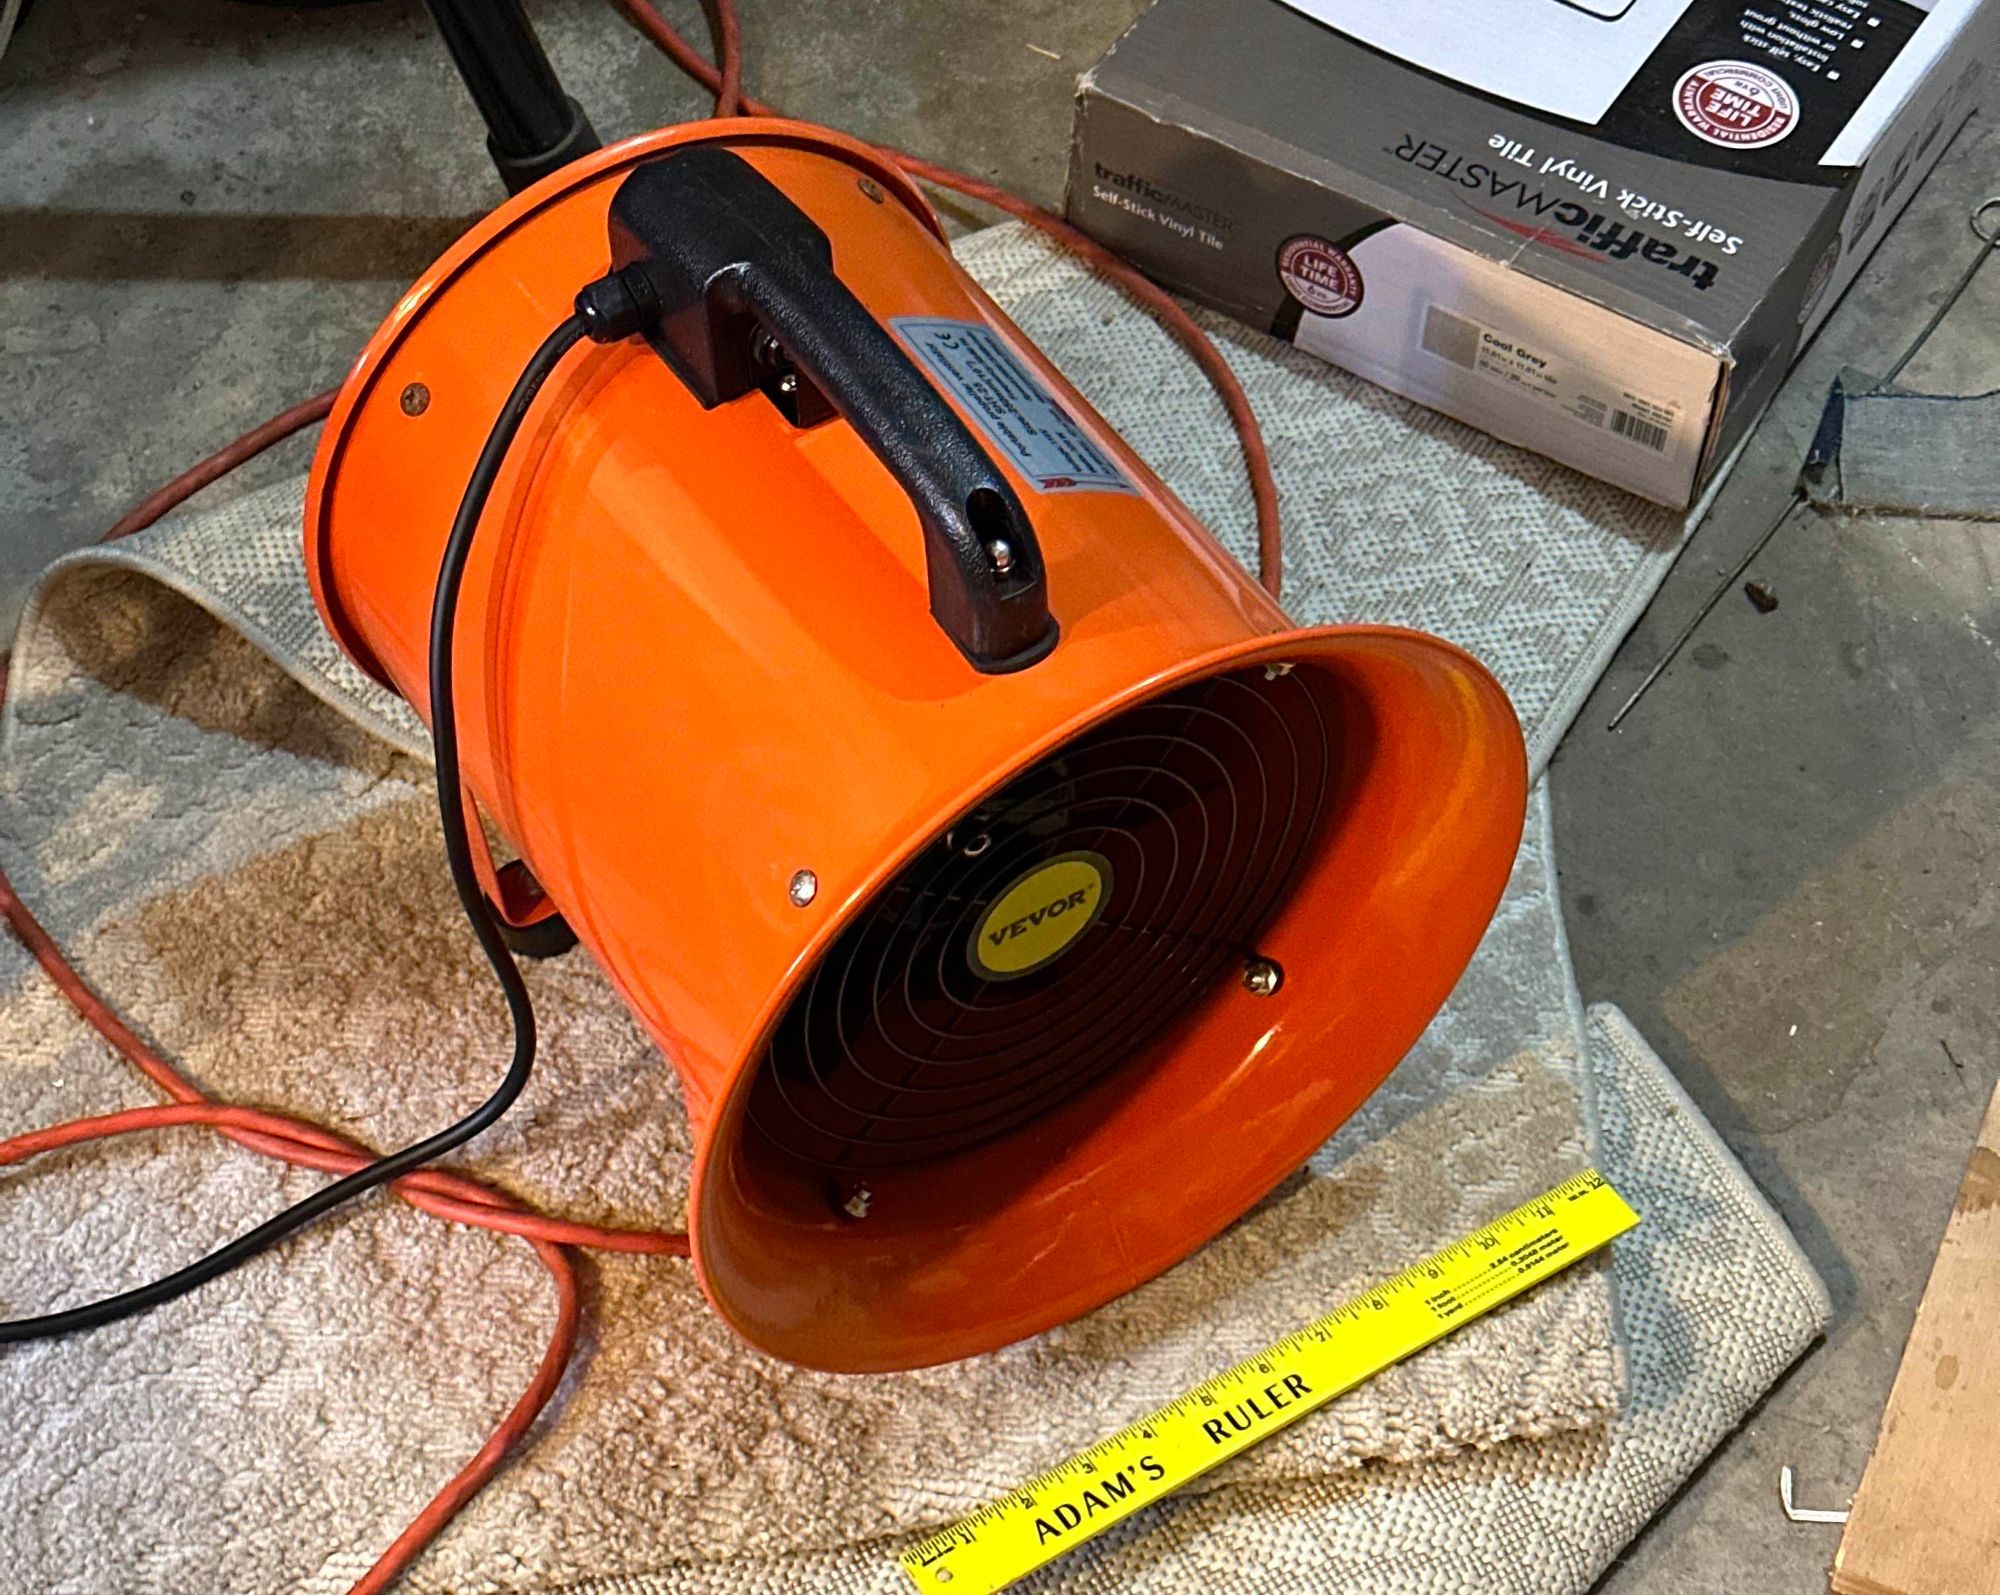
An important part of this equation for me is going to be the blower that pulls the air out of the paintbooth and then vents it out the window. It took a bit of looking to find something that would work for me. Bob cautioned in his video that you don't want explosive vapors being drawn over a normal motor. He solved with a blower that had the motor outside of the housing, but I ended up picking up an "explosion-proof" blower that is specially designed to be safe for flammable vapors. A buddy of mine with a bit of experience in this area suggested that this was overkill, but this setup is in the basement of my house—I think I'm justified in being cautious here.
I picked up some white tile board to serve as the main structure of the booth. I worked out a size that would fit nicely on top of my table, and can operate either vertically or horizontally.
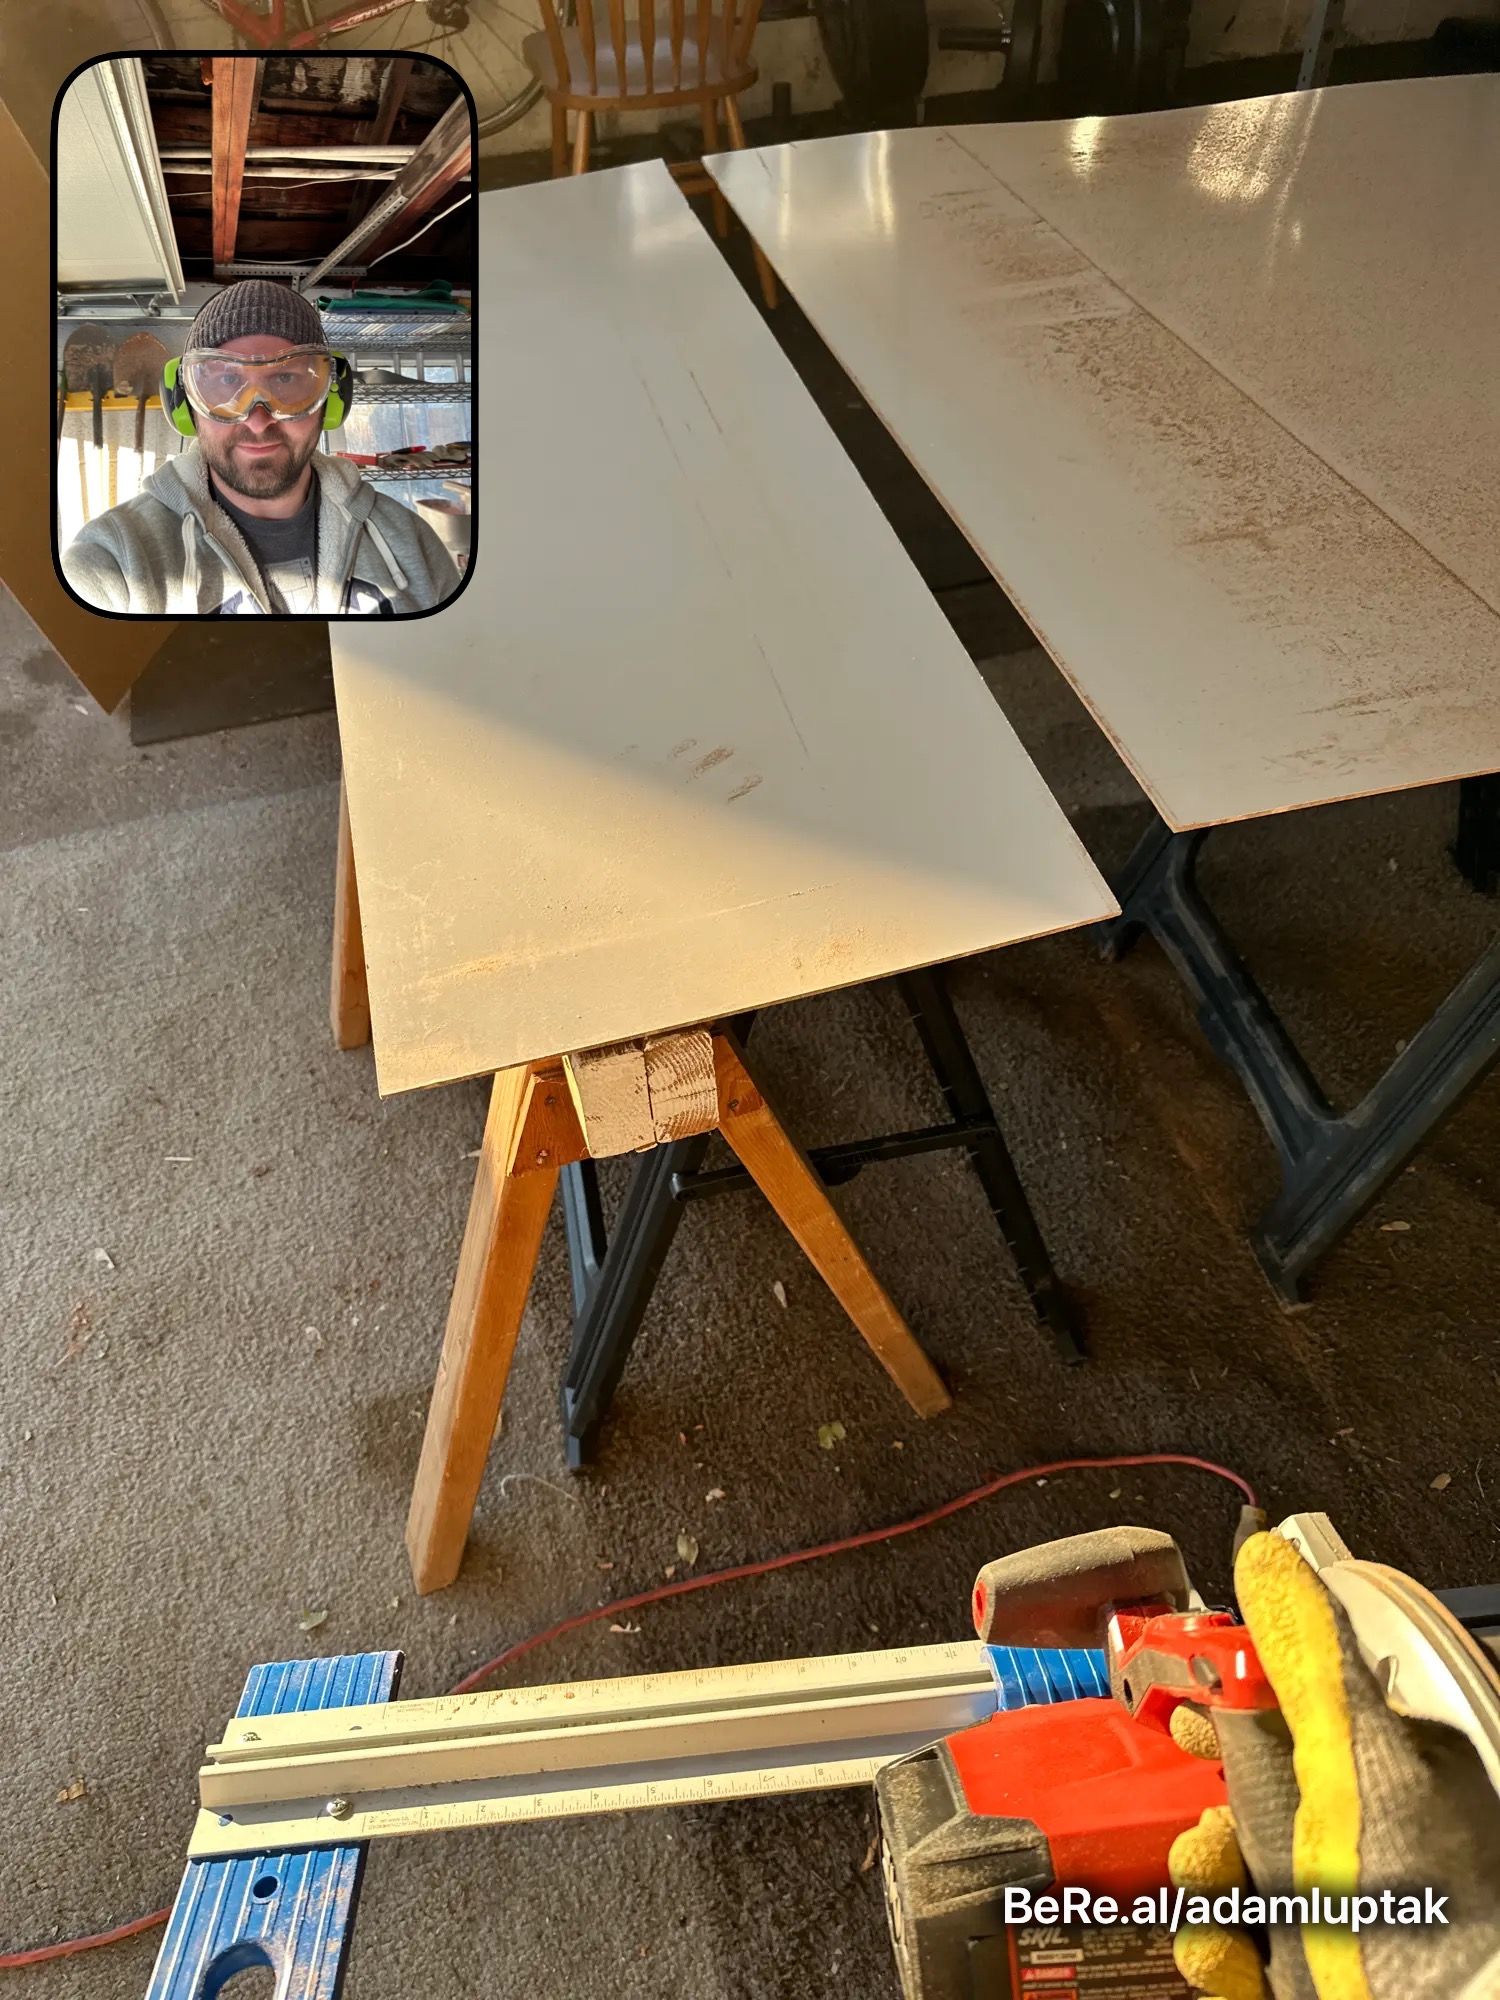
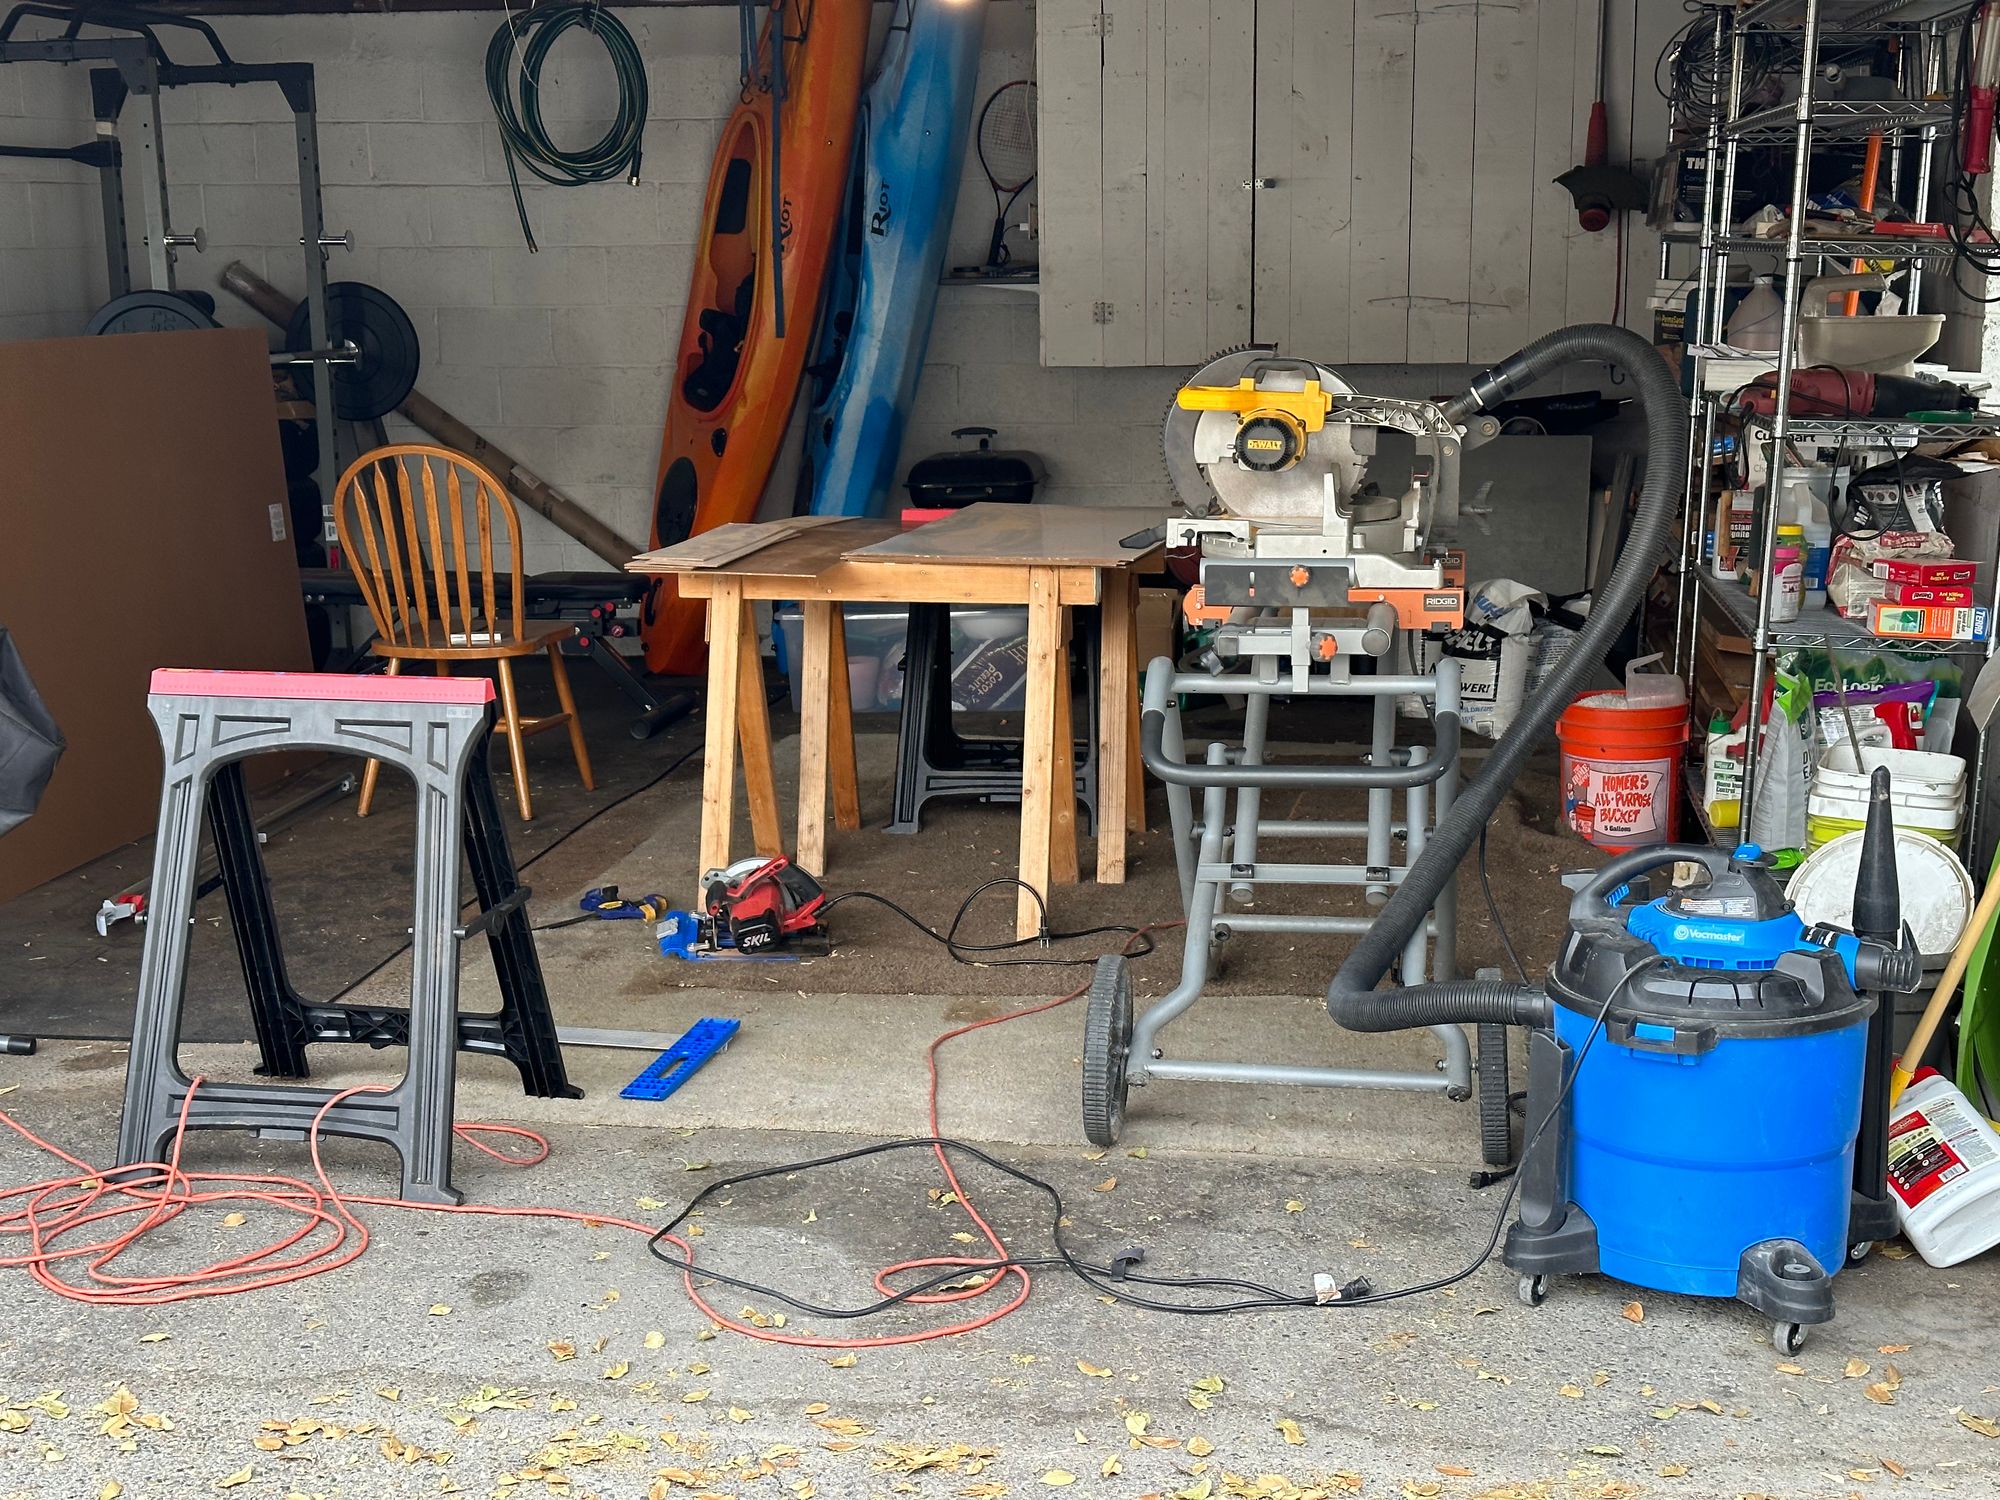
Cutting was a little bit of a challenge. Really feeling the lack of a table saw here. Instead I had to do most of my cuts using a circular saw, and trying out a Kreg Rip-Cut Guide. The guide allowed me to make repeatable cuts fairly easily without as much resetting as I'd need with a standard guide rail, but it certainly wasn't perfect—the board has a quite a bit of flex in it, and cutting it by myself was tricky. The final inch or two of each cut was particularly hard to keep straight, but close enough for these purposes. Some of the shorter cuts I was able to use the miter saw, which was a nice luxury after the long circular saw cuts.
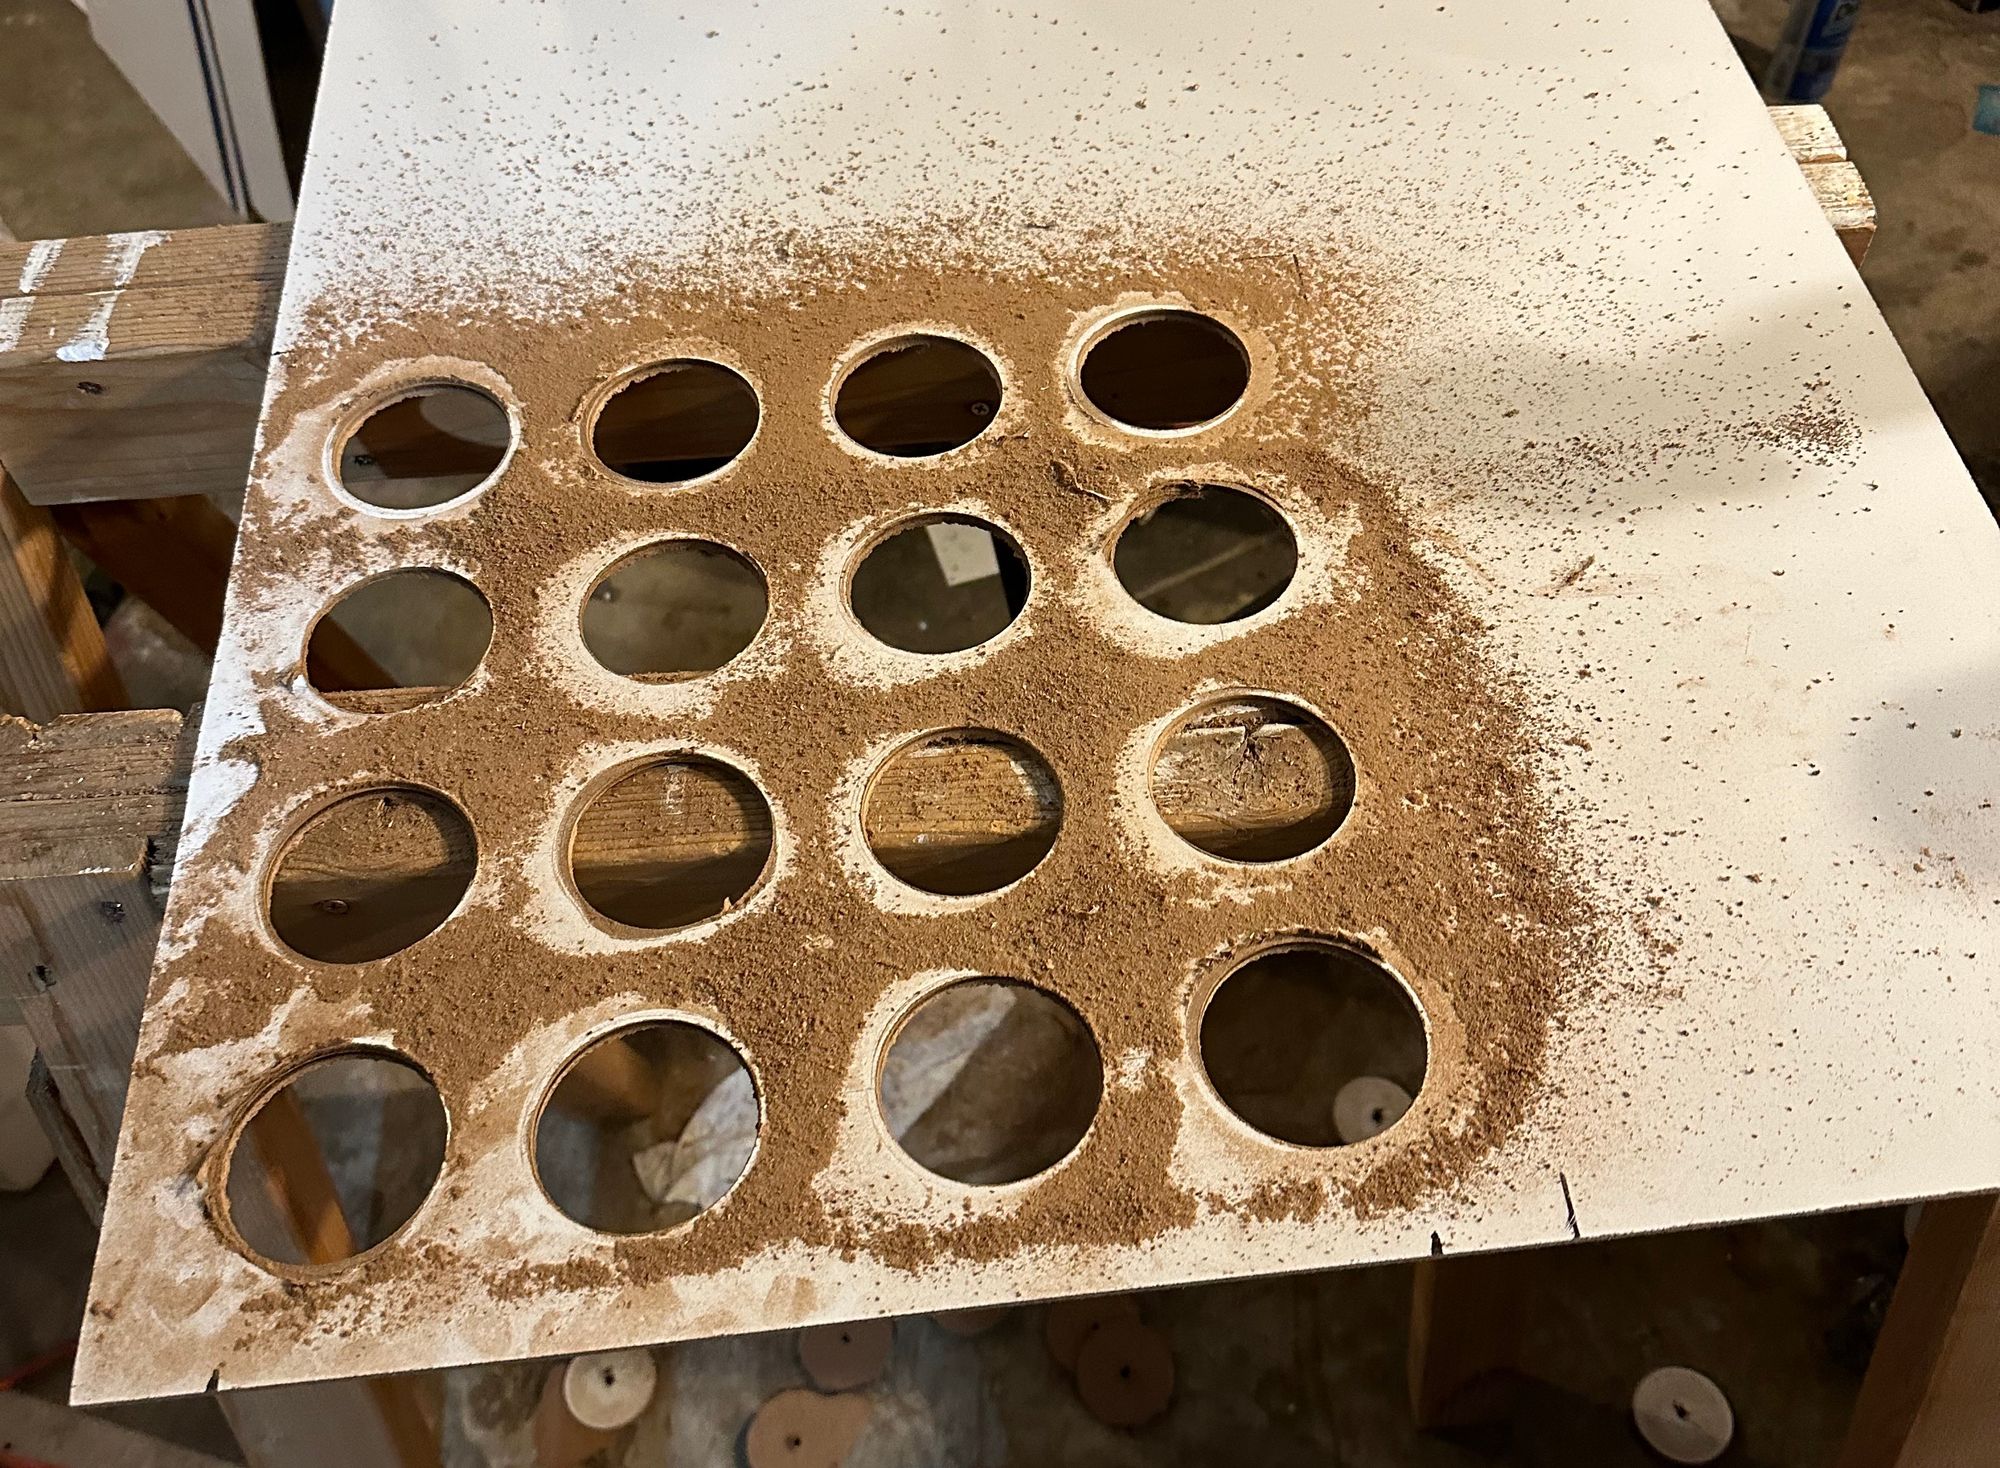
The center panel needs ventilation cut into it, where the blower will sit and pull air through. It's placed in a corner, so that it's positioned correctly for the blower to sit on the table in either horizontal or vertical configuration. I'll be using a cheap air filter to catch particulates, and rightly or wrongly, I felt the need to leave some structure in front of the filter. I planned to use a hole saw to cut a grid of holes to allow air to pass through, but I needed to work out what size hole and how to space them out.
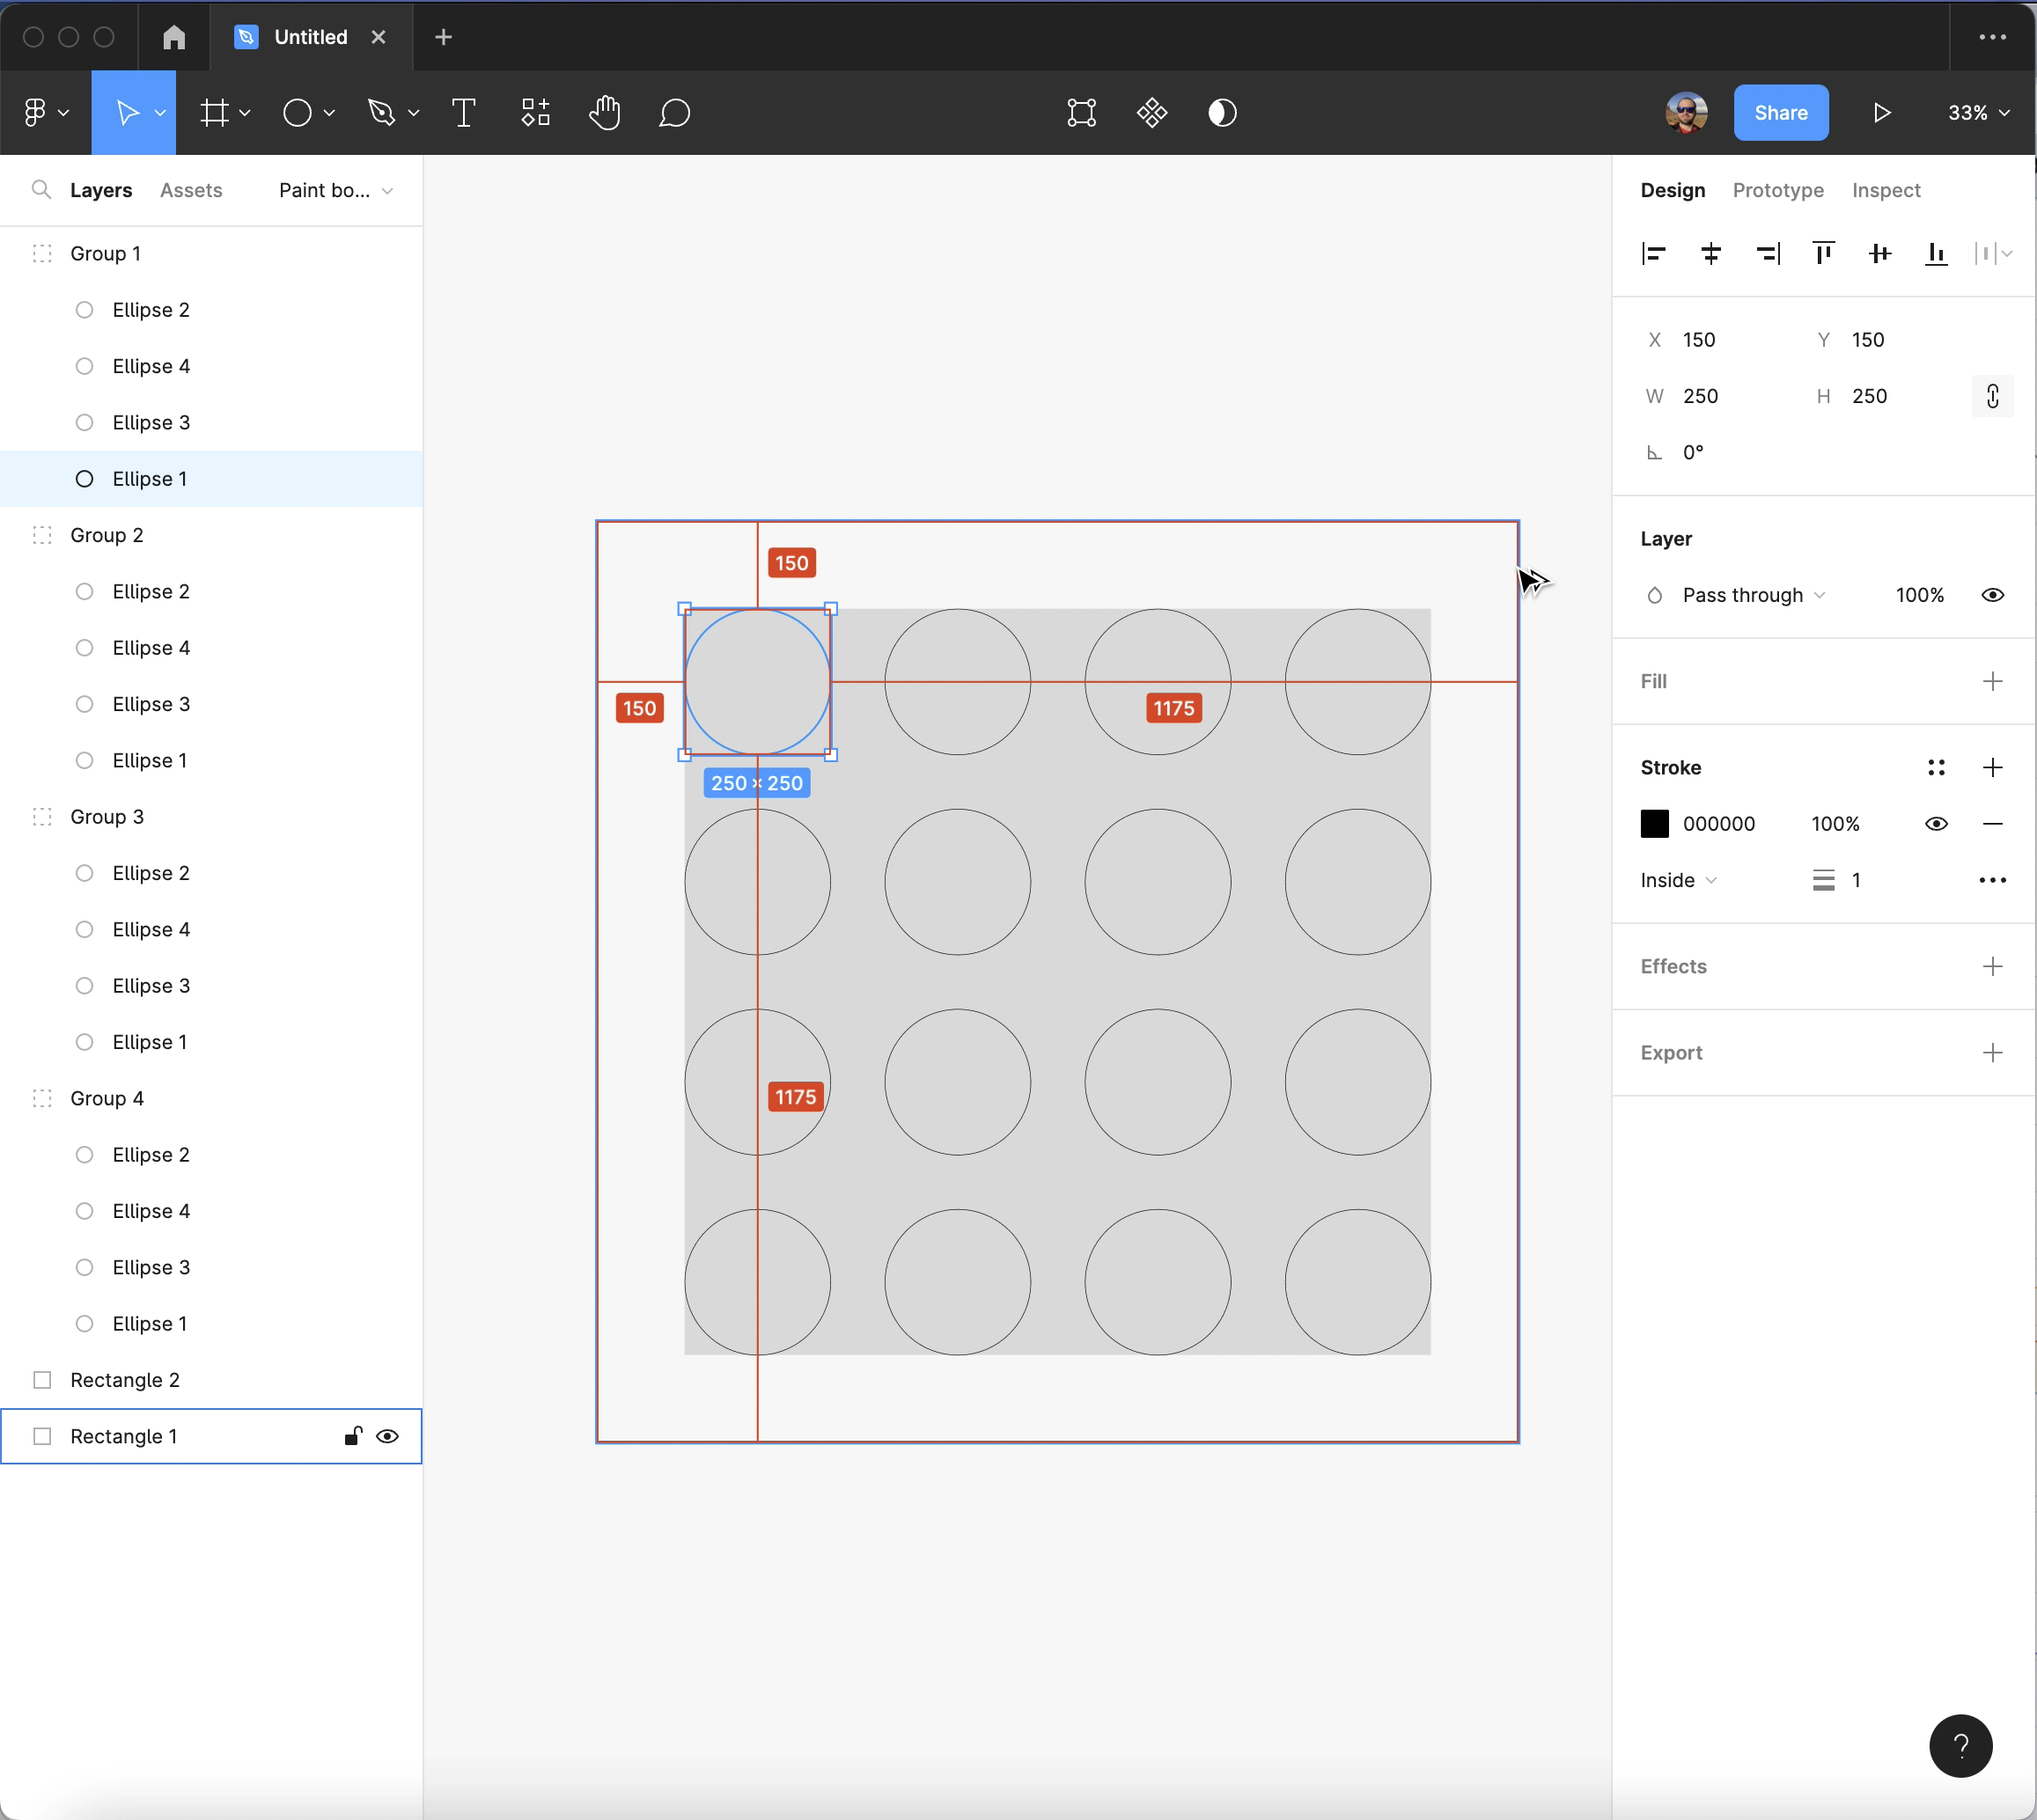
Trying to reason it out in my head was breaking my brain, so instead I reached for a design tool to work it out visually. I loaded up Figma, which is generally more of an interface design tool, but it was simple to use to visualize what I was trying to accomplish, treating 1 inch as 100 pixels. I quickly worked out how I could lay out 2in. holes in a grid with the correct spacing.
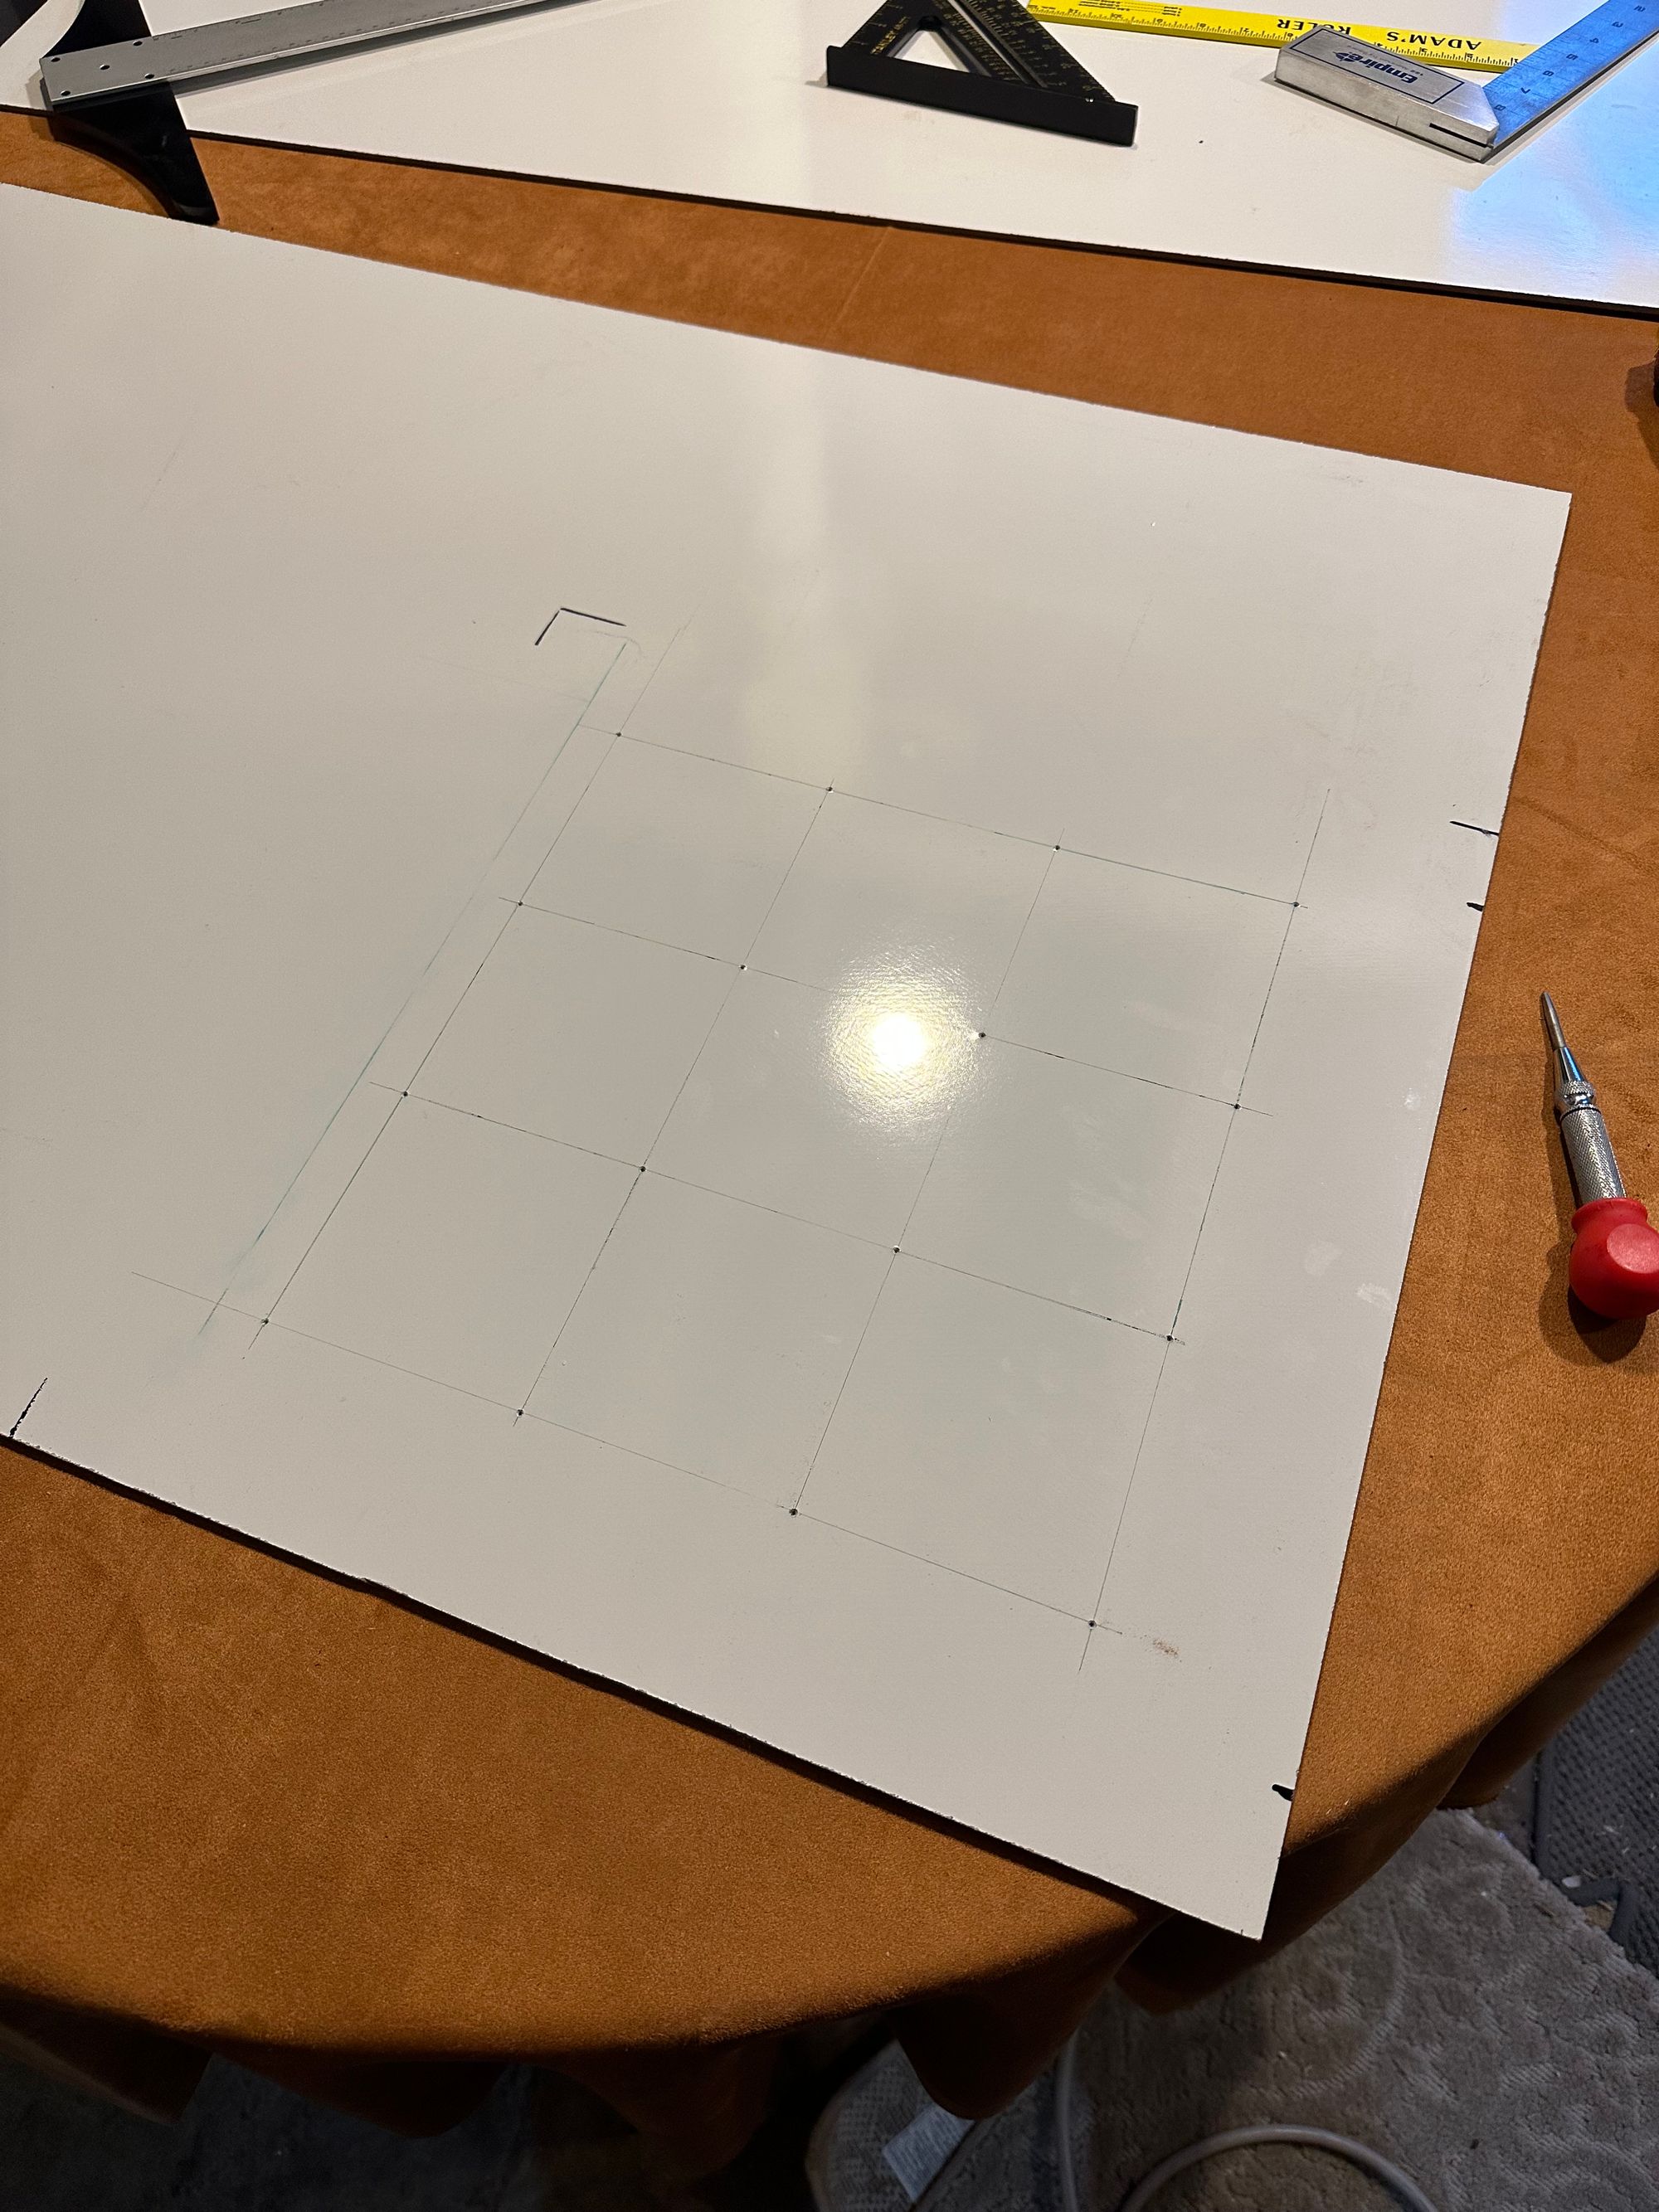
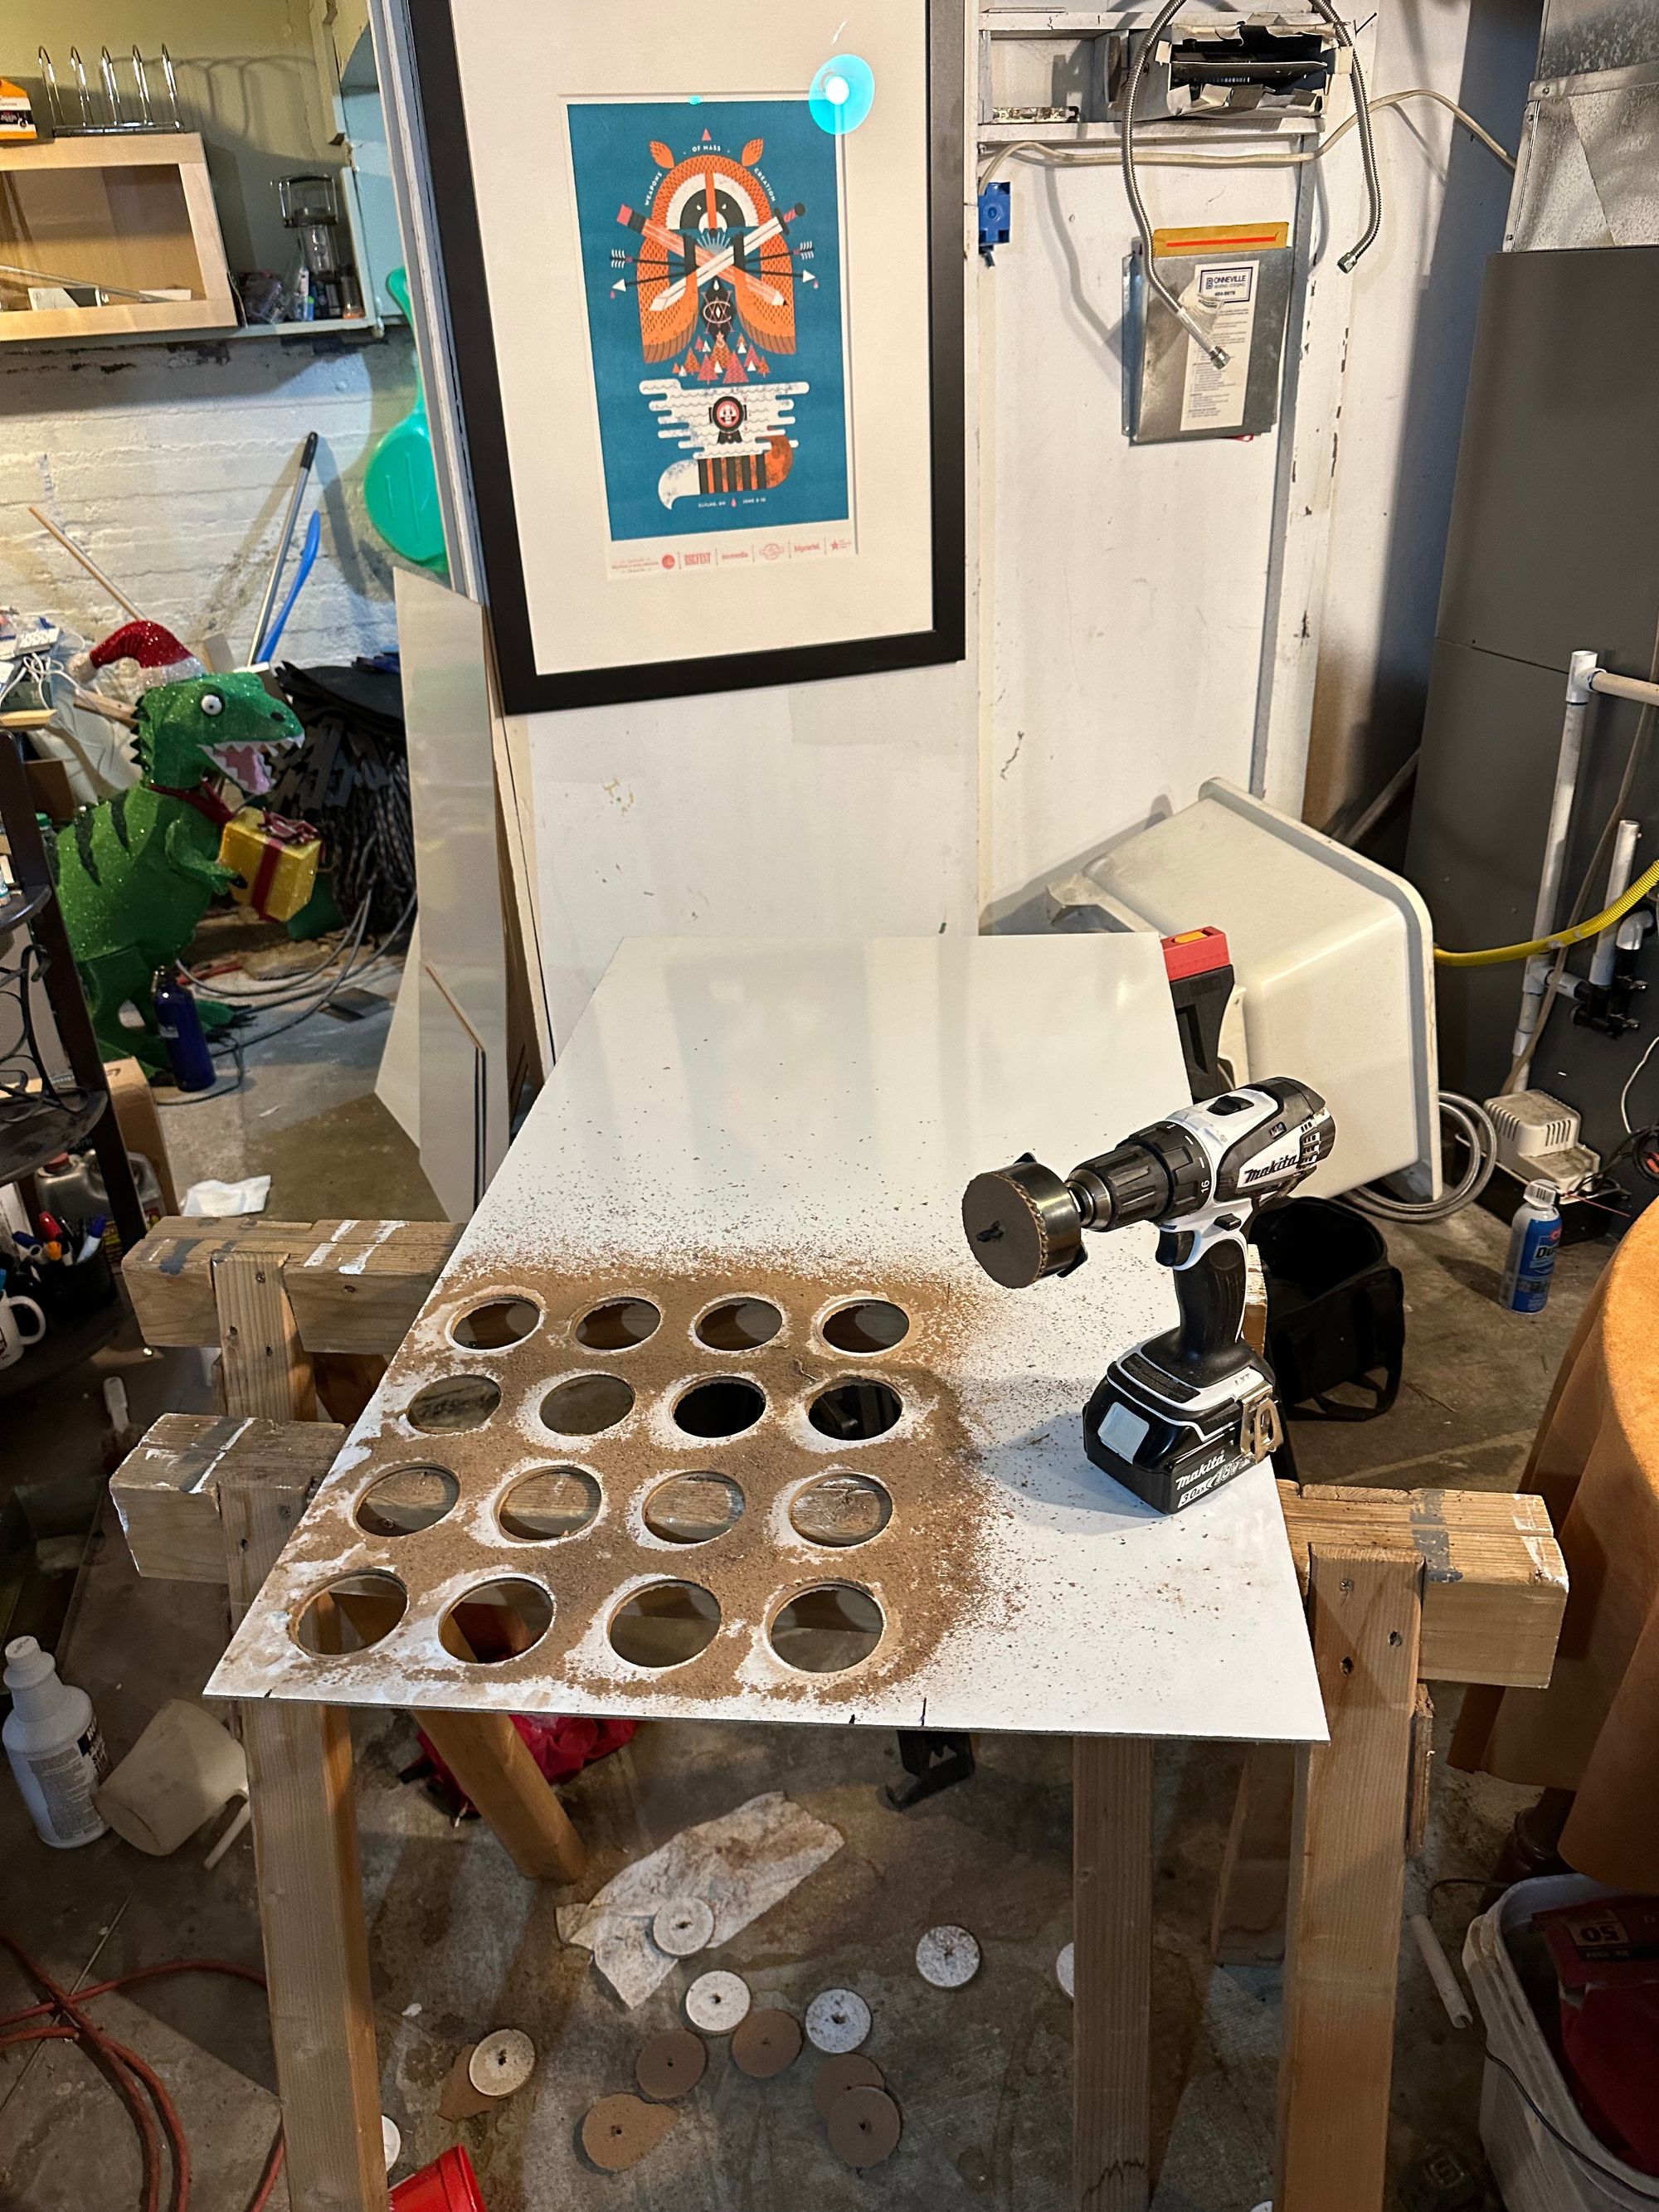
From there, it was trivial to measure and mark the board, hole punch the center points for each hole, and then use the hole saw to cut.
Some further testing might be required, because I'm now a little worried that I've left too much material in front of the air filter, and that I'm perhaps impeding the flow of air too much.
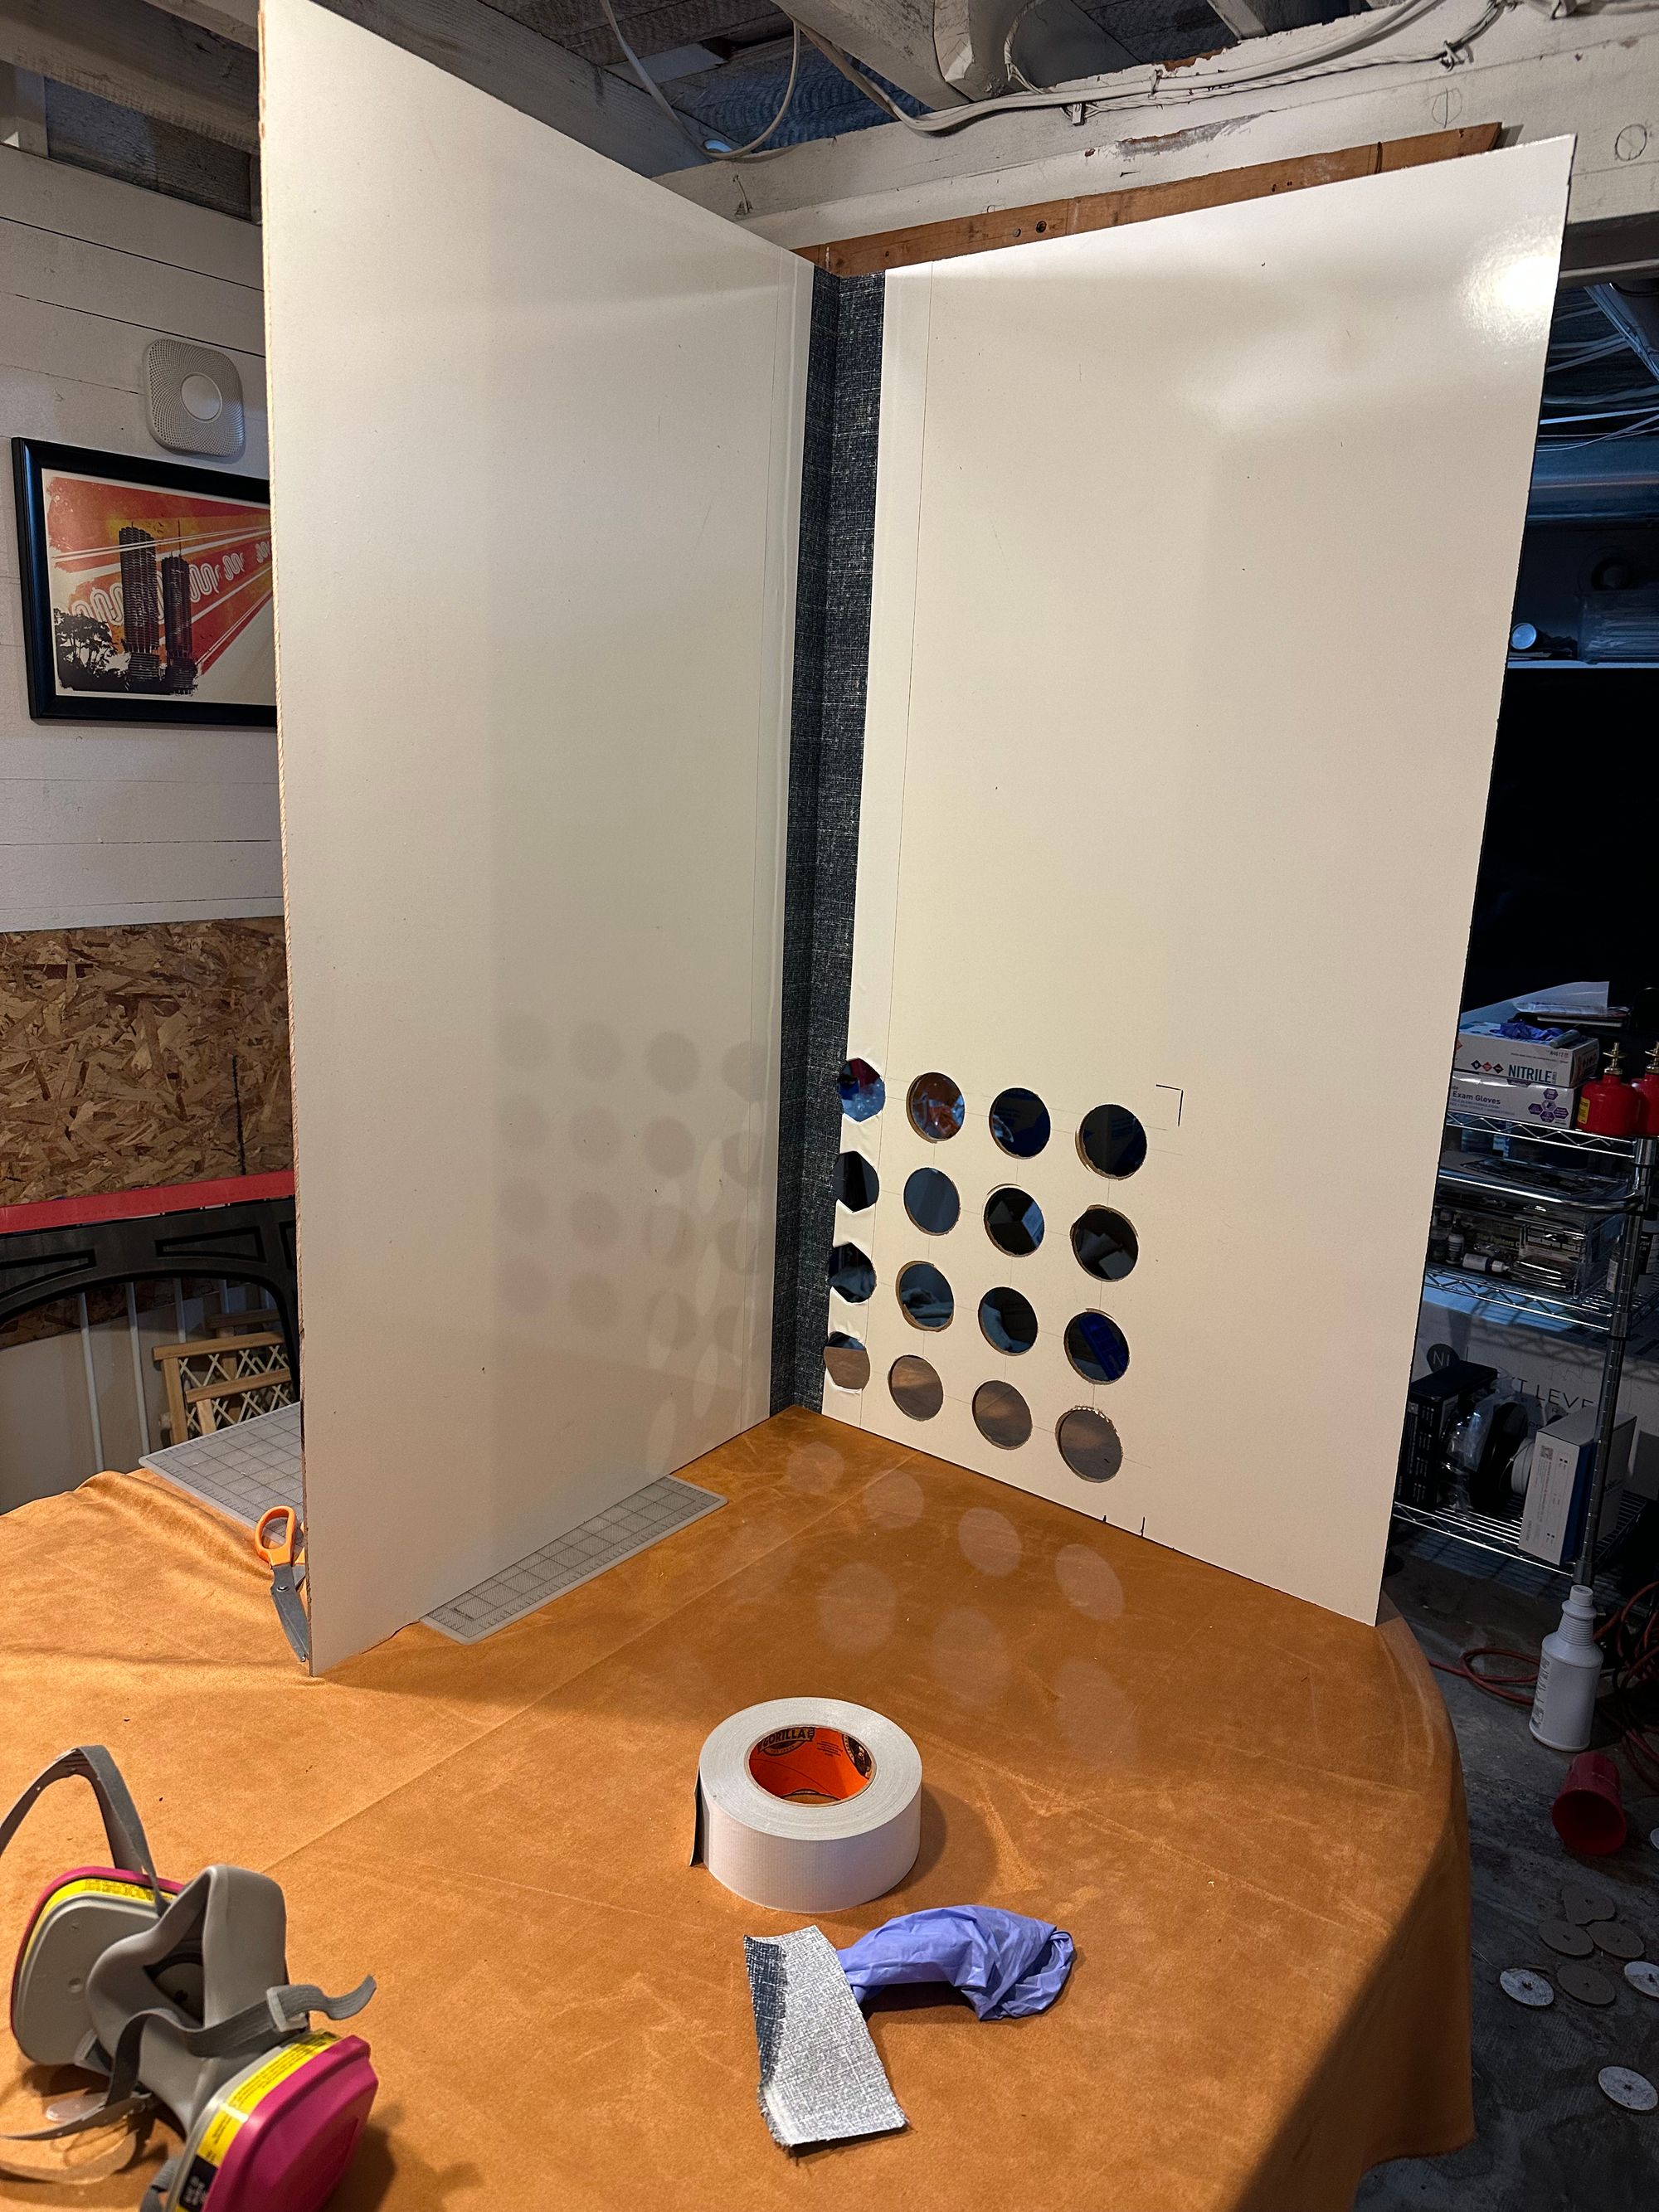
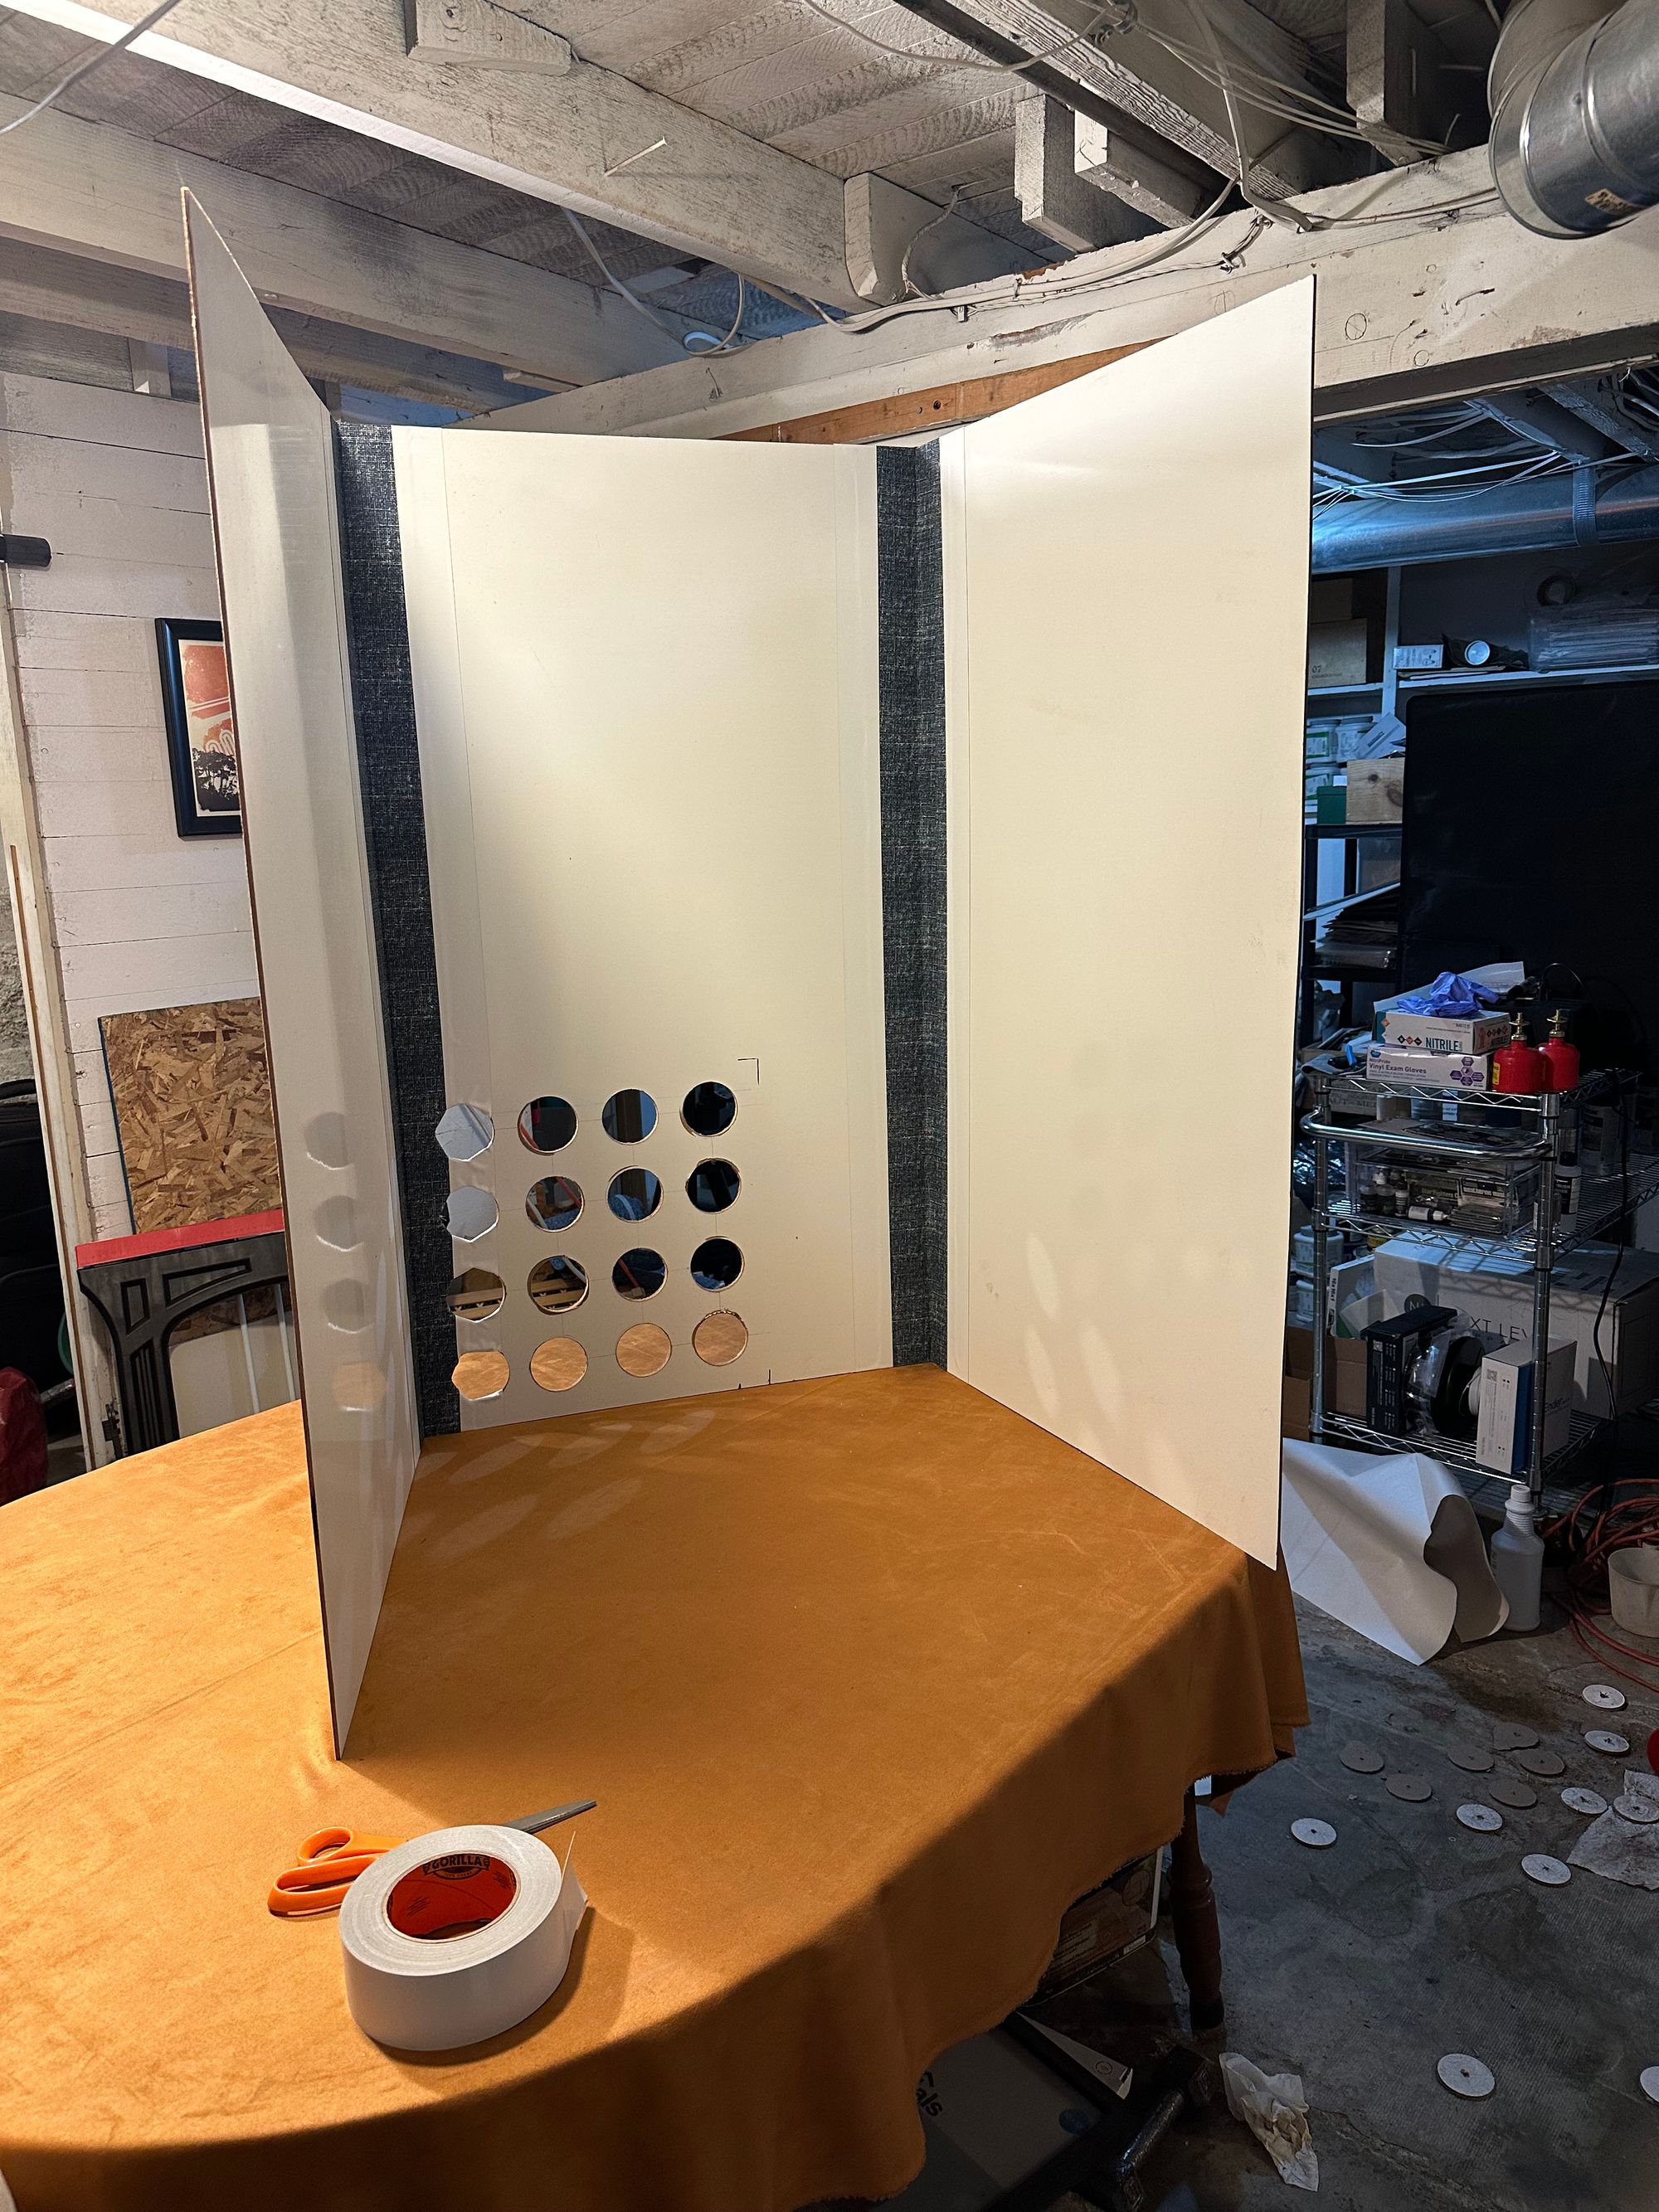
Still primarily following Bob's design, I've cut strips of a sturdy outdoor fabric for each of the joints. They're affixed to the board using Super 77 spray adhesive, and then taped along the edges with Gorilla duct tape.
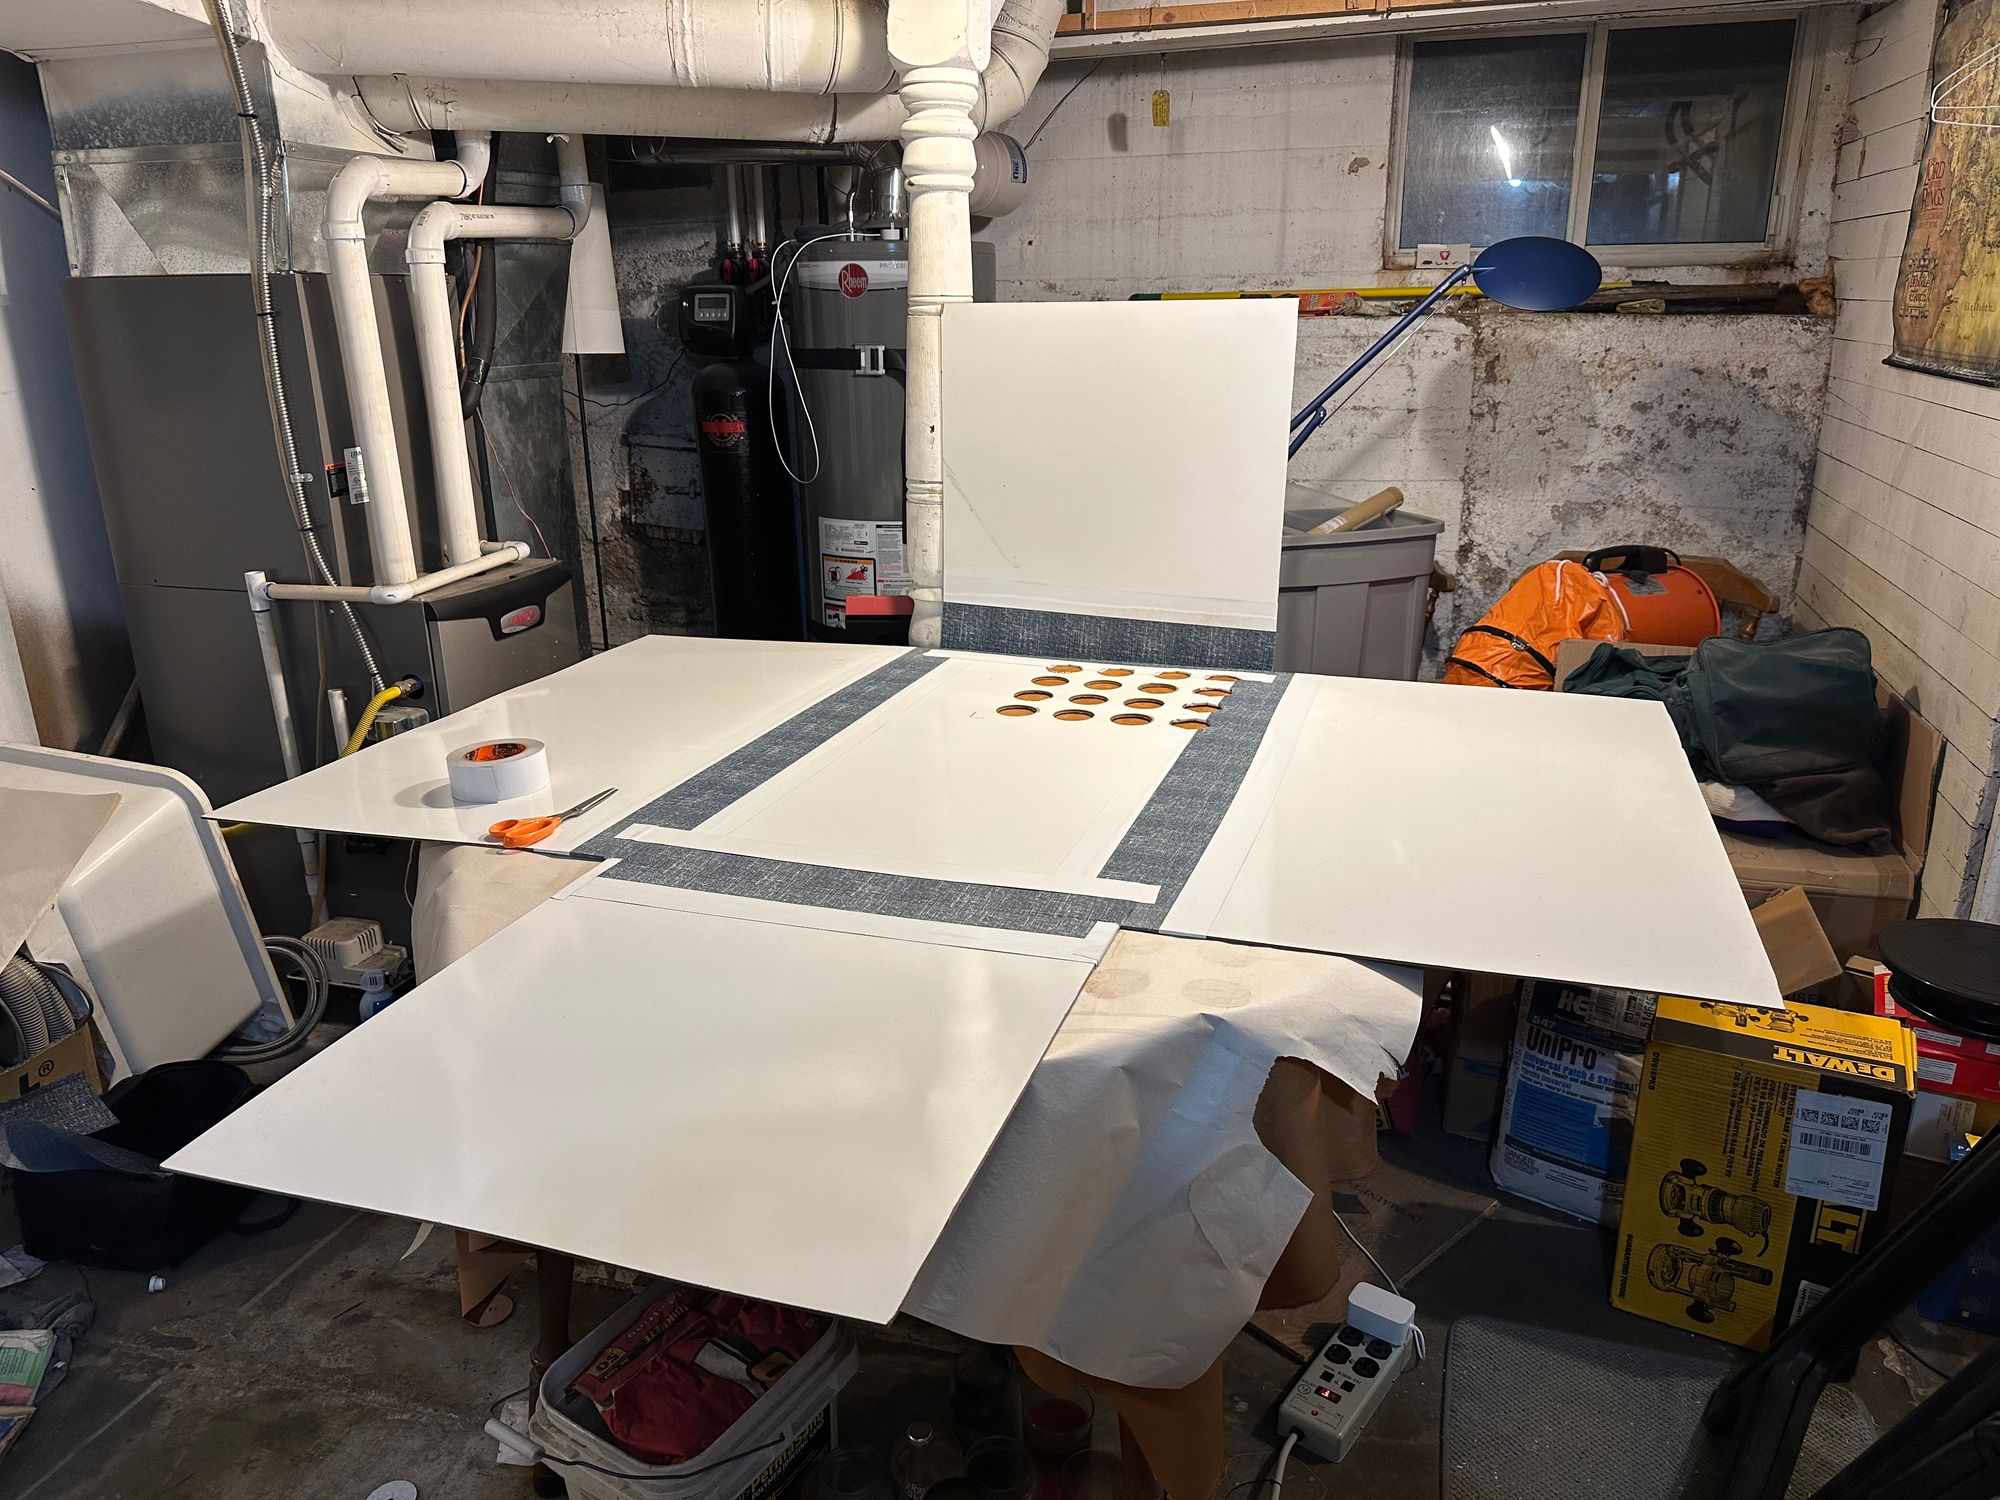
To finish off the booth structure, some side support pieces and some heavy duty stick-on velcro.
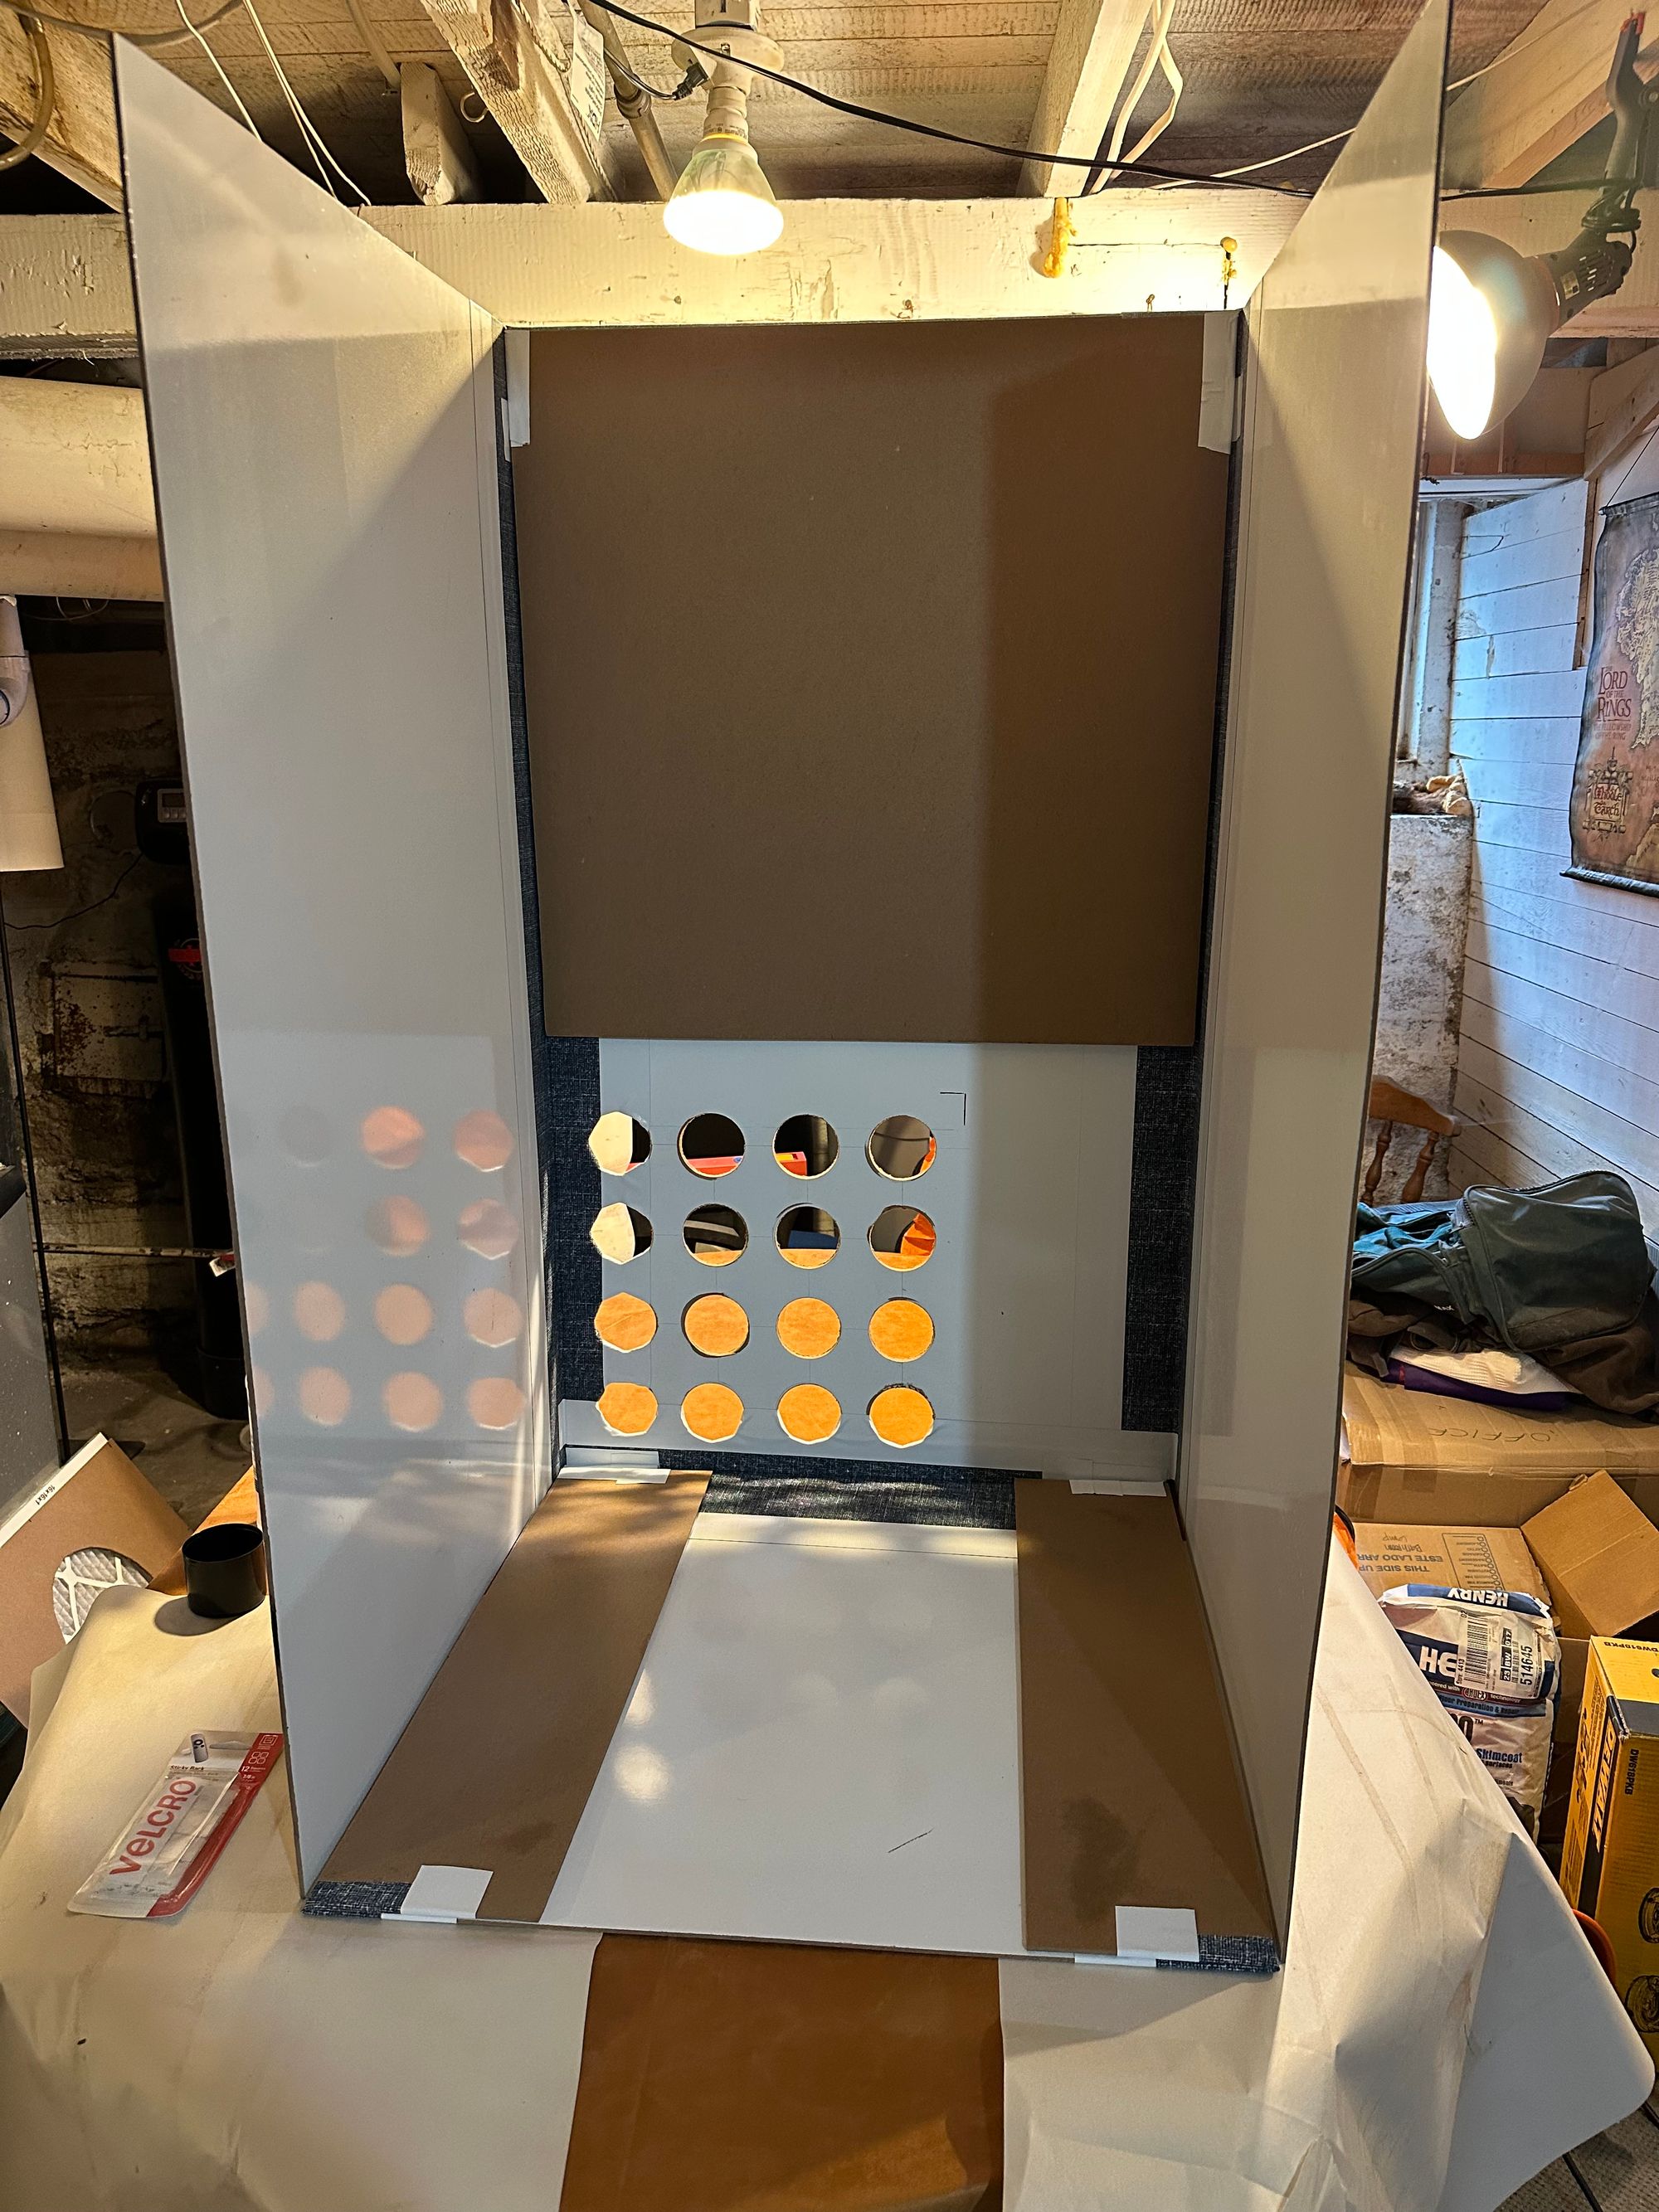
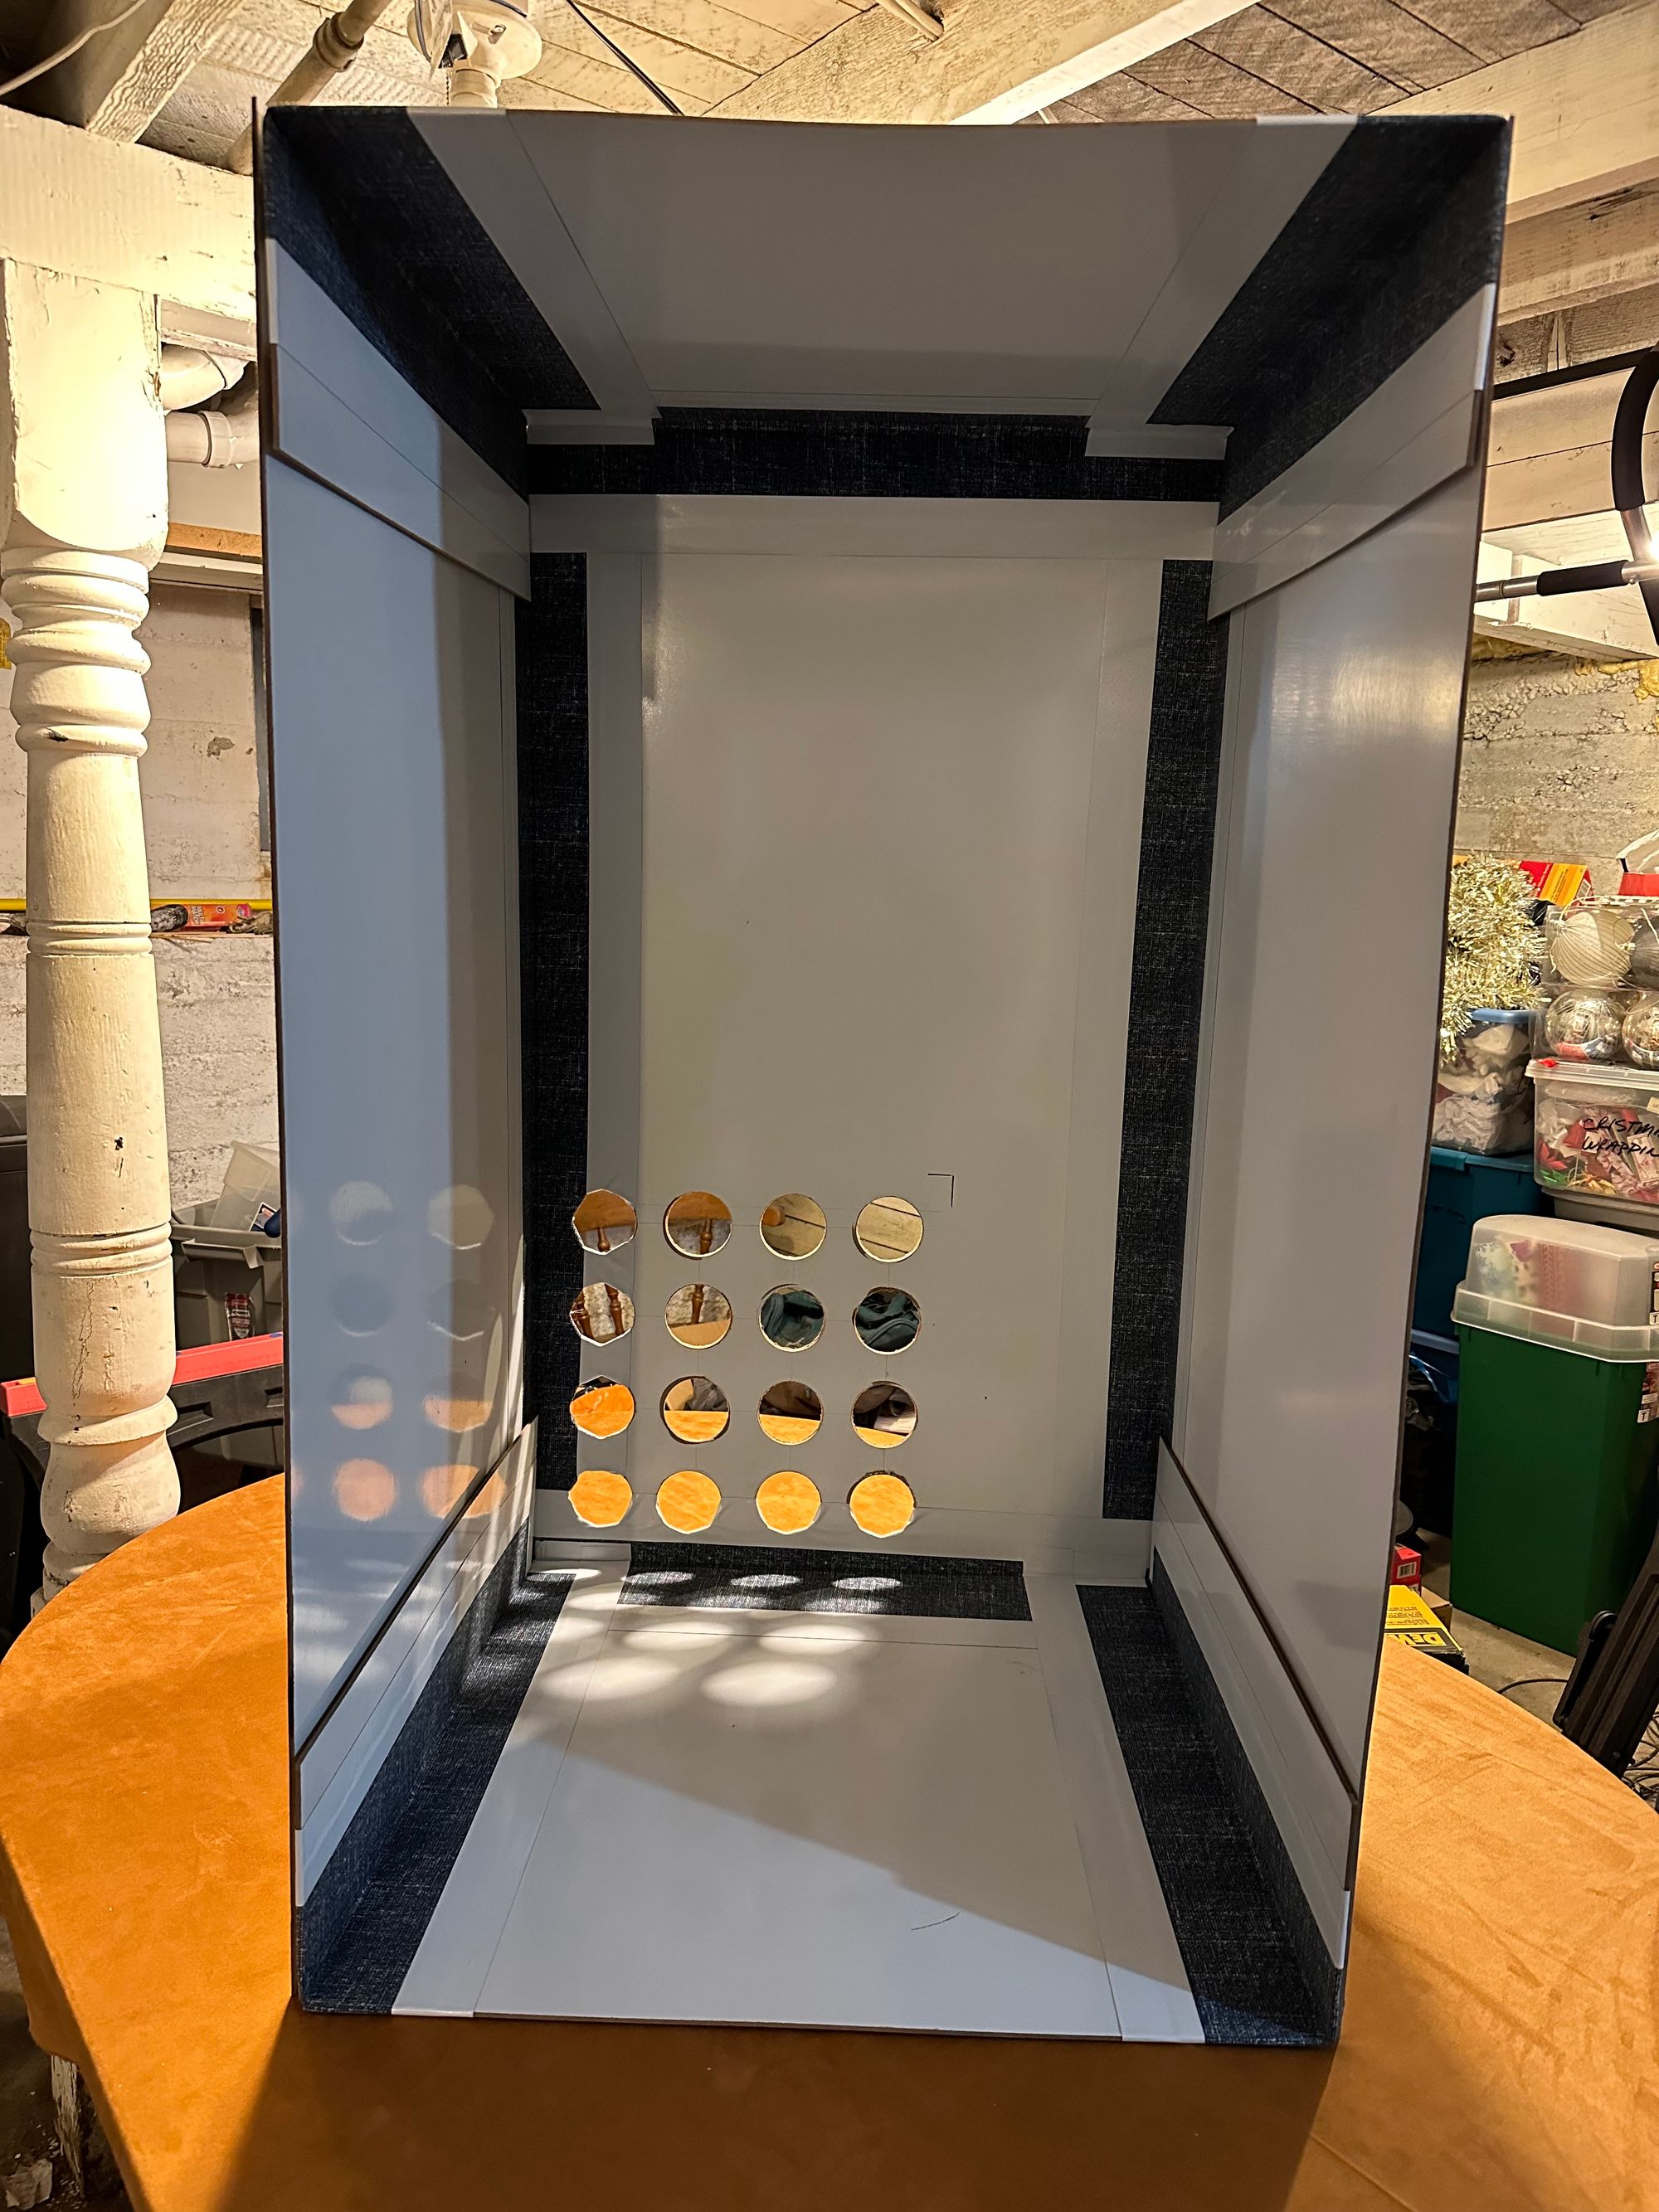
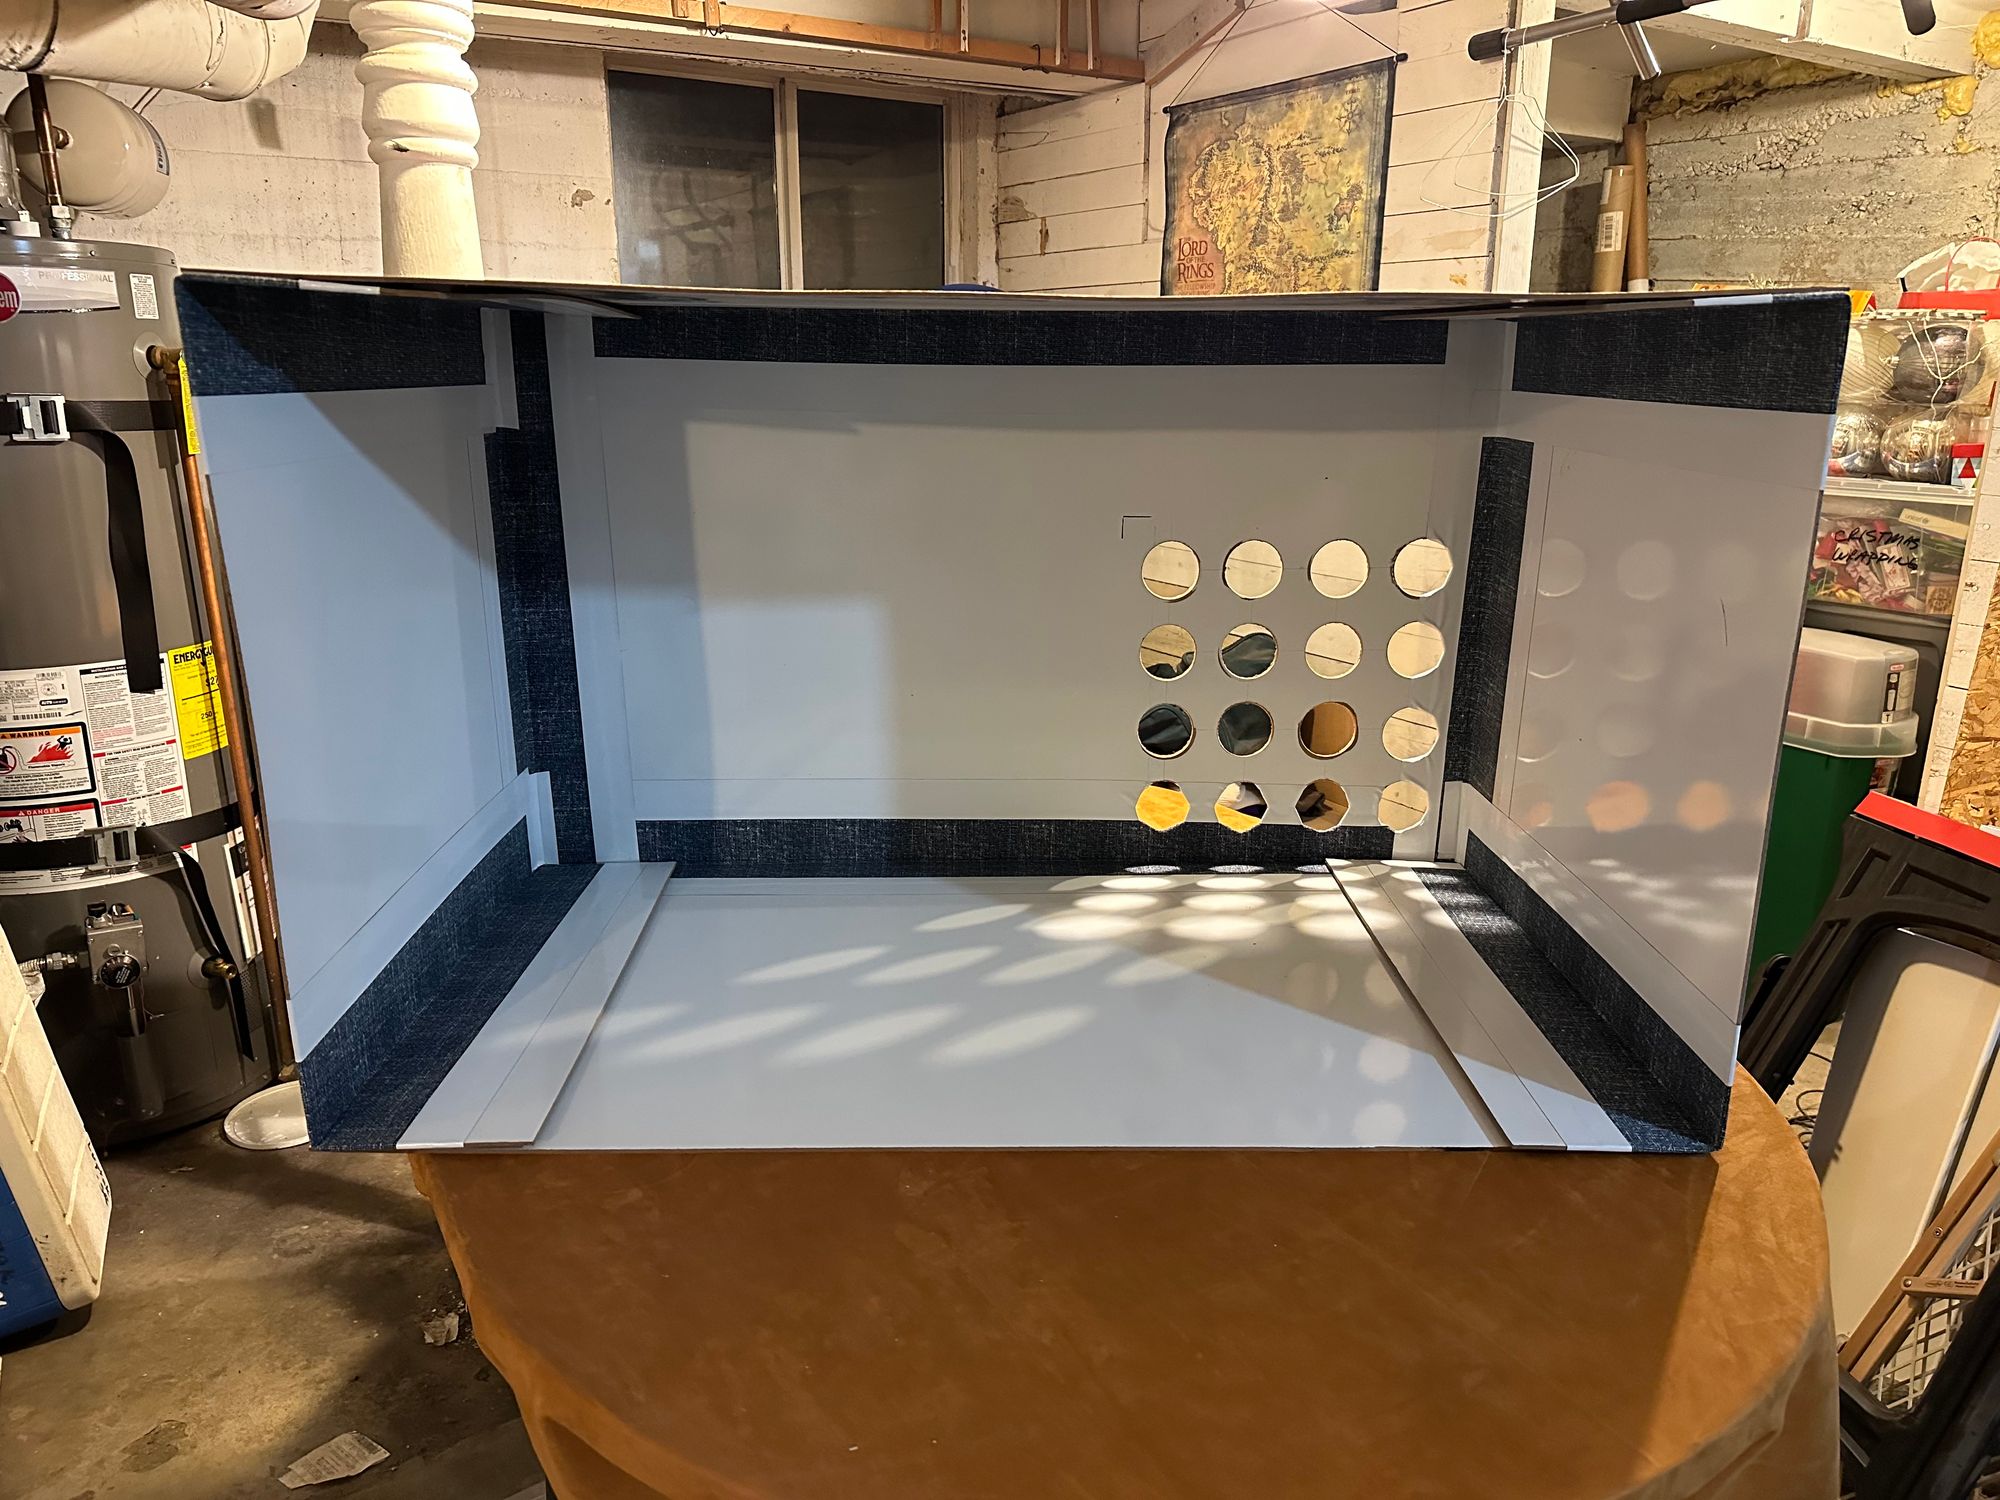
So that's the box! And it folds up quite nicely.
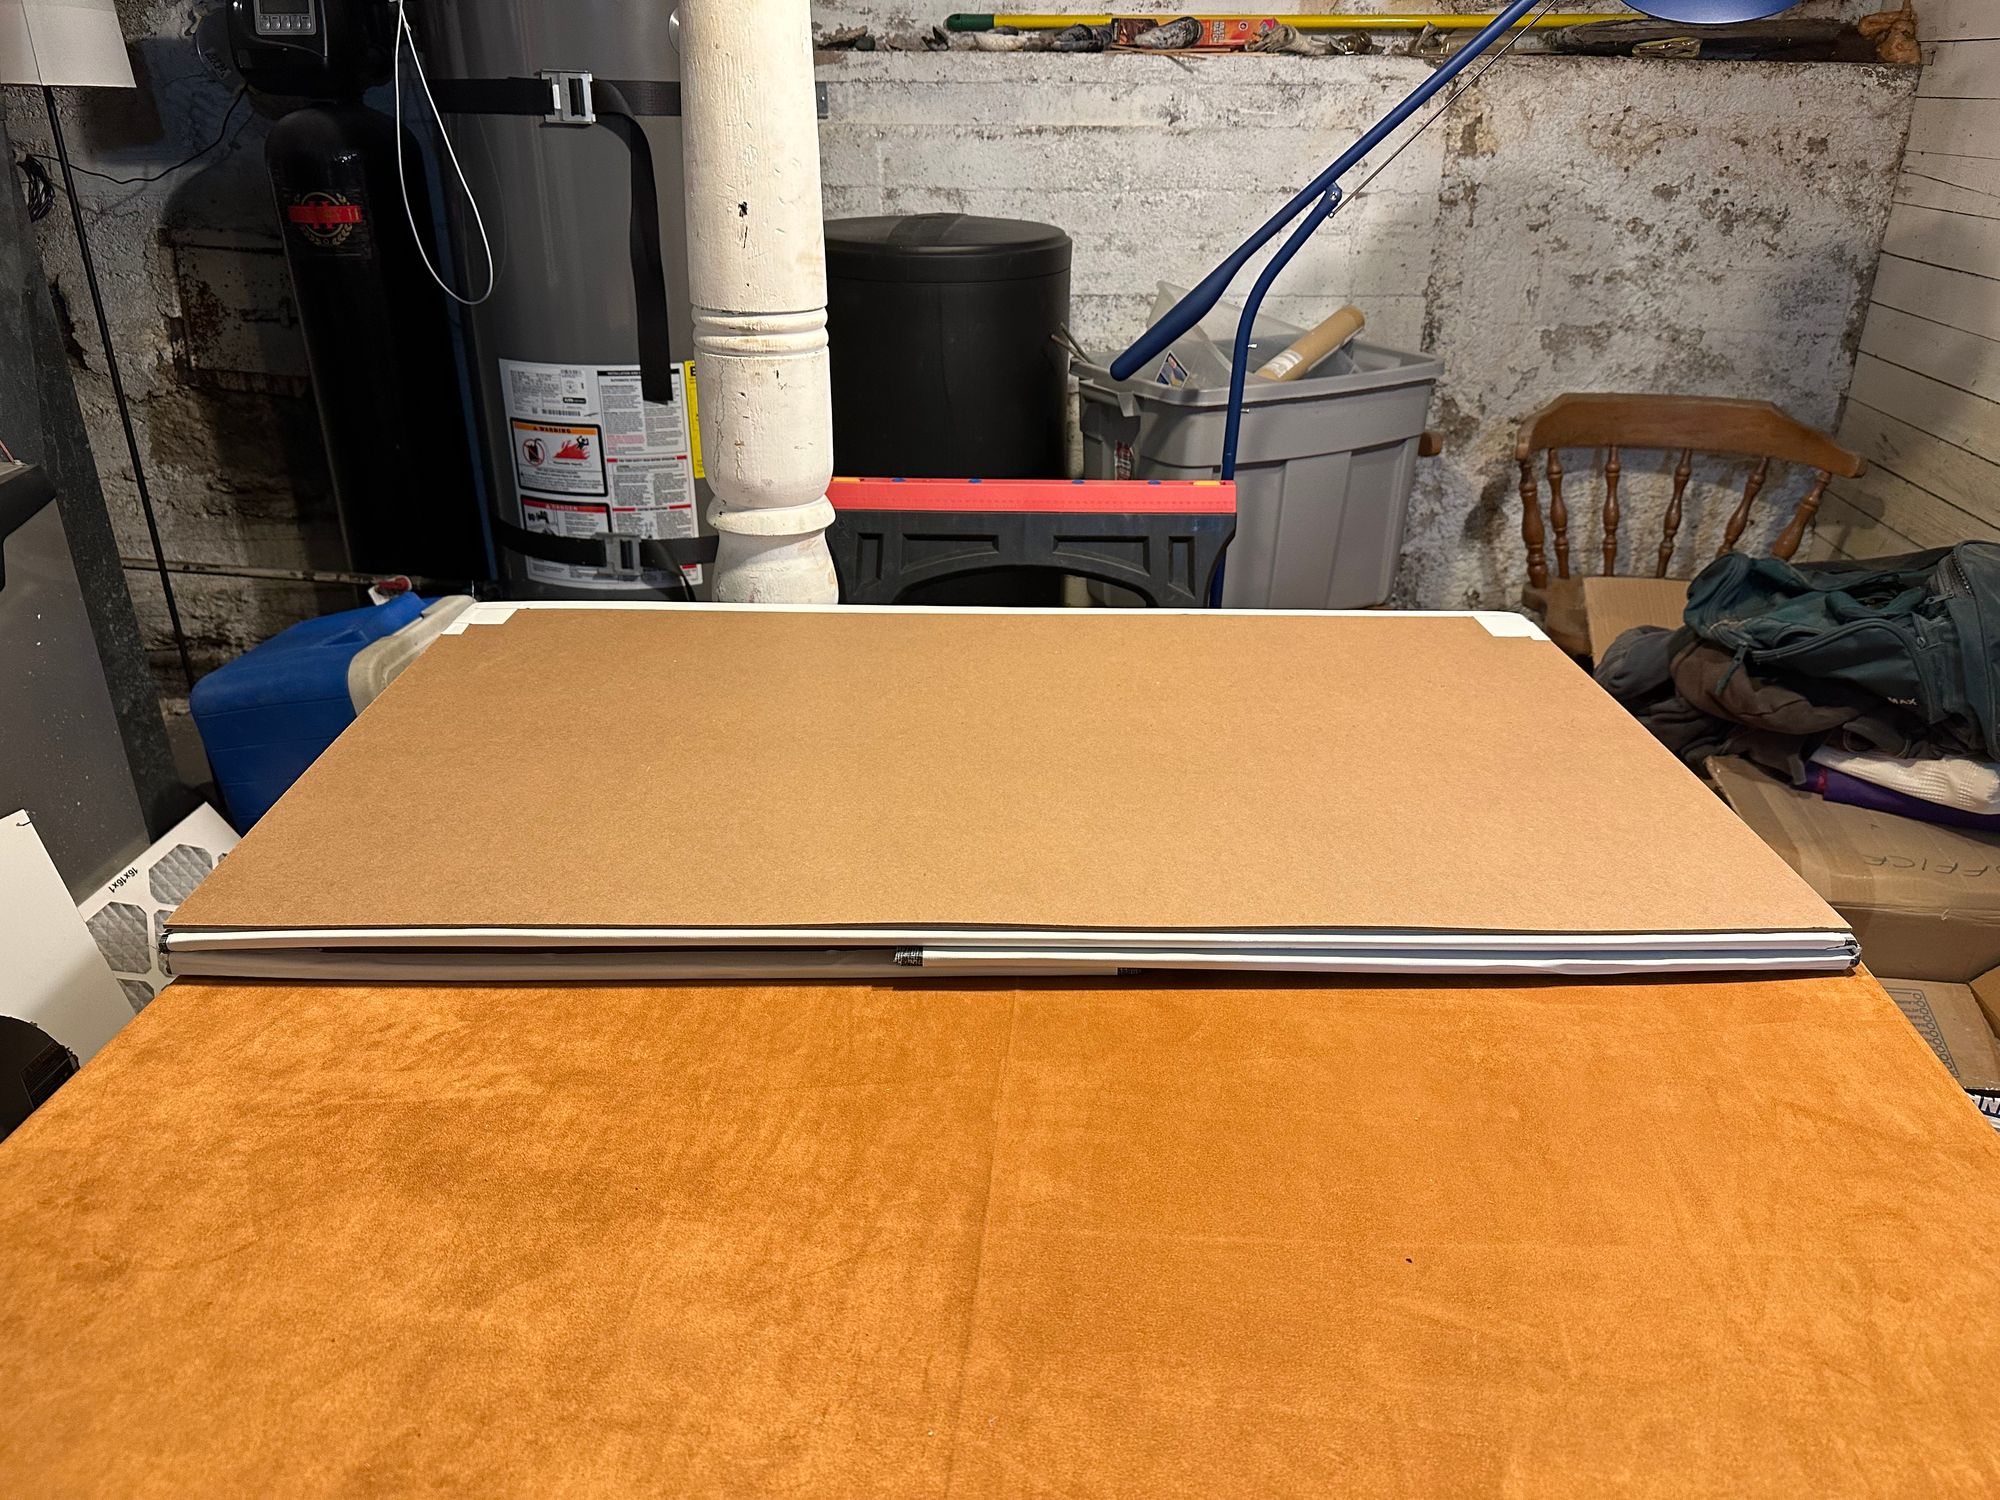
Lastly, to attach the filter. I need a way to make sure that air is only passing through the blower, and not leaking out into the rest of the room. I might do something with the tile board eventually, but to get up and running, cardboard seemed the place to start.
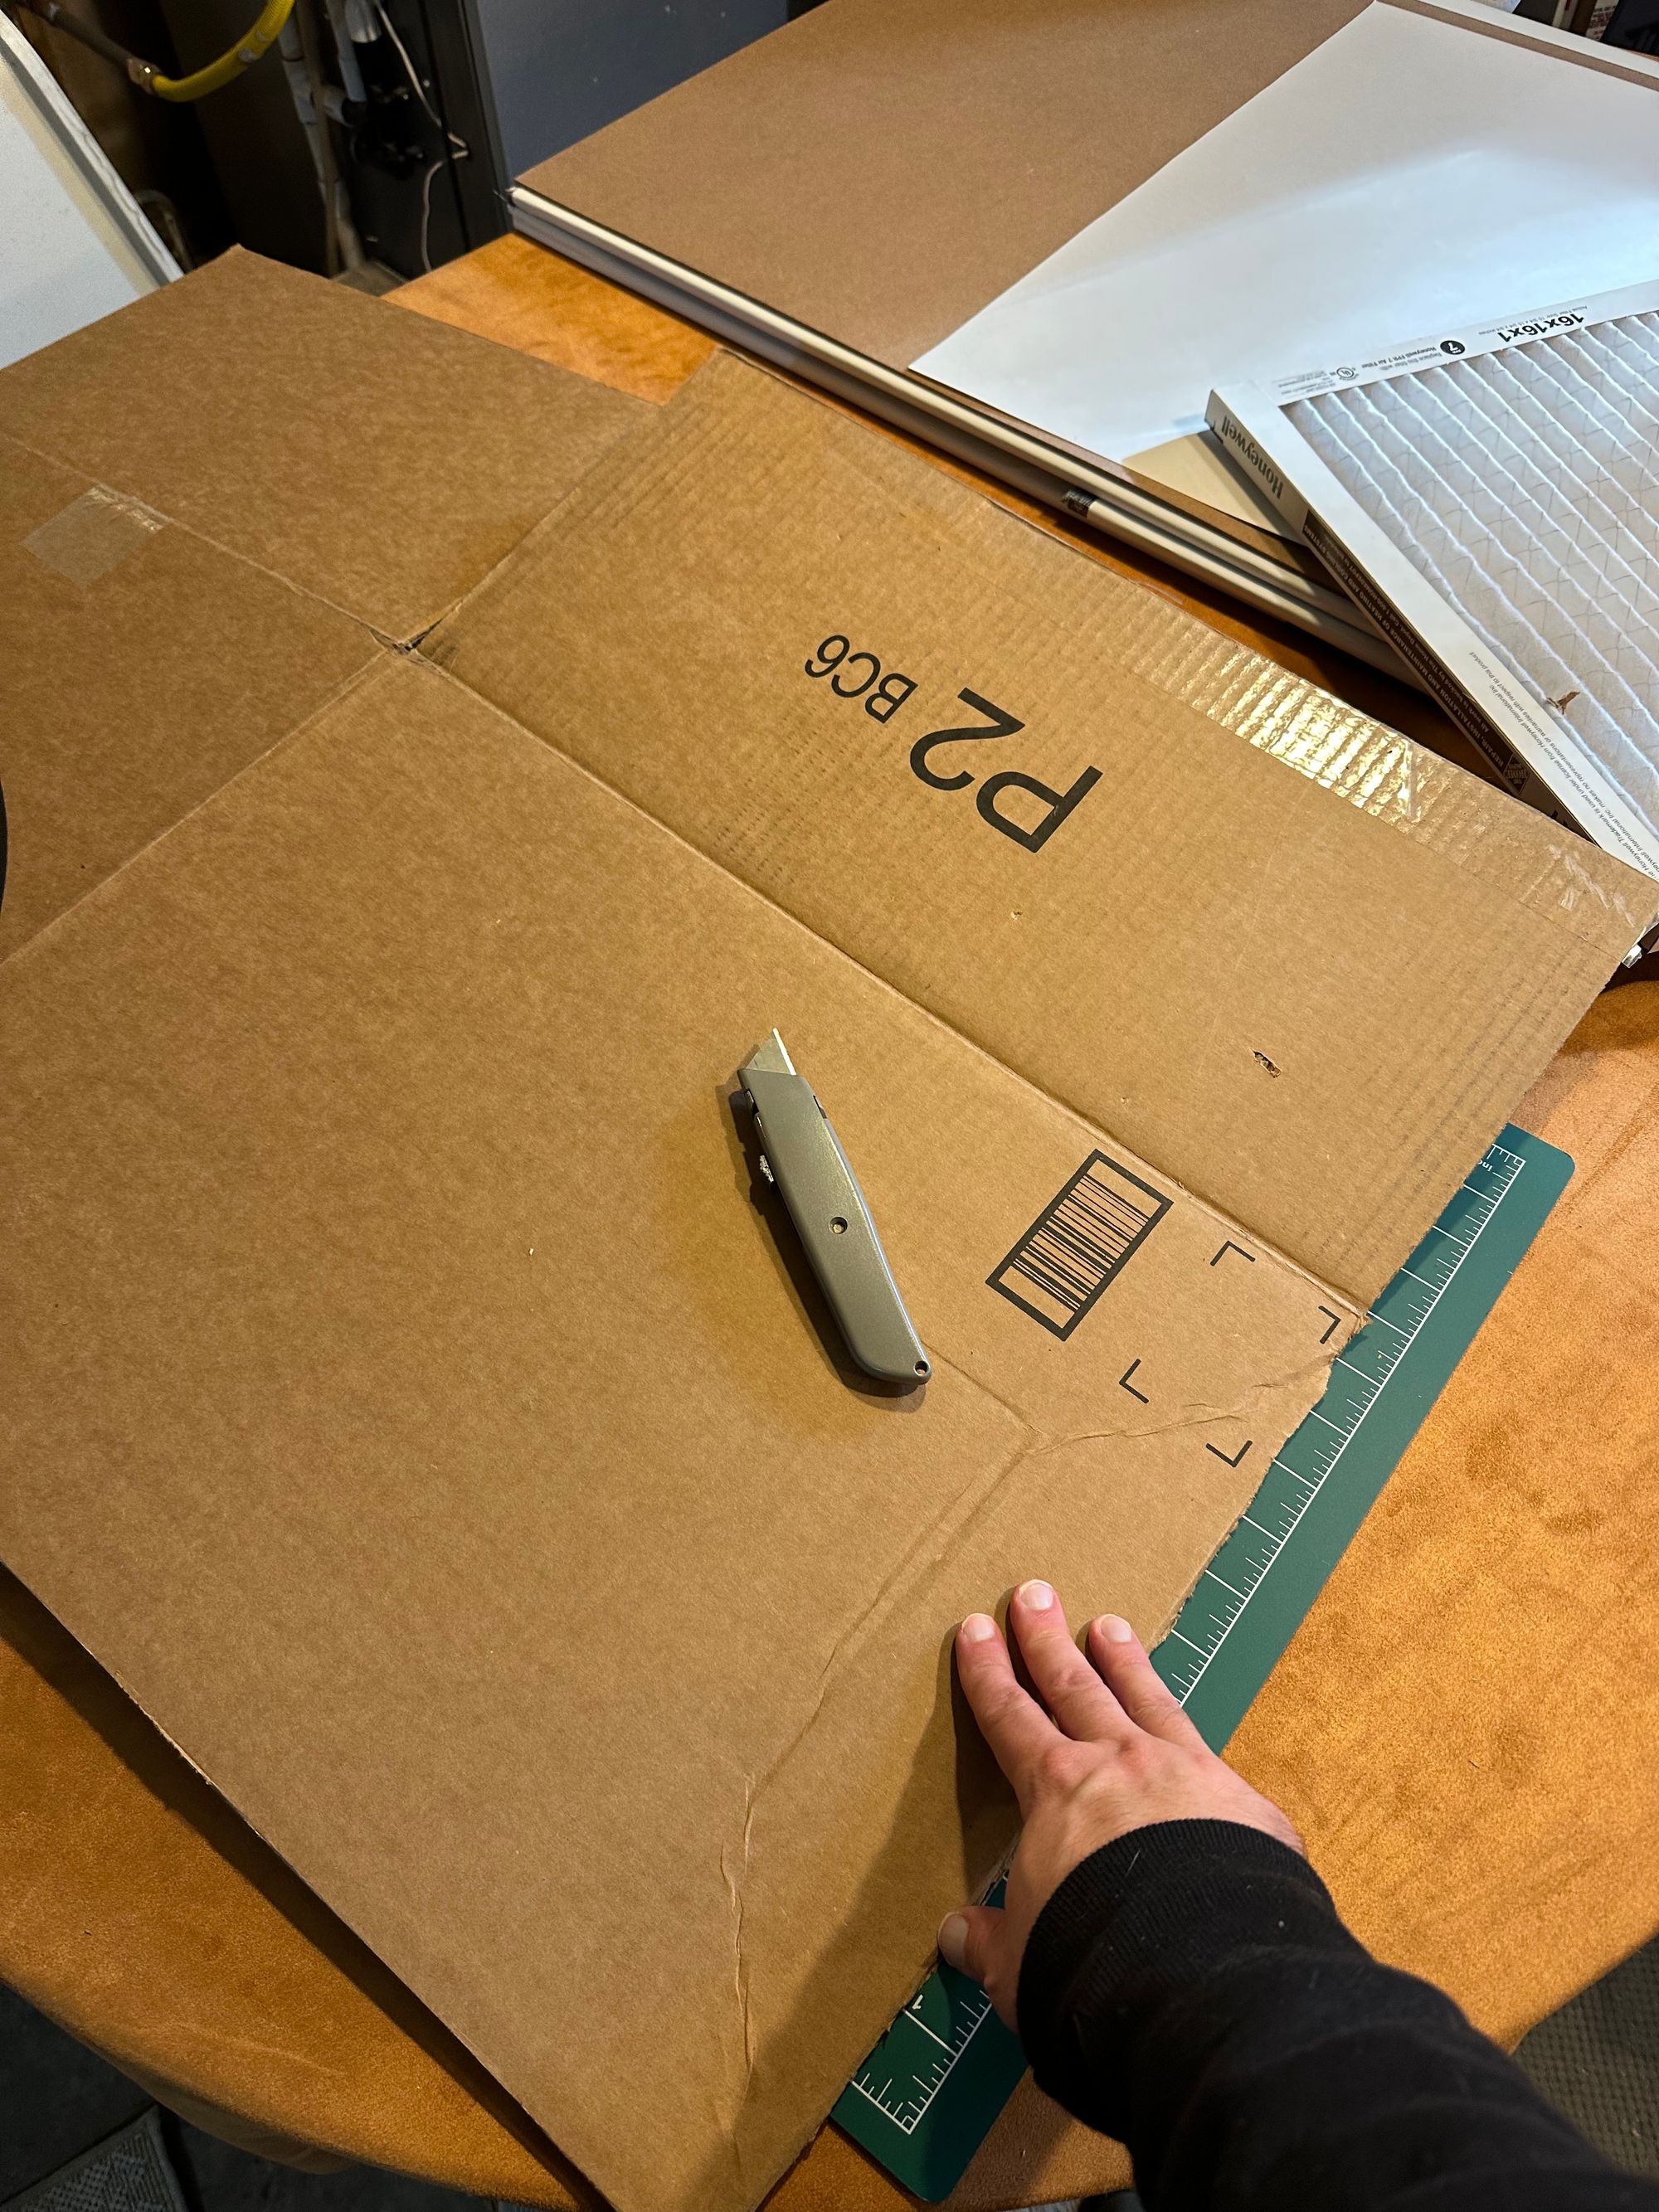
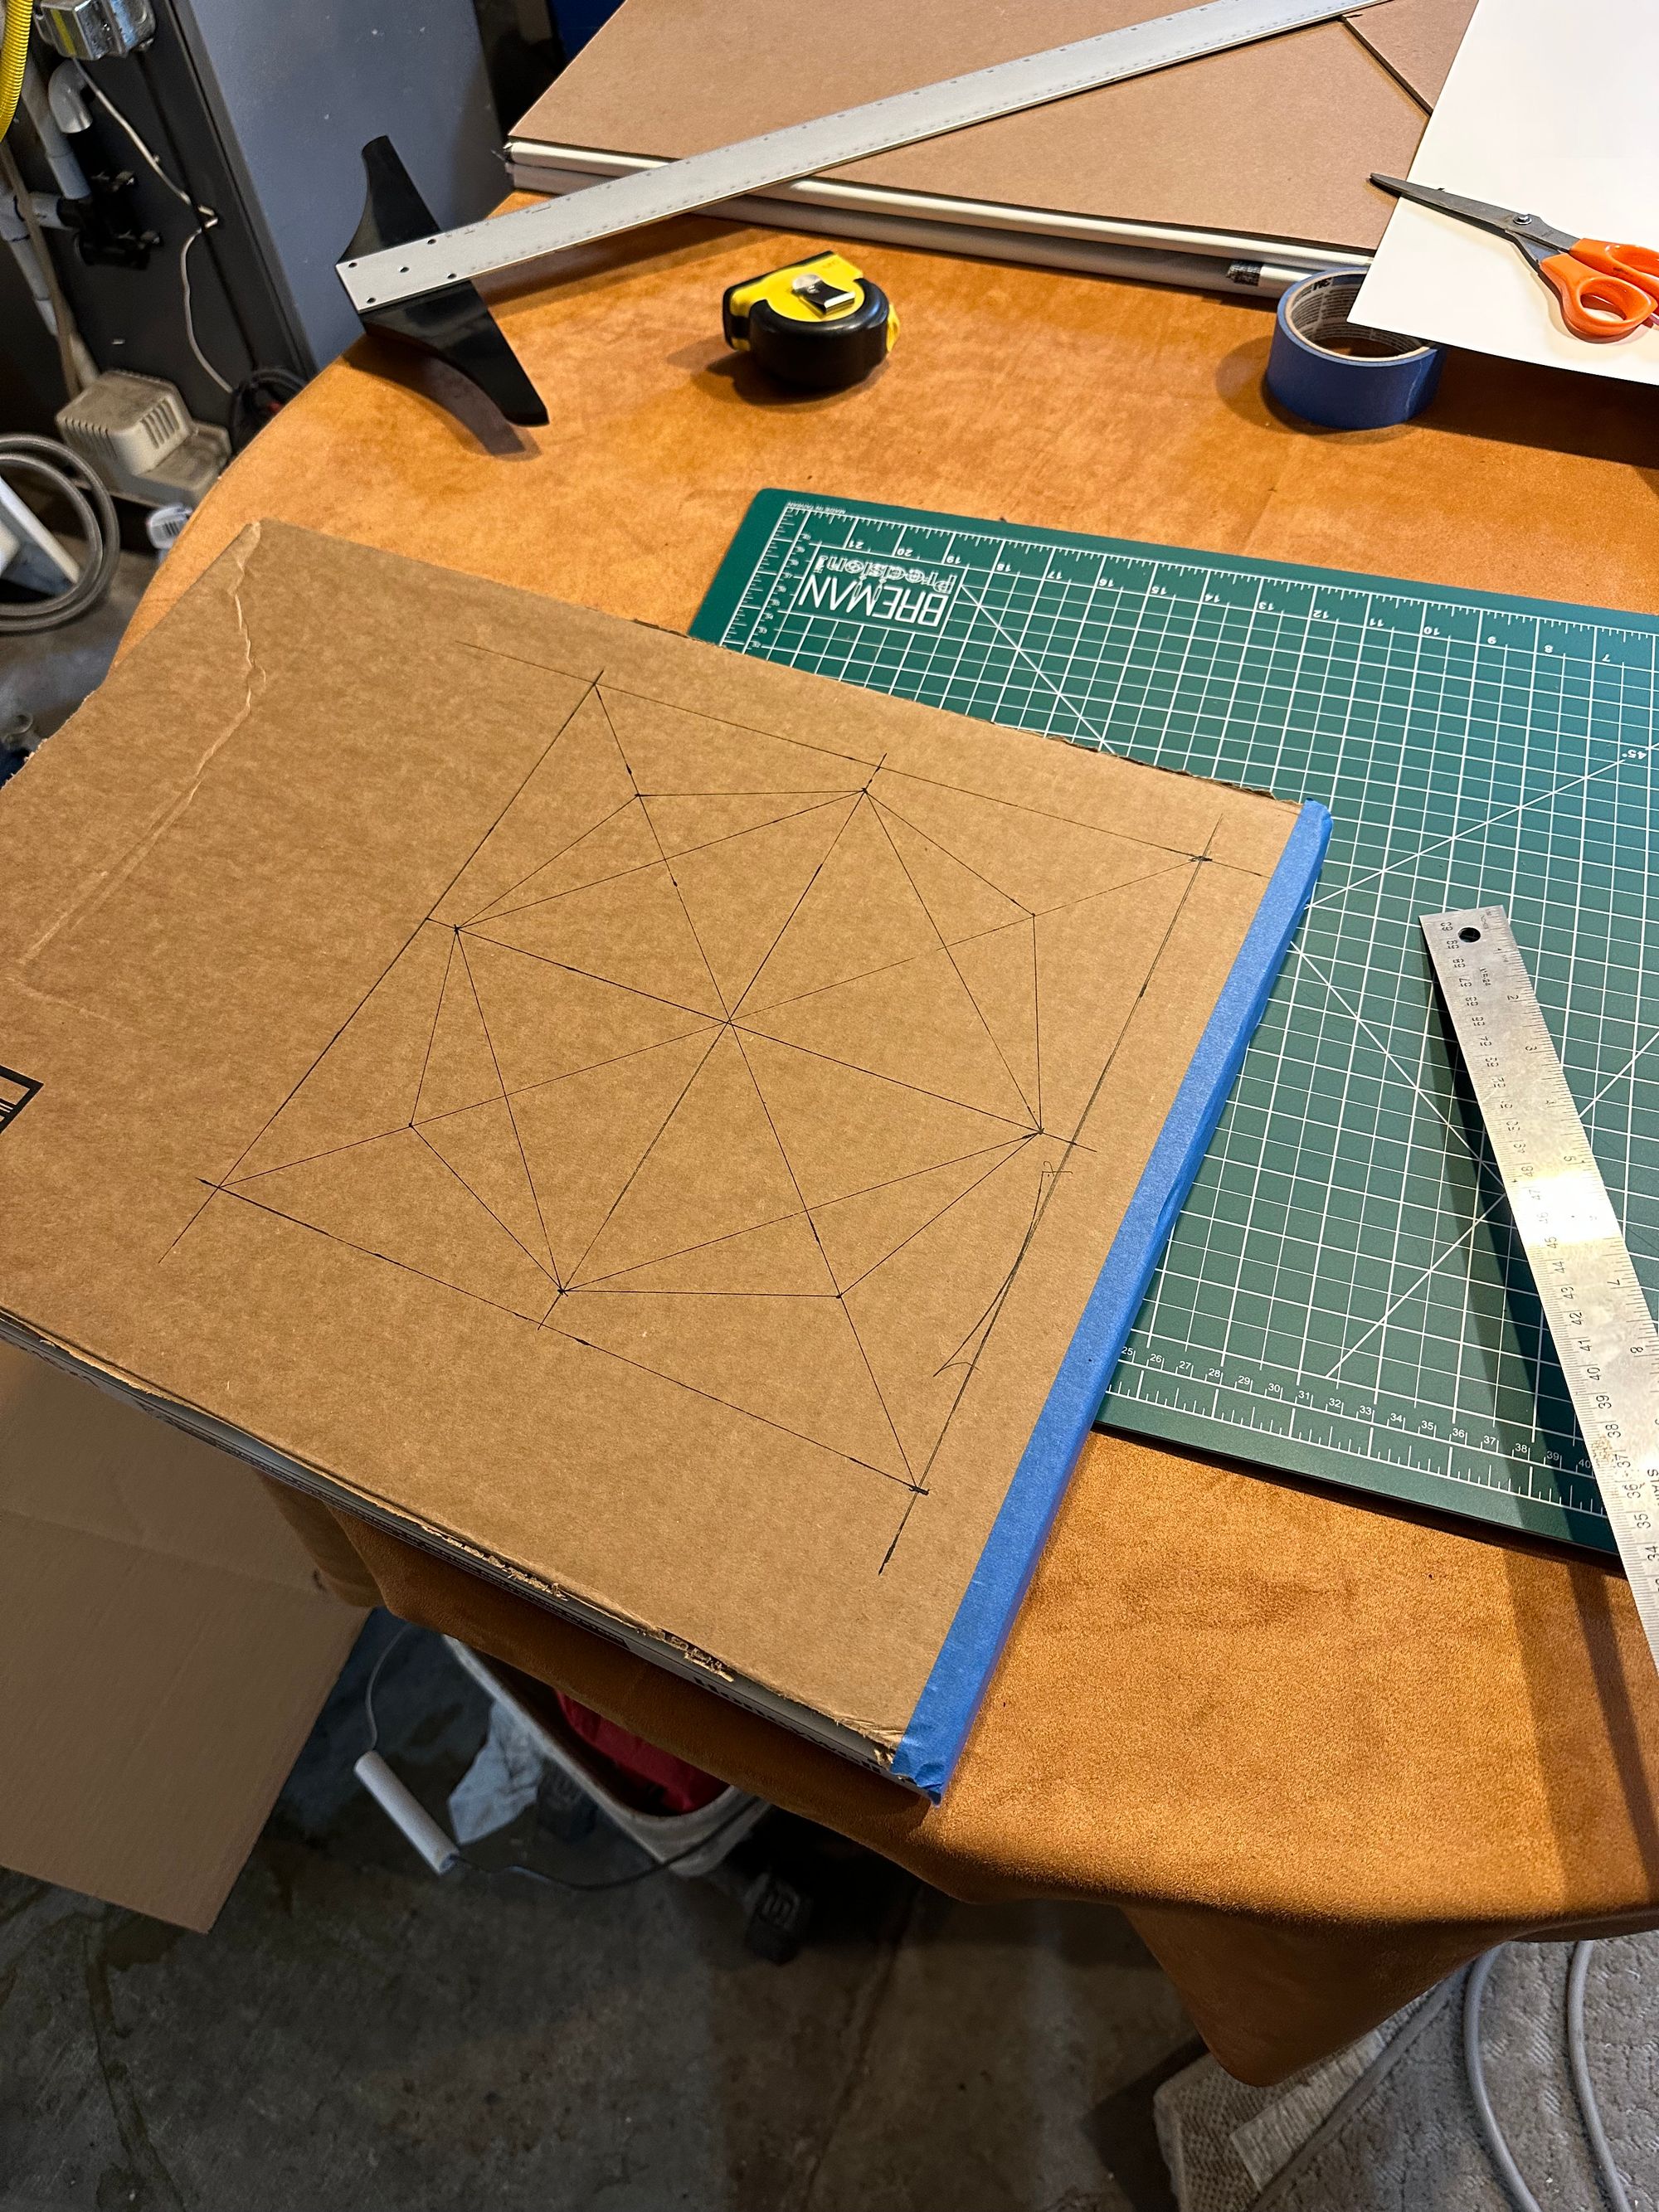
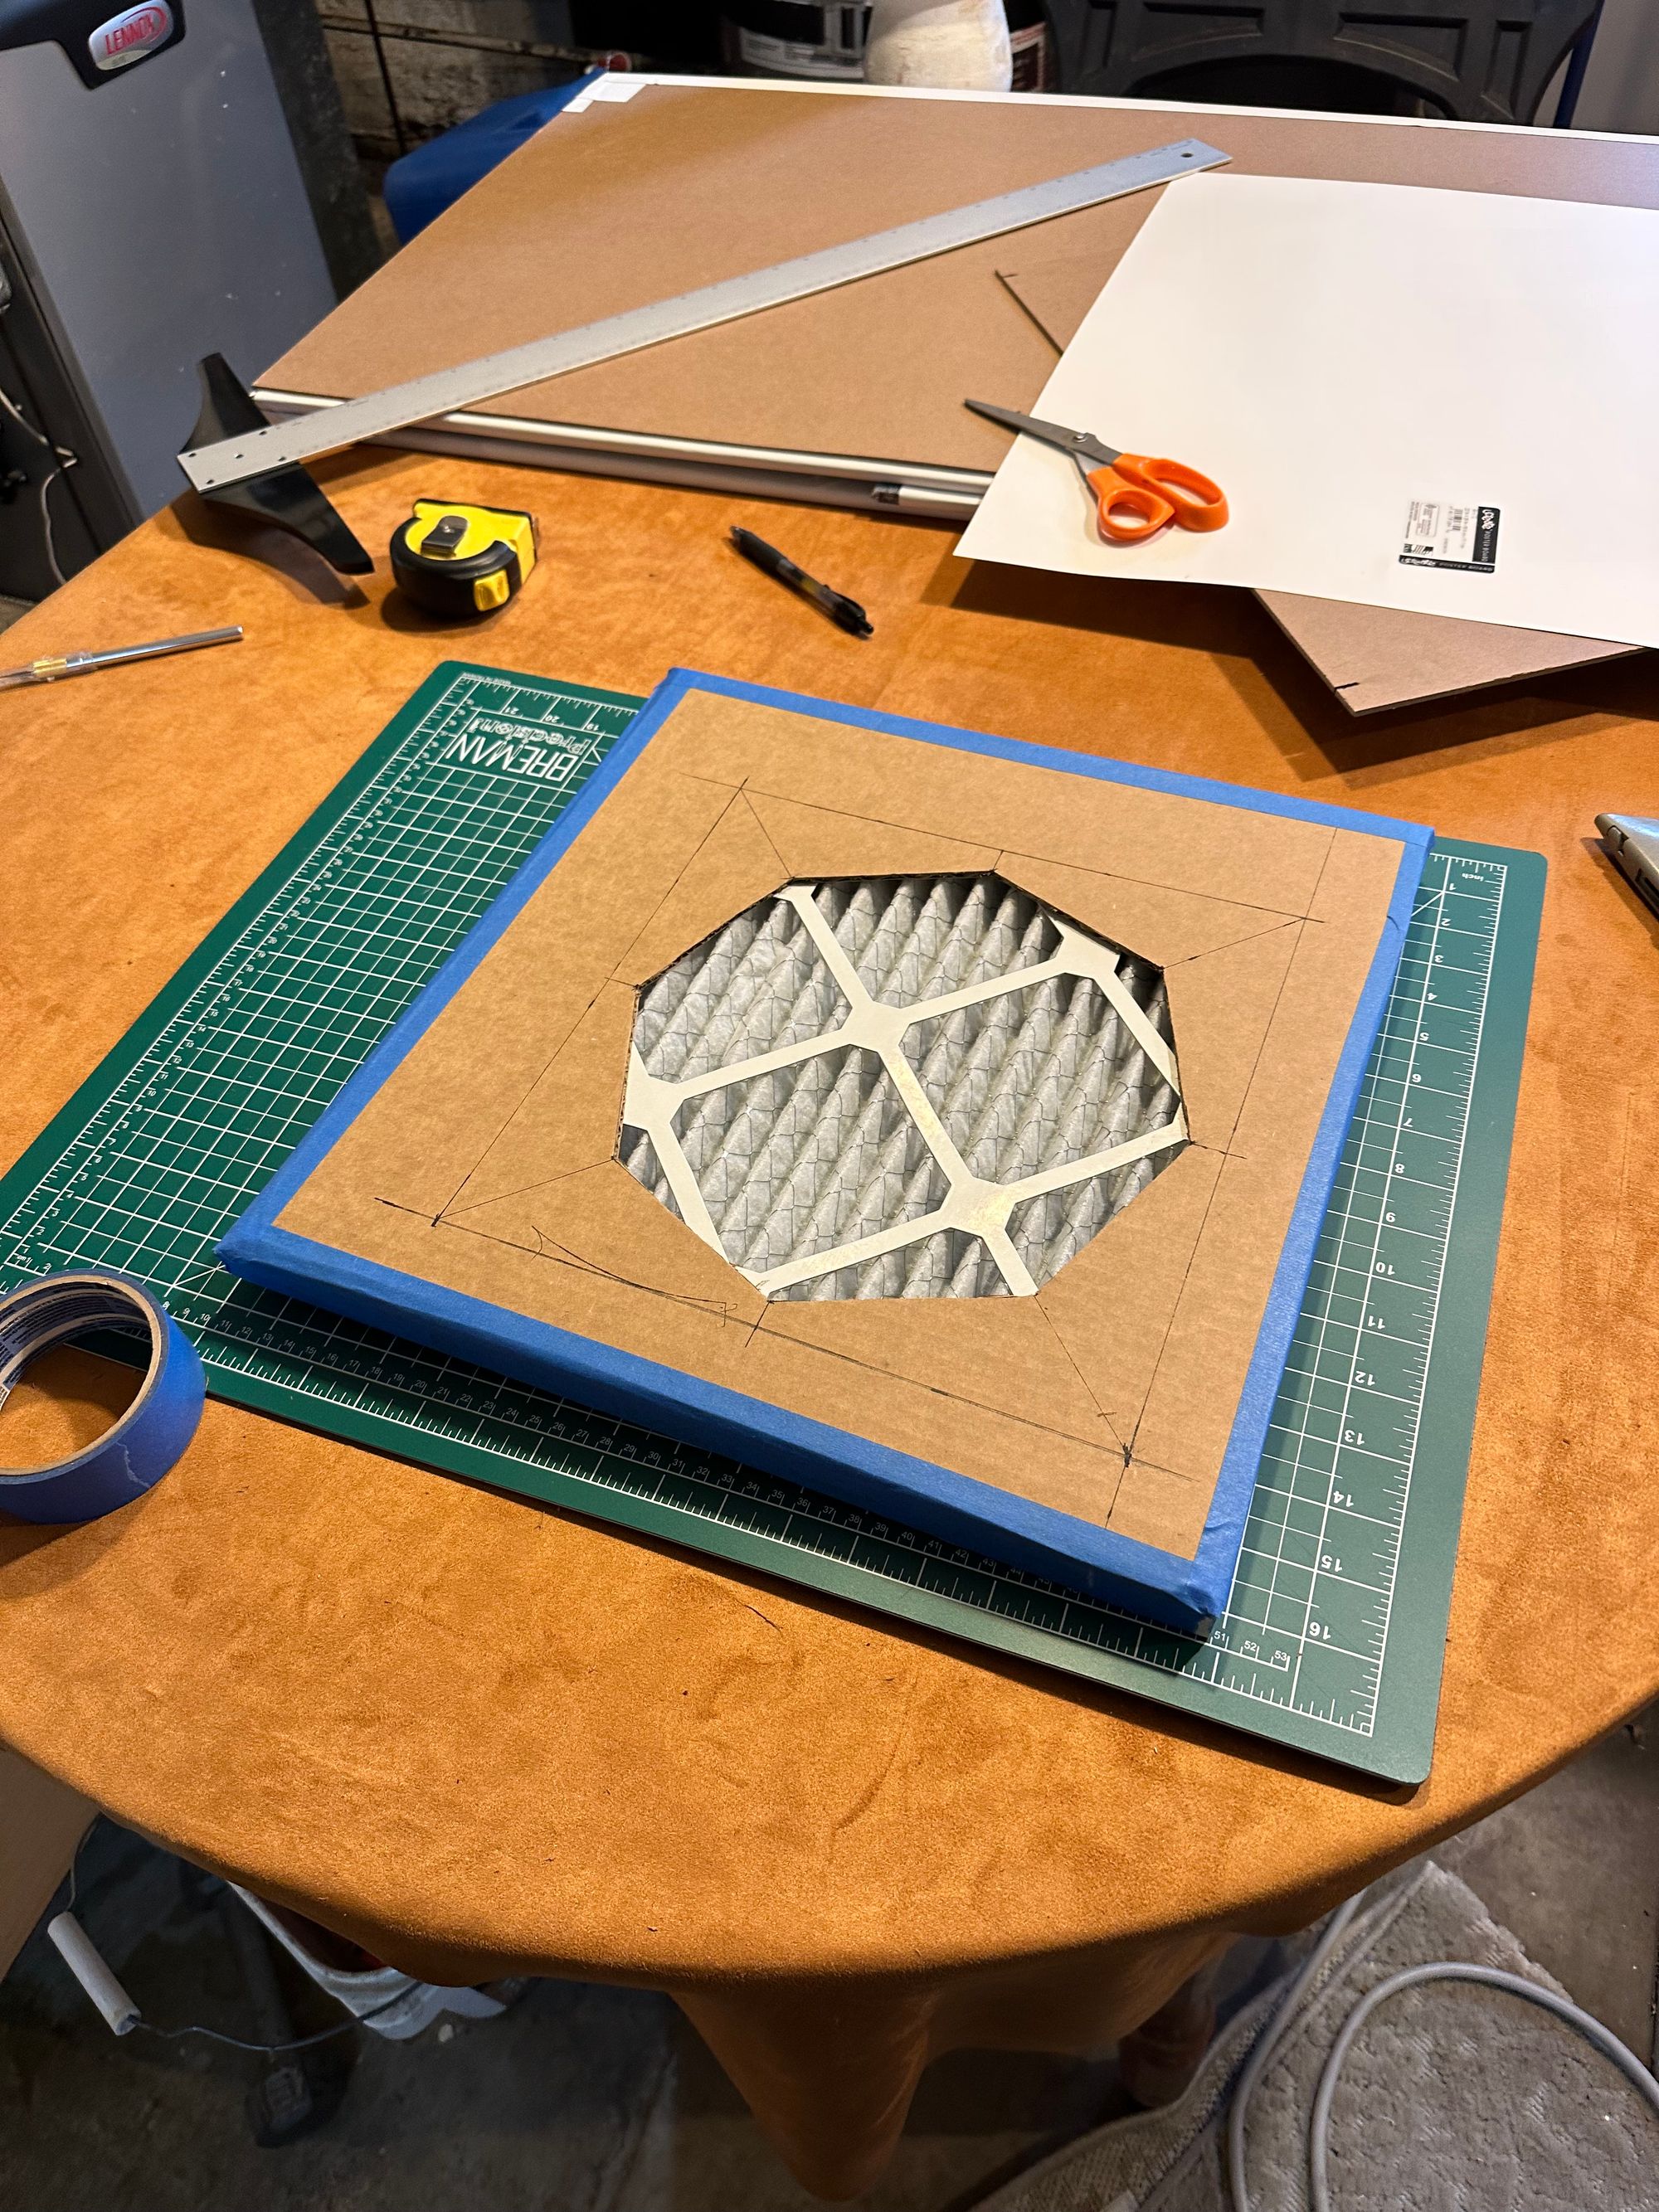
Very important to seal up the edges with tape. My grasp of fluid mechanics is very basic, but I think it's vital to make sure air isn't leaking around this filter setup, and air is pulling straight through from the booth, through the filter, and straight out the blower without anywhere else to go.
Now, how about actually venting out the window? I cut a piece of board to fit in the window... and then realized I didn't actually have a good way to cut the hole to vent out of.
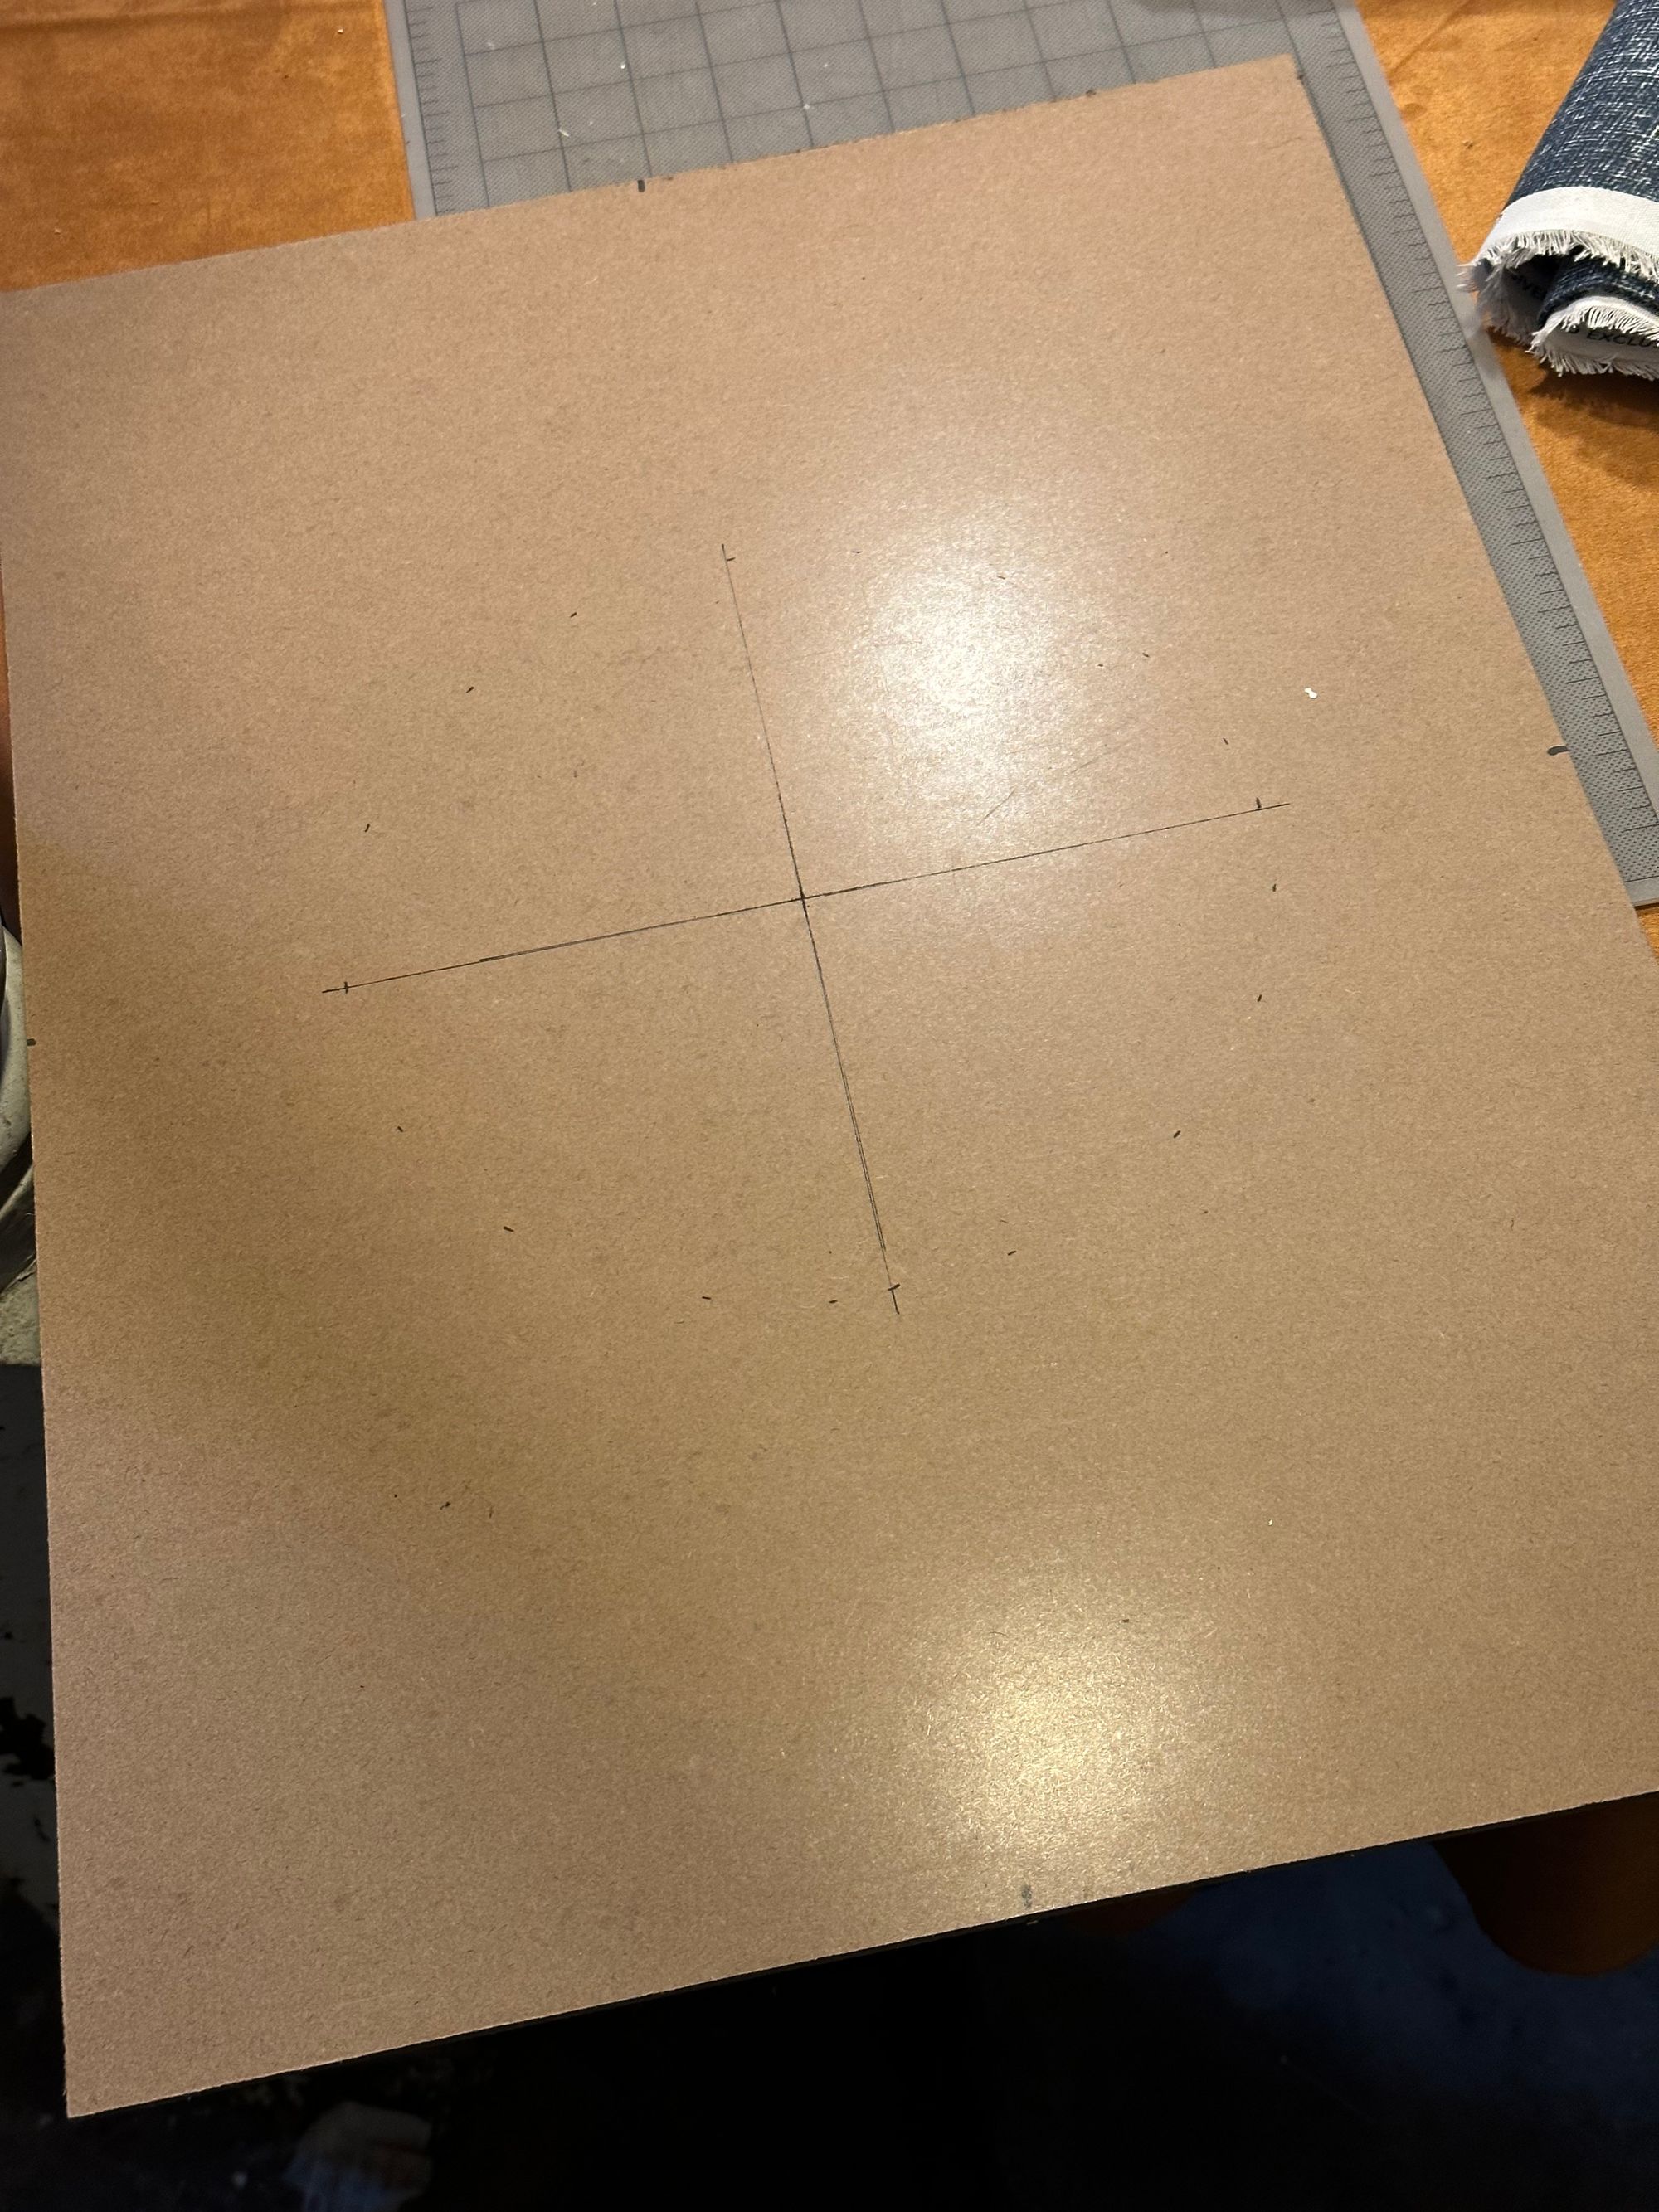
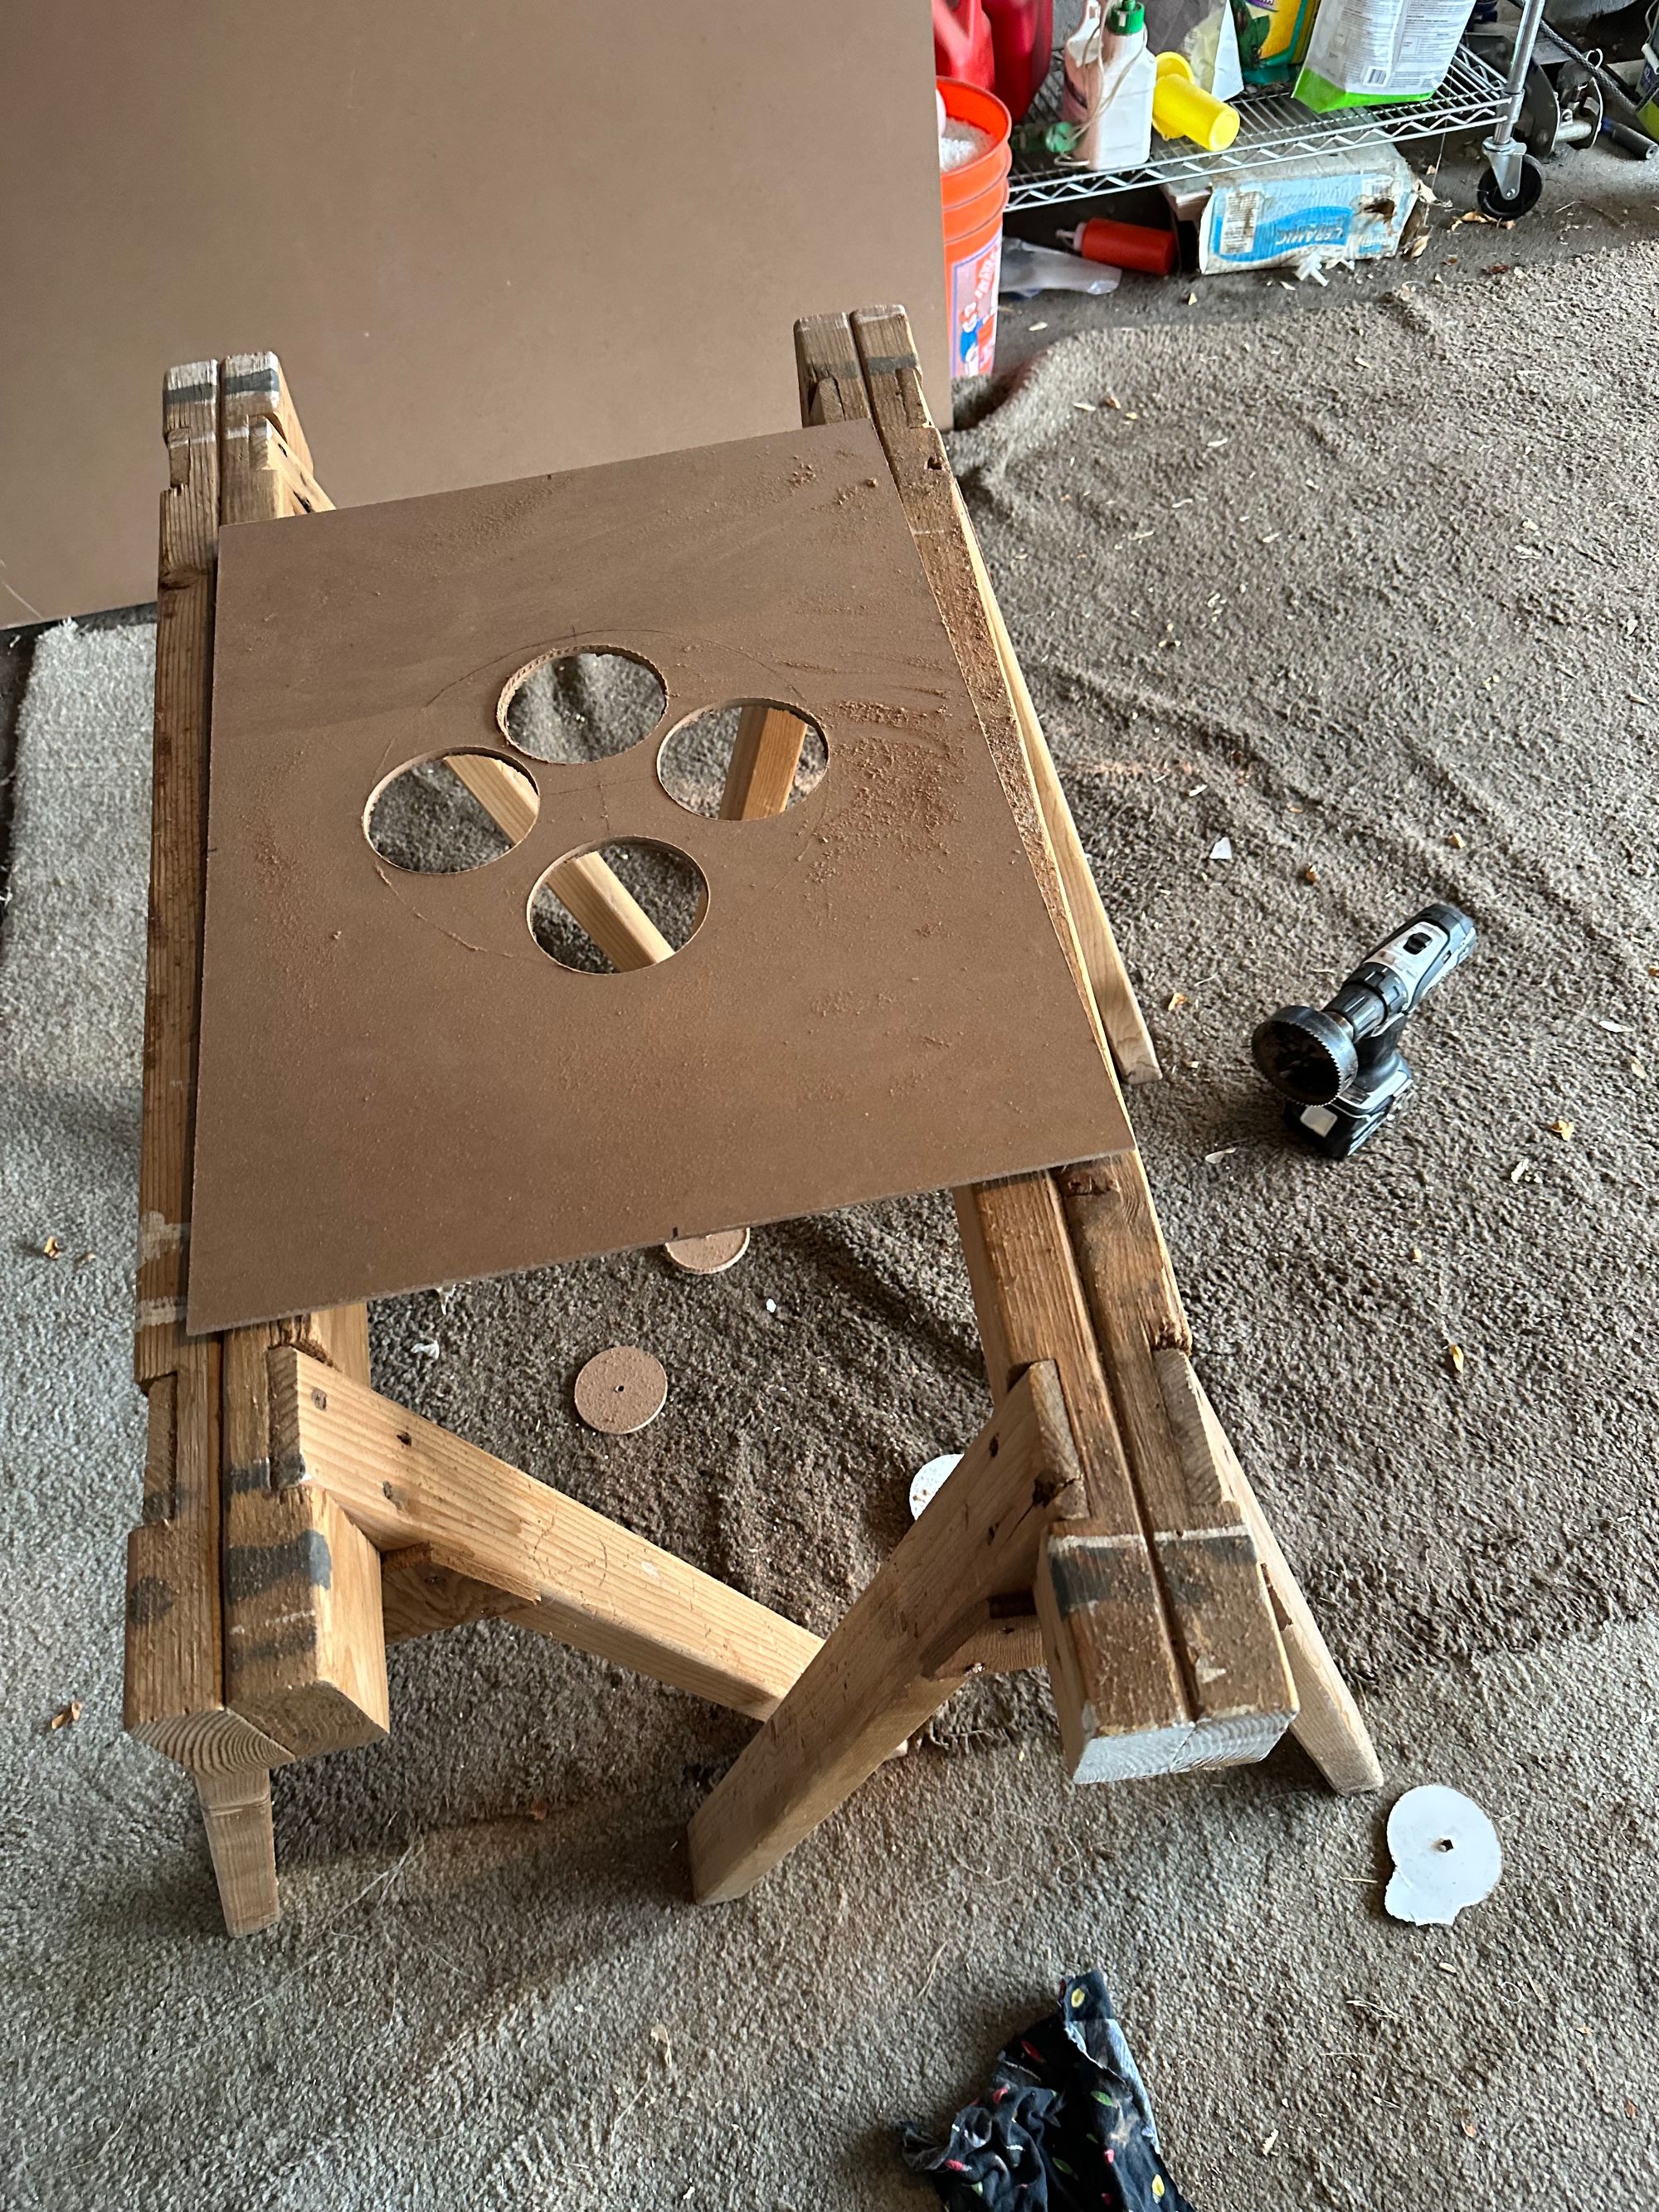
As a first pass, I used my largest hole saw to knock out as much as I could and then roughed out the rest of the hole.
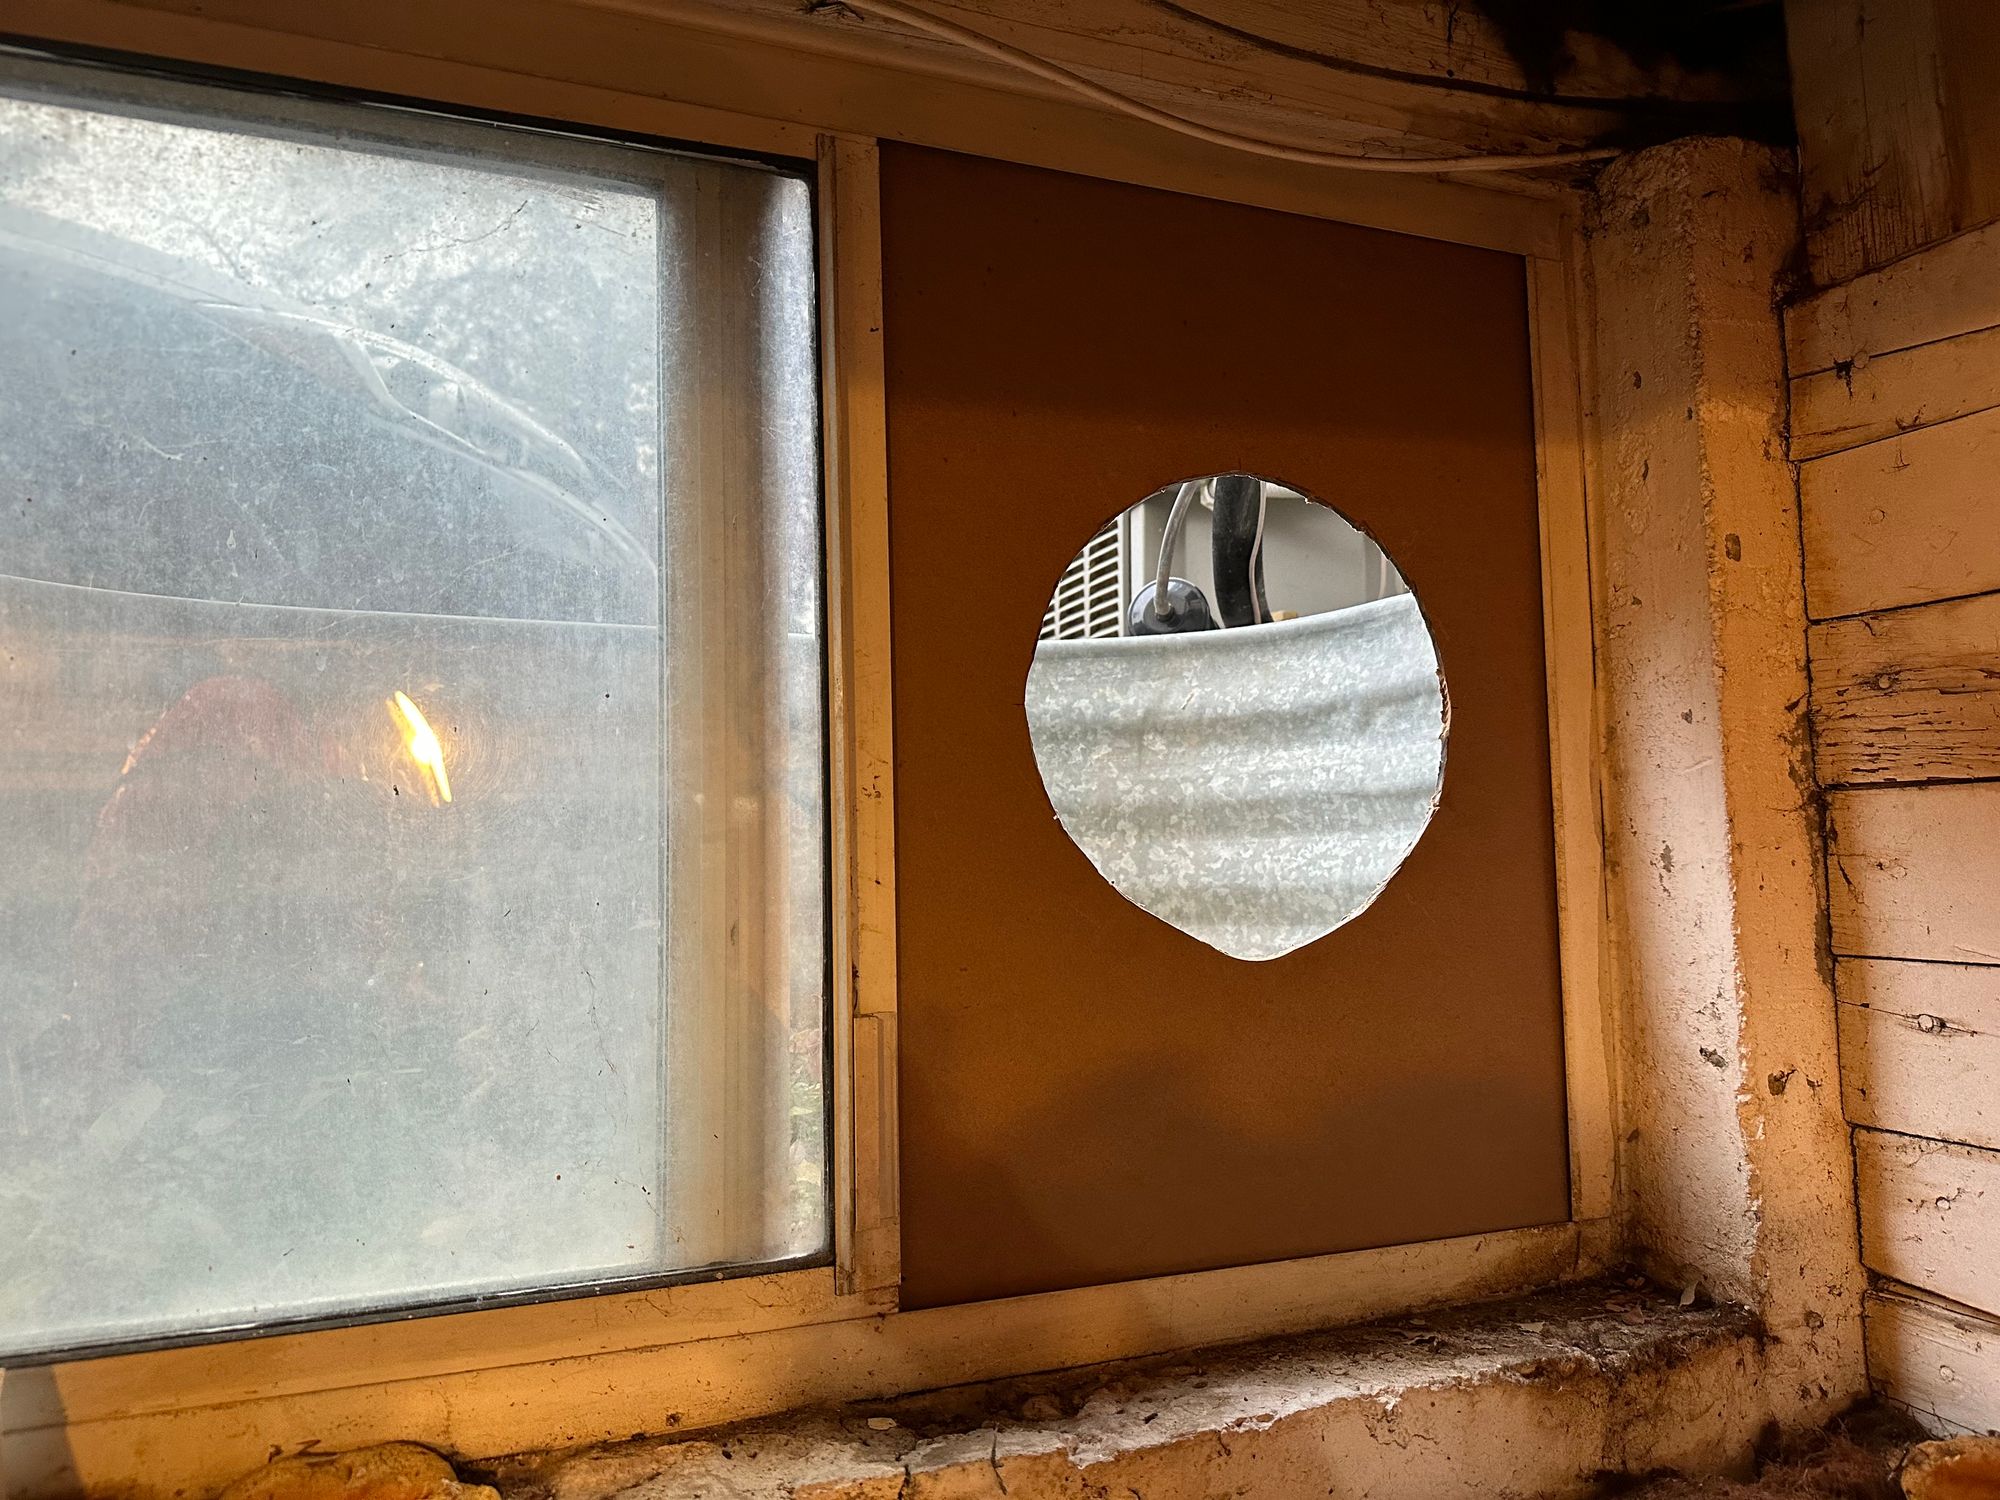
This will need cleaned up, but it's a place to start.
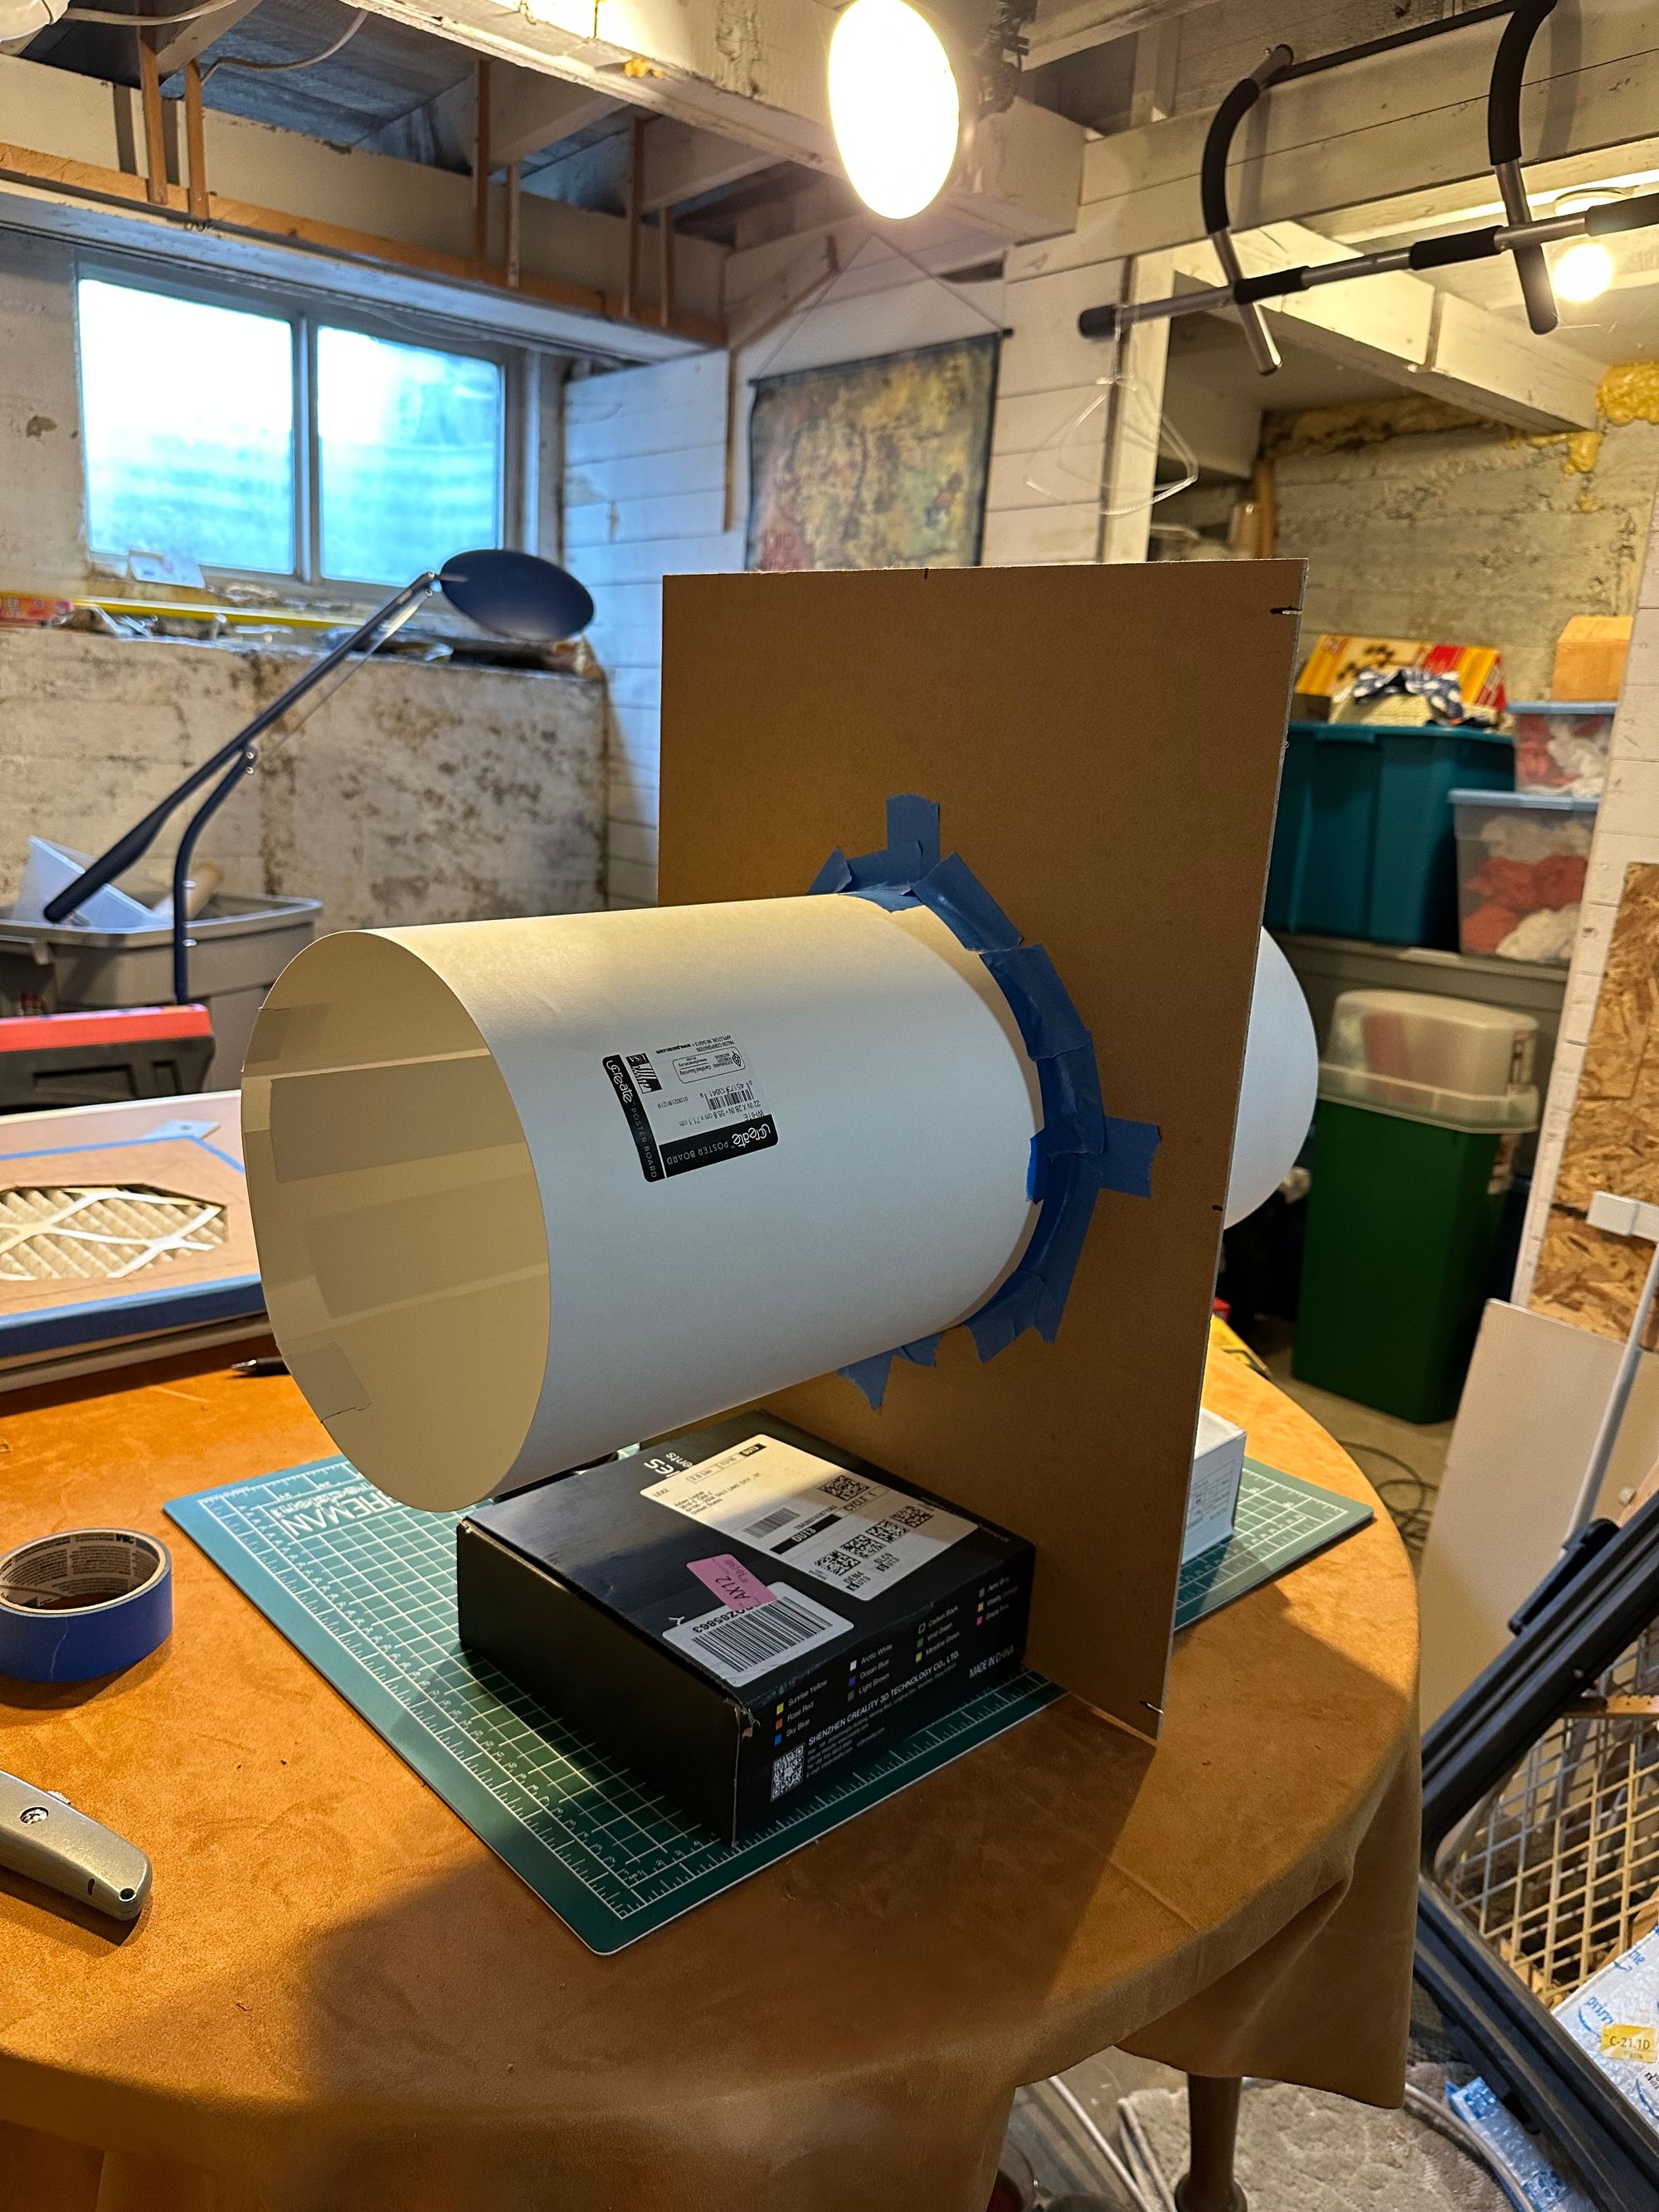
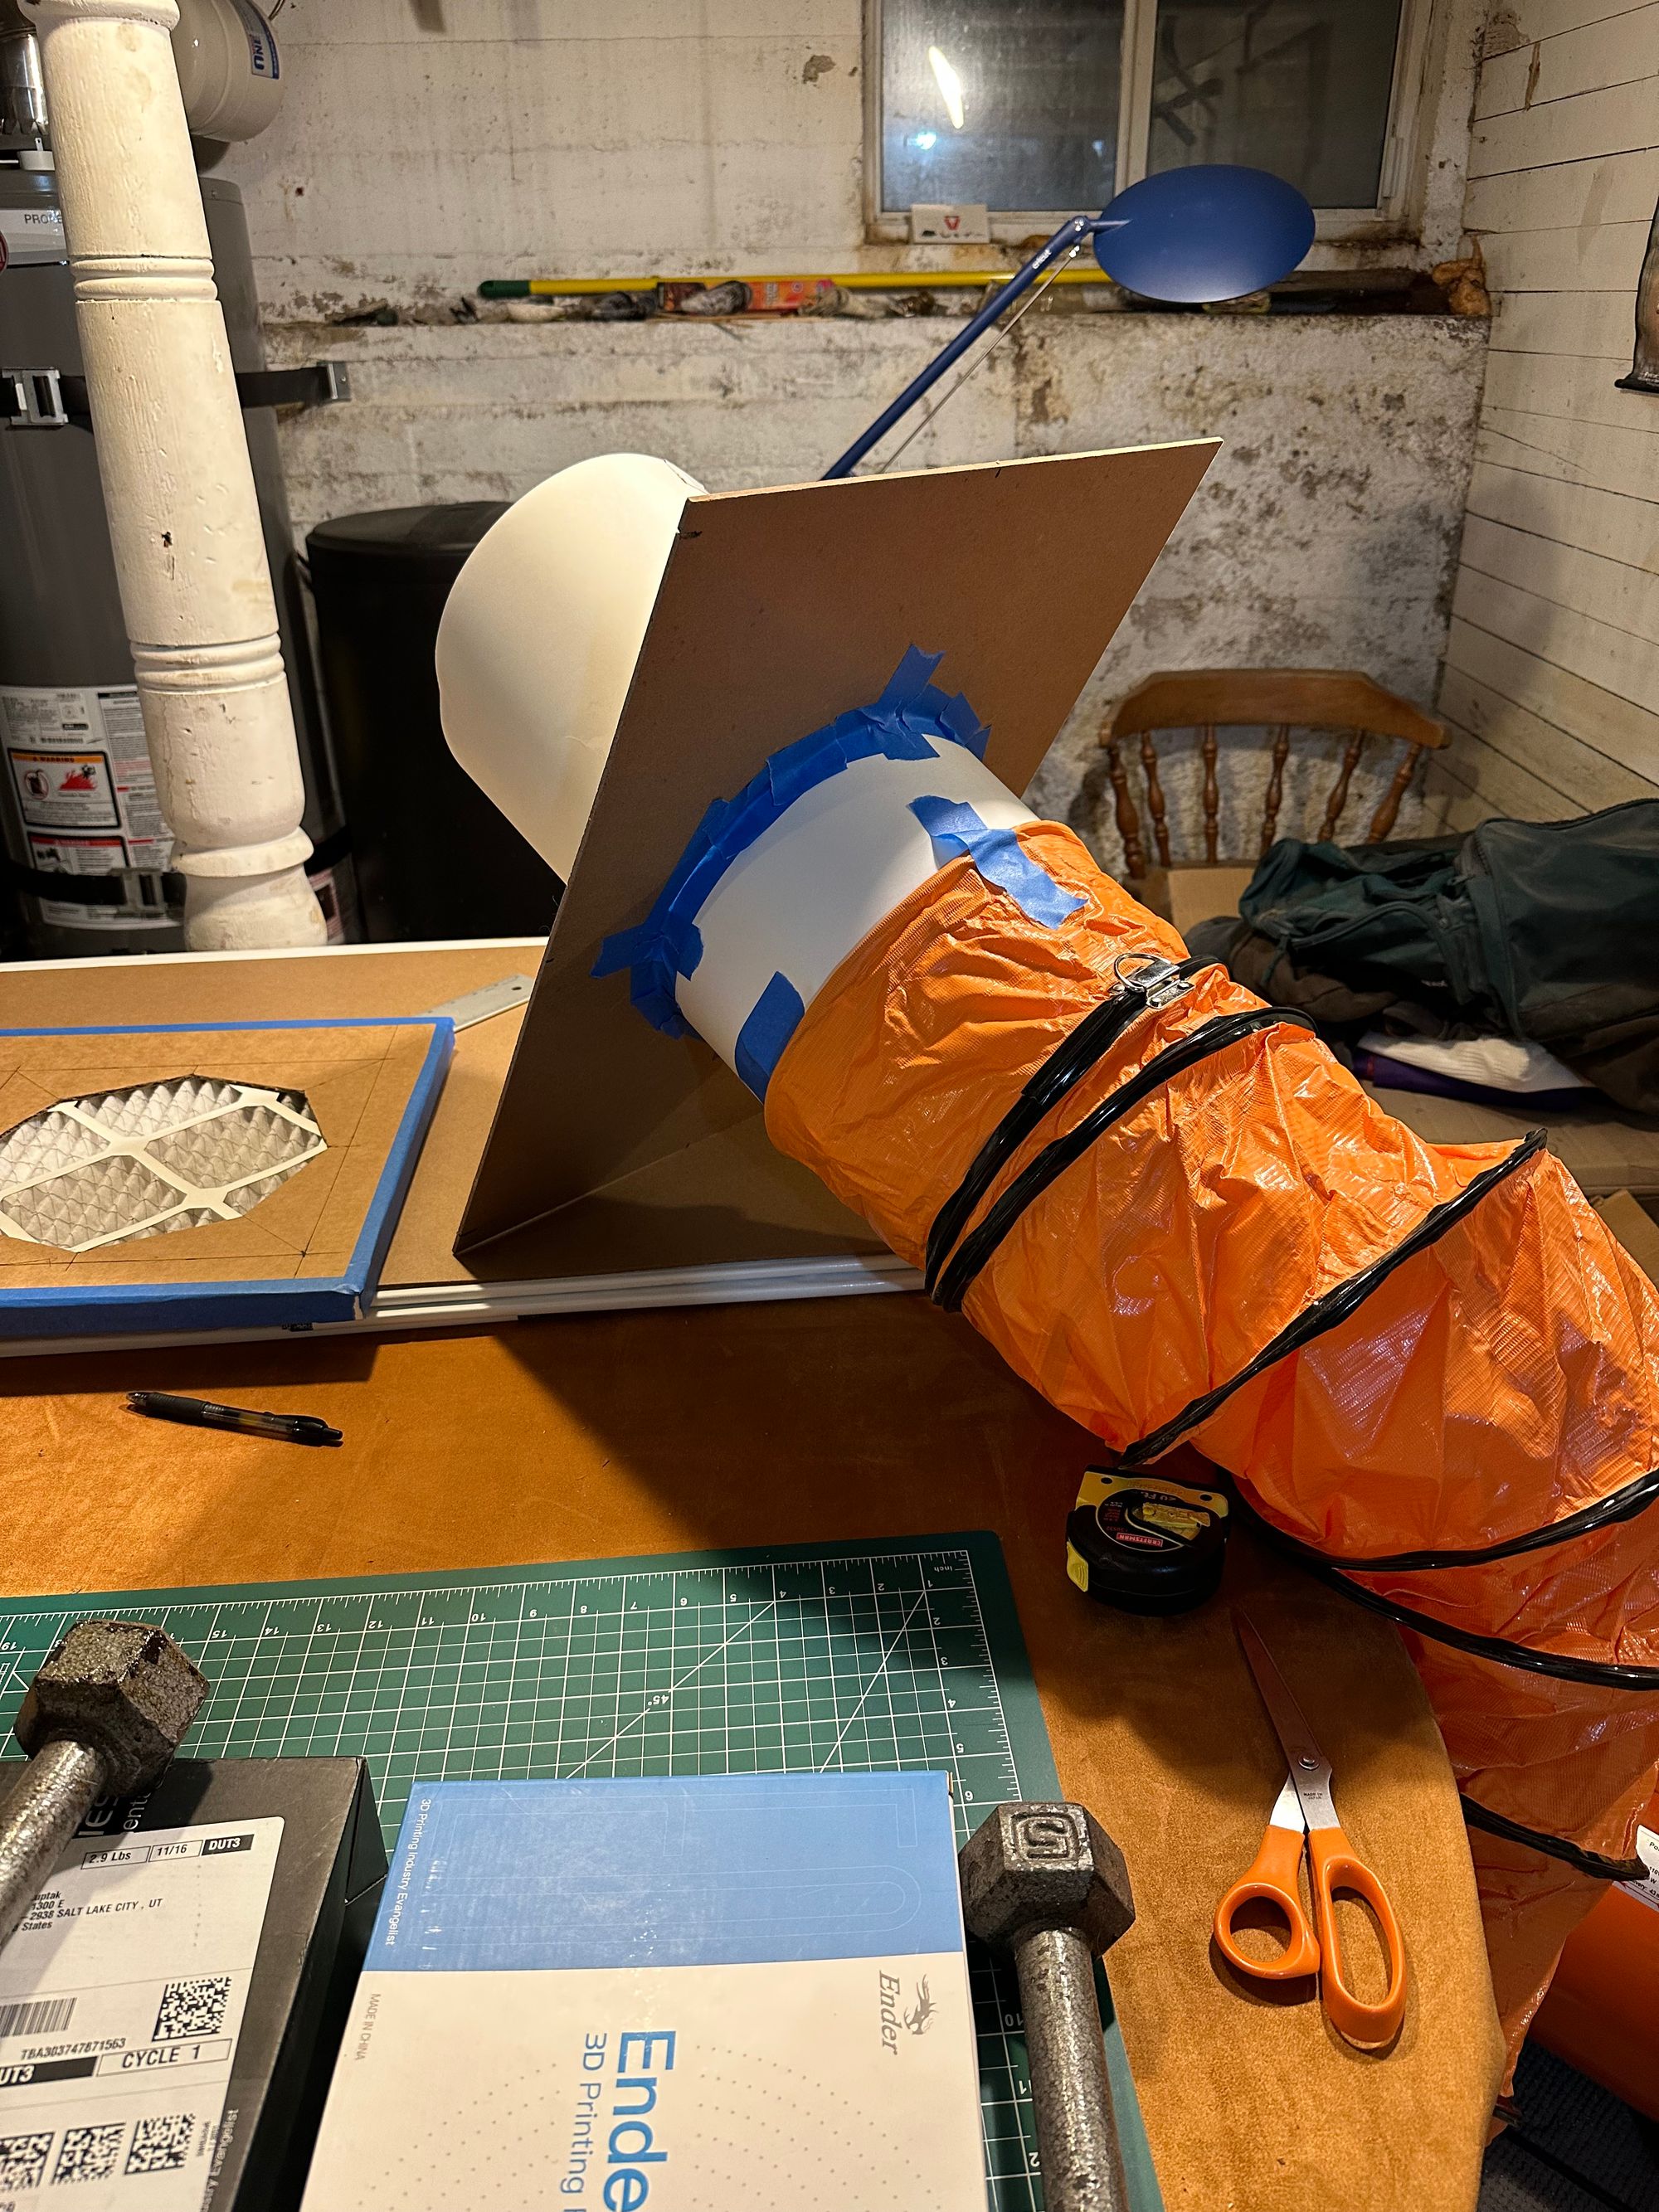
I want a more solid, weatherproof, permanent ducting setup, but I could actually put the booth to use in getting there. As a temporary stop-gap, I've taped together and rolled up some posterboard, which will do for the time being.
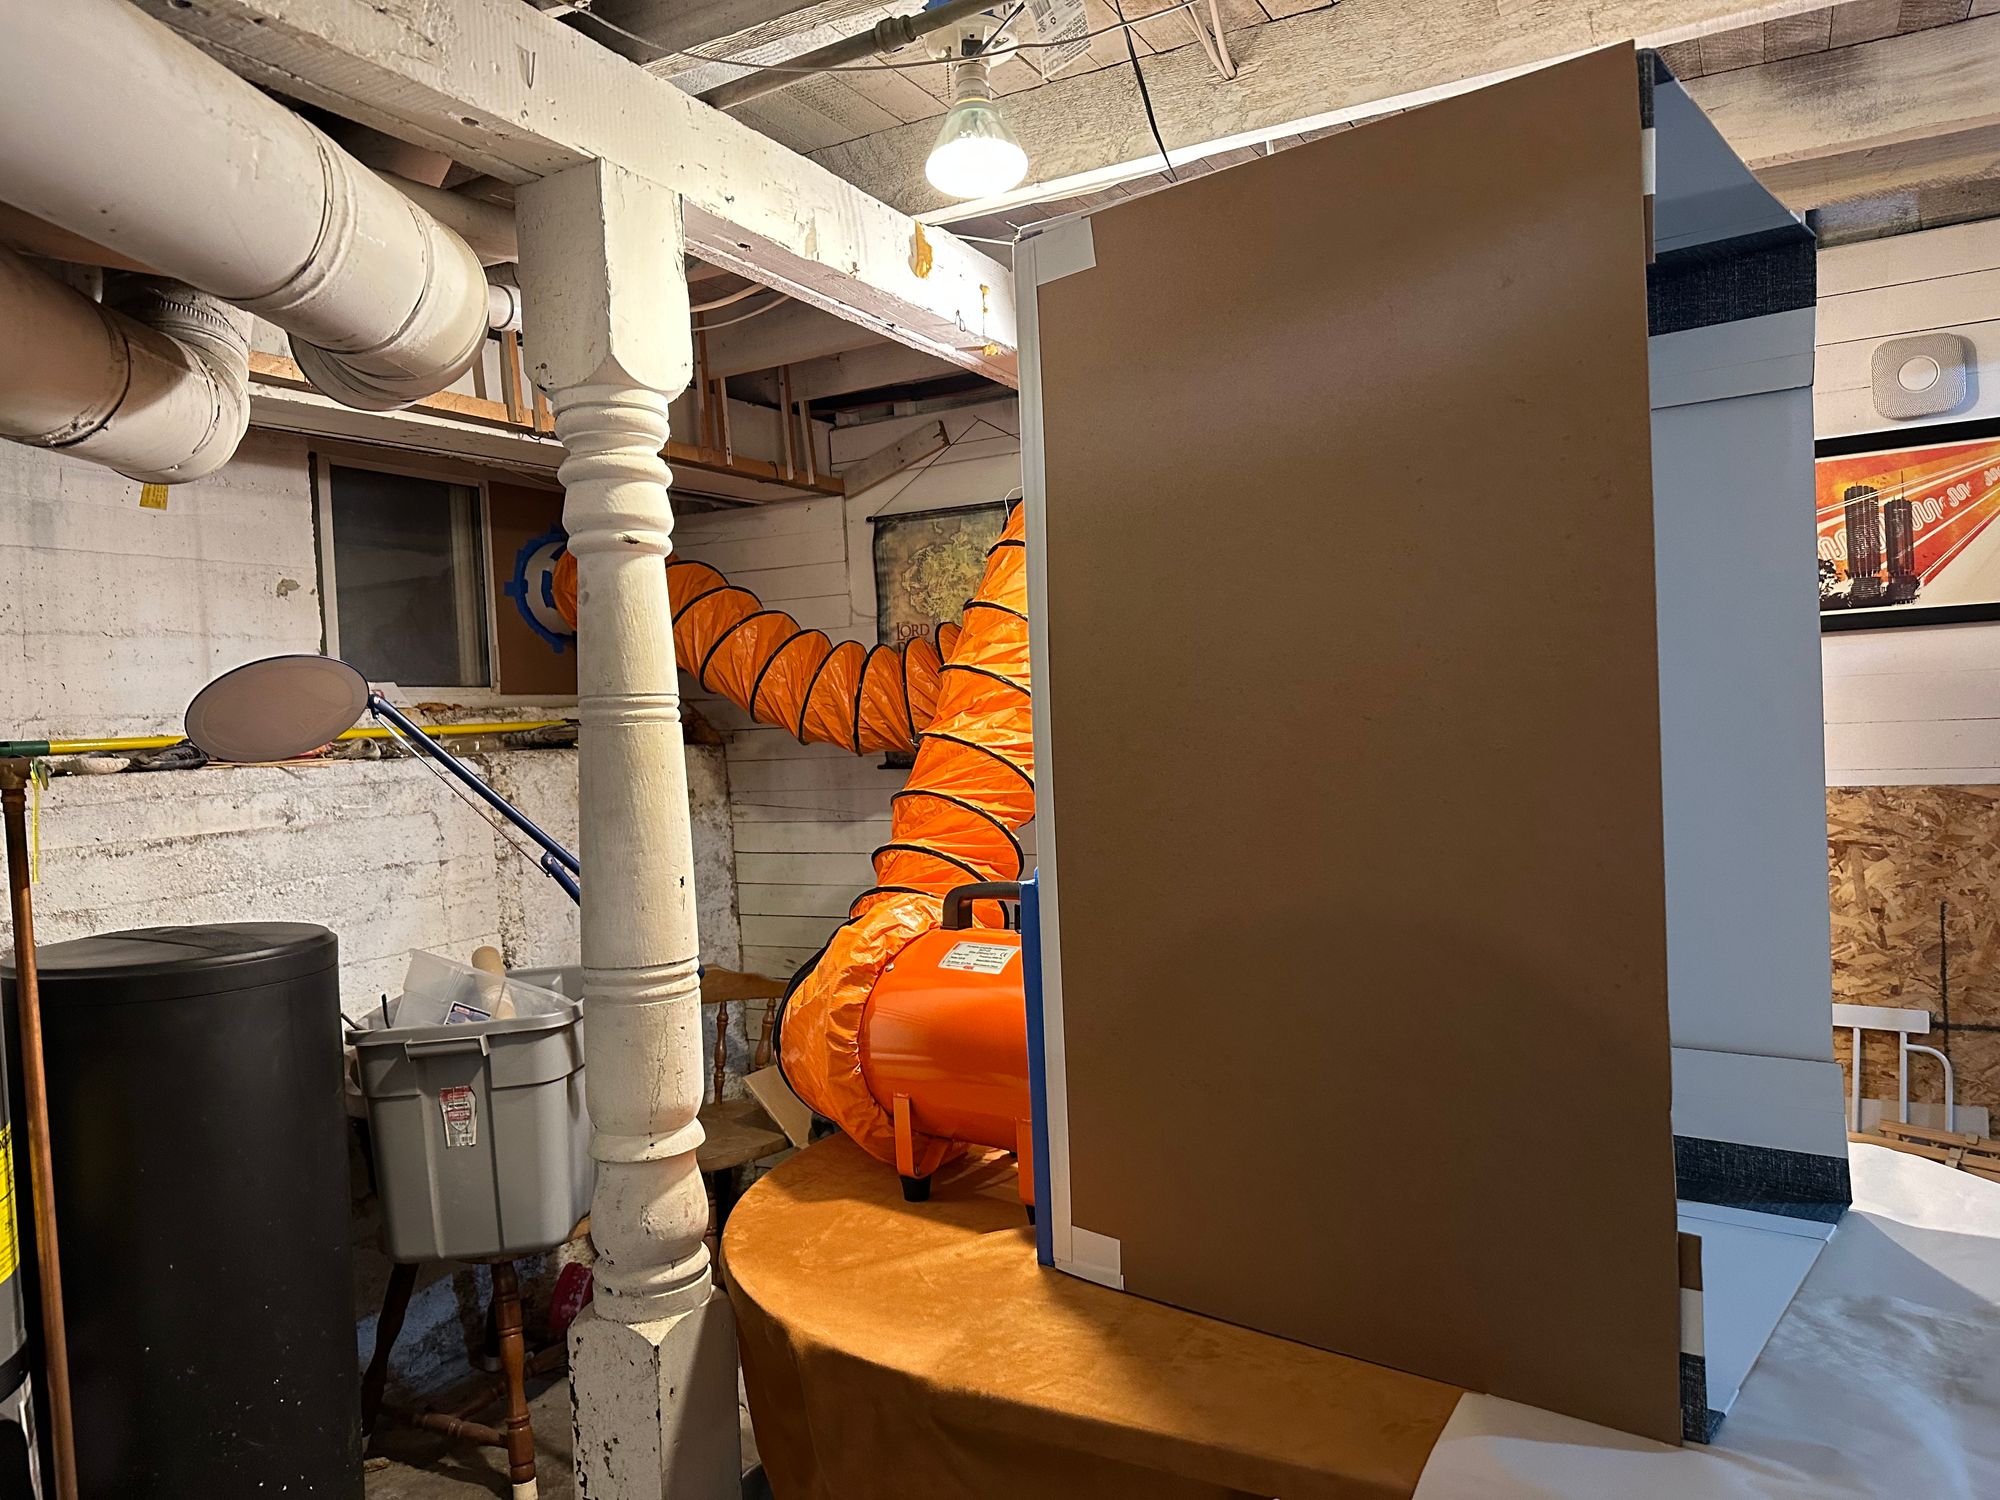
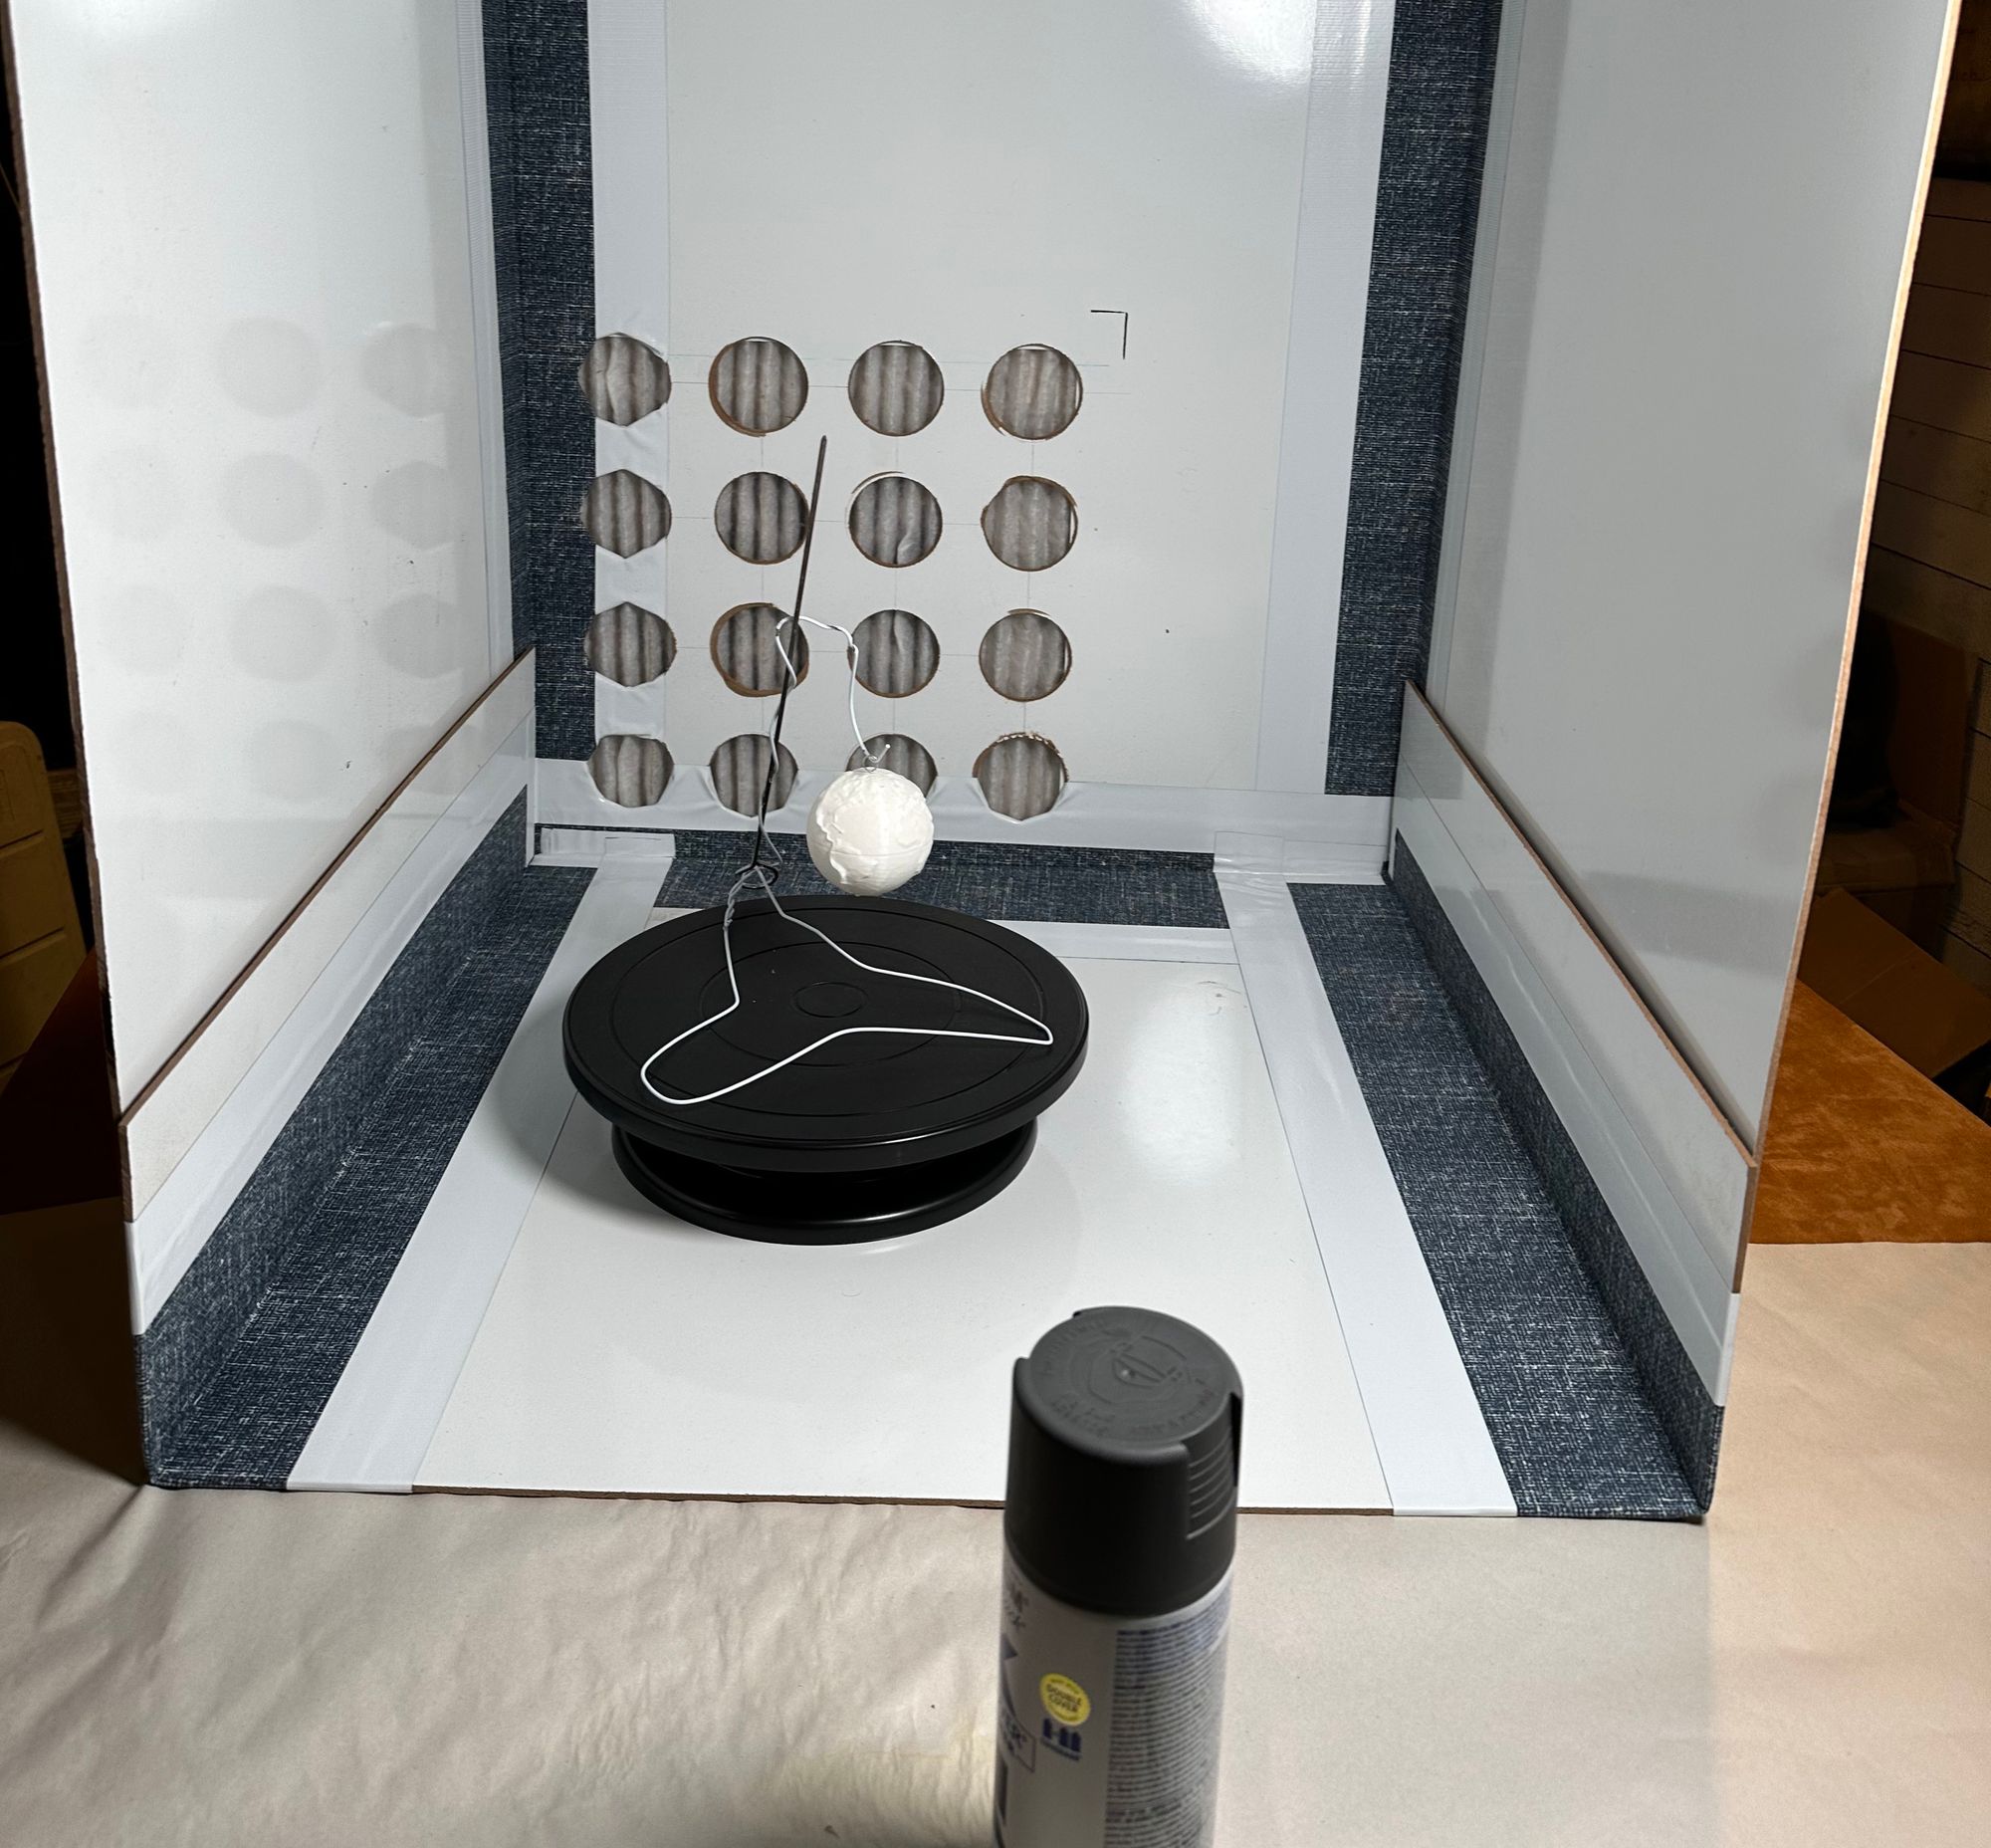
Hooray! My first pass at my collapsible paint booth. And it works!
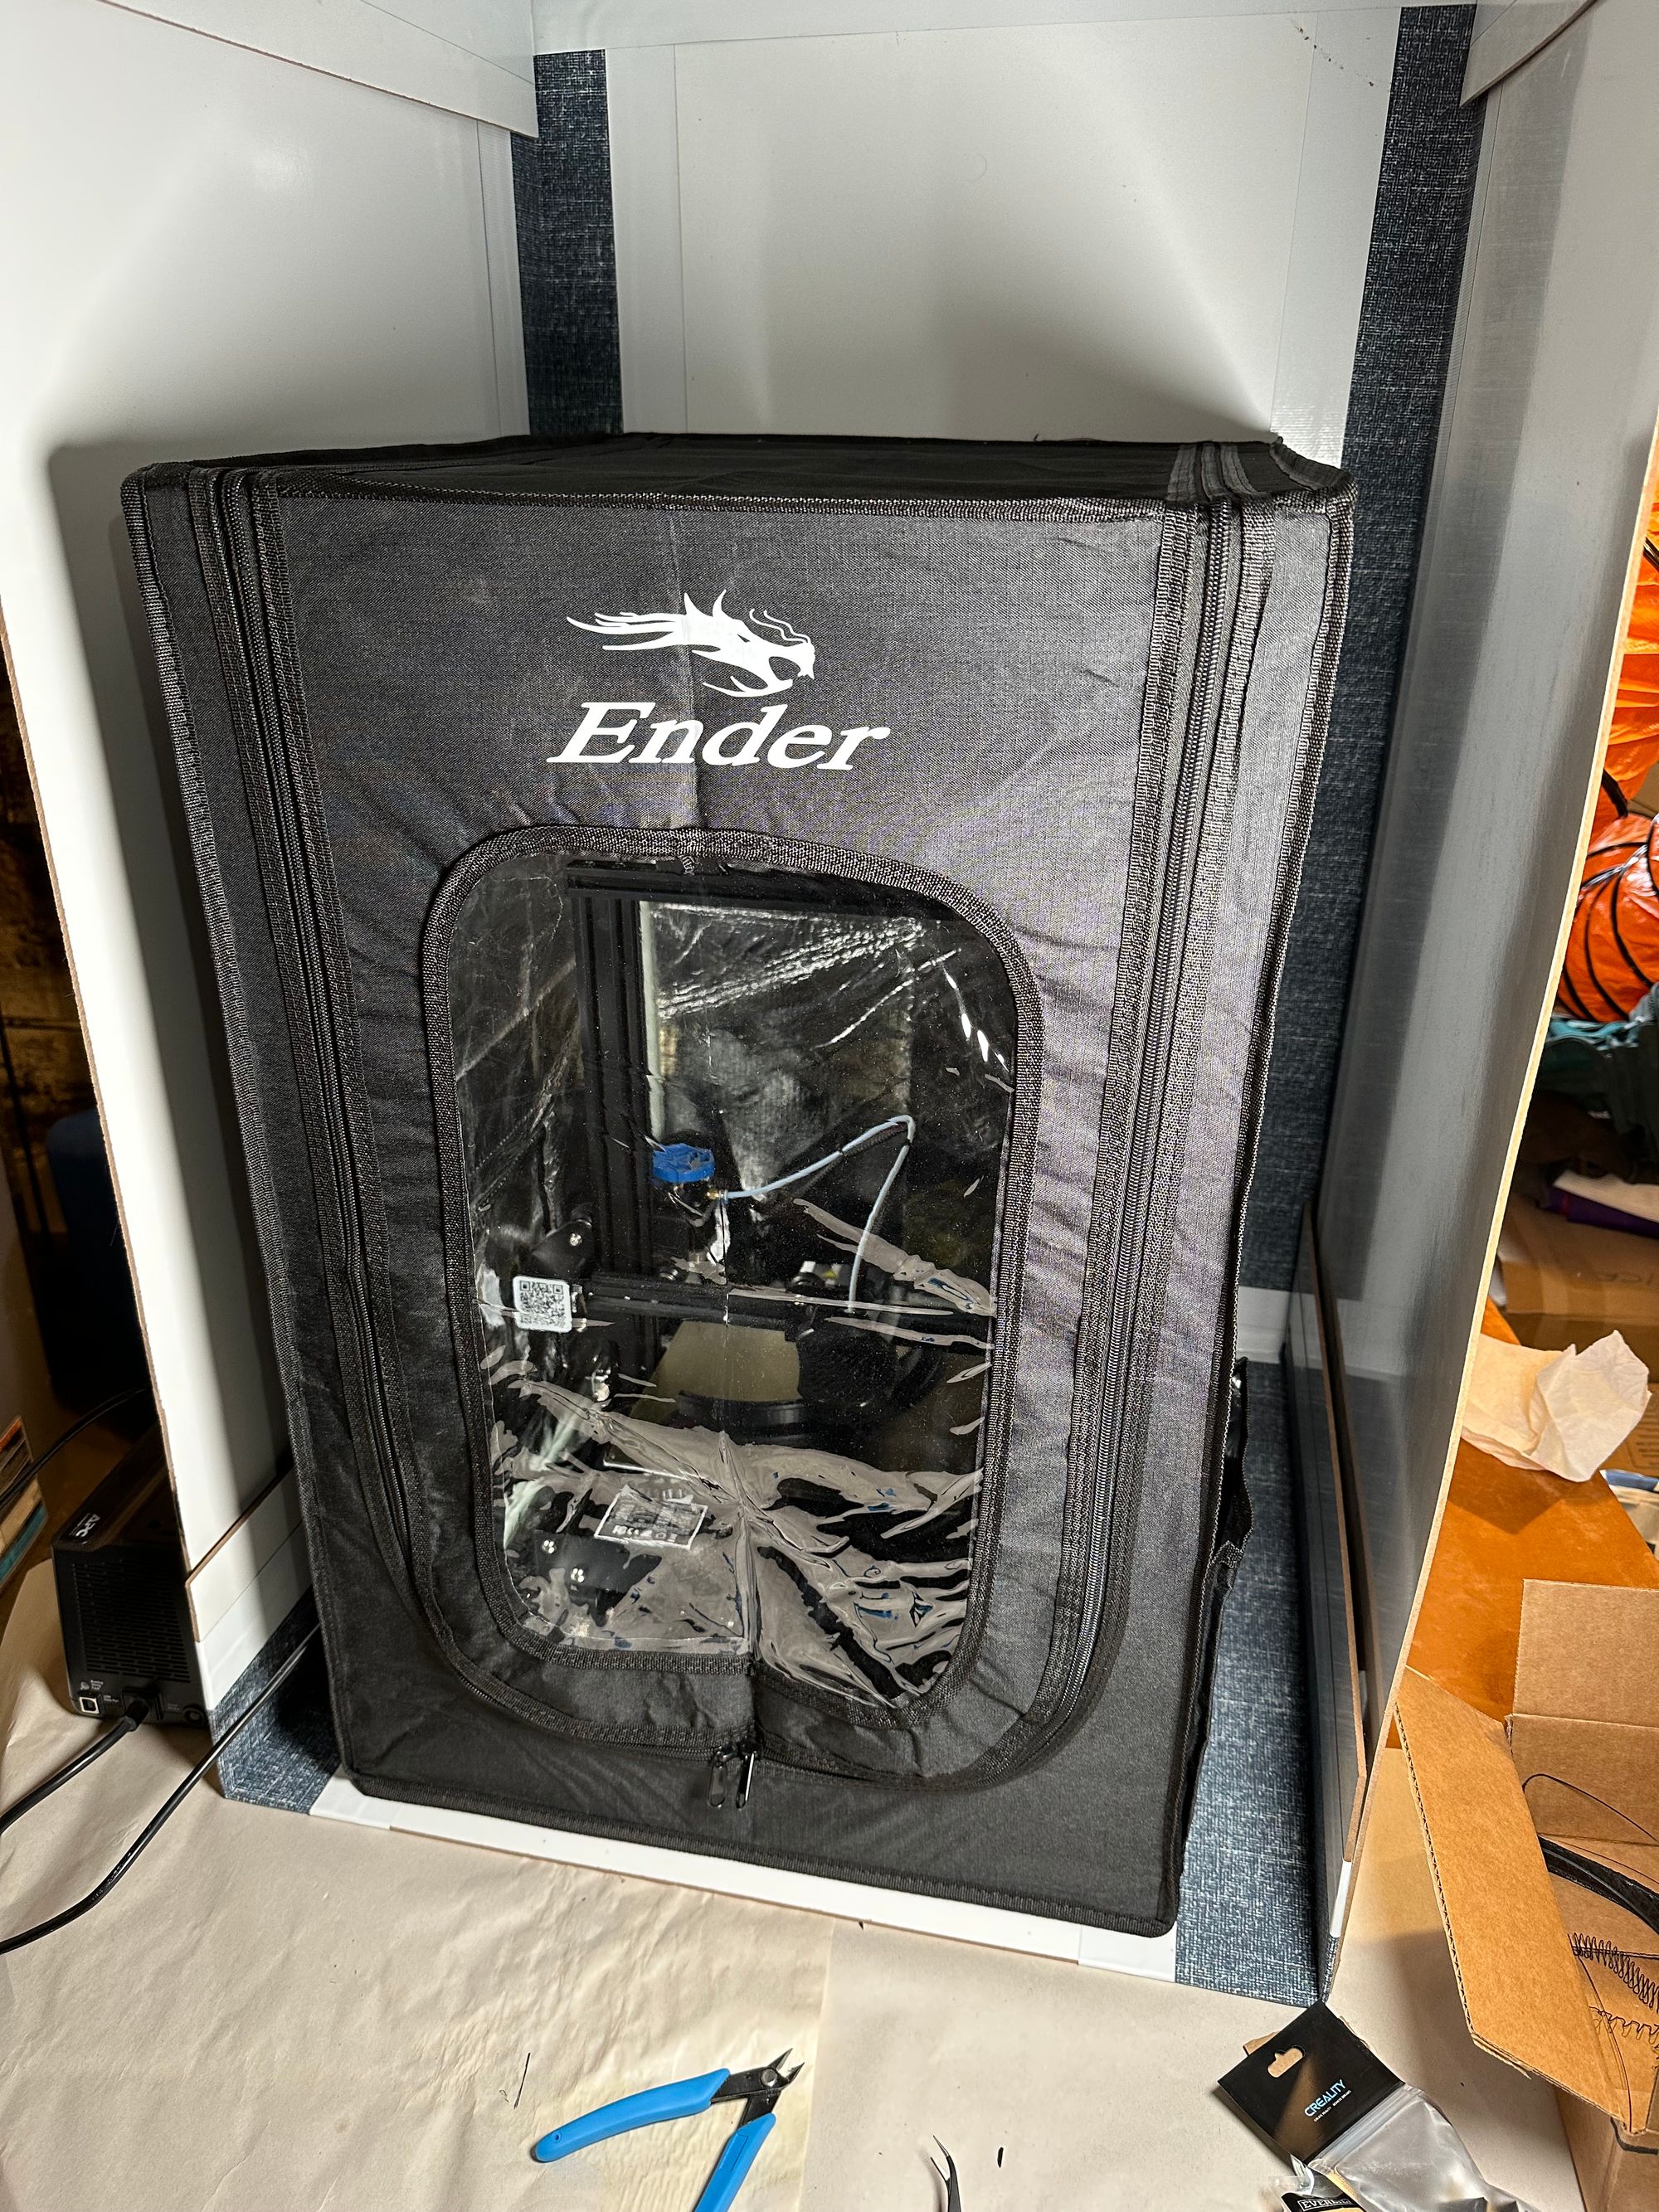
In order to get this setup more finalized, I need some better ducting hardware. This brings into focus my other reason for wanting to build this booth, and a feature of how I've sized it: I can fit my 3d printer inside it, in its enclosure, for printing materials that could use ventilation.
So. More work to do to clean up the venting situation, but this is a great start. Part 2 coming soon!

