Hanging clamp storage
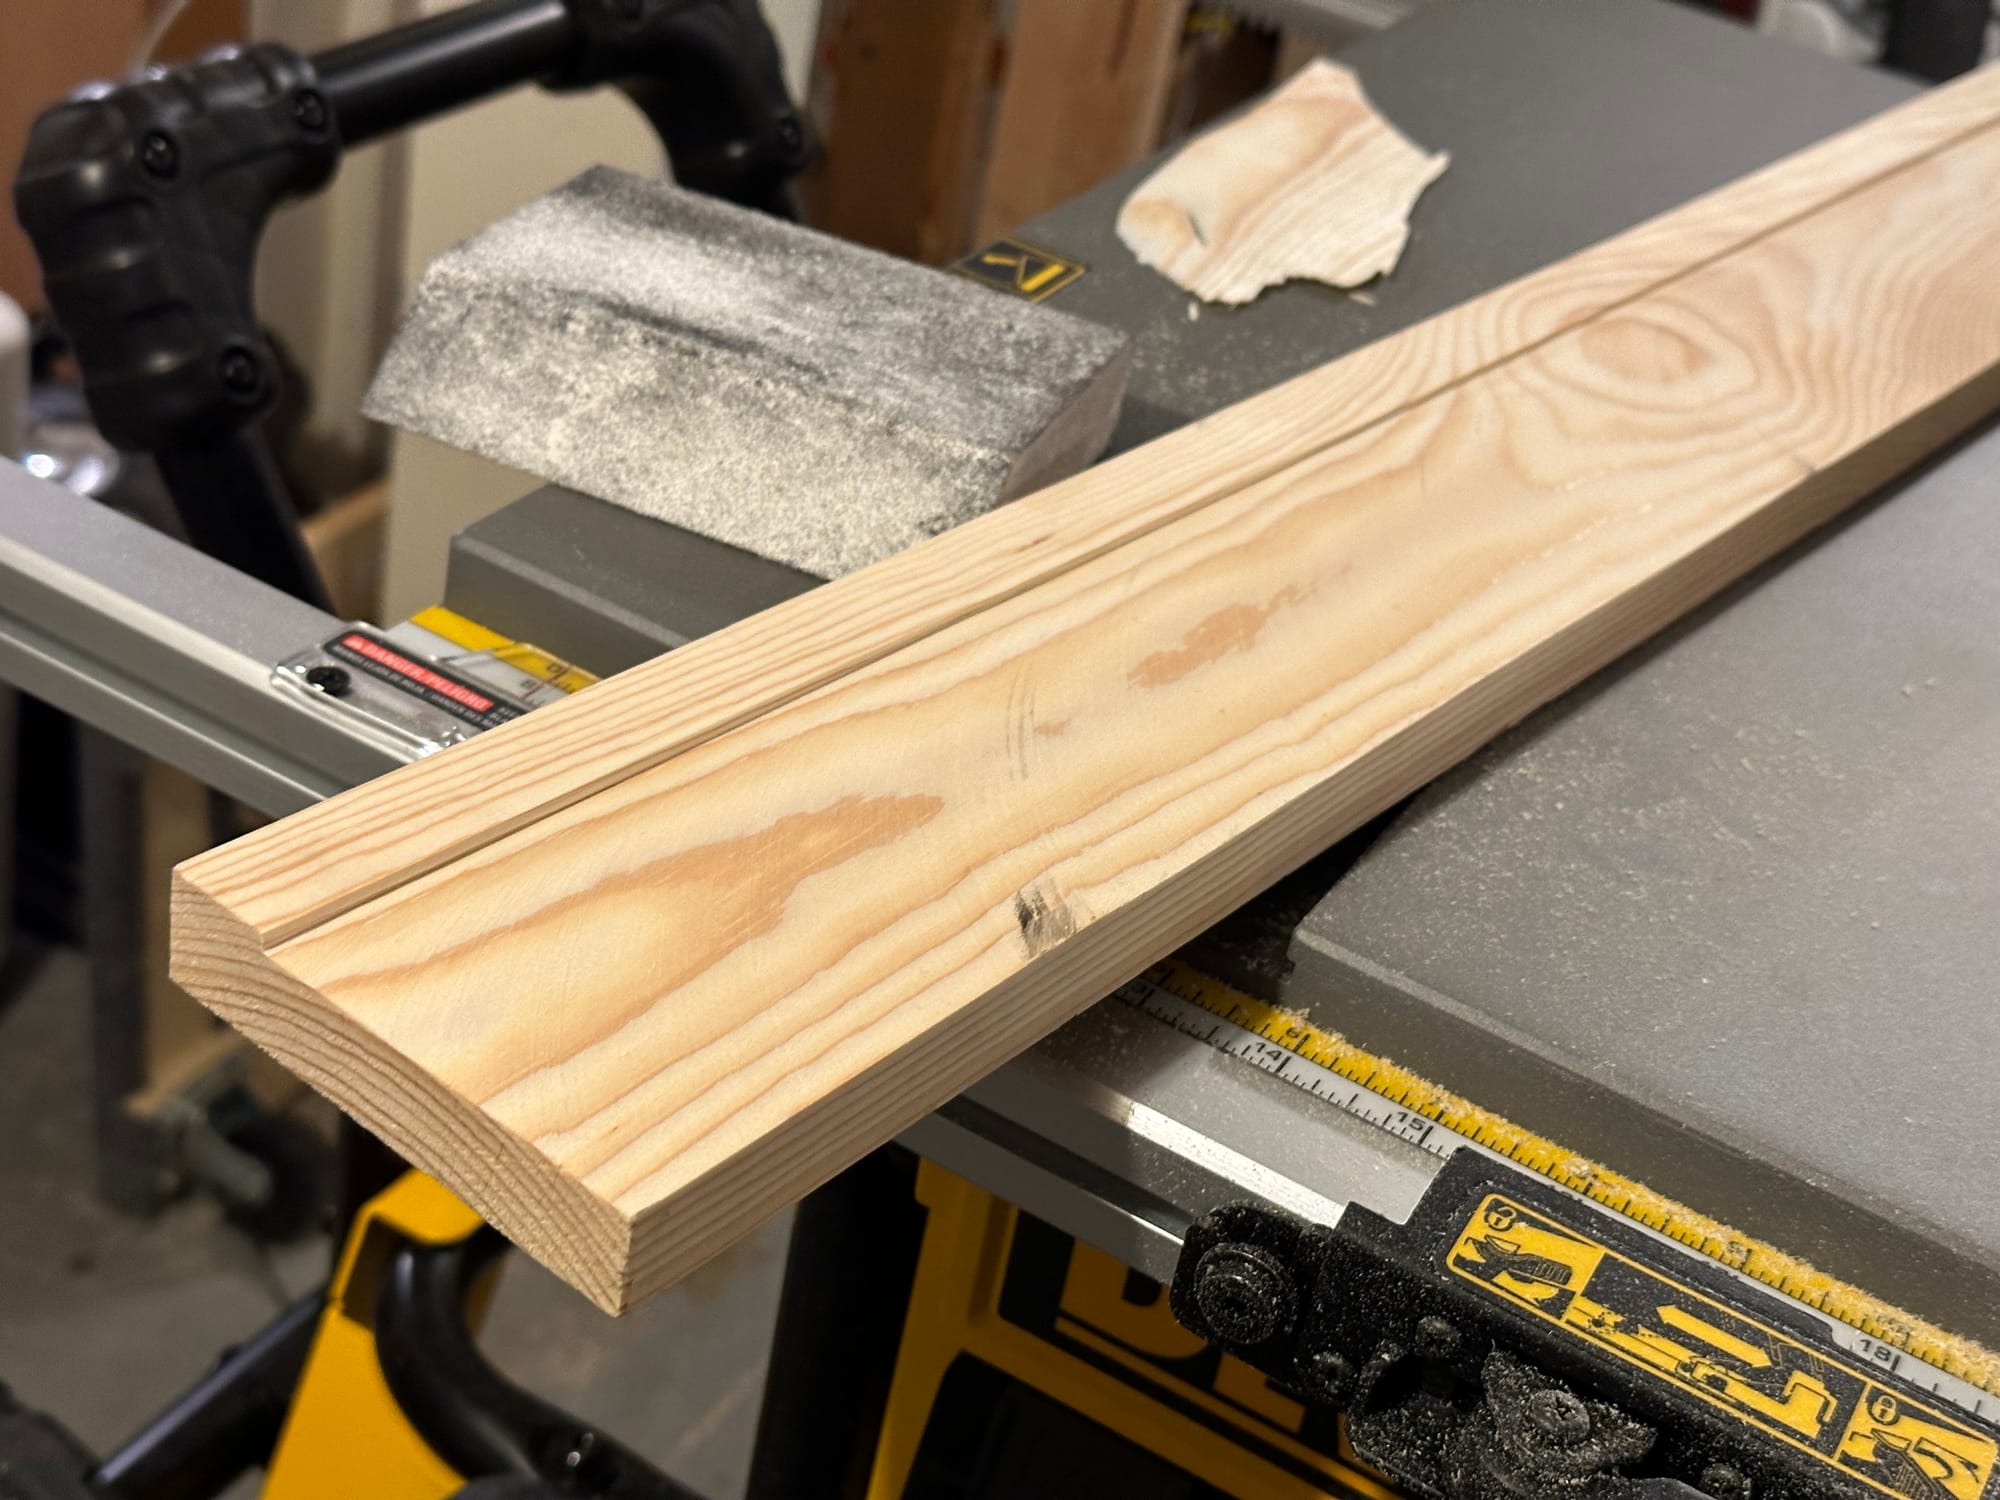
Over the course of this year, I've been working on setting up my workshop space in the basement. One of the particular joys of setting up this new workshop is trying to solve problems that I never managed to in my space in Utah.
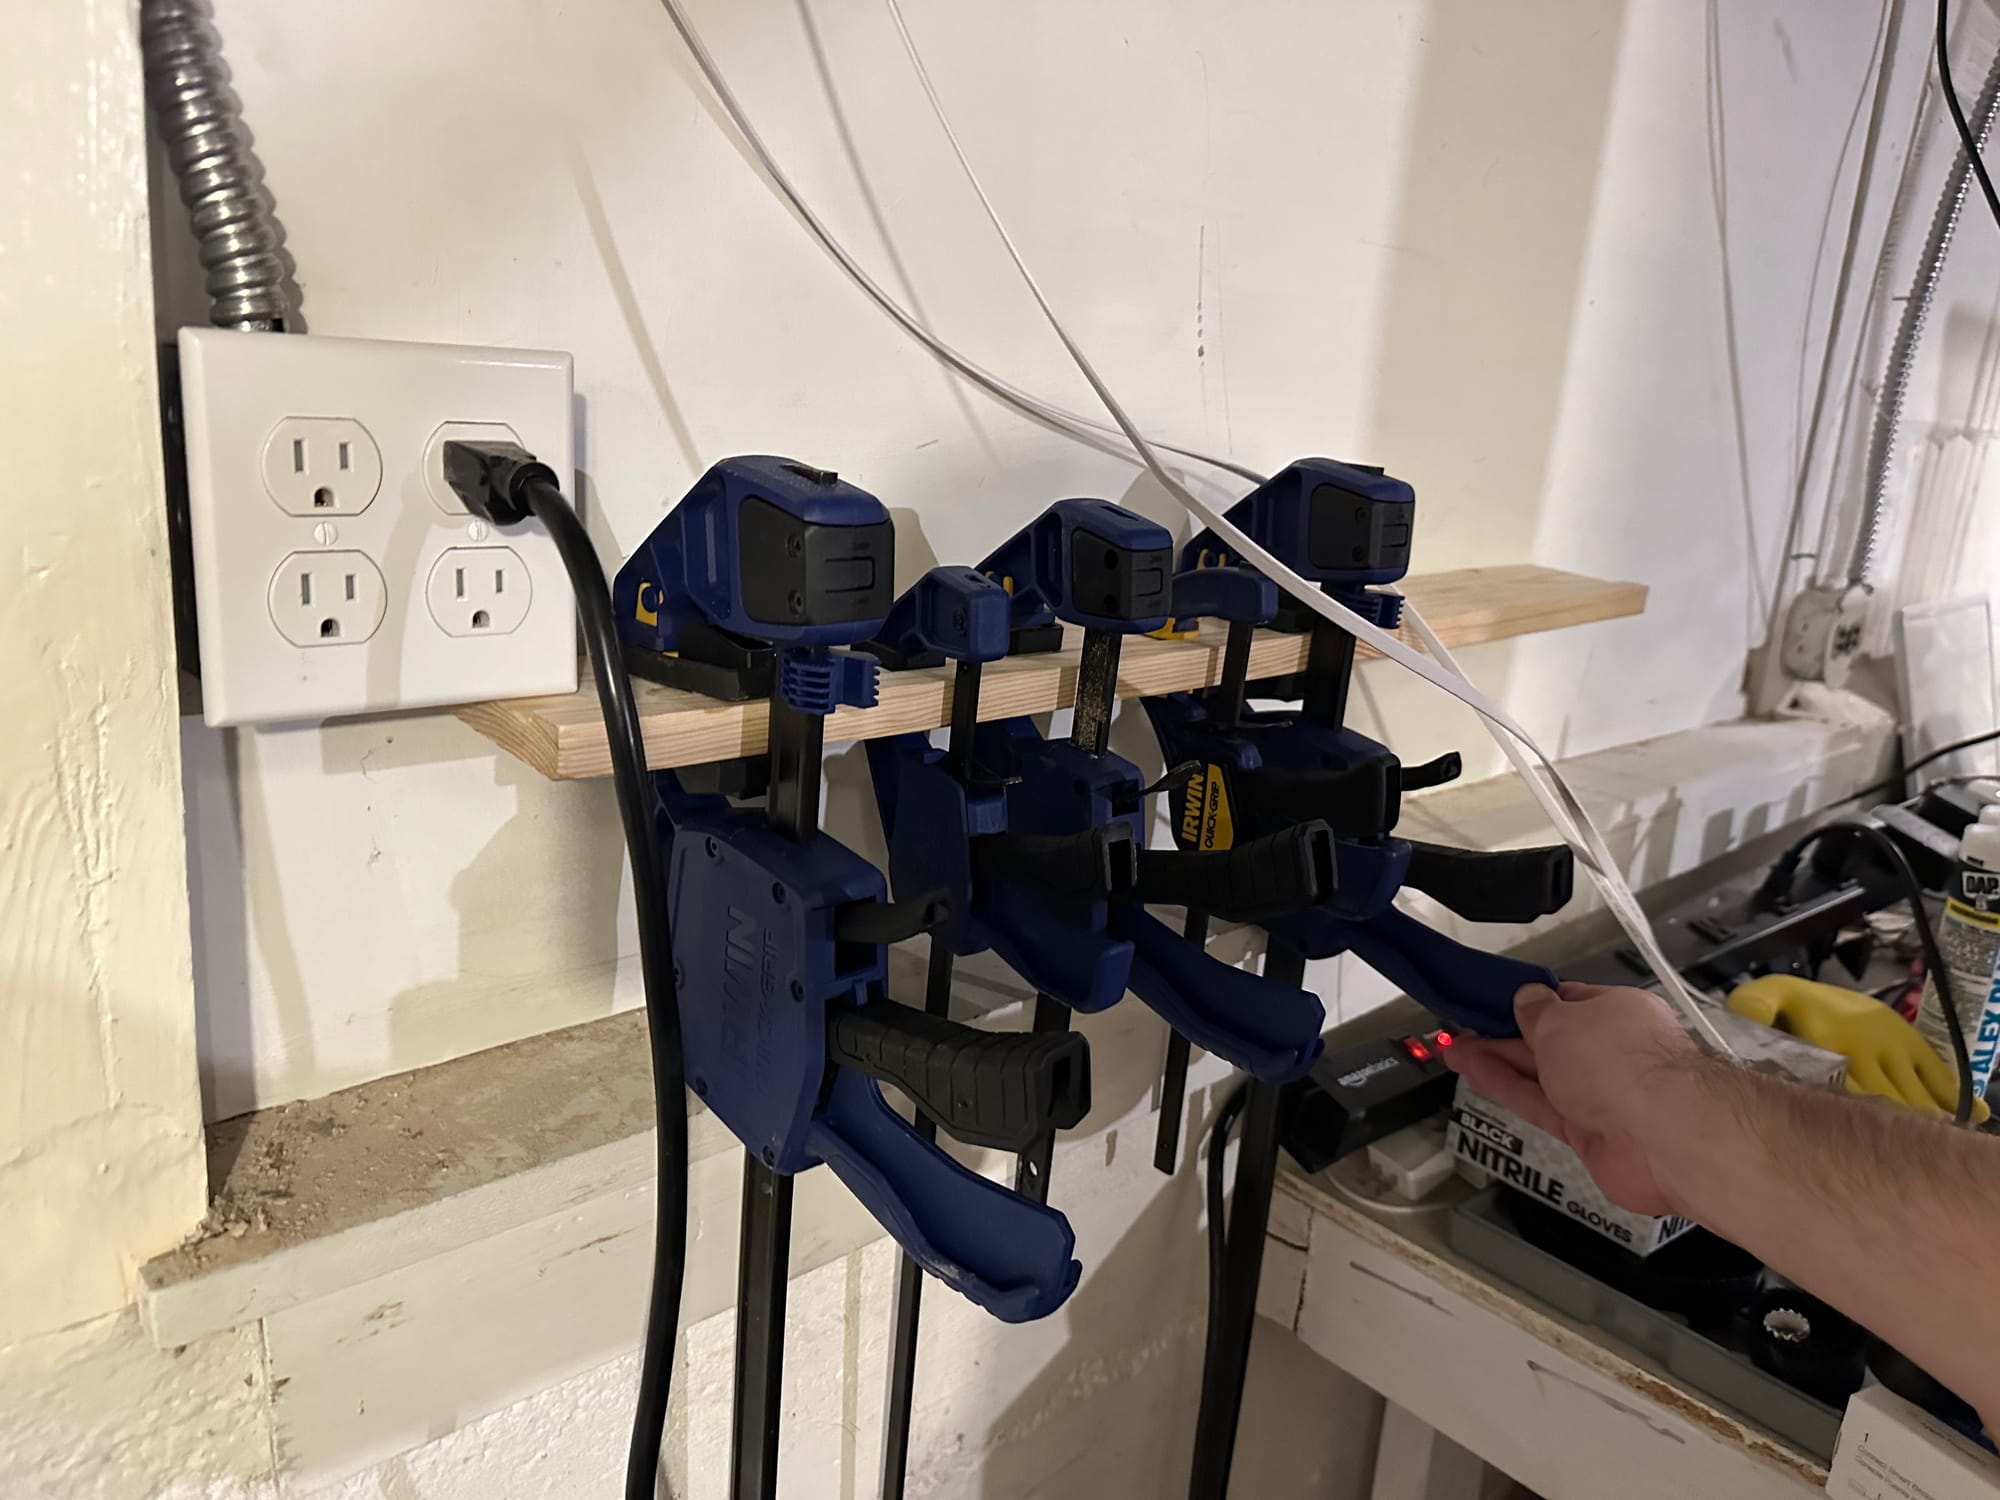
One of these is clamp storage. My bread-and-butter clamps are Irwin Quick-Grip clamps, and I've been building up a collection of them over the years, but they were always kind of a mess; the big ones leaning somewhere, smaller ones left on a flat surface. I wanted to come up with a solution where they could have a dedicated space, and given their utility as one-handed clamps, I wanted to make sure it was easy to get them off and put them back.
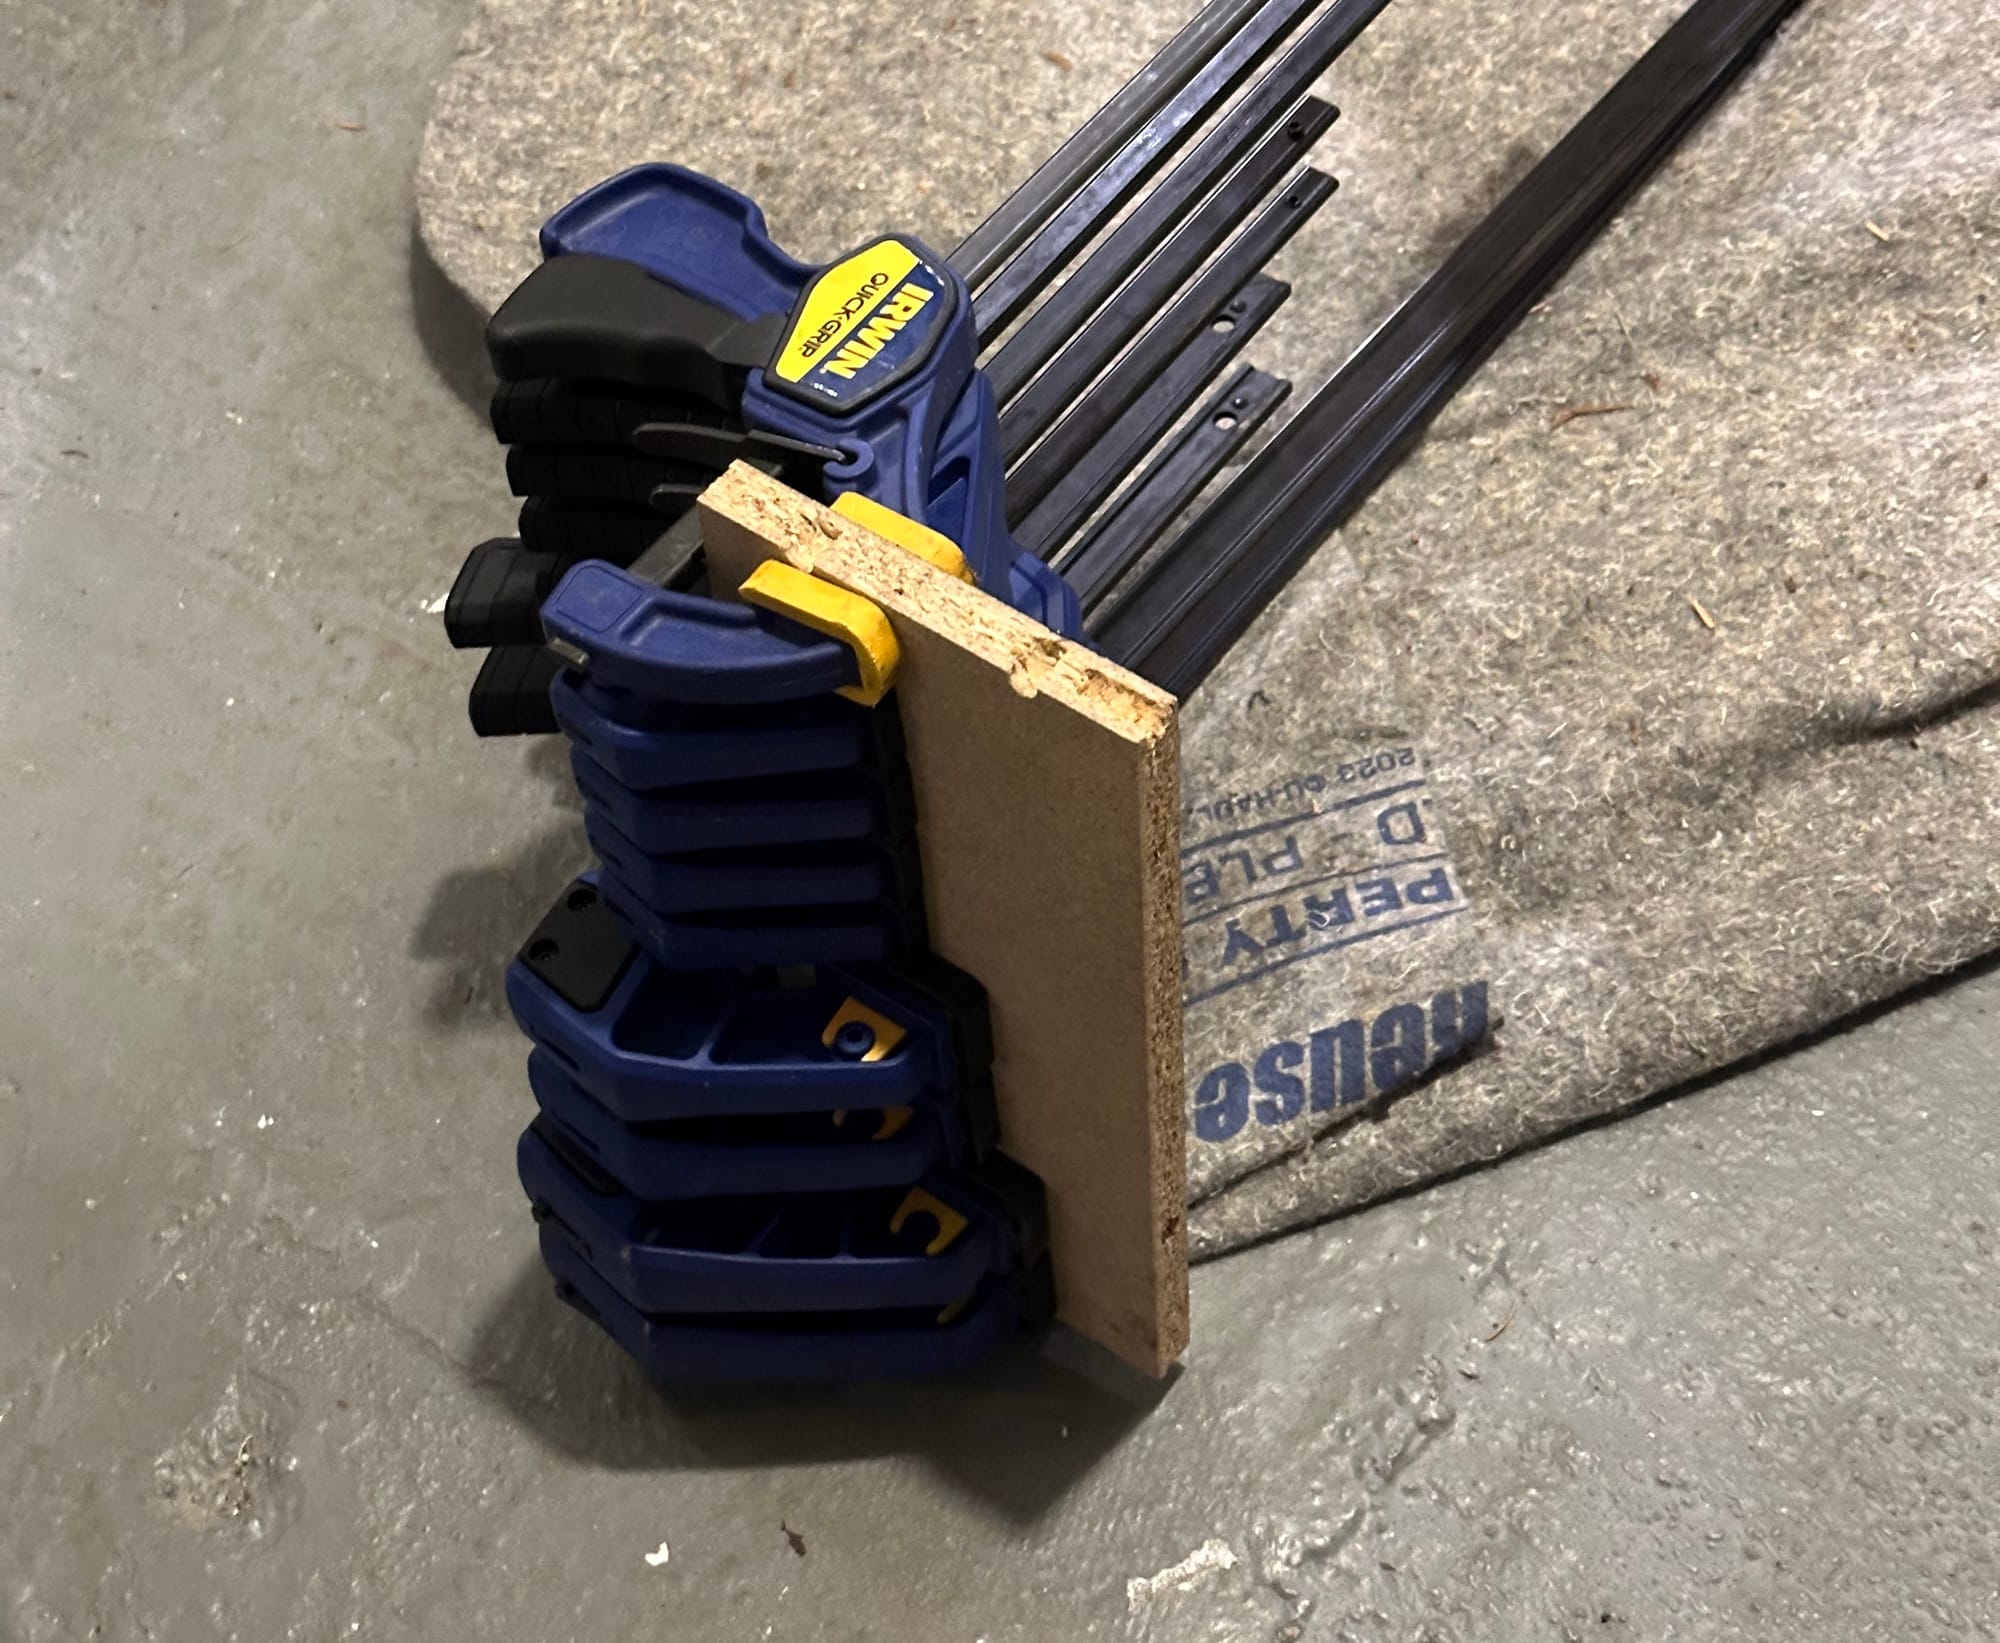
I started by using a scrap of wood to line up (the majority of) my clamps, so that I could see how much room I'd need to store my existing collection. I did also want to include some baby fat to give myself room to add to my collection, and ended up settling on a pretty aggressive length, almost 200% of what I currently need.
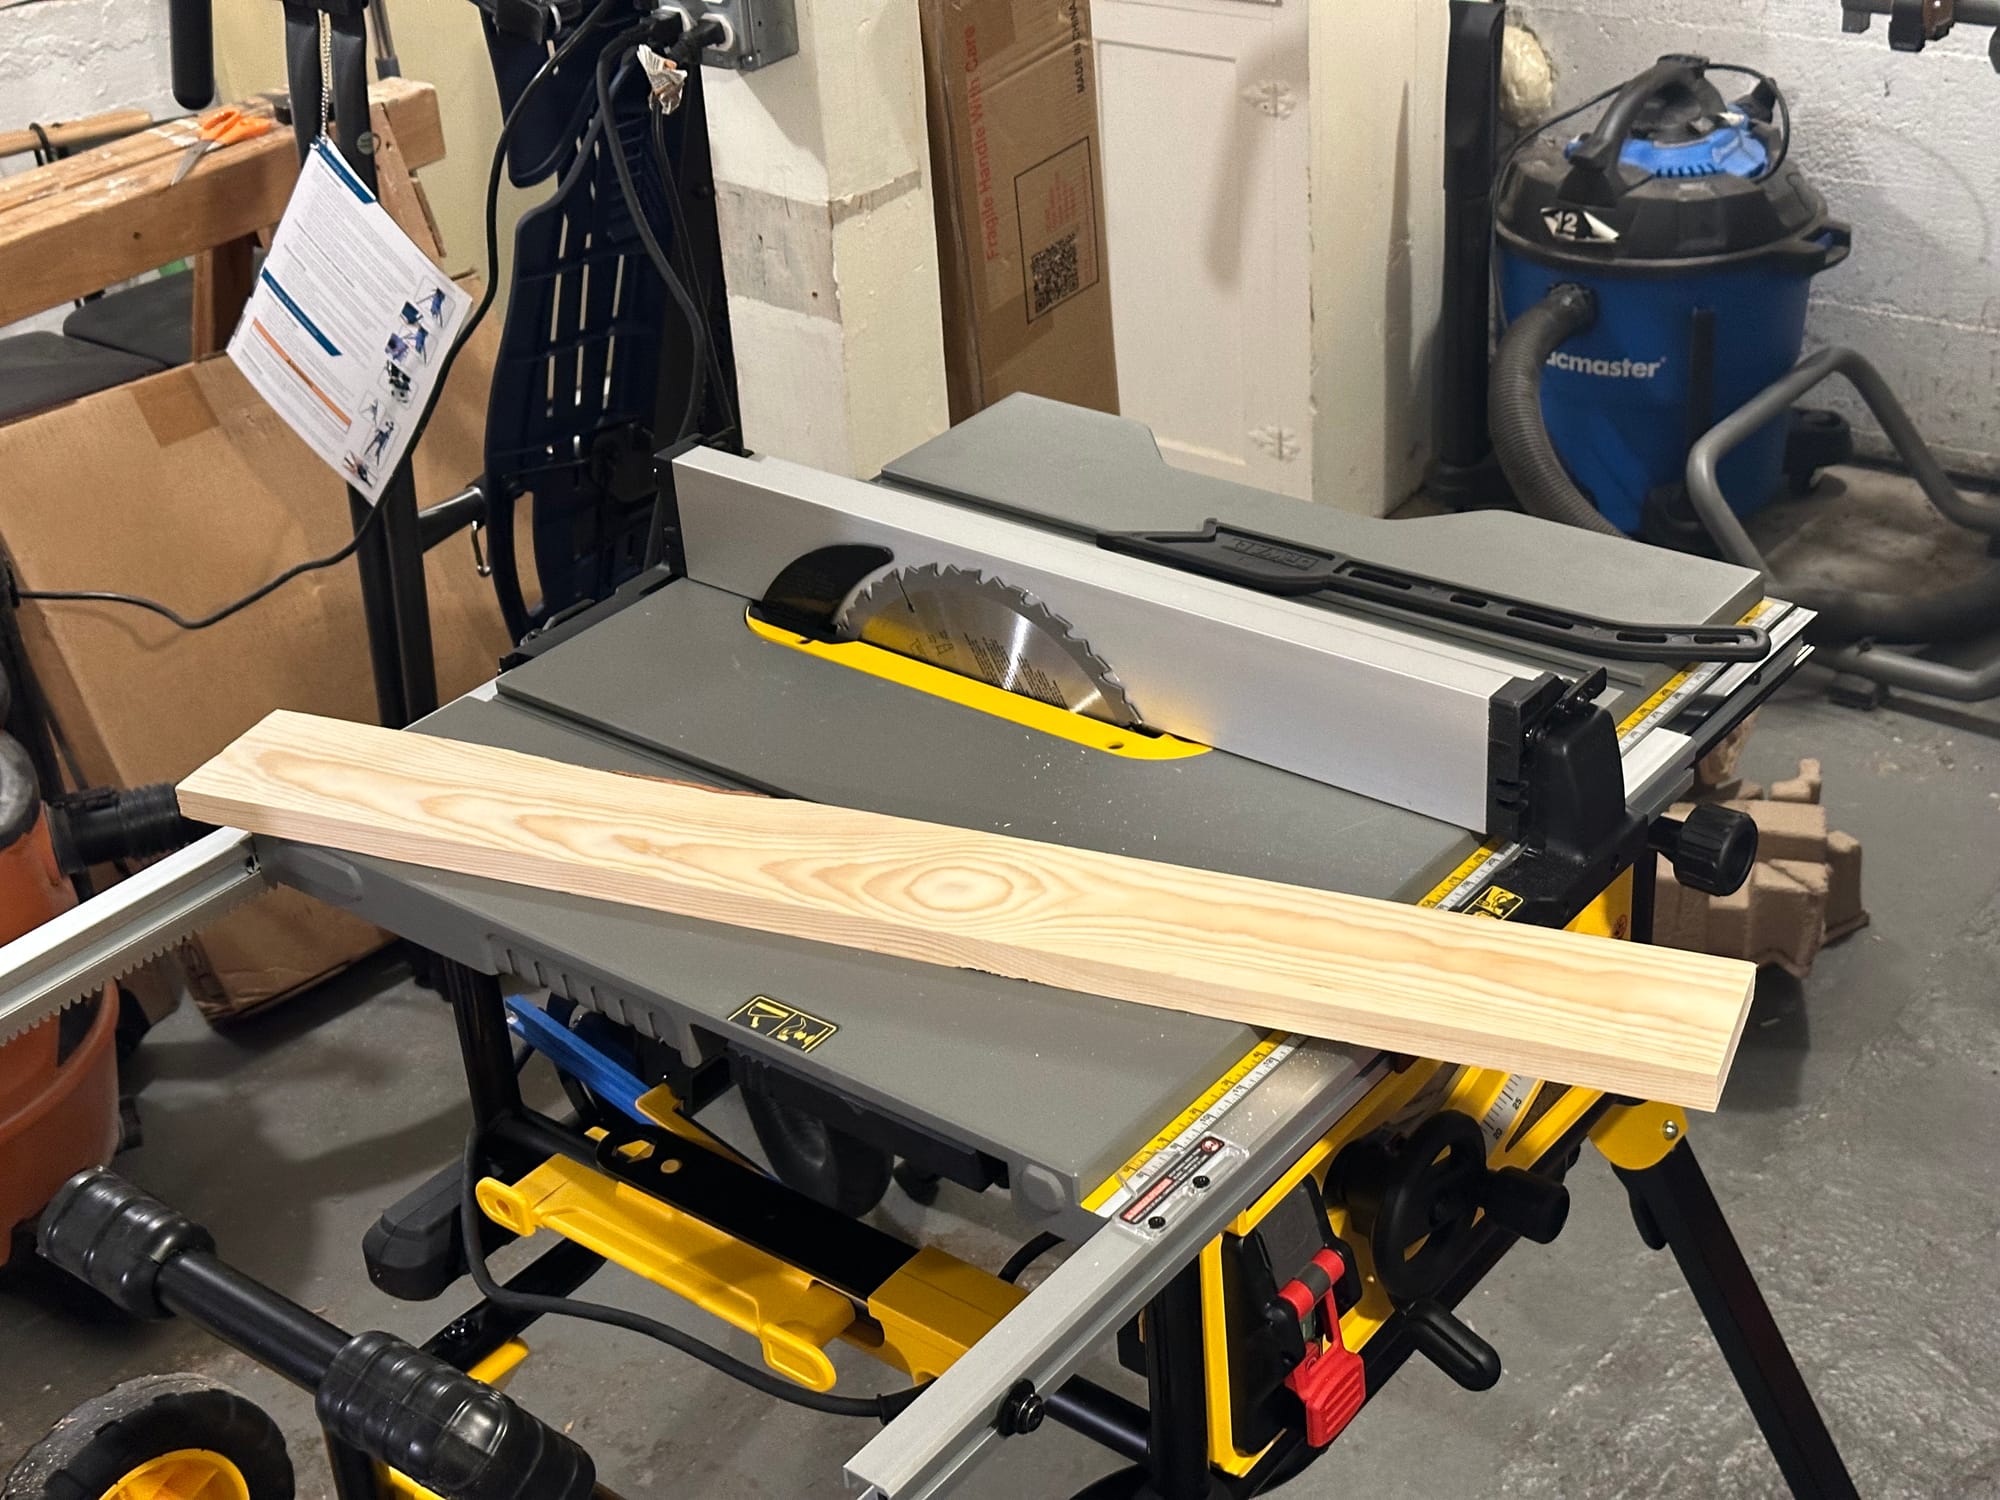
For the larger clamps, I wanted a small lip so that clamps would have a nice positive hold. Rather than trying to add something thin, I elected to use my new table saw to cut a groove to create that lip.
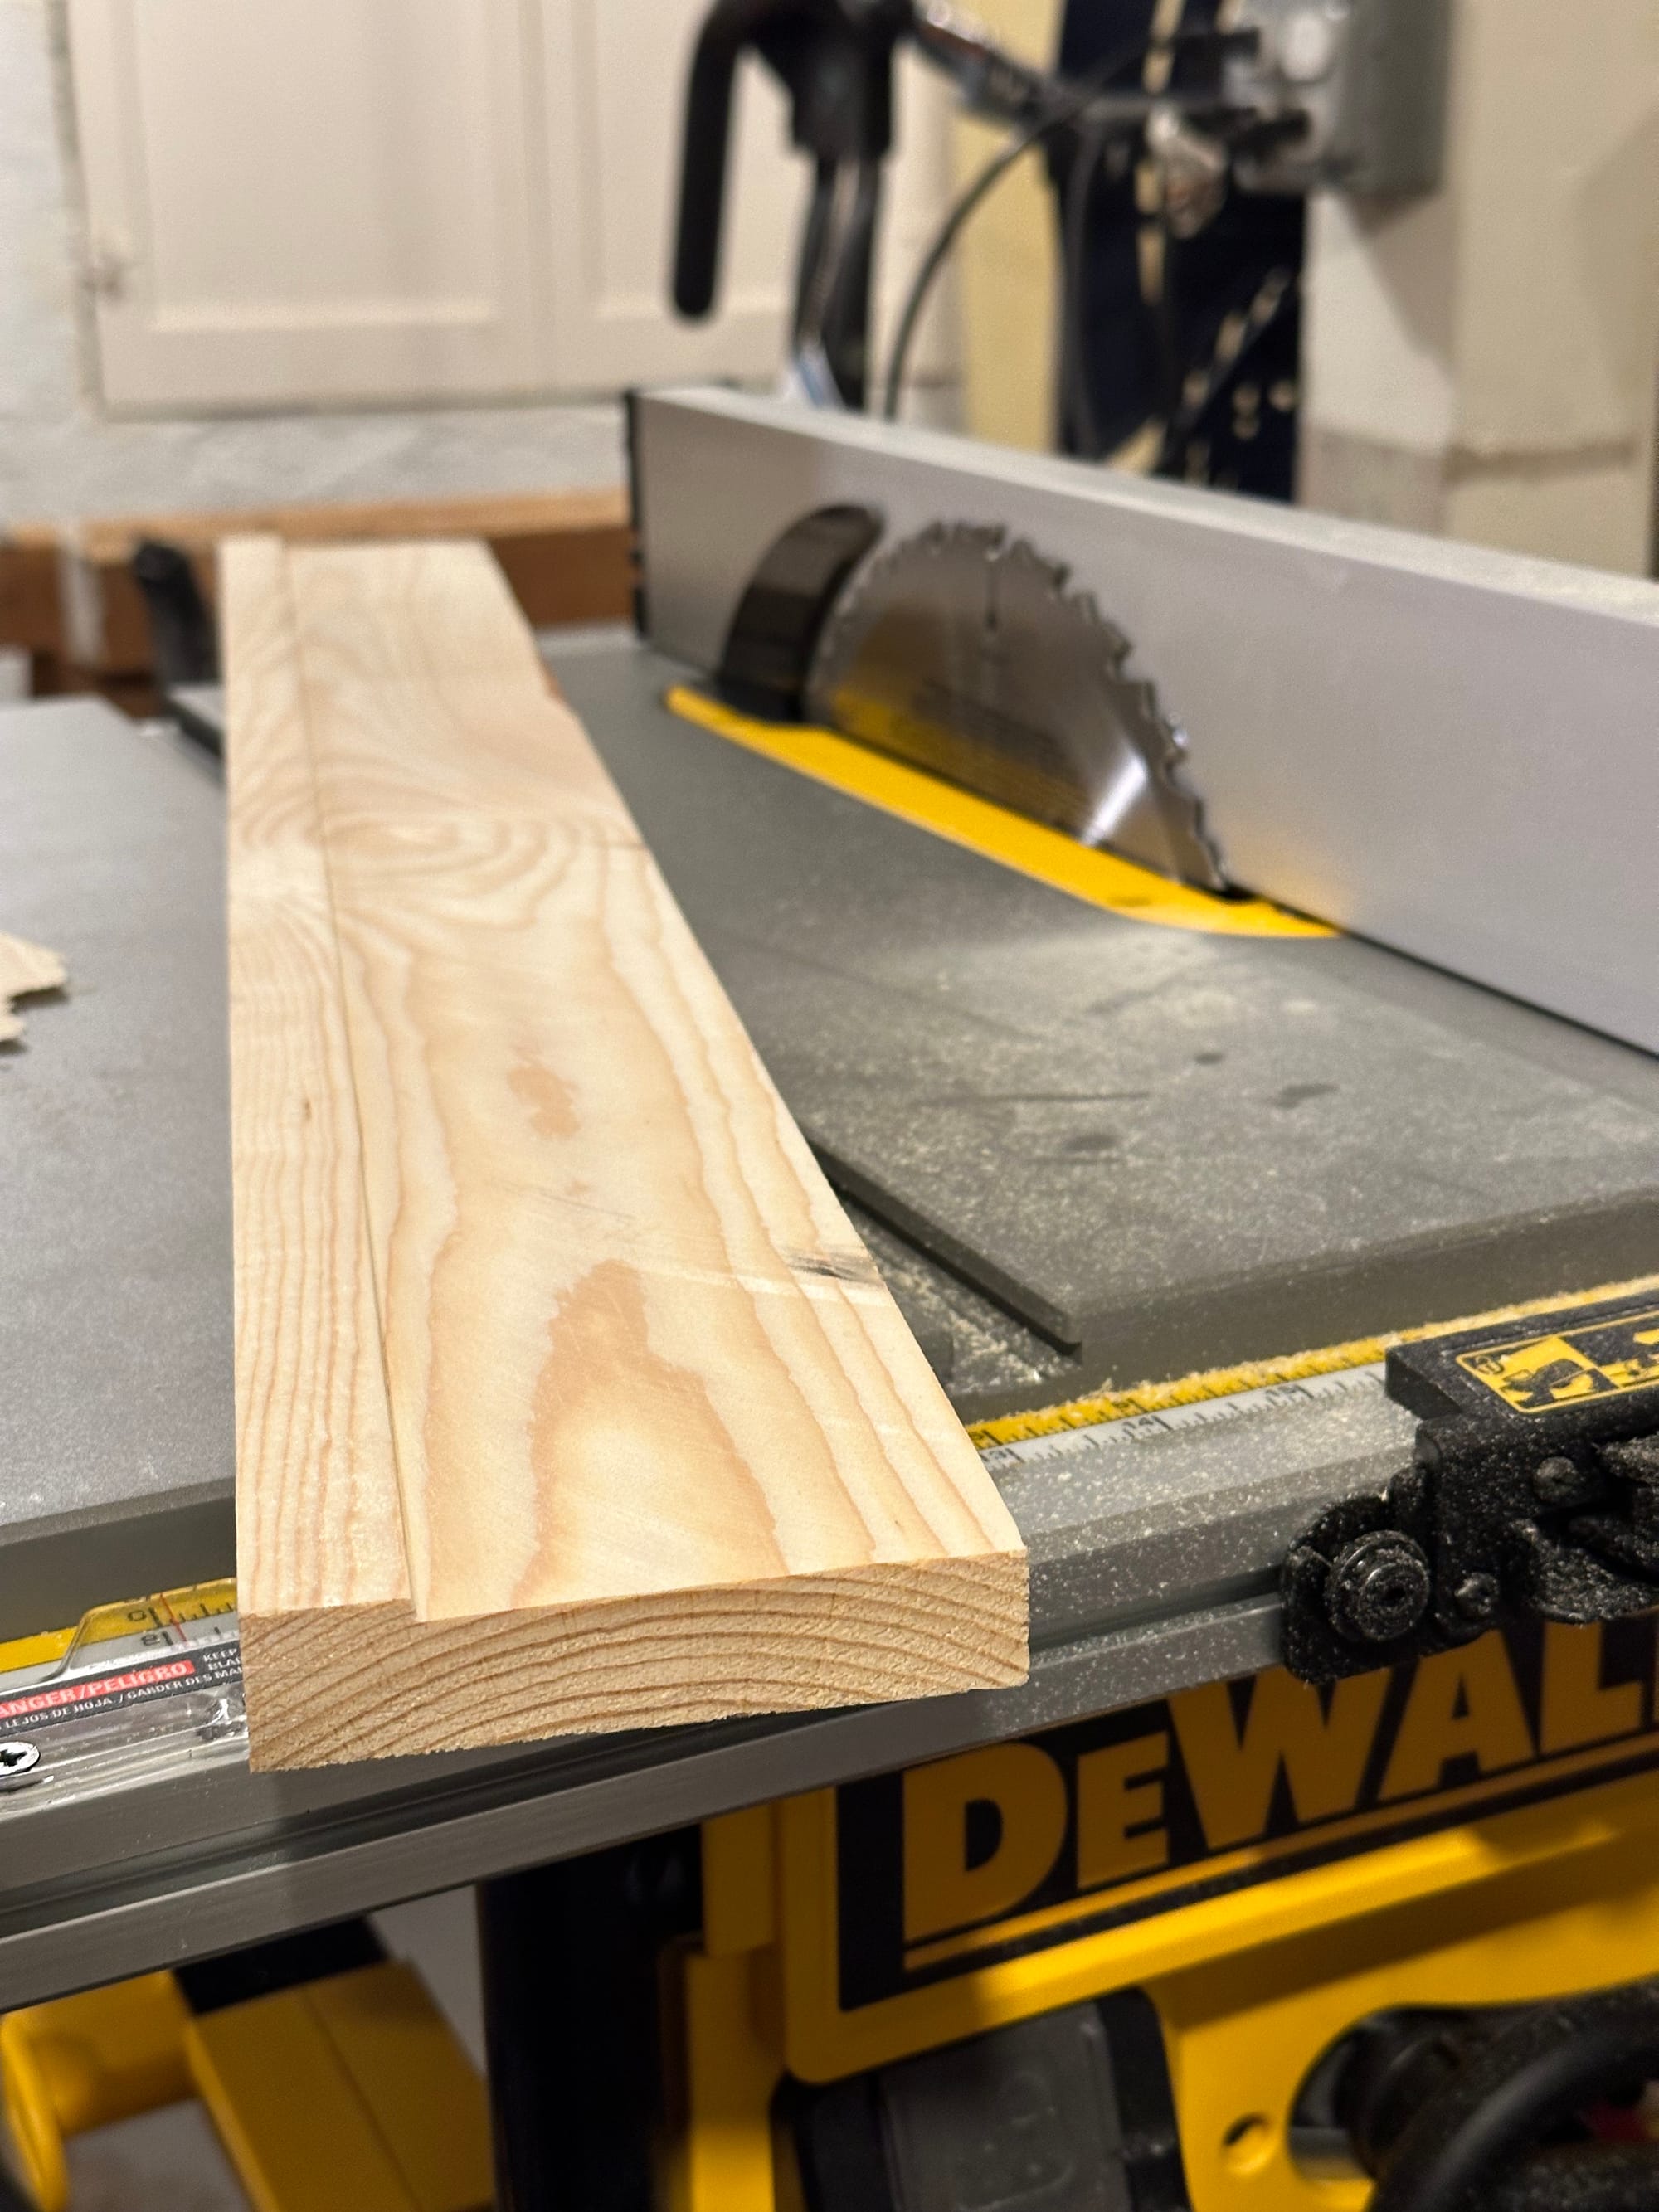
A quick check to look at placement!
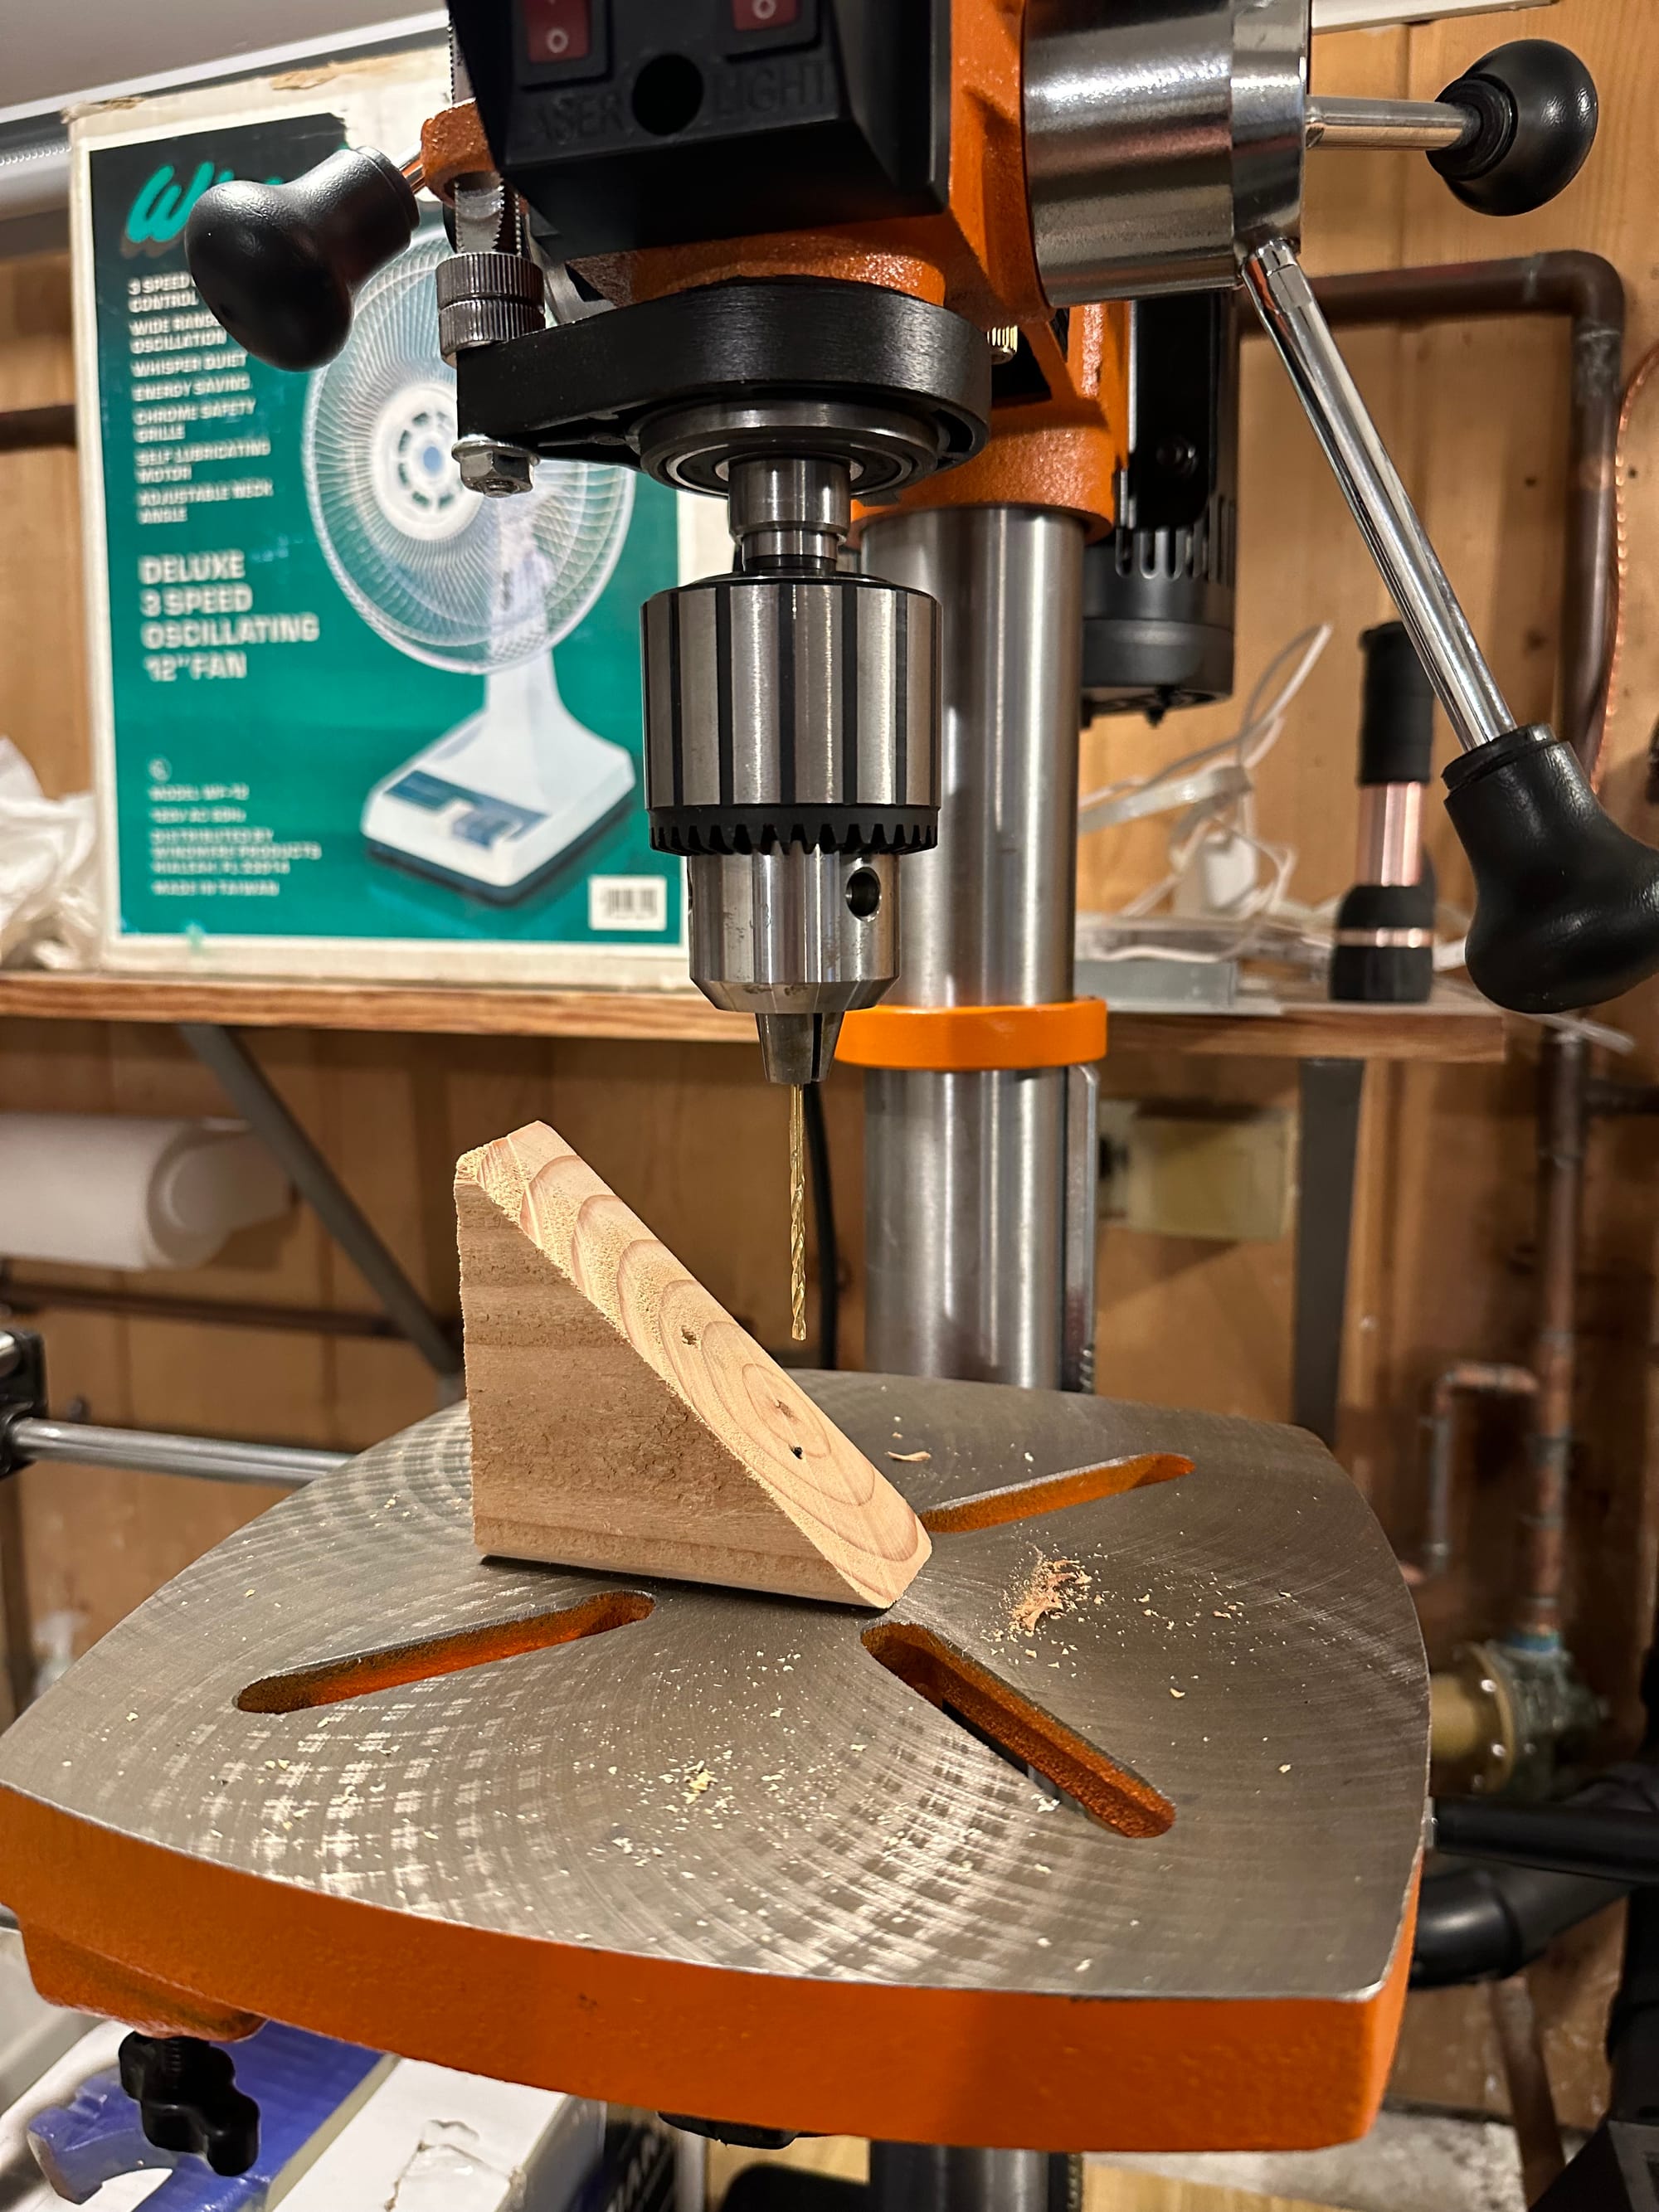
I wasn't sure how to support it; I wanted to make sure it was sturdy enough. I was initially considering supporting with 2x4s all the way down to the shelf below, but decided to cut them into triangles so I could anchor them directly into the wall. A quick trip to the drill press to drill out holes for screws, then countersinking screws to connect the clamp surface to the supports.
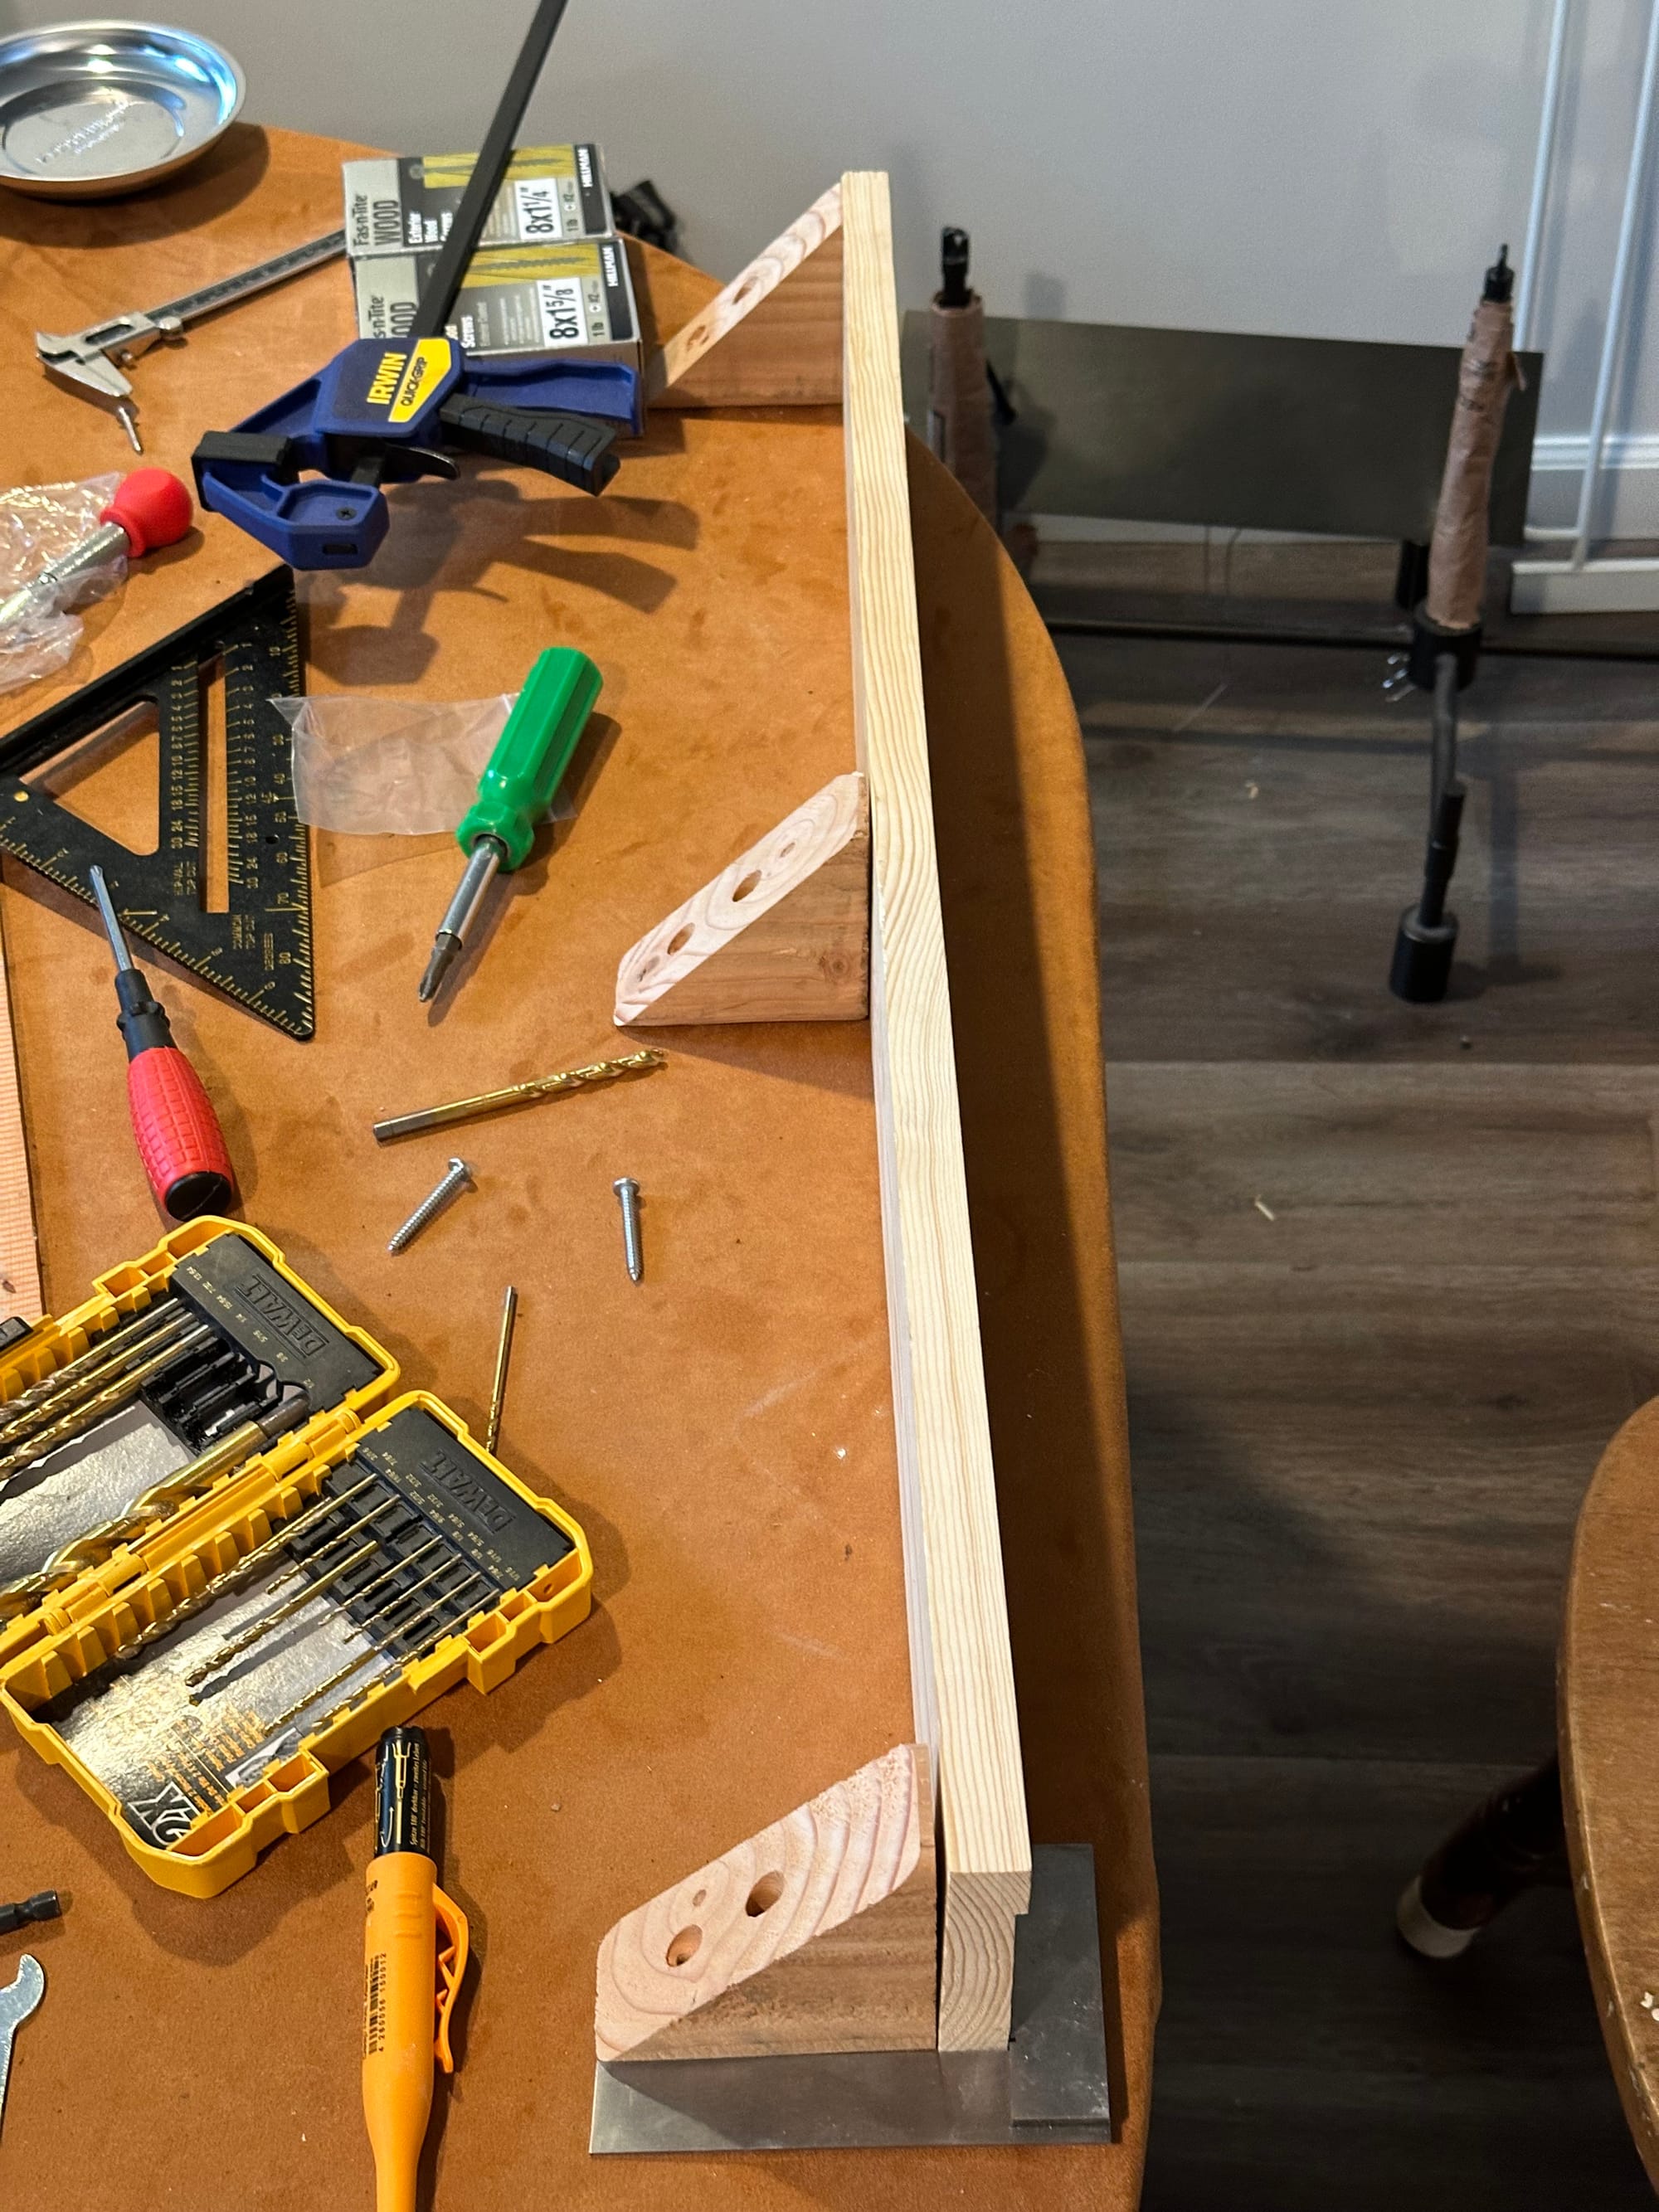
I used my offcuts to position it nicely on the wall. I drove screws directly into the drywall to mark the screw positions, and then removed and added heavy duty anchors before installing for good.
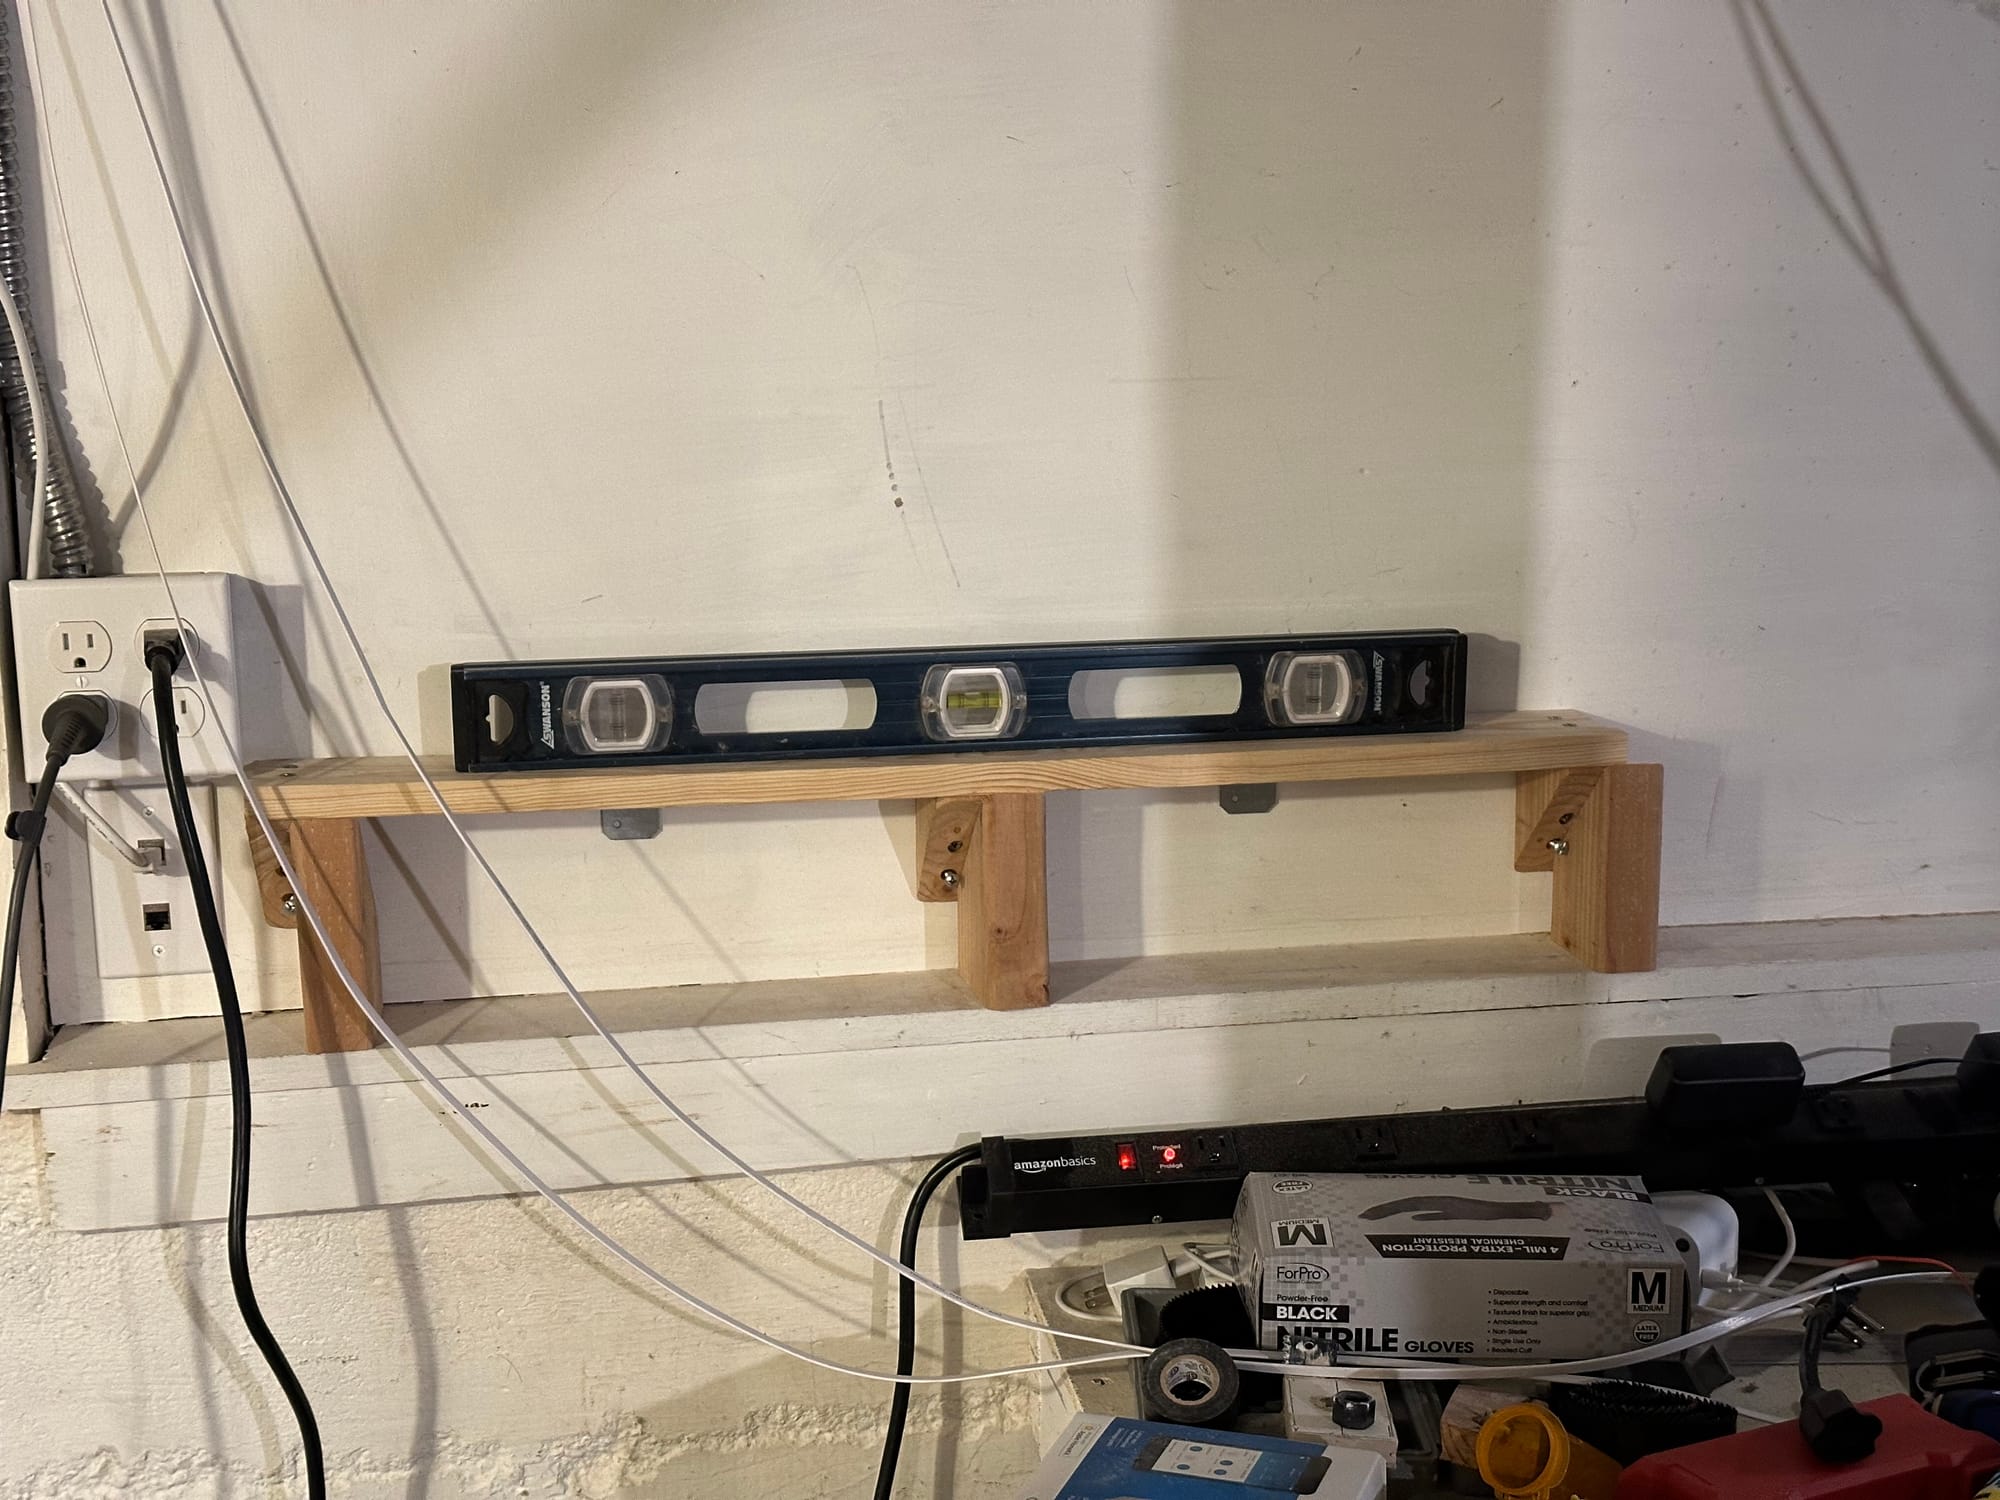
With that, clamp storage! A good first step to start building workshop storage around.
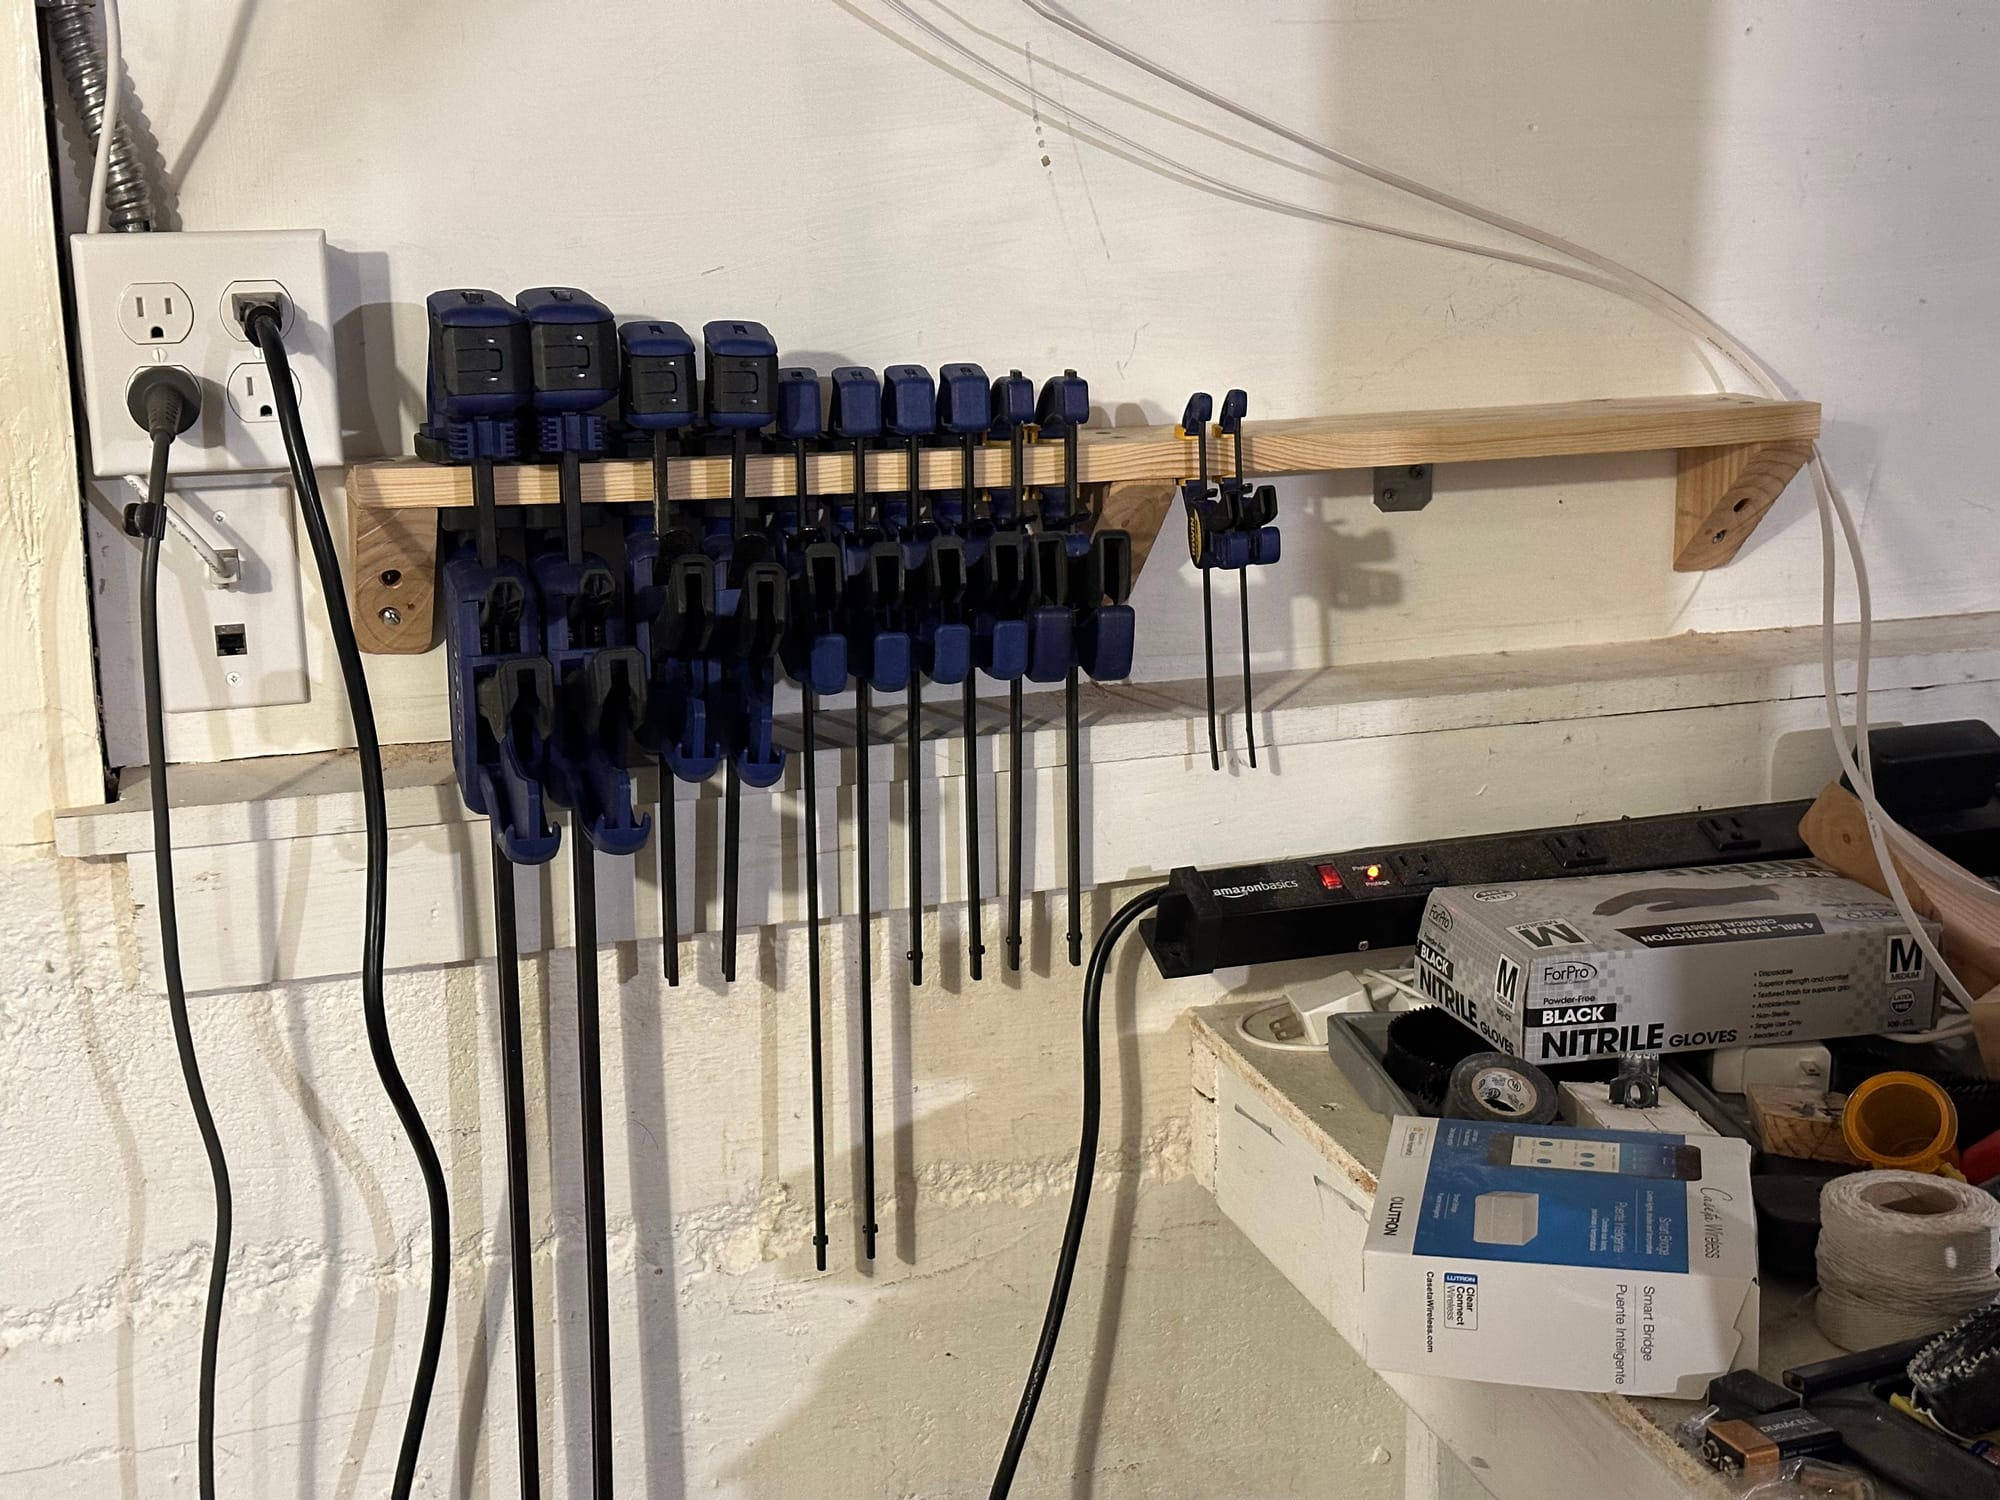
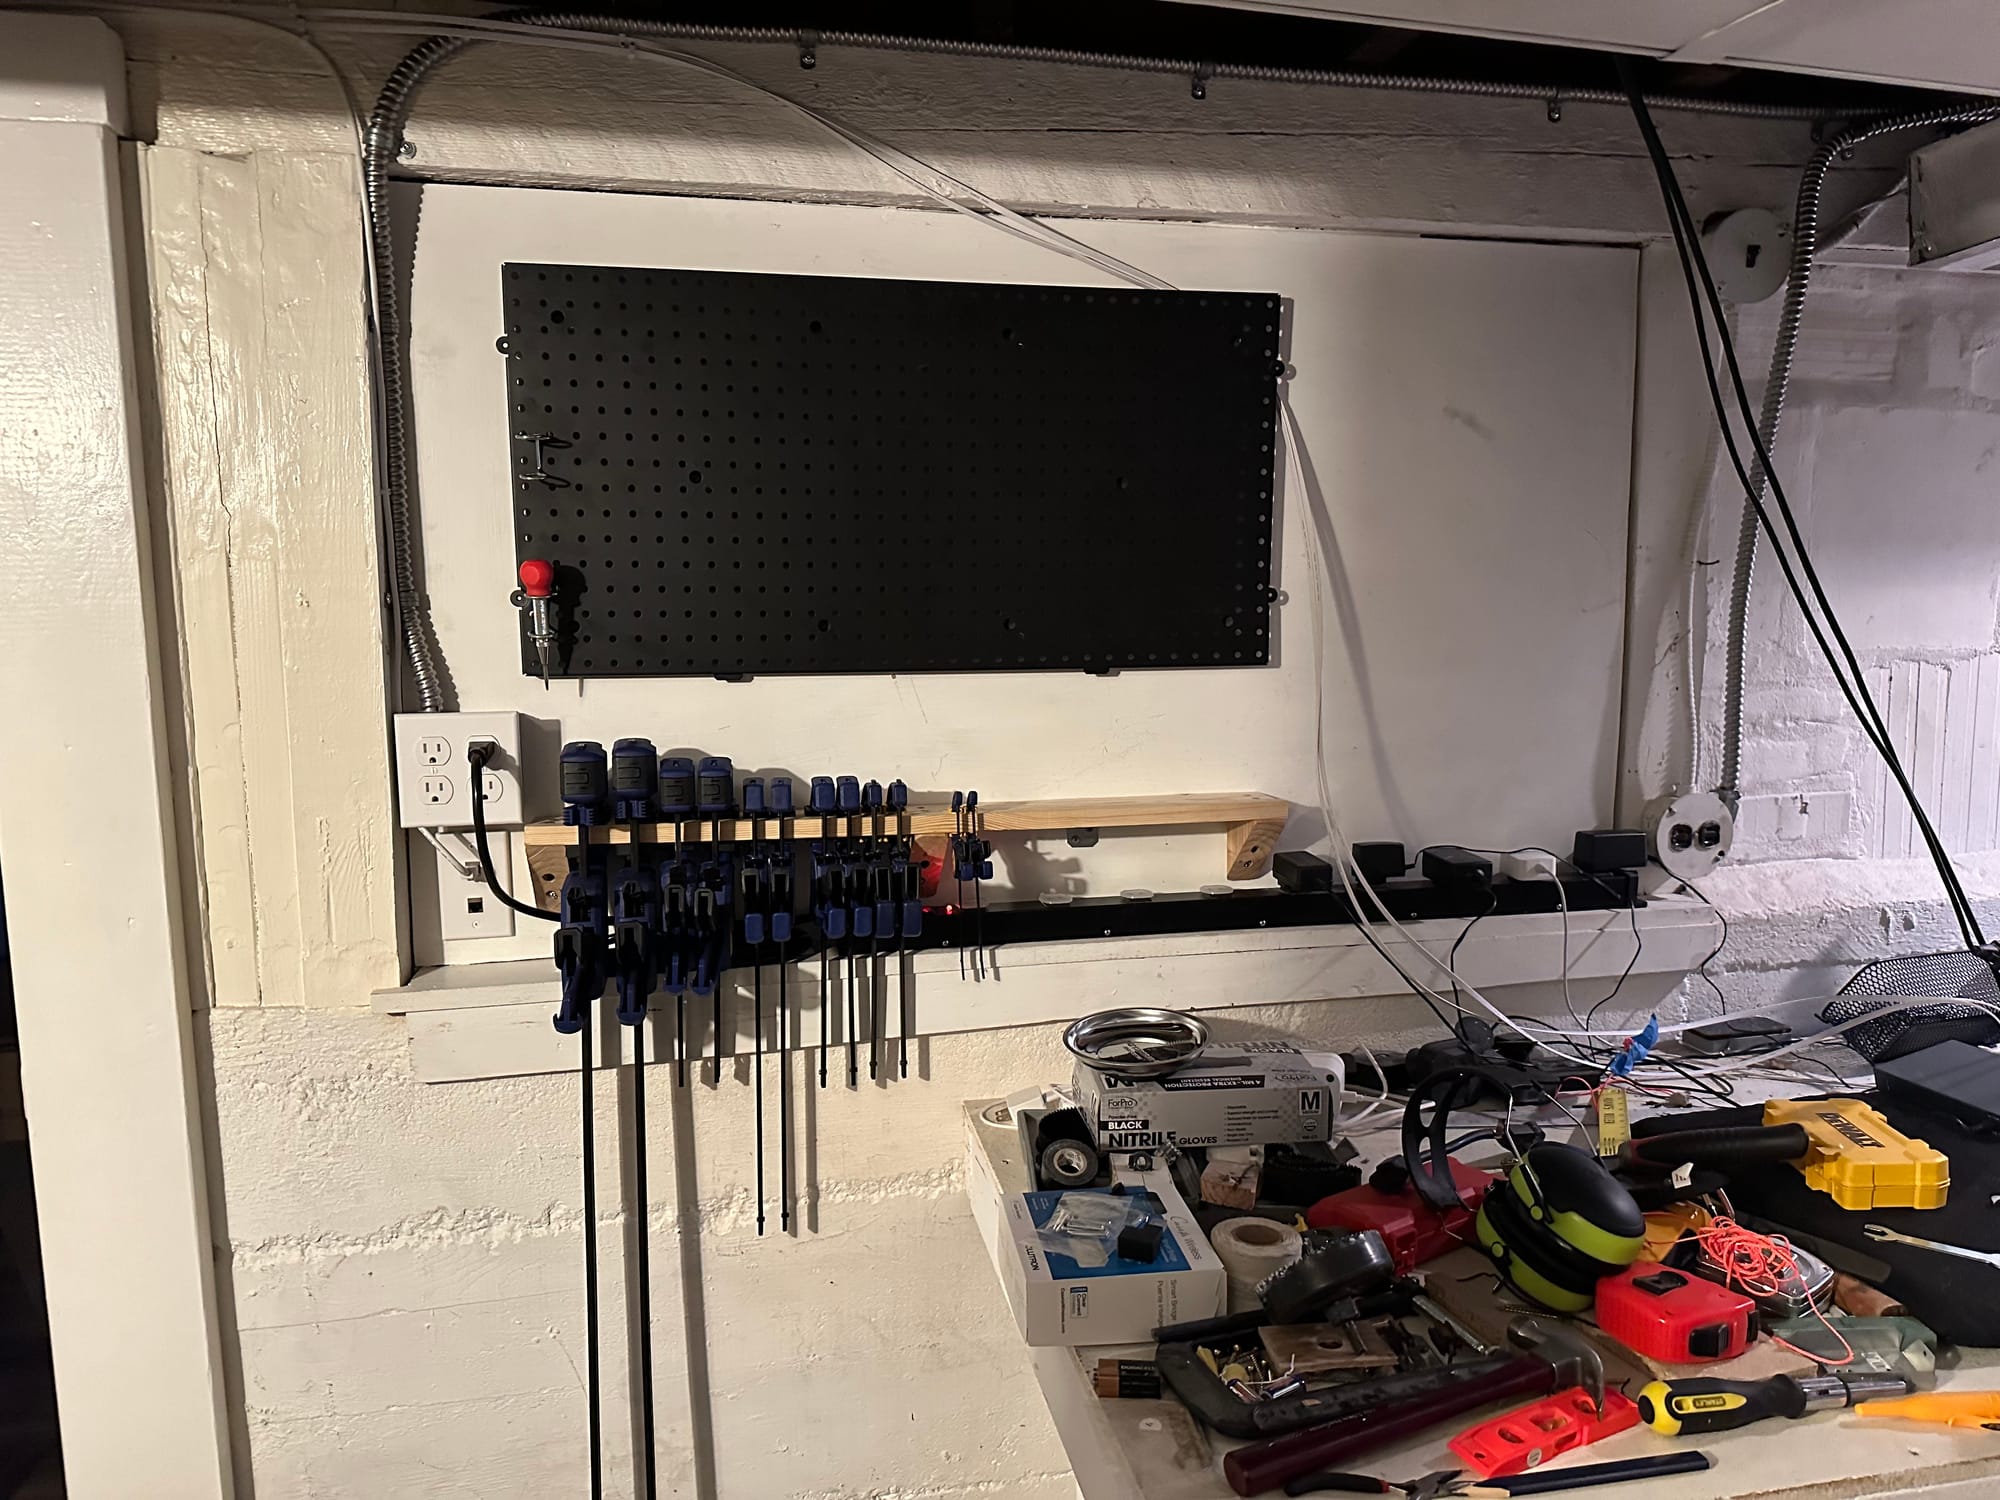
Finally, that single hand storage capability in practice:
