A few small (fence) repairs
Seattle catch-up post! After closing on our house last fall, we were excited to introduce the dogs to their new backyard, but there were a few issues with the existing wood fence that I wanted to address to make sure they wouldn't be tempted to escape to explore the neighborhood. I am sure I will fully replace the fence at some point, but for now, some temporary shoring up.
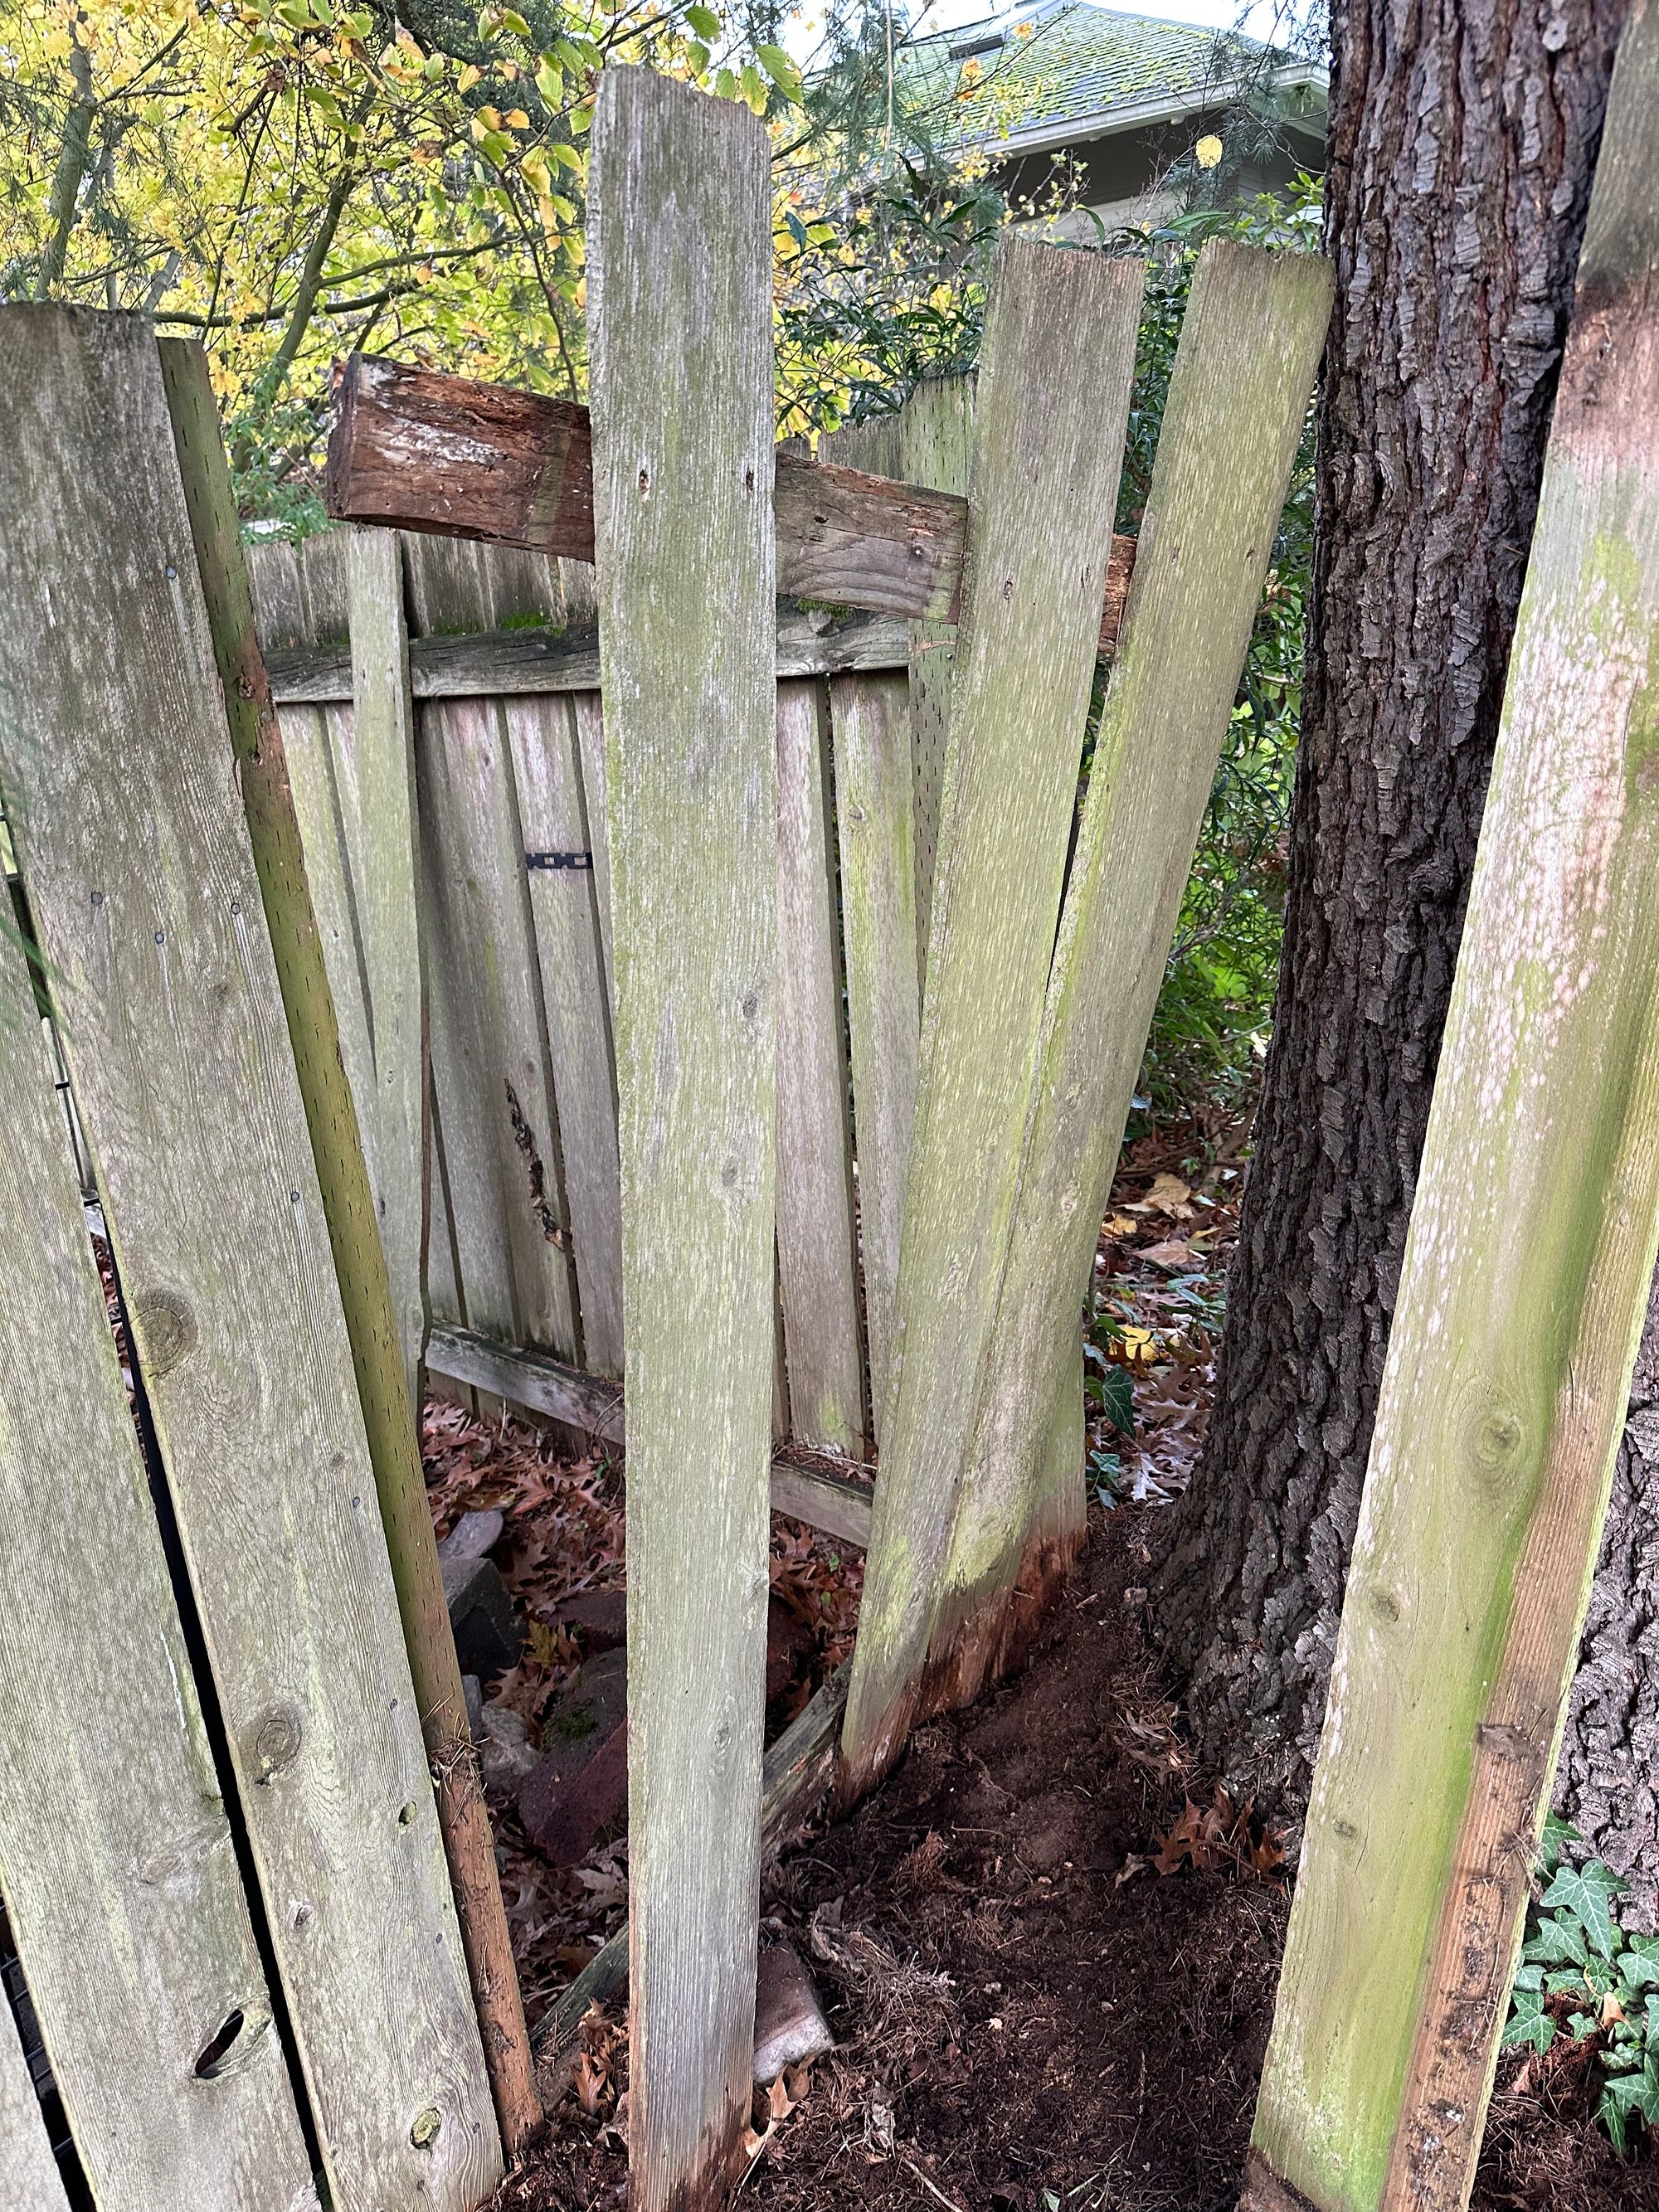
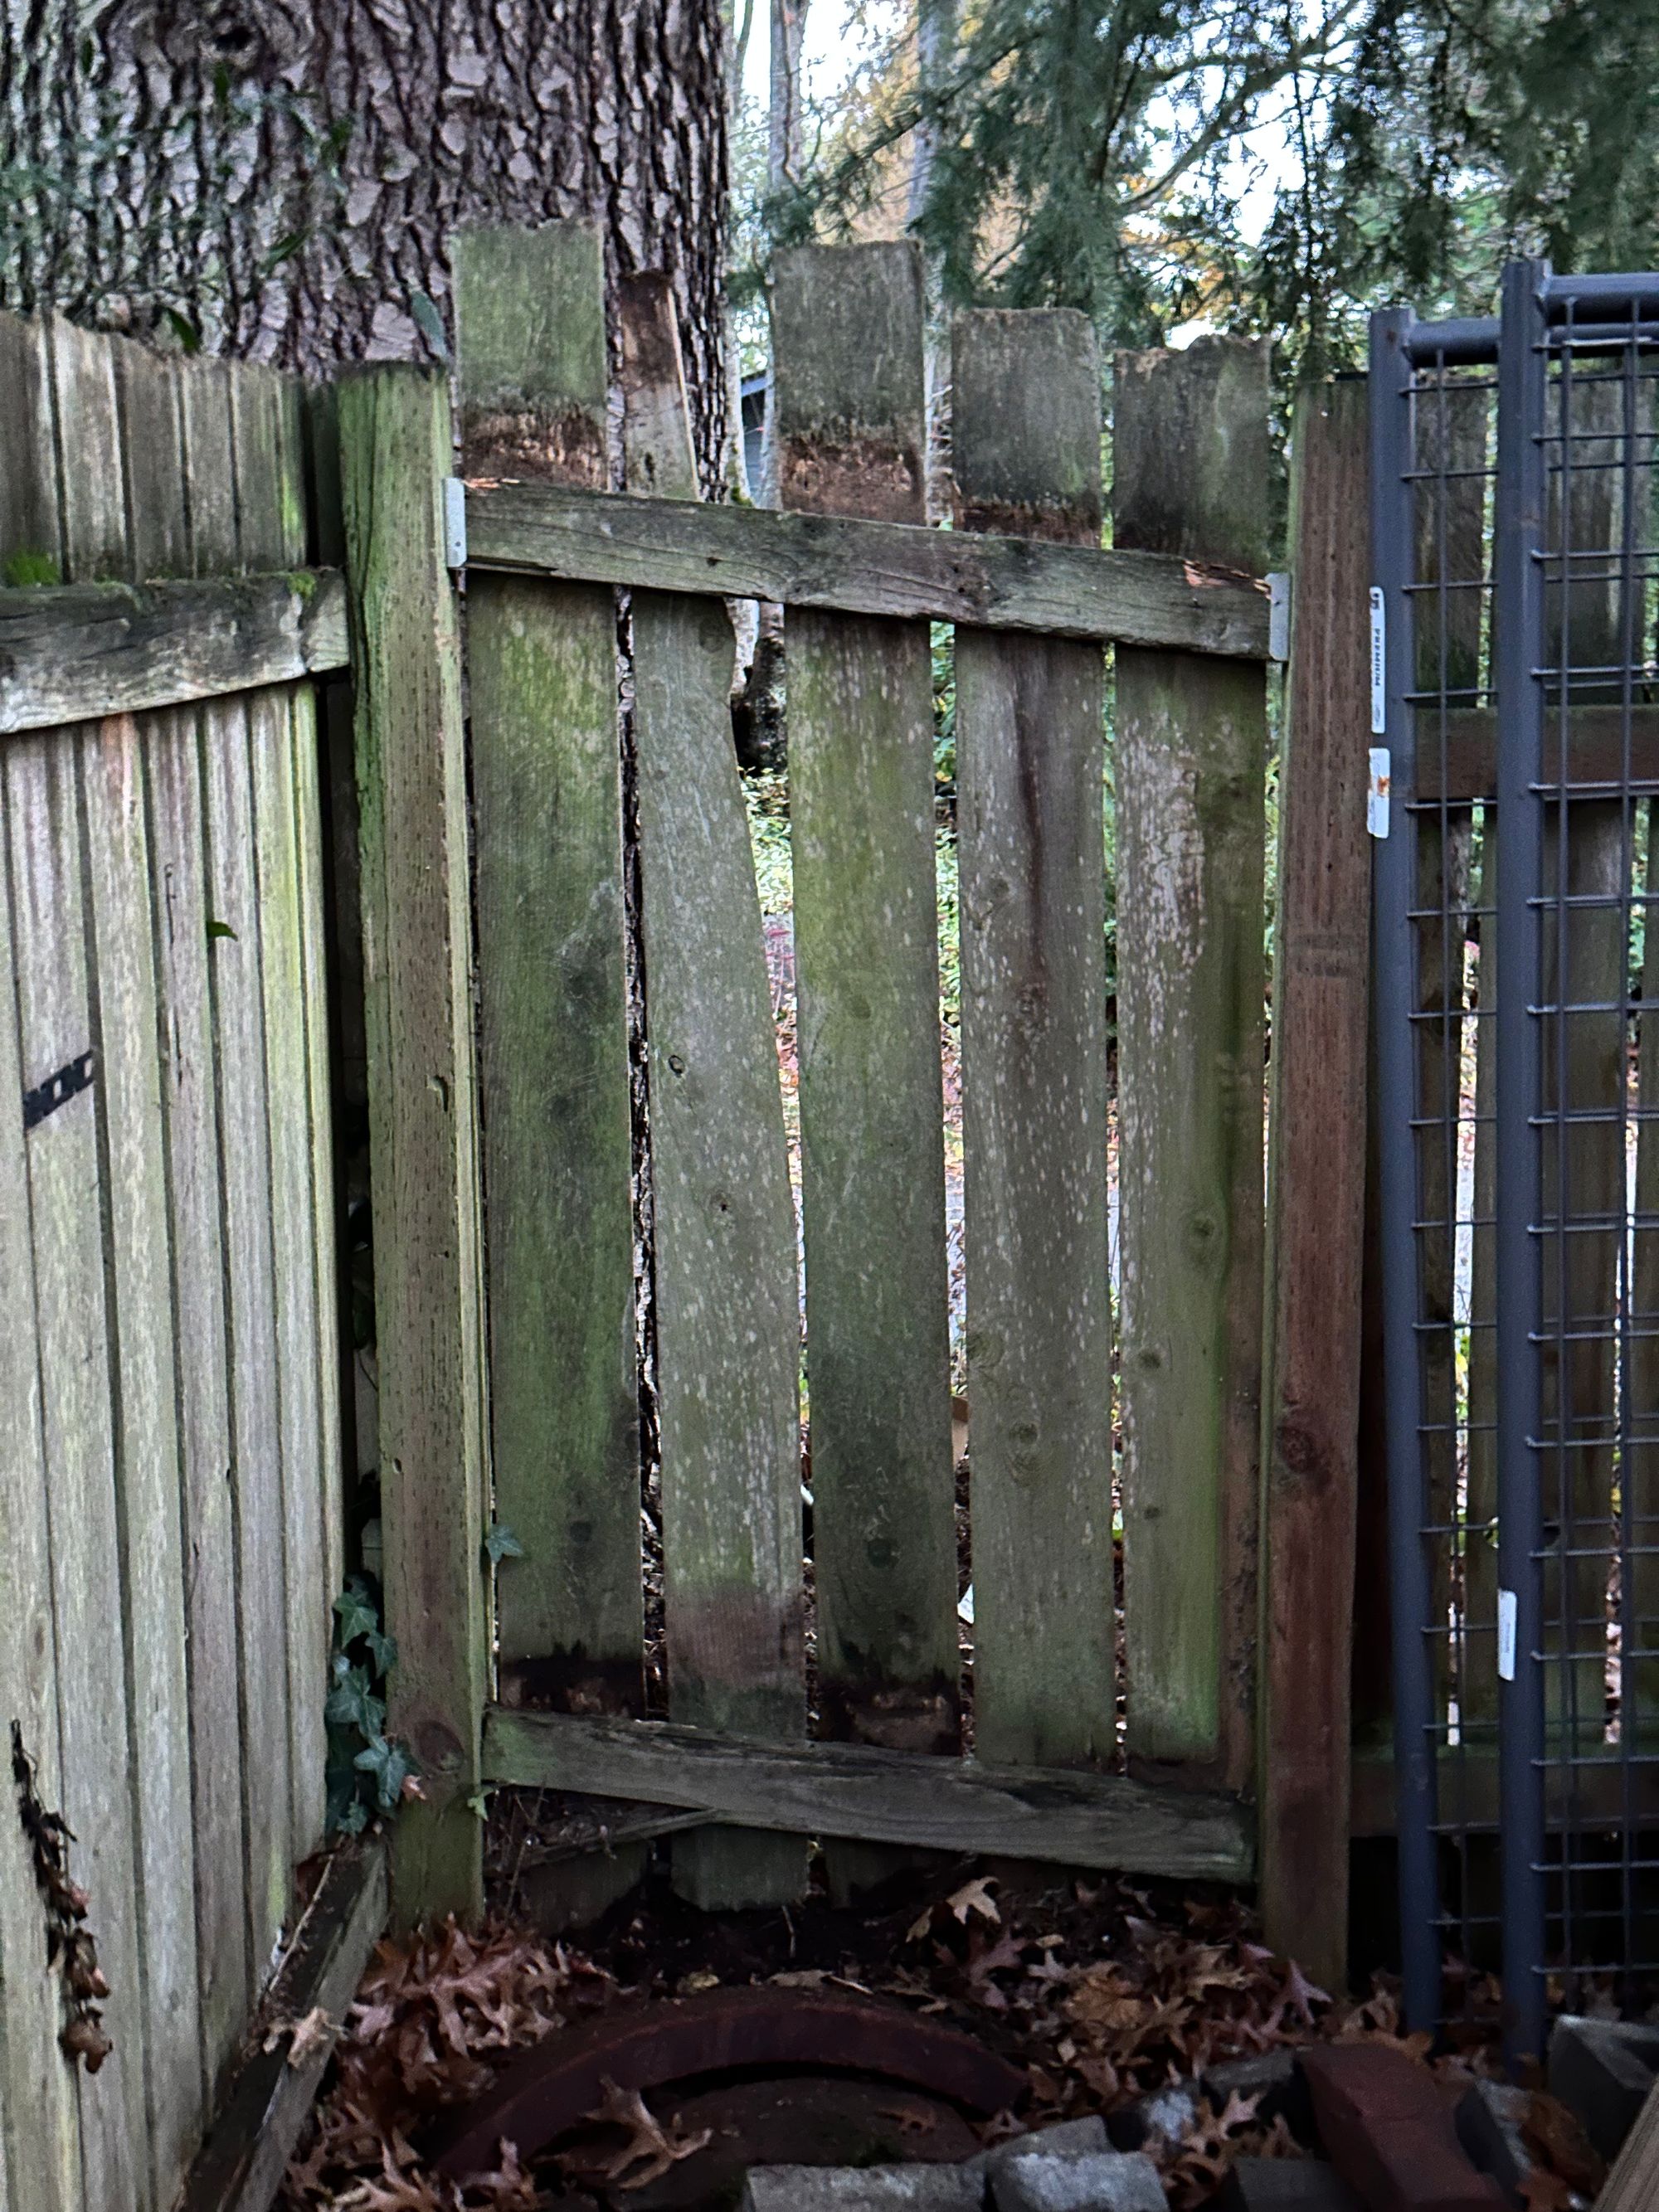
First, to address a section in the corner that was in rough shape.
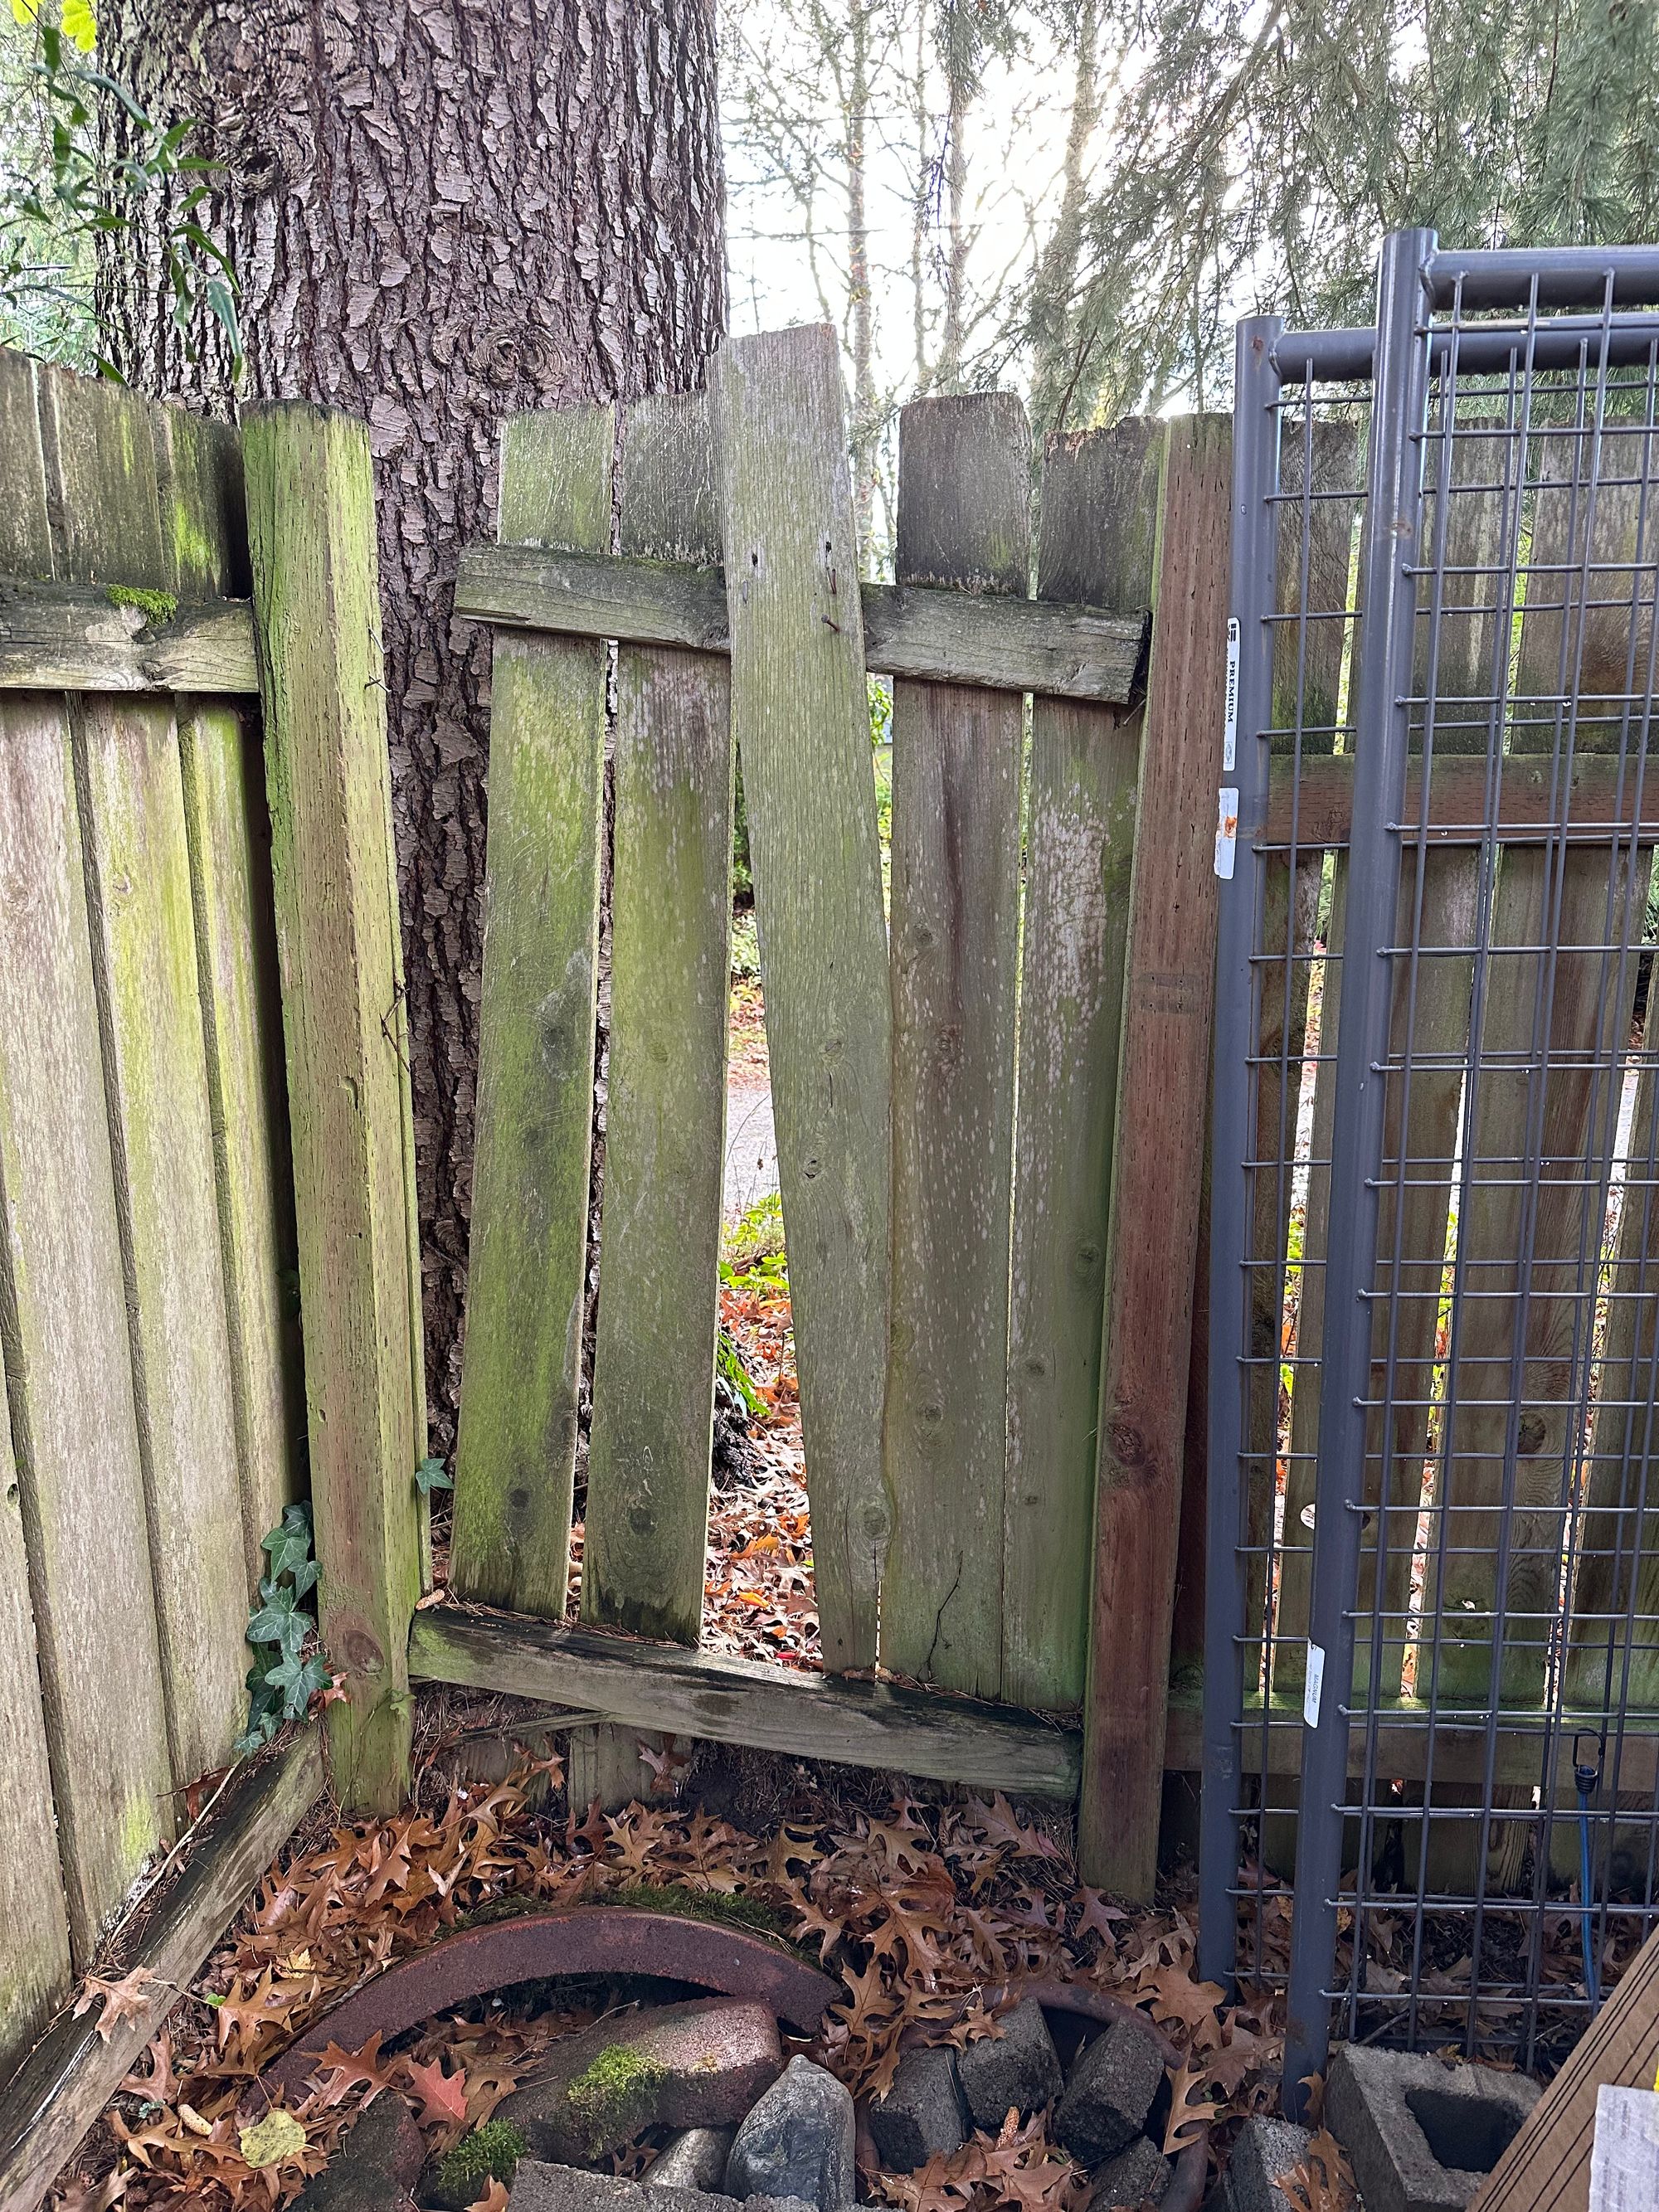
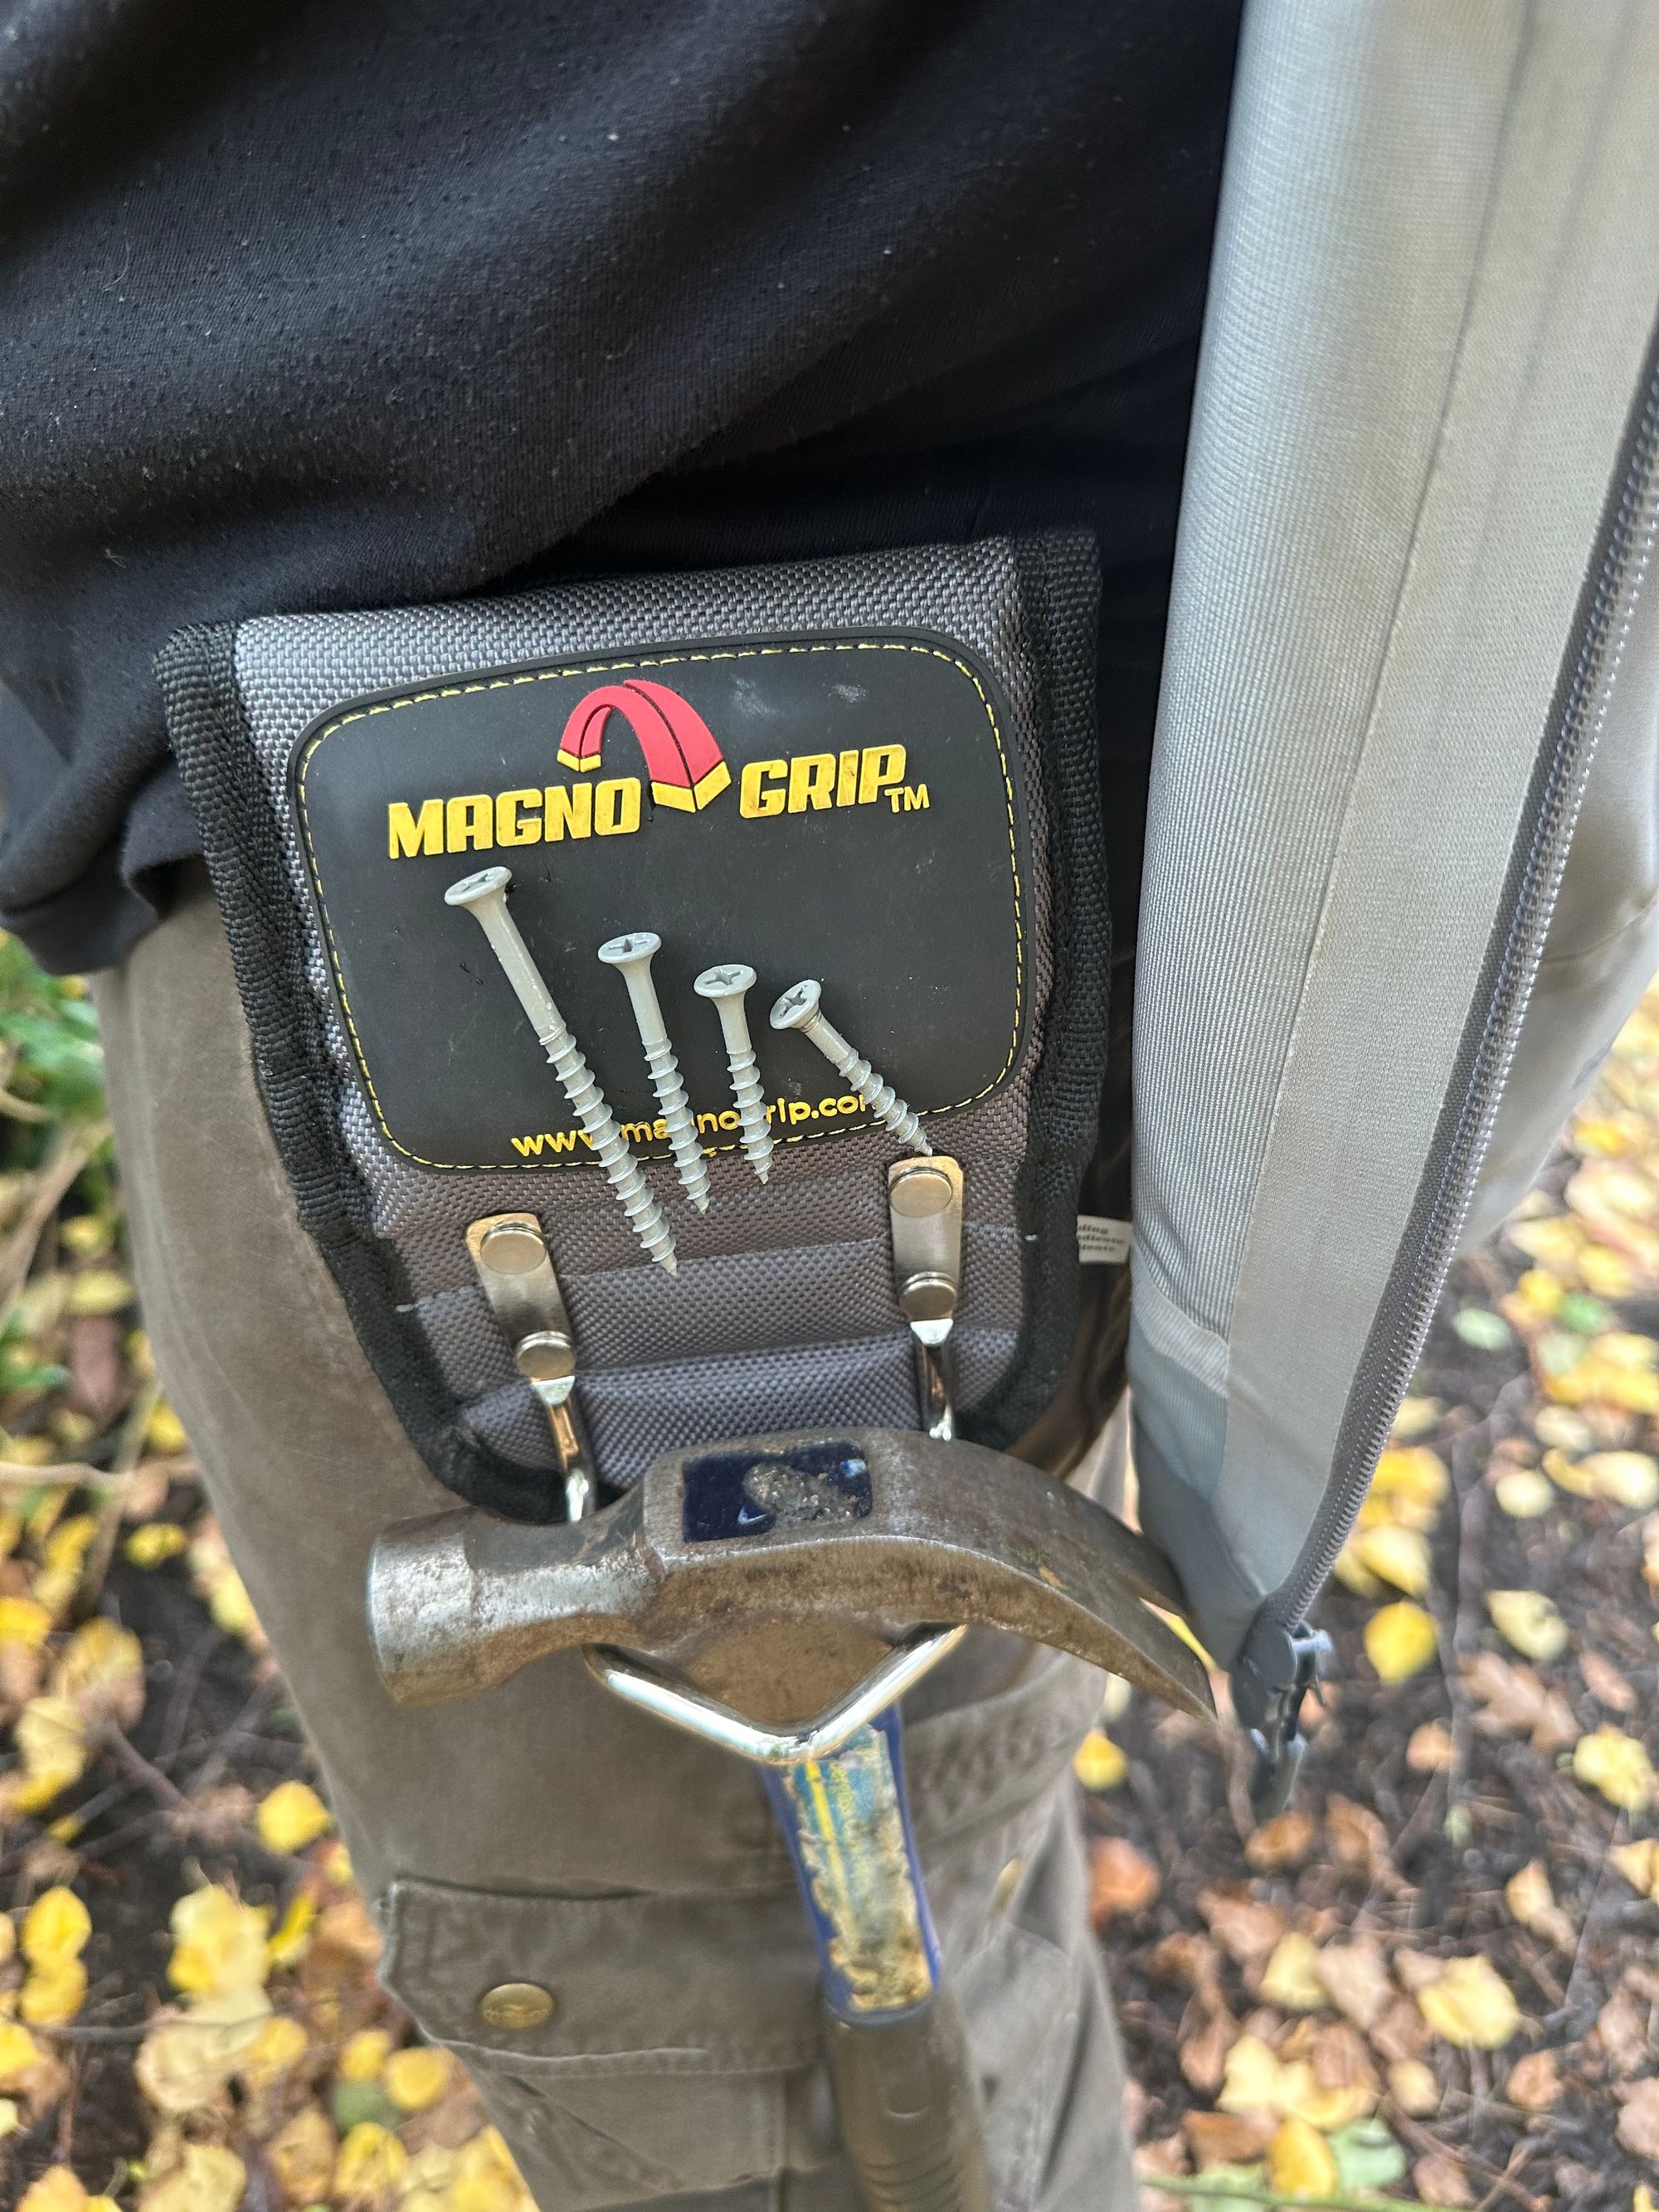
The nails had pulled out in places, and my first step was pulling out as many other nails as I could to give myself room to operate, and frankly... in this house, we use screws.
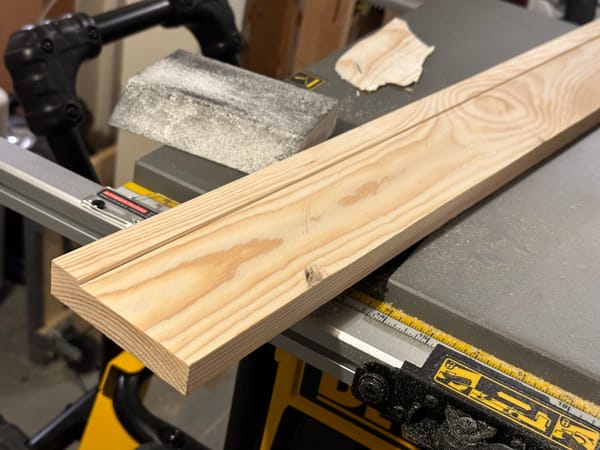
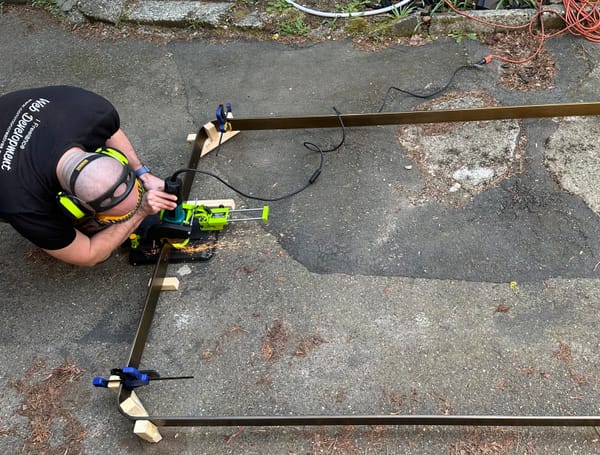
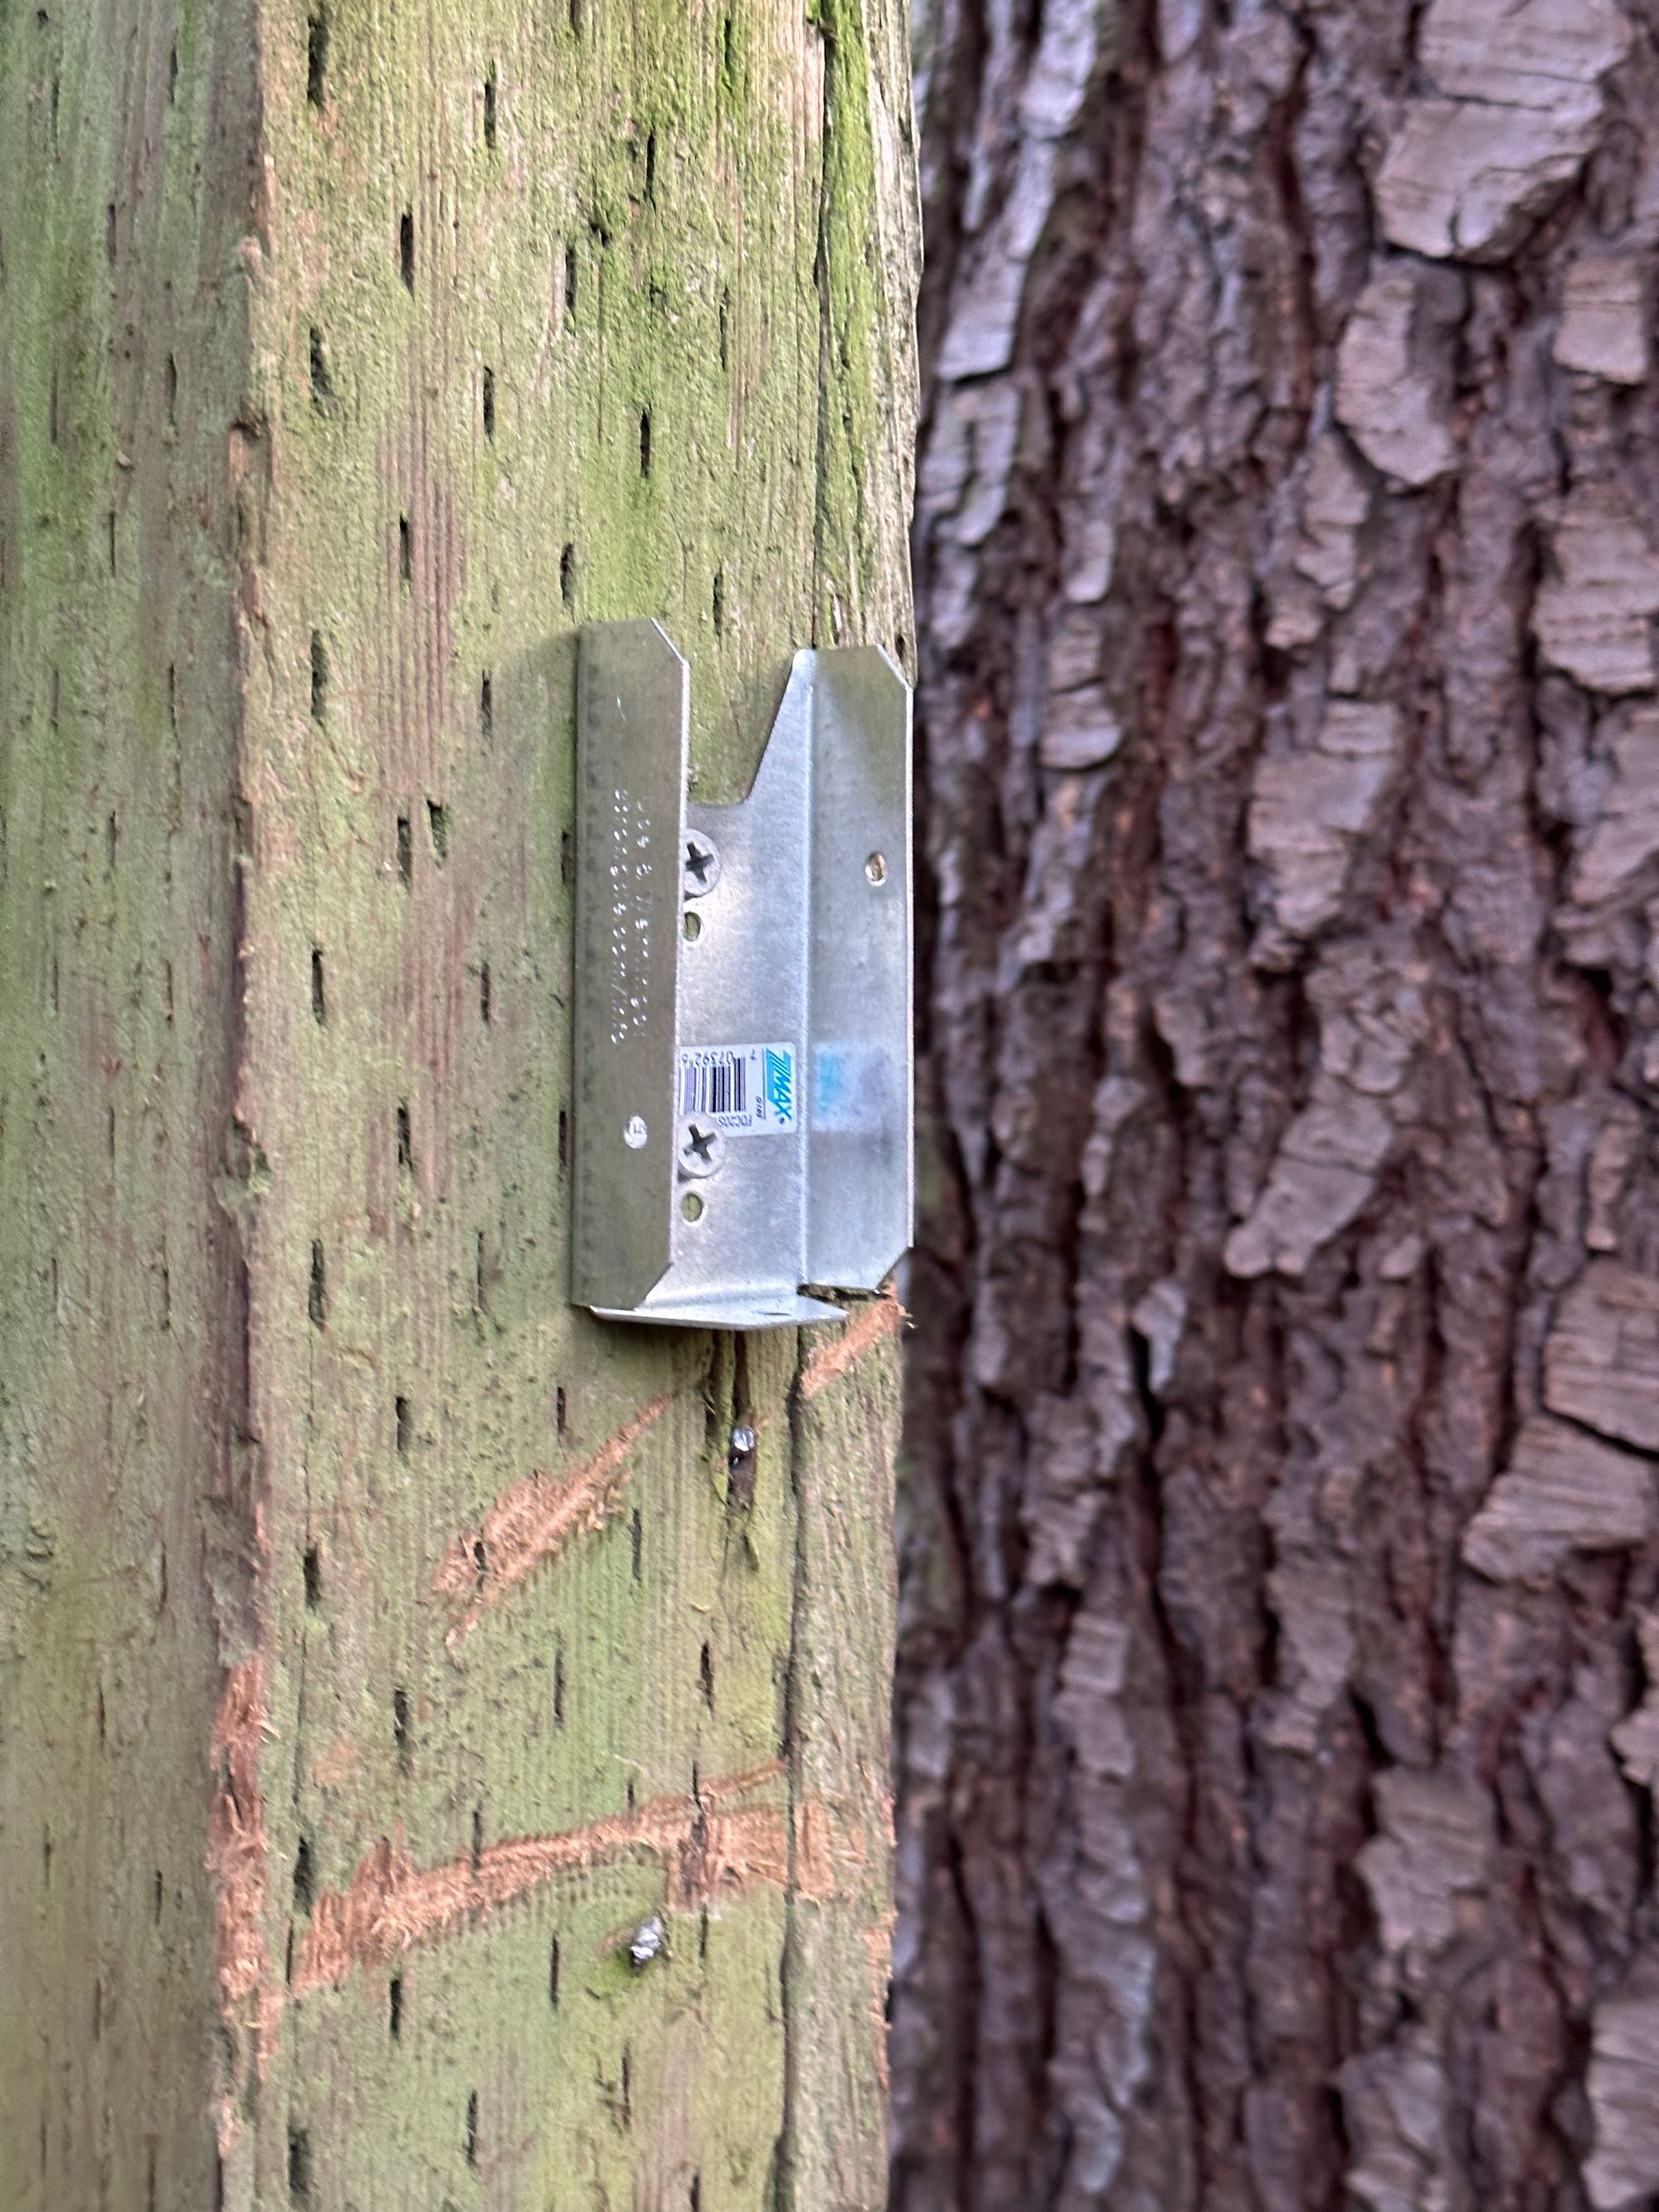
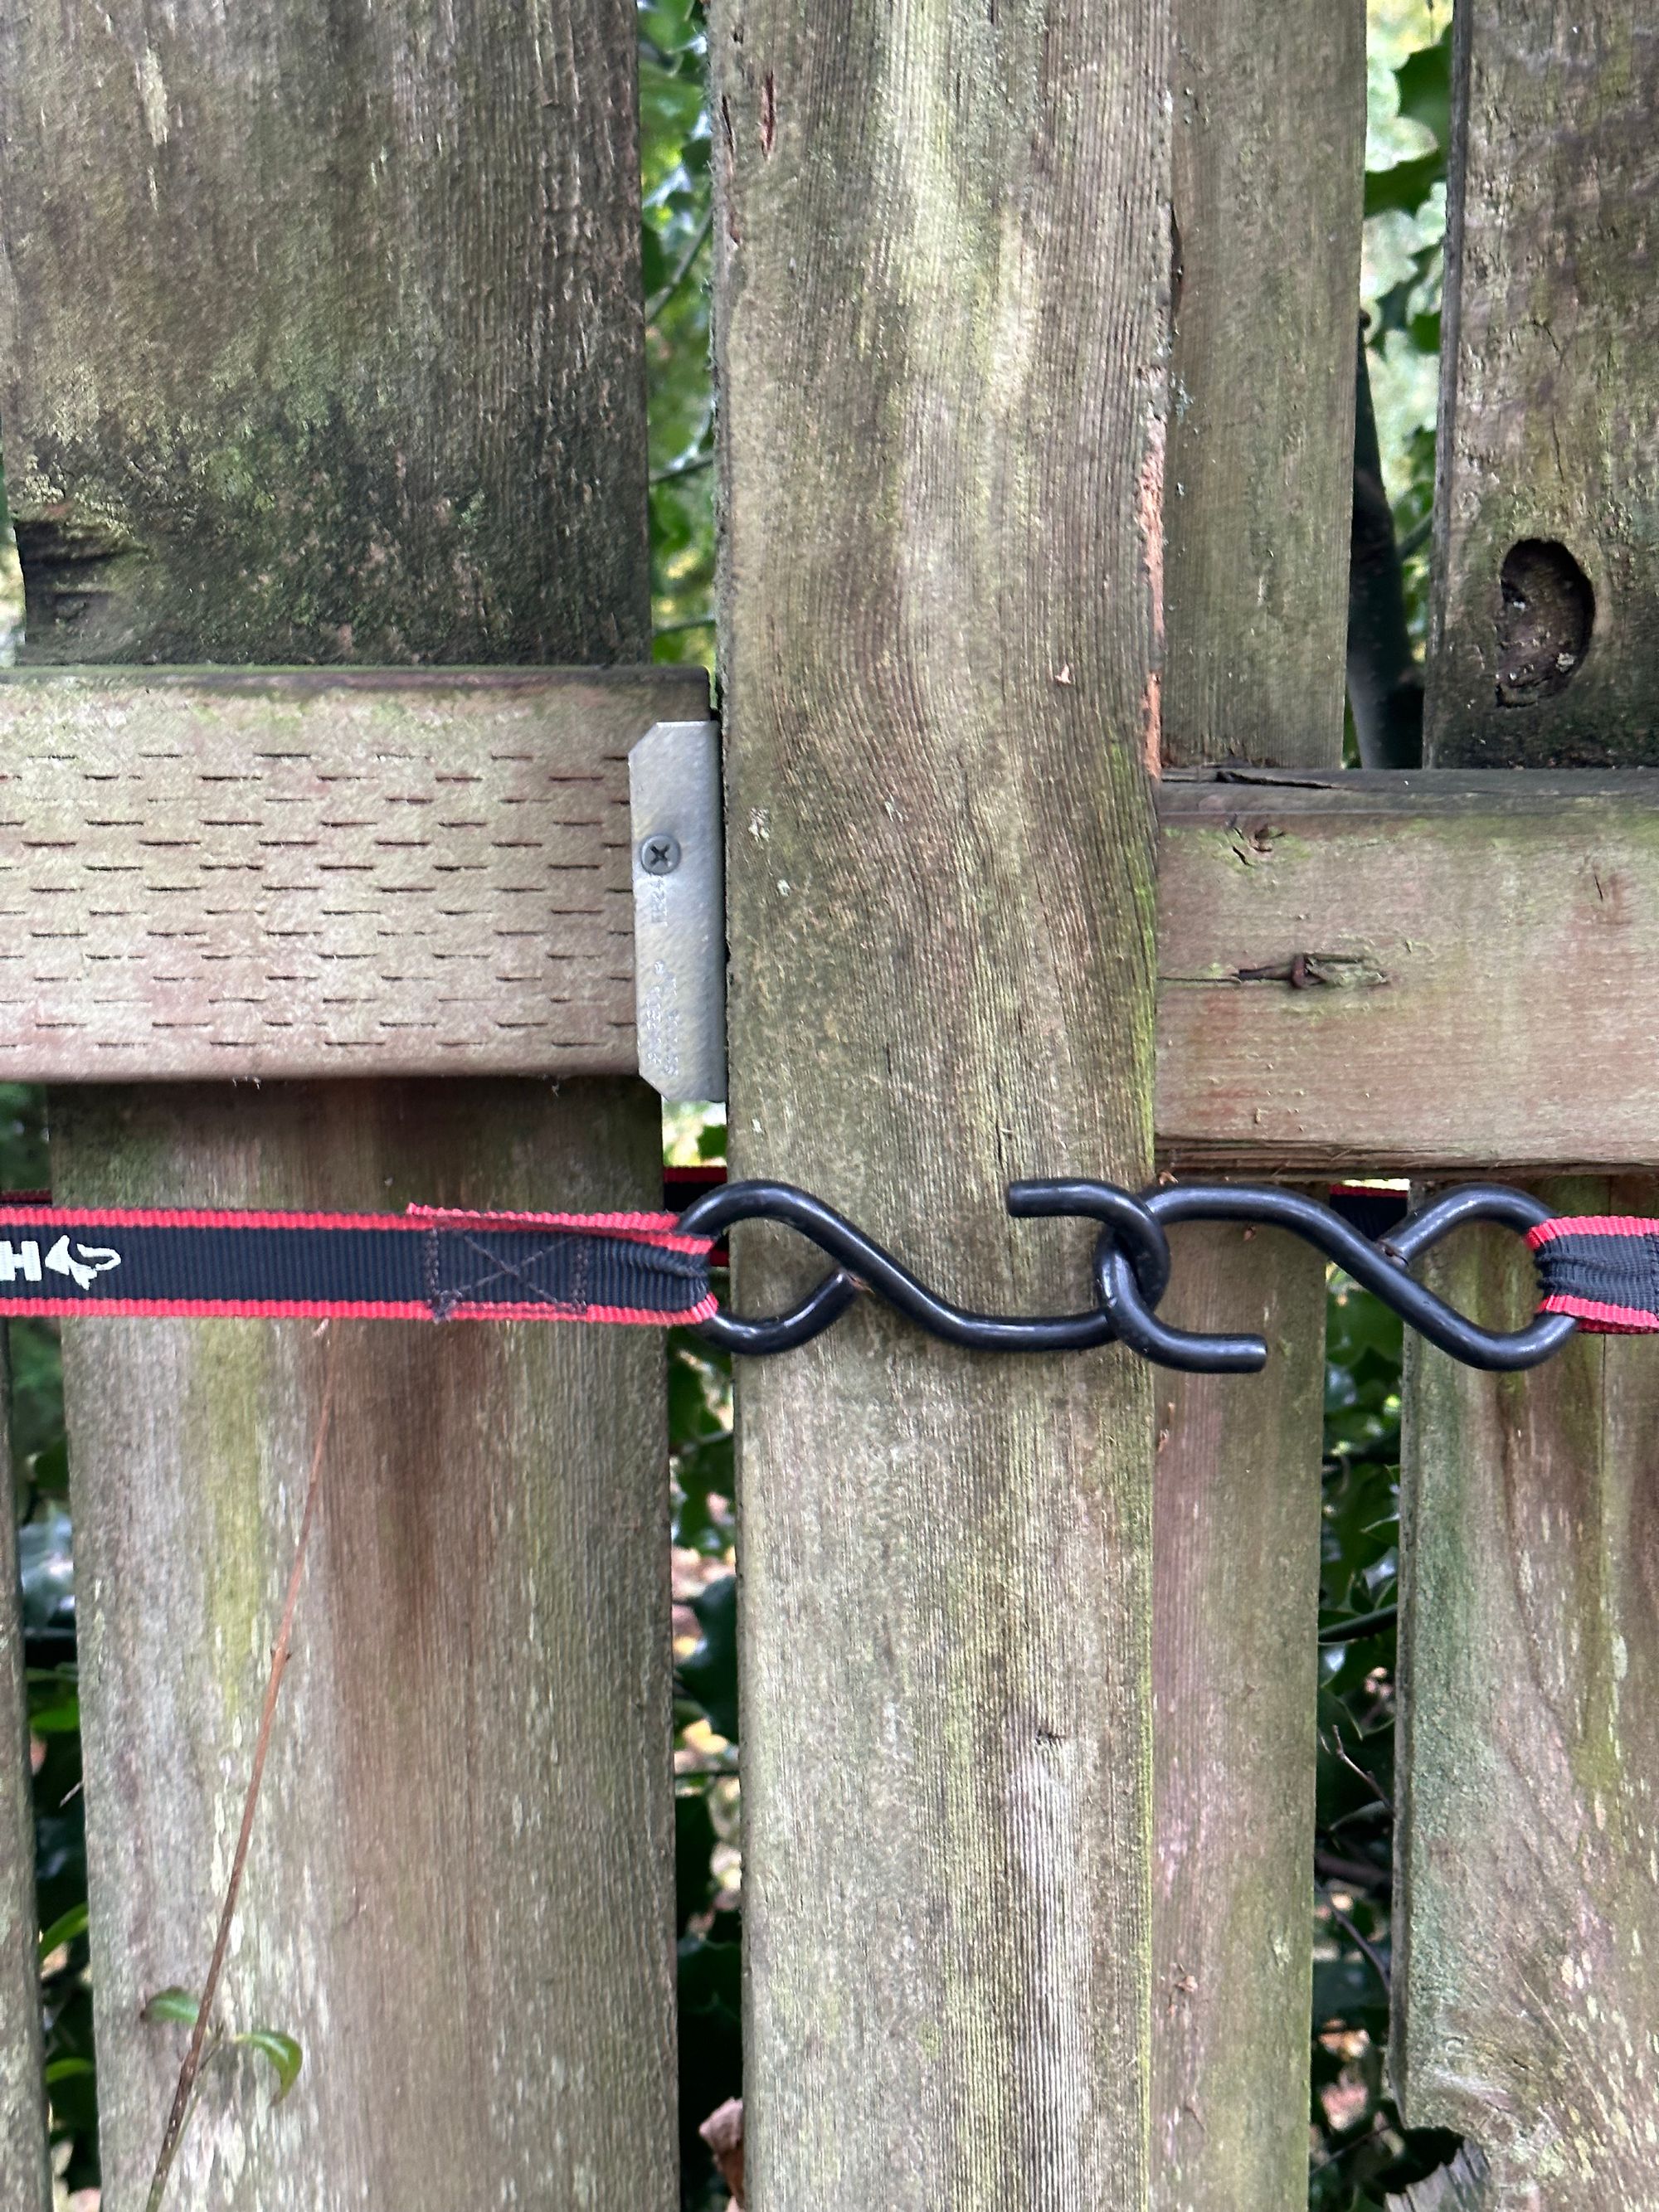
After that, it was straightforward to screw in some 2x4 brackets to more securely attach the top rail to the posts, and then rearranged and screwed in slats.
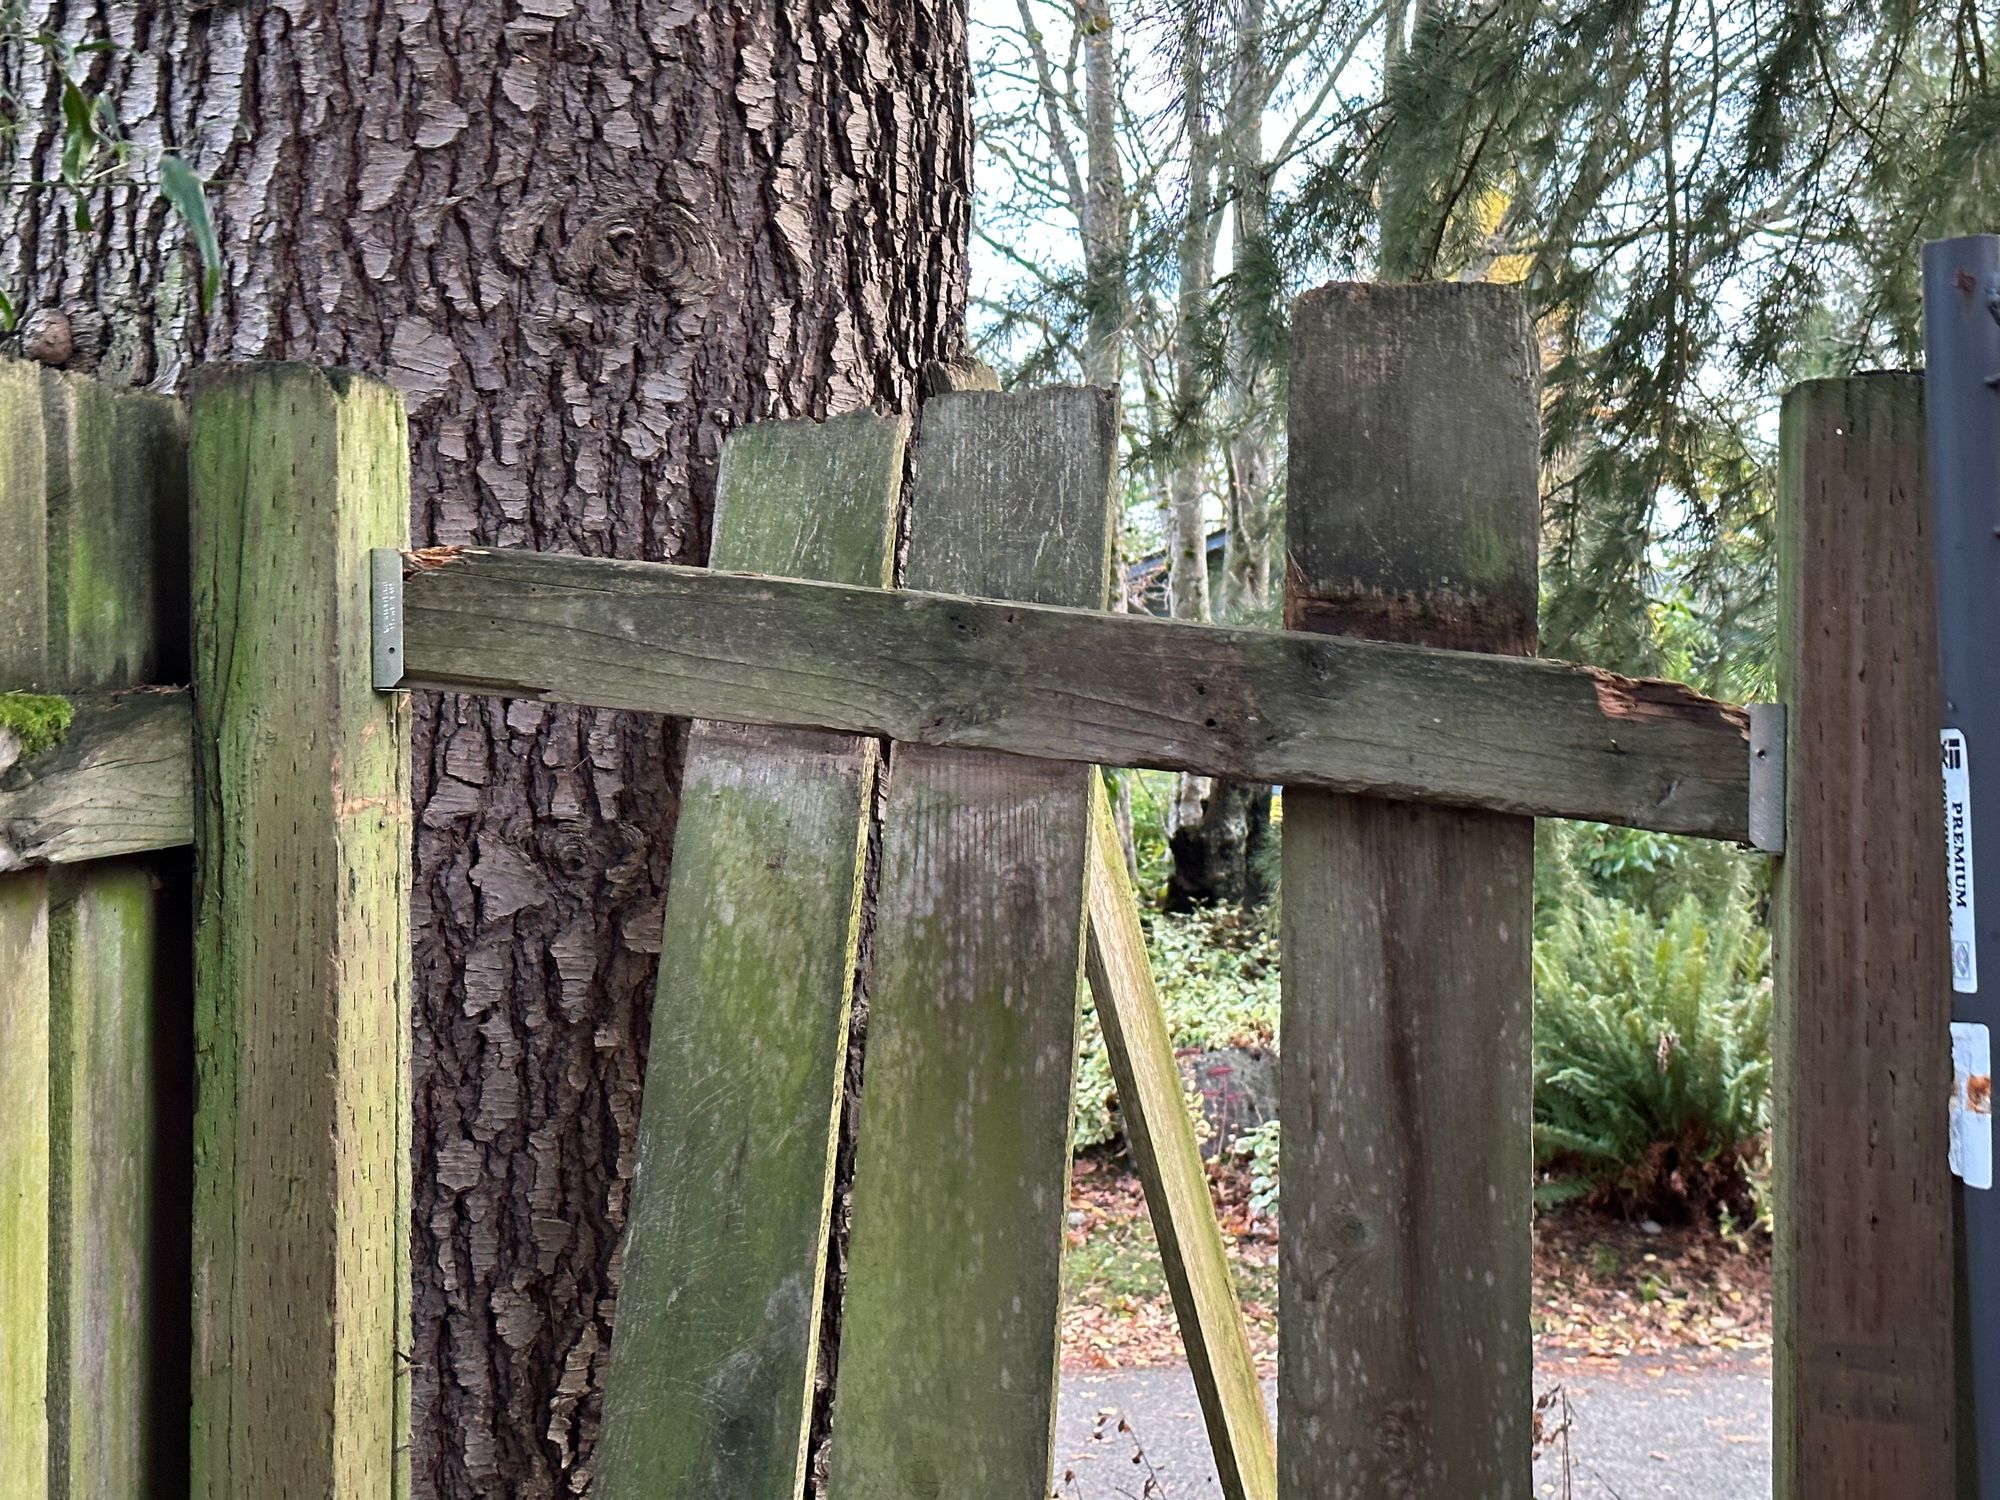
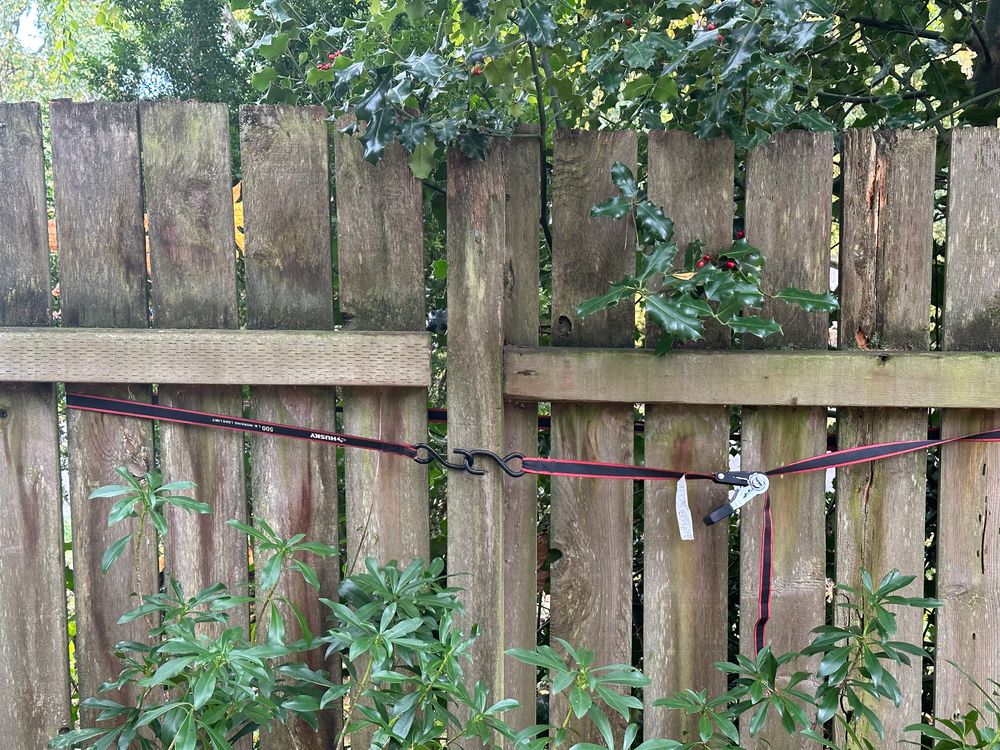
Next, I had a few sections that were generally in good shape, but had rails that had pulled away from the posts.
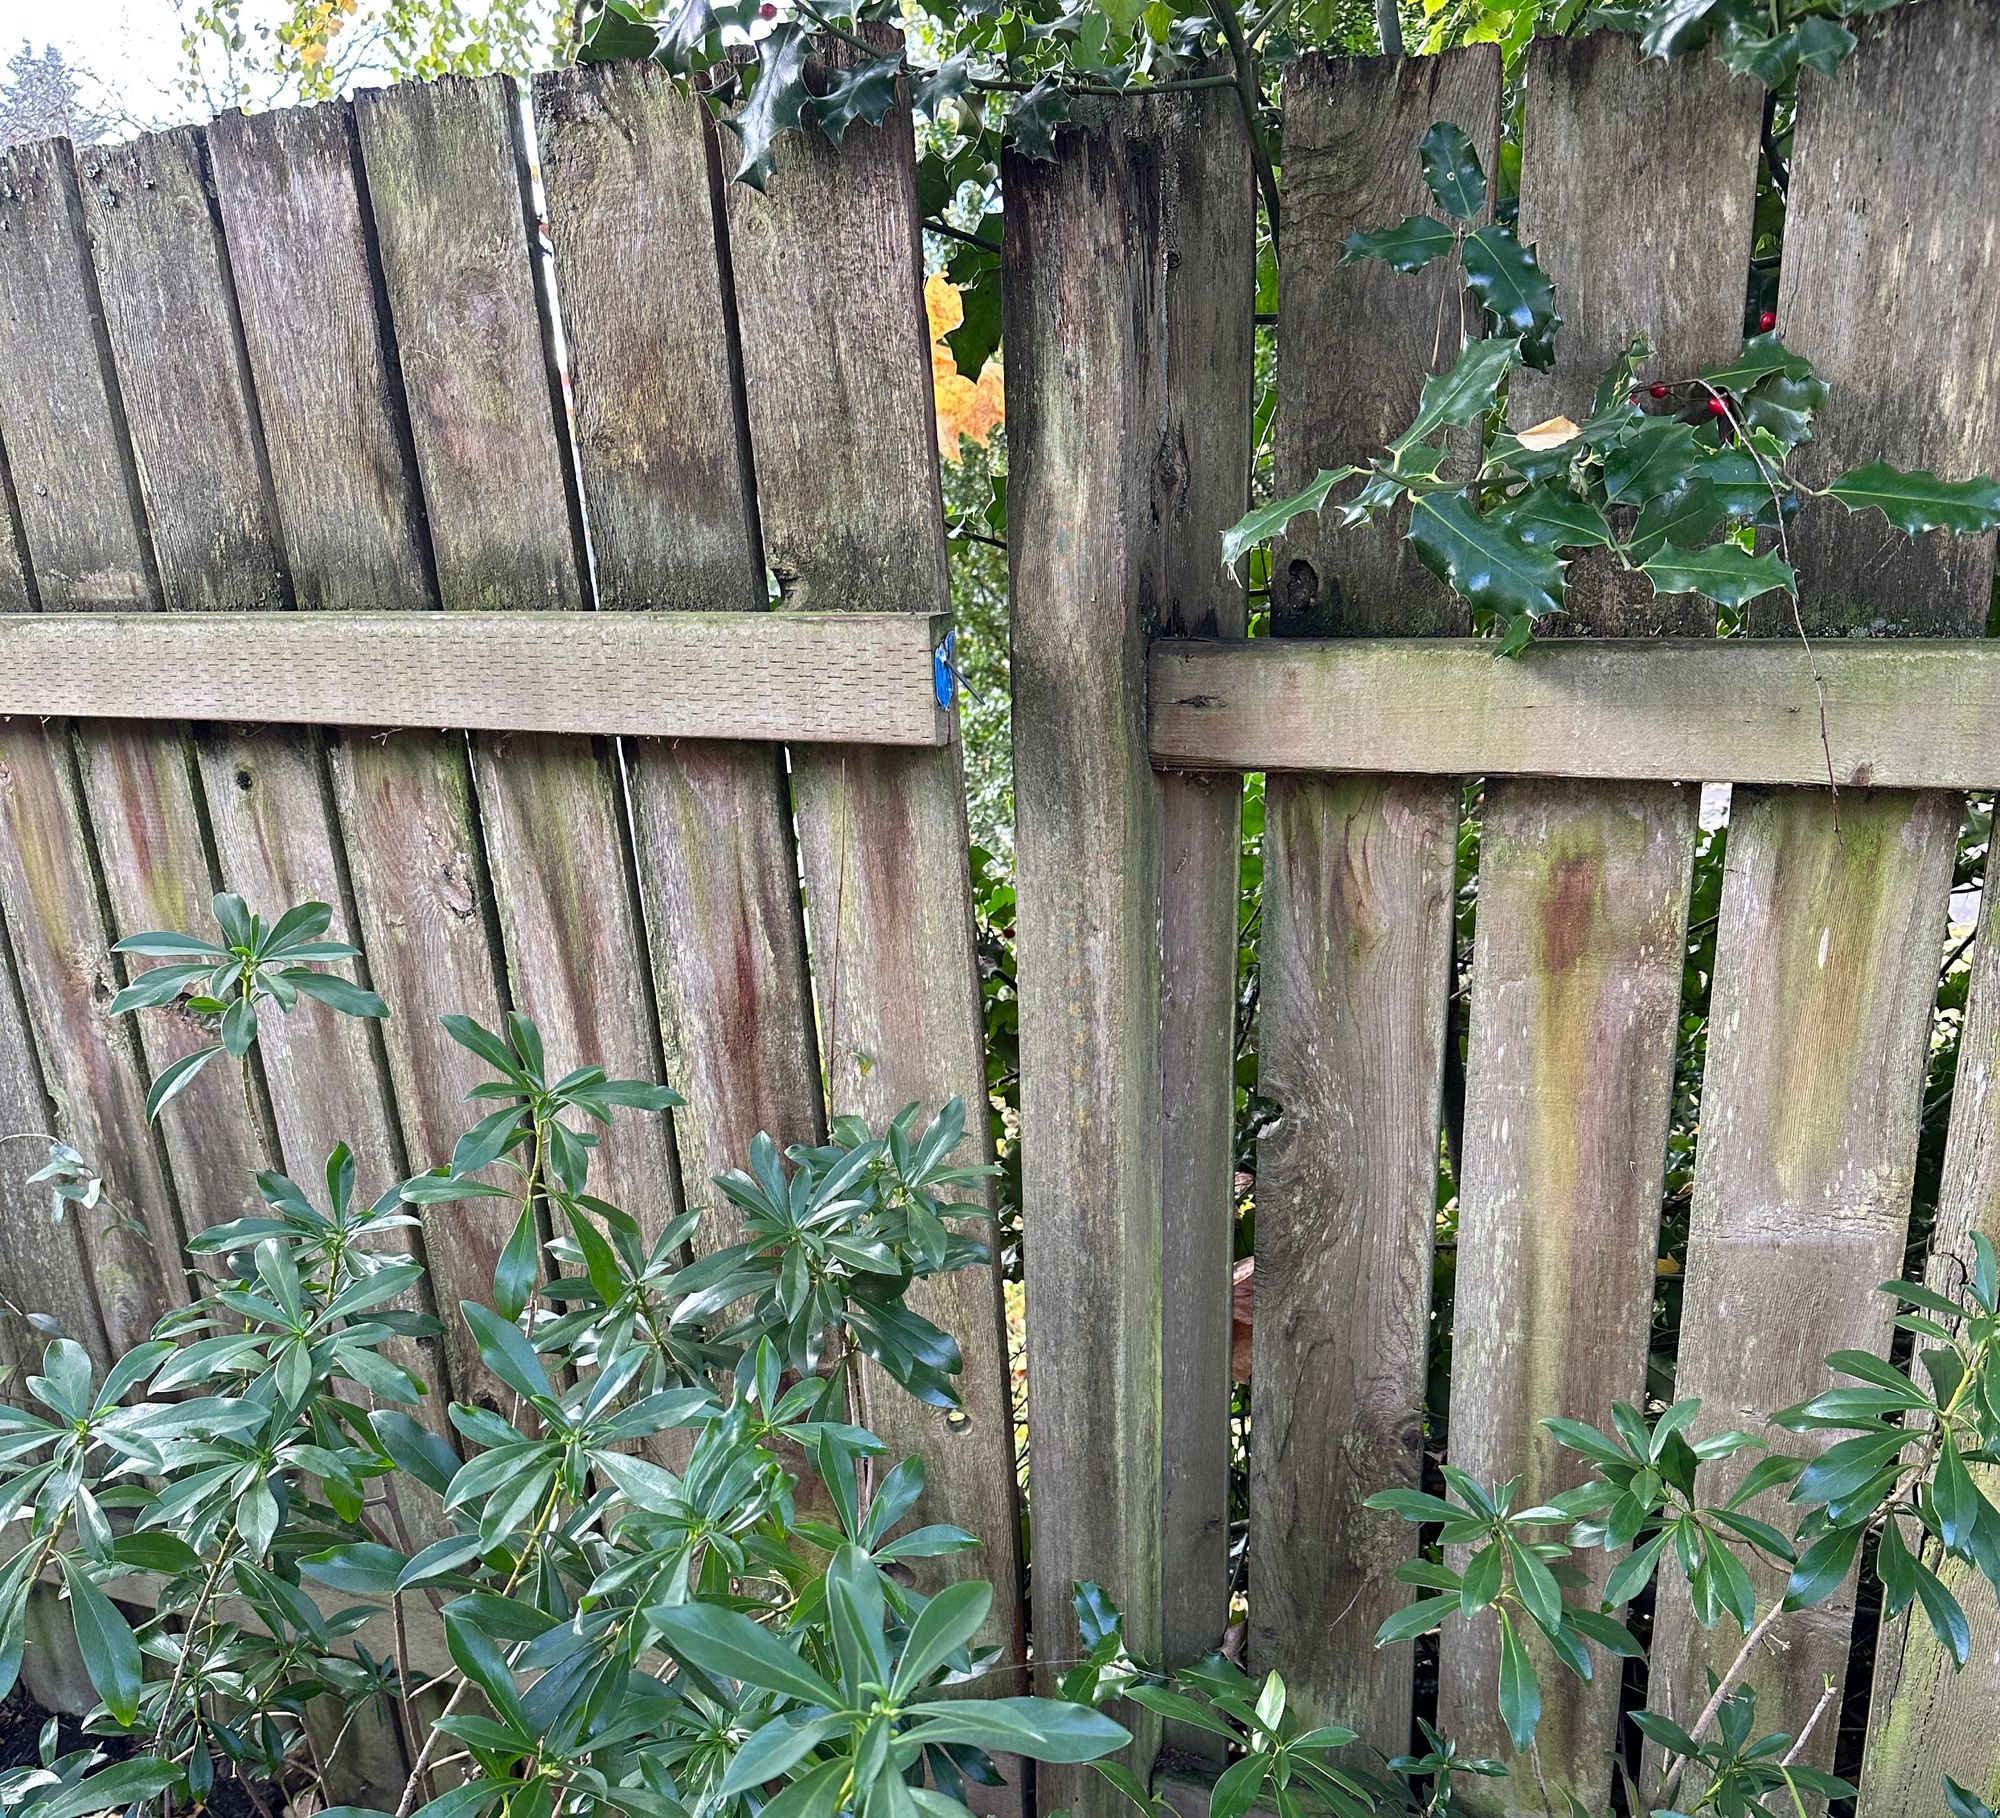
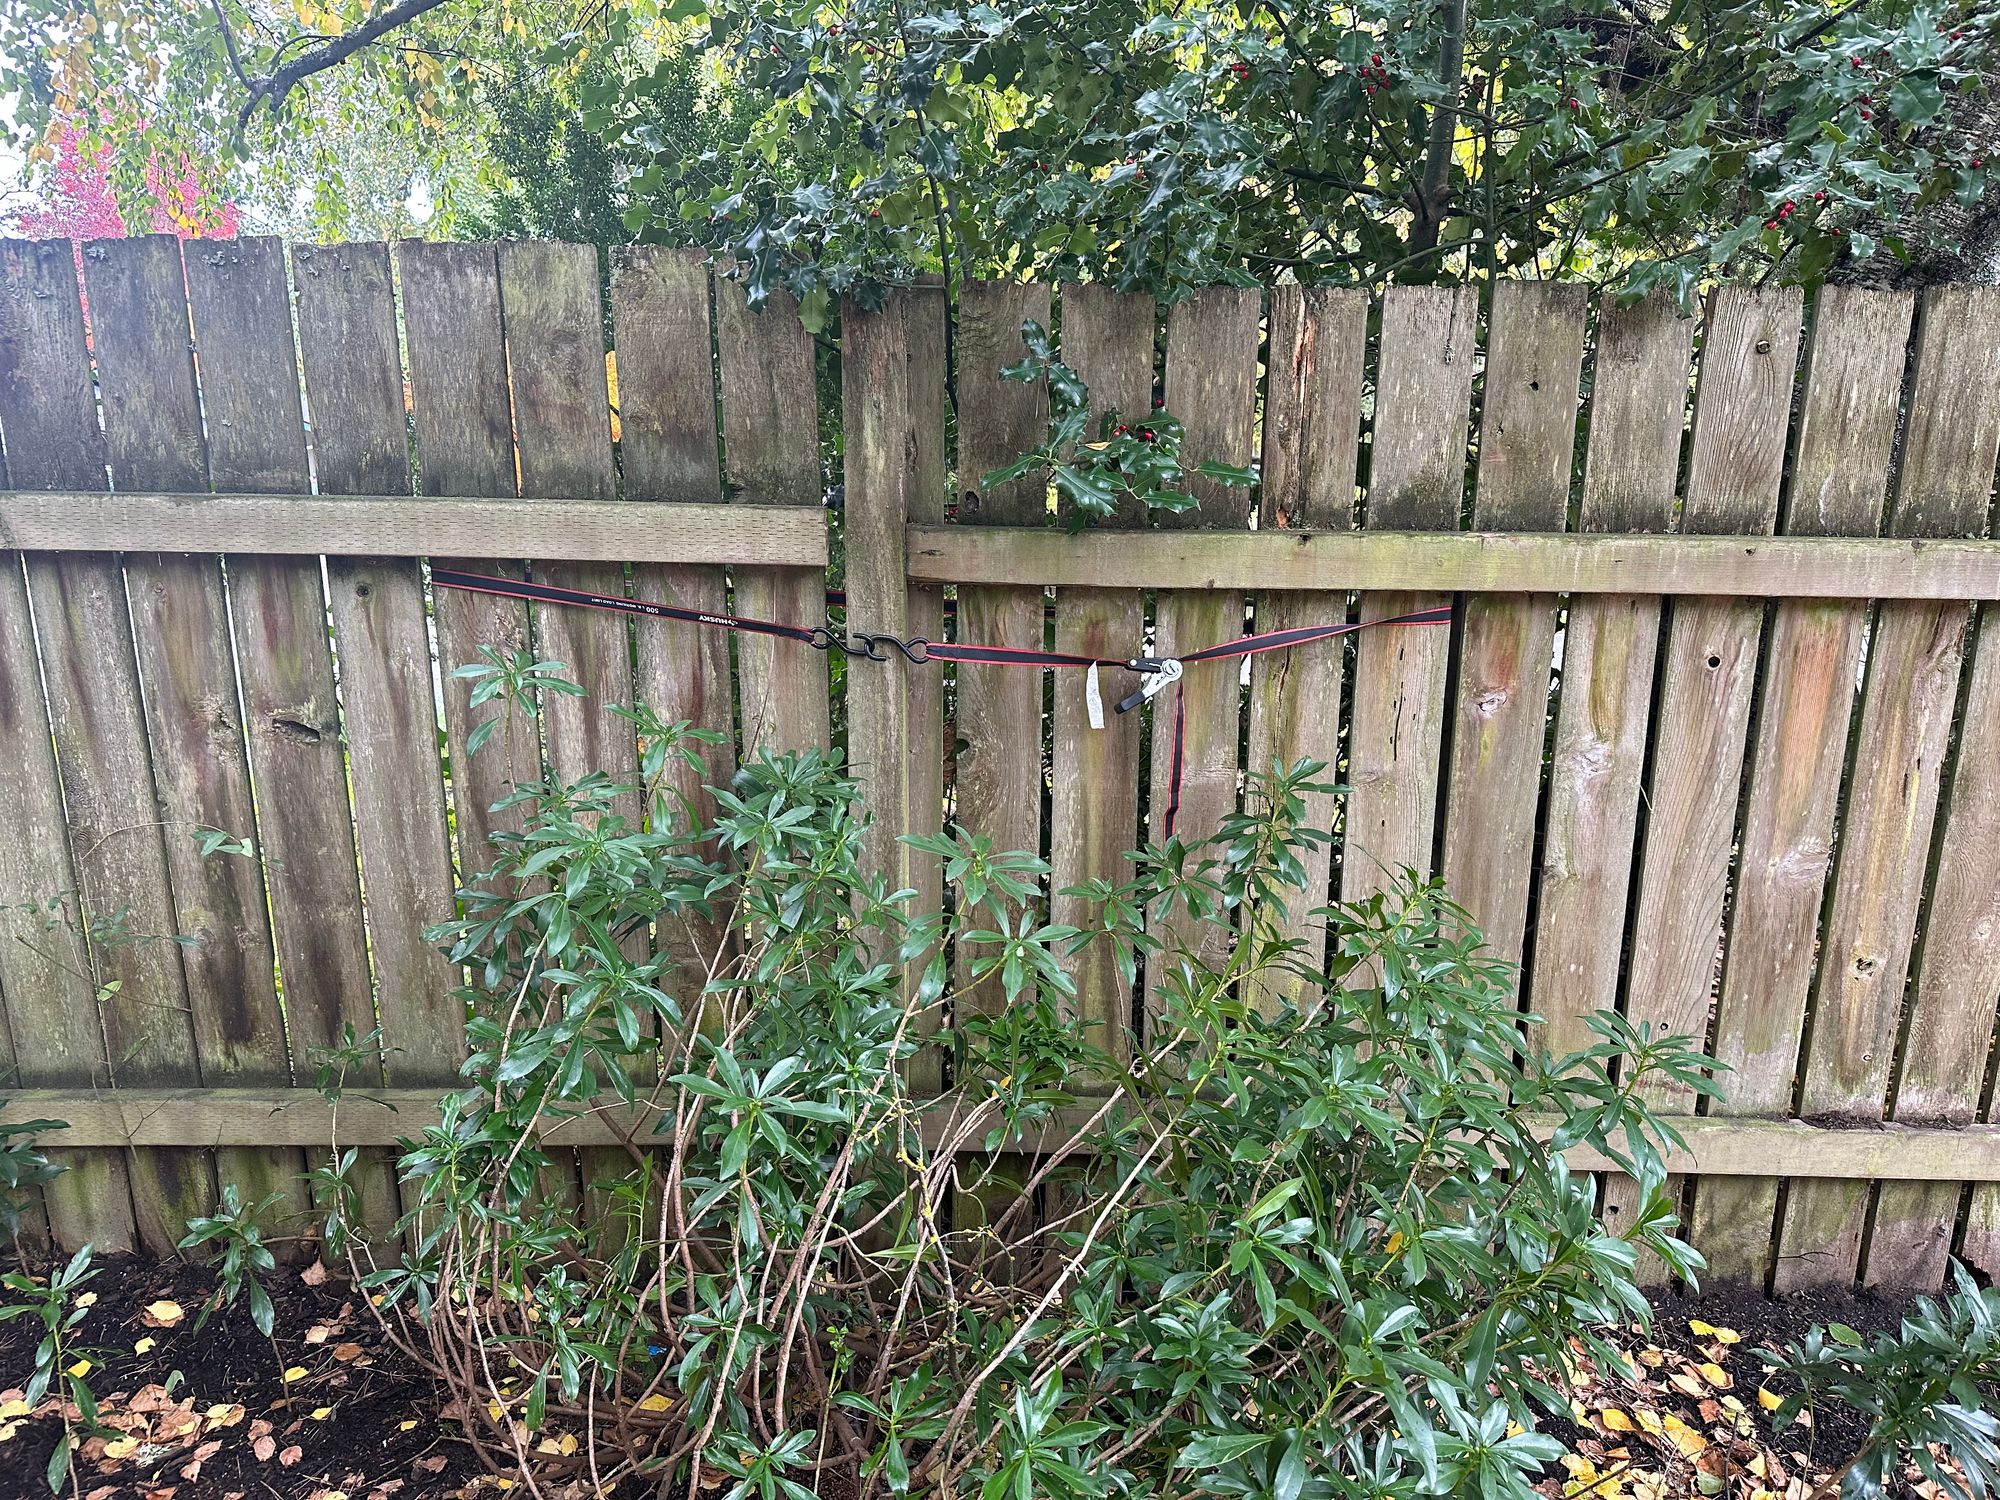
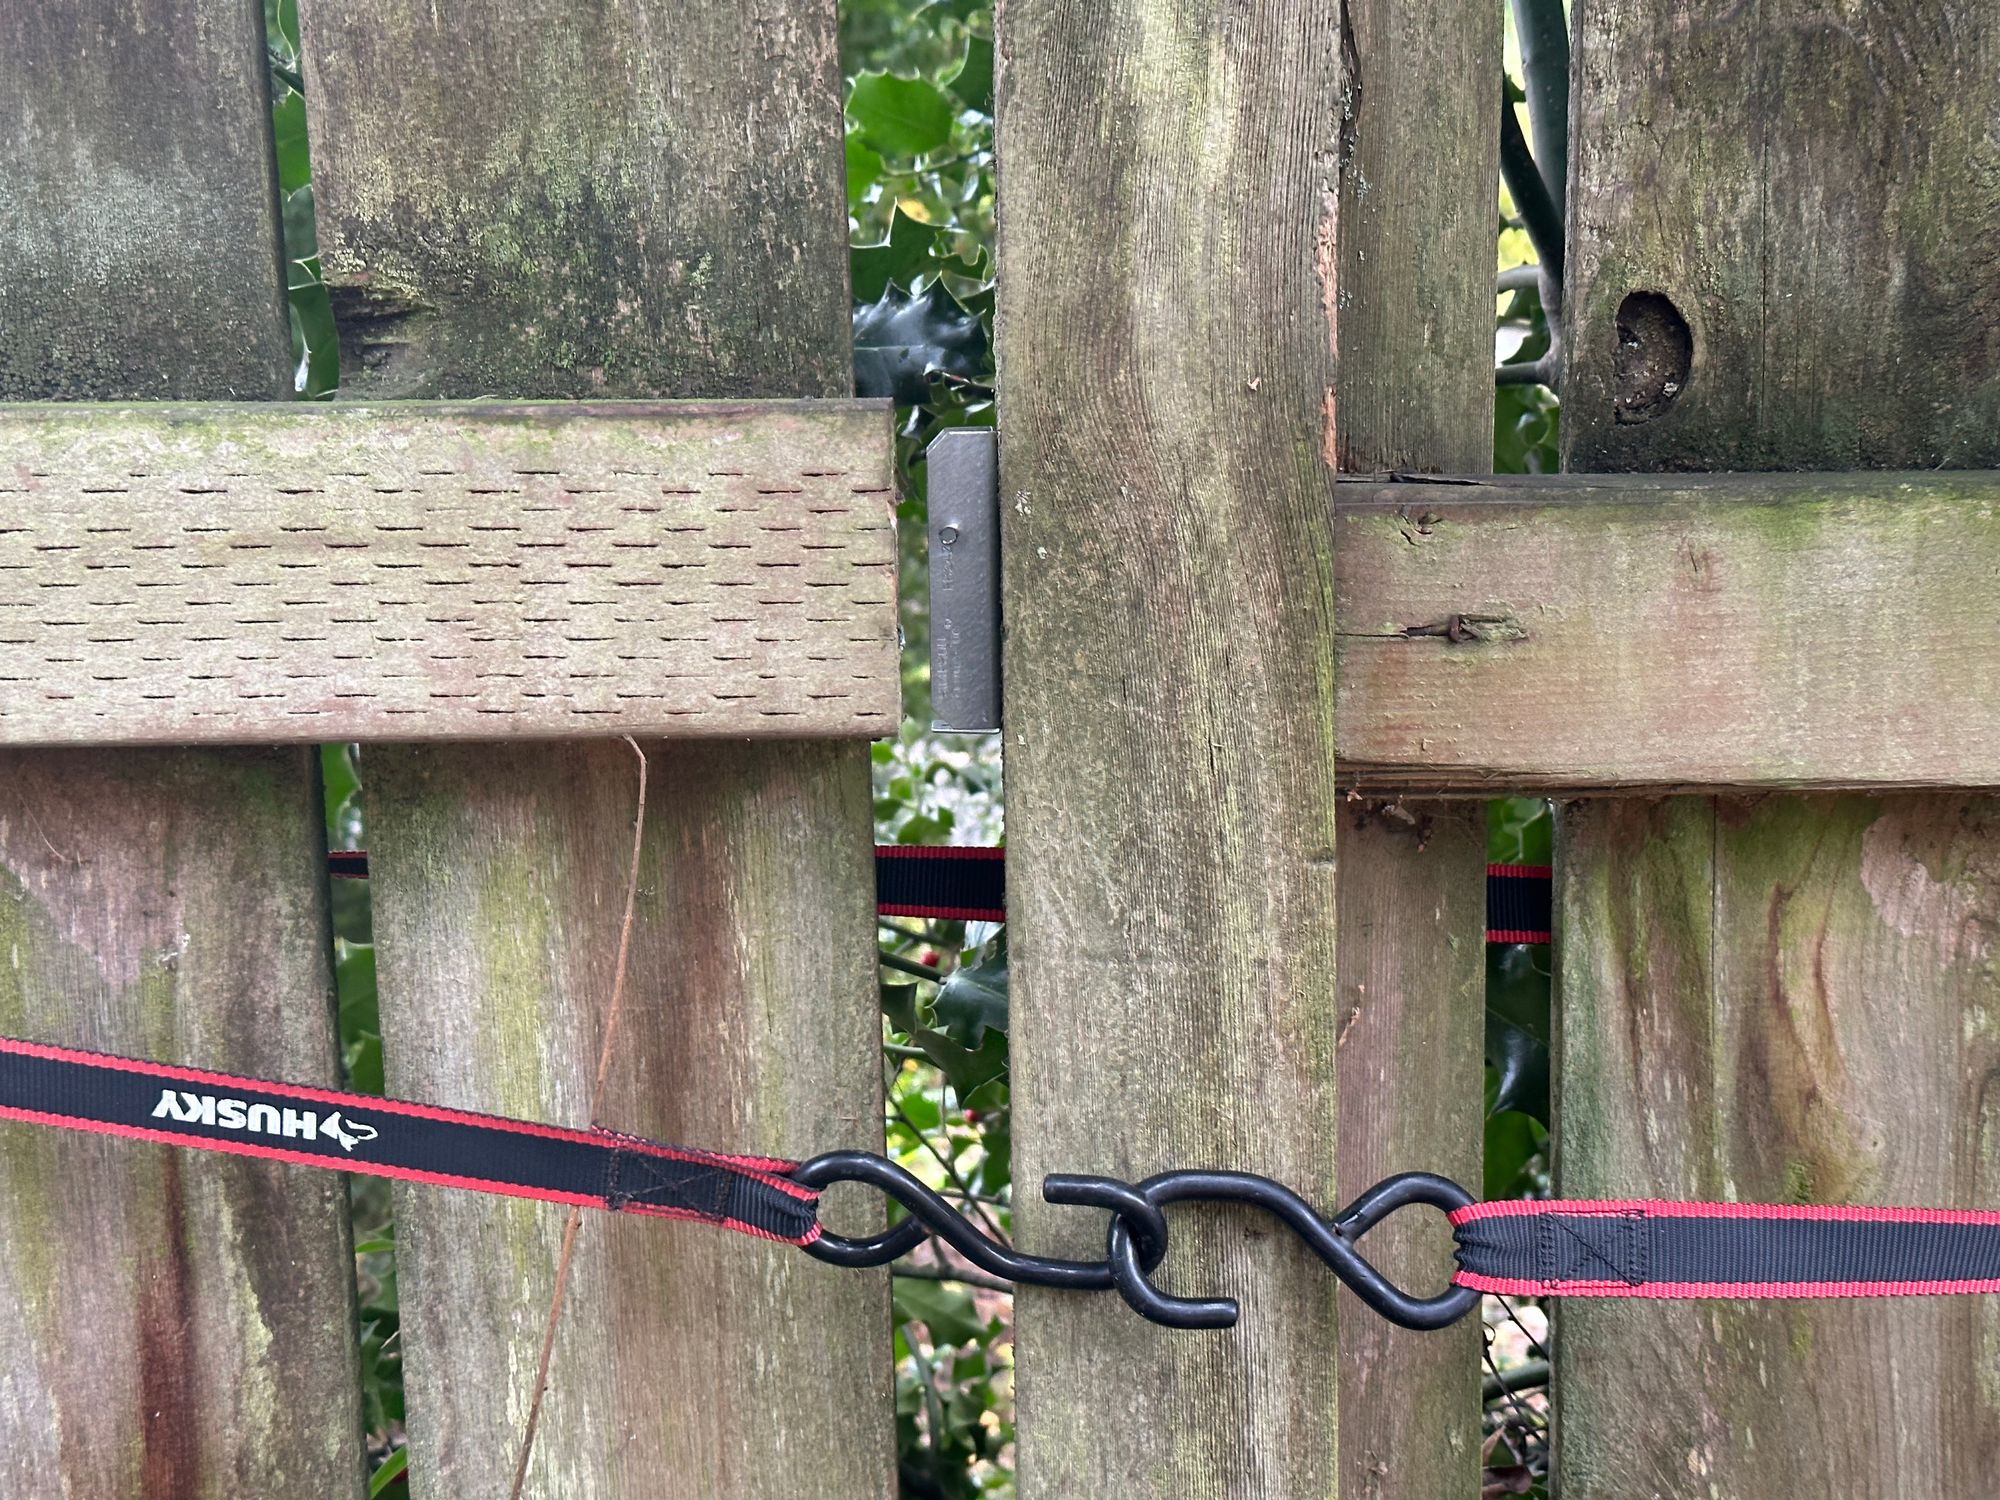
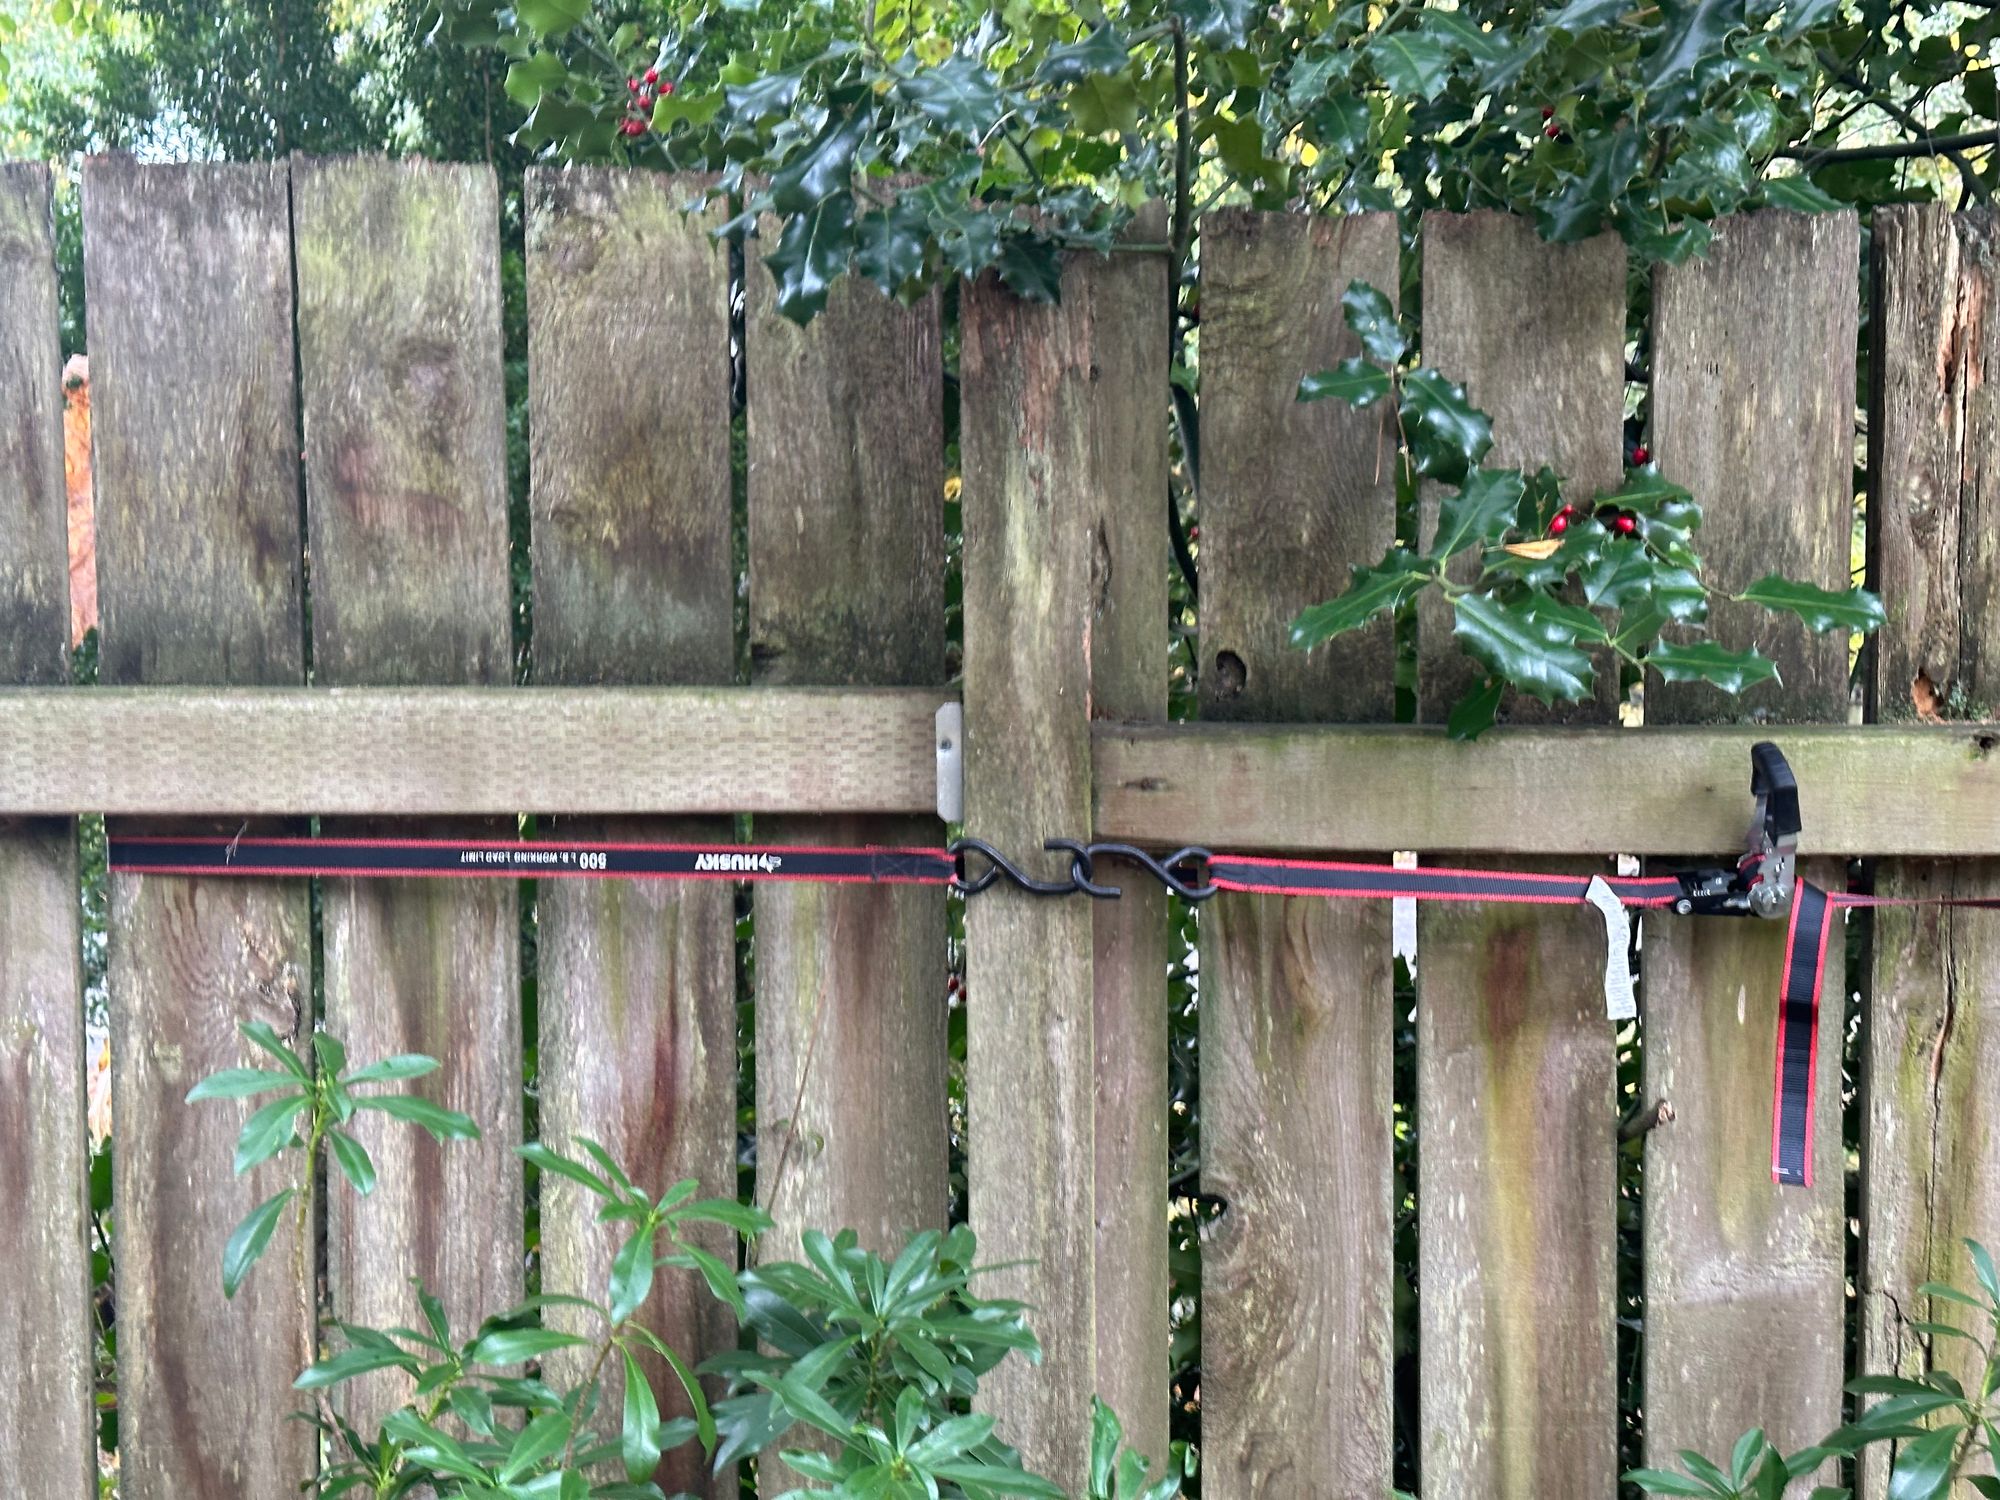
For this, I broke out some ratchet straps and ran them through the slats on different sections. I ratcheted it together to pull the rail to the post to get my positioning, then released the tension and attached a bracket. Then I tensioned again, pulling the rail into the bracket. It took a little encouraging with a hammer, but I was able to get it slotted in and screwed together, giving me a solid mechanical connection and a much more stable fence.
And with that, the fence was secure enough to bring the dogs over to explore their new backyard for the first time.
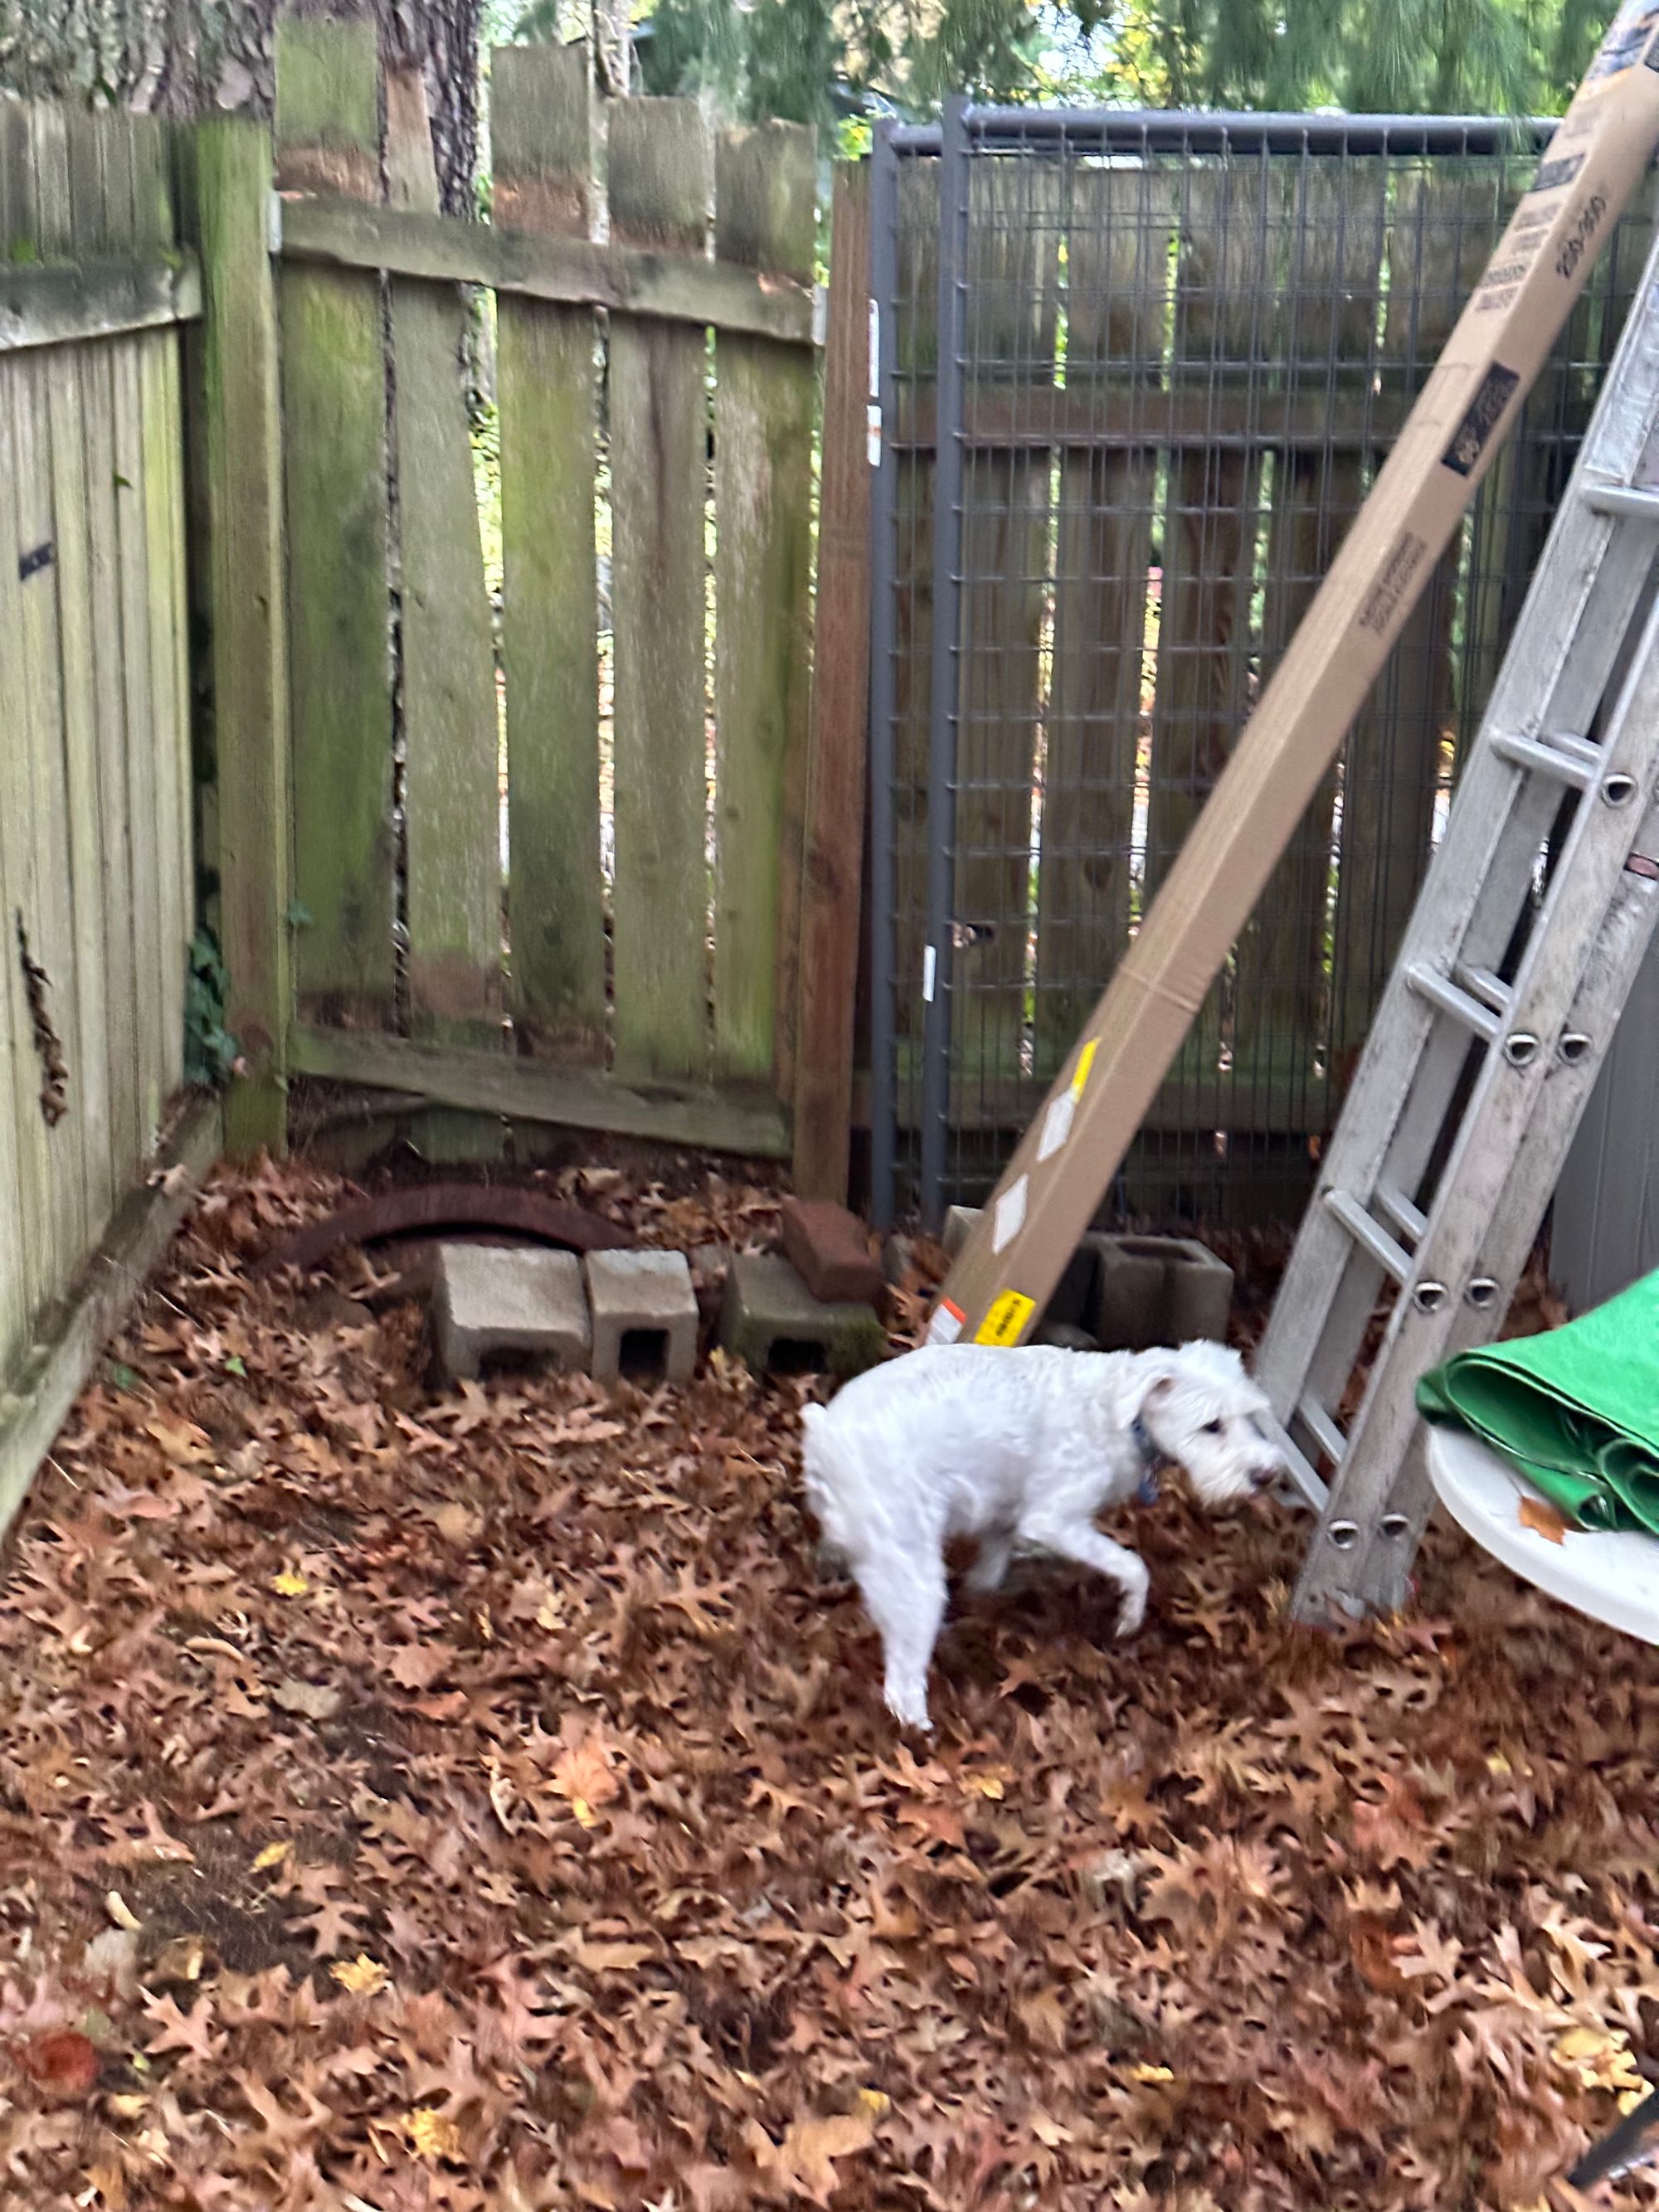
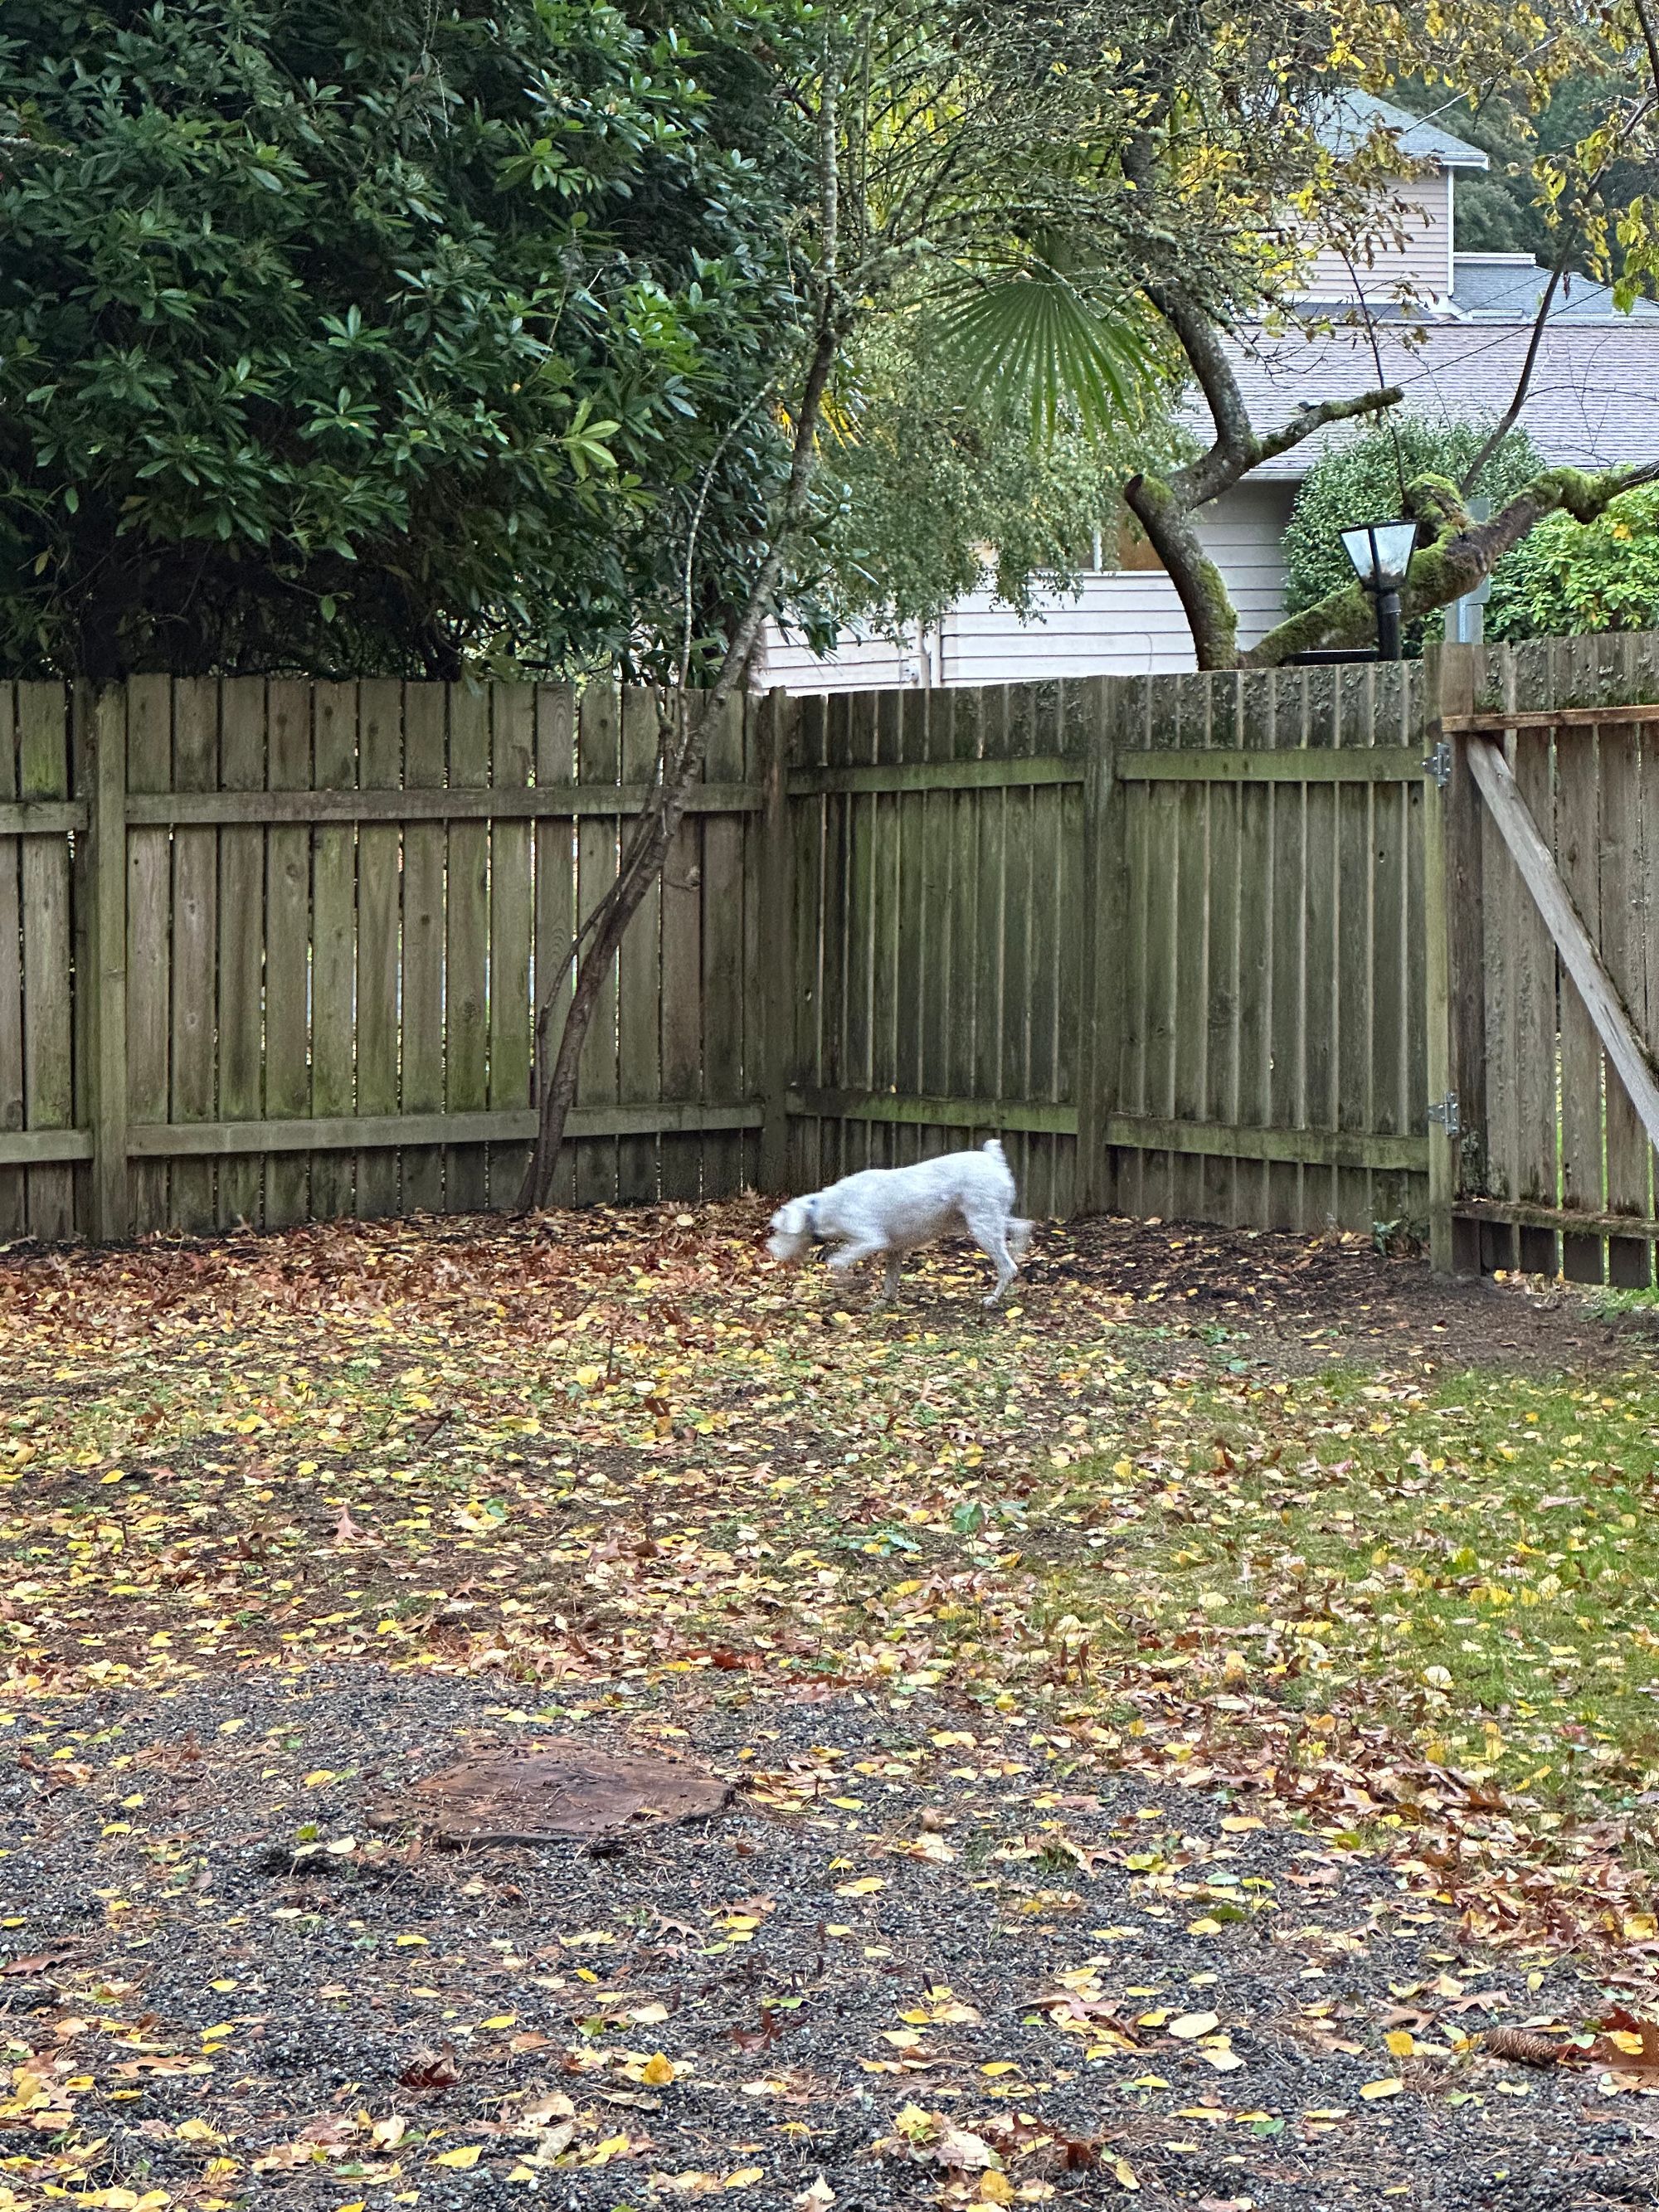
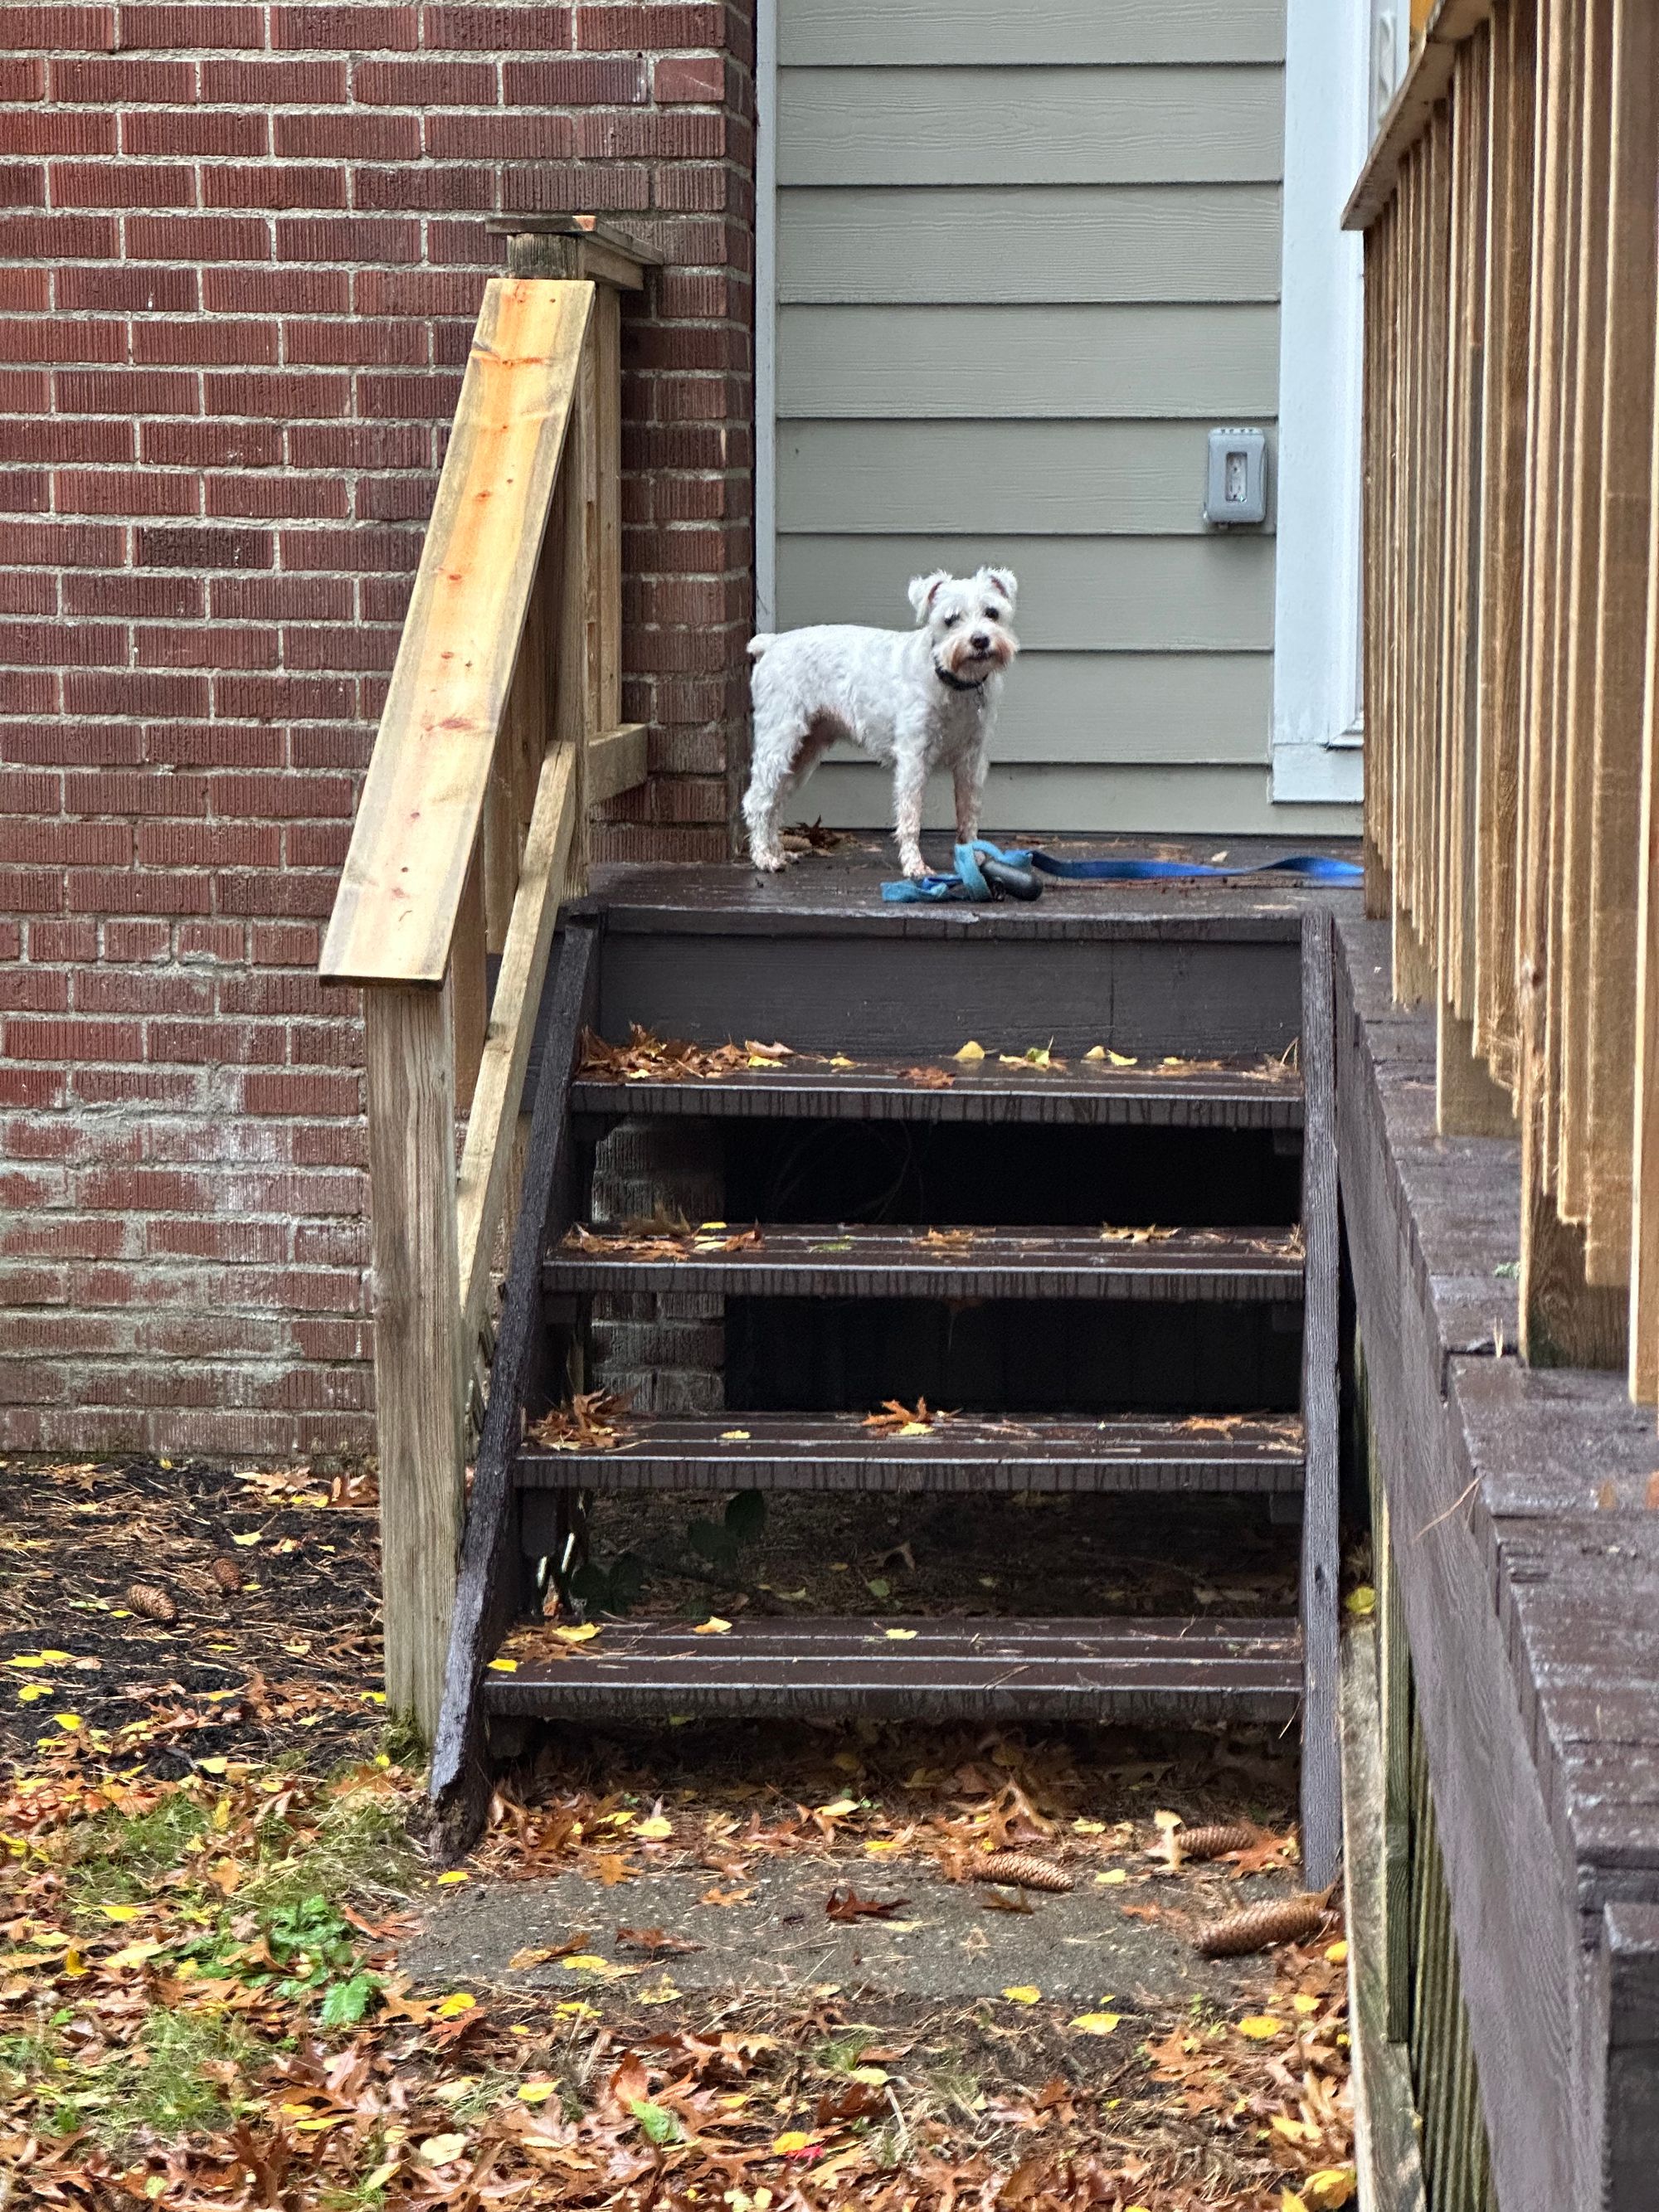
They love it!